- 02/01/2017
- 3 Min Read
- By: David Fresne
How to Change a Diverter Valve on a 1.8T (VW Audi)

For many Audi & VW 1.8T owners, the stock diverter valve is prone to failure even under stock daily driving and the factory boost pressure settings. Moreover, once you begin making any engine performance enhancements and alterations to your vehicle the efficiency and reliability of the factory unit will start to wane, as the internal diaphragm is not strong enough to handle pressure above stock Audi settings. The original factory diverter valve is basically a relief valve for the boost still being generated or stored in your vehicle's intake tract, as you release from the accelerator and are no longer needing the access boost what was already and is already available needs to be released. This valve will open and relieve that boost and either vent it into the atmosphere (making the infamous turbo chime at let-off) or recirculate this back into the intake system for quieter and more efficient operation.
The previous owner of our test vehicle for this installation has since replaced the factory unit with an aftermarket unit from with a unit from APR-R1 valve. Though a good quality replacement unit this was several years ago and countless miles. After installing my boost gauge and monitoring it as well as a certain "mooing" sound the DV was making, I had a sneaking suspicion that there was something wrong. Unfortunately, the APR DV is "maintenance free" with a similar construction to the OEM valve that uses a diaphragm, so I could not really test further or inspect for damage or efficiency.
I decided to go with a piston type DV, since they are easily serviceable and last a long time. The particular one I am using is aftermarket diverter valve however, it is very similar in construction to the unit FCP Euro offers from 034 Motorsports.
Tools required for the installation/replacement.
You don't need many tools to do this, but here a few main things that are required.
- Angled pick or a thin flat bladed screwdriver
- 1/4" drive ratchet and a socket to tighten the hose clamps, (you can also use a screwdriver, I prefer to use the ratchet)
- Ramps or jackstands to get the front of the car in the air
- Replacement DV like the unit from 034 Motorsports part number 0341455000:
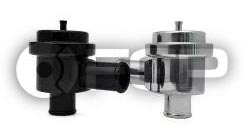
Audi VW Diverter Bypass Valve Upgrade (Black) - 034 Motorsports 0341455000
If you look up from underneath on the passenger side towards the front of the engine you can spot the diverter valve and the hoses leading to and from (this may differ slightly between engine codes):
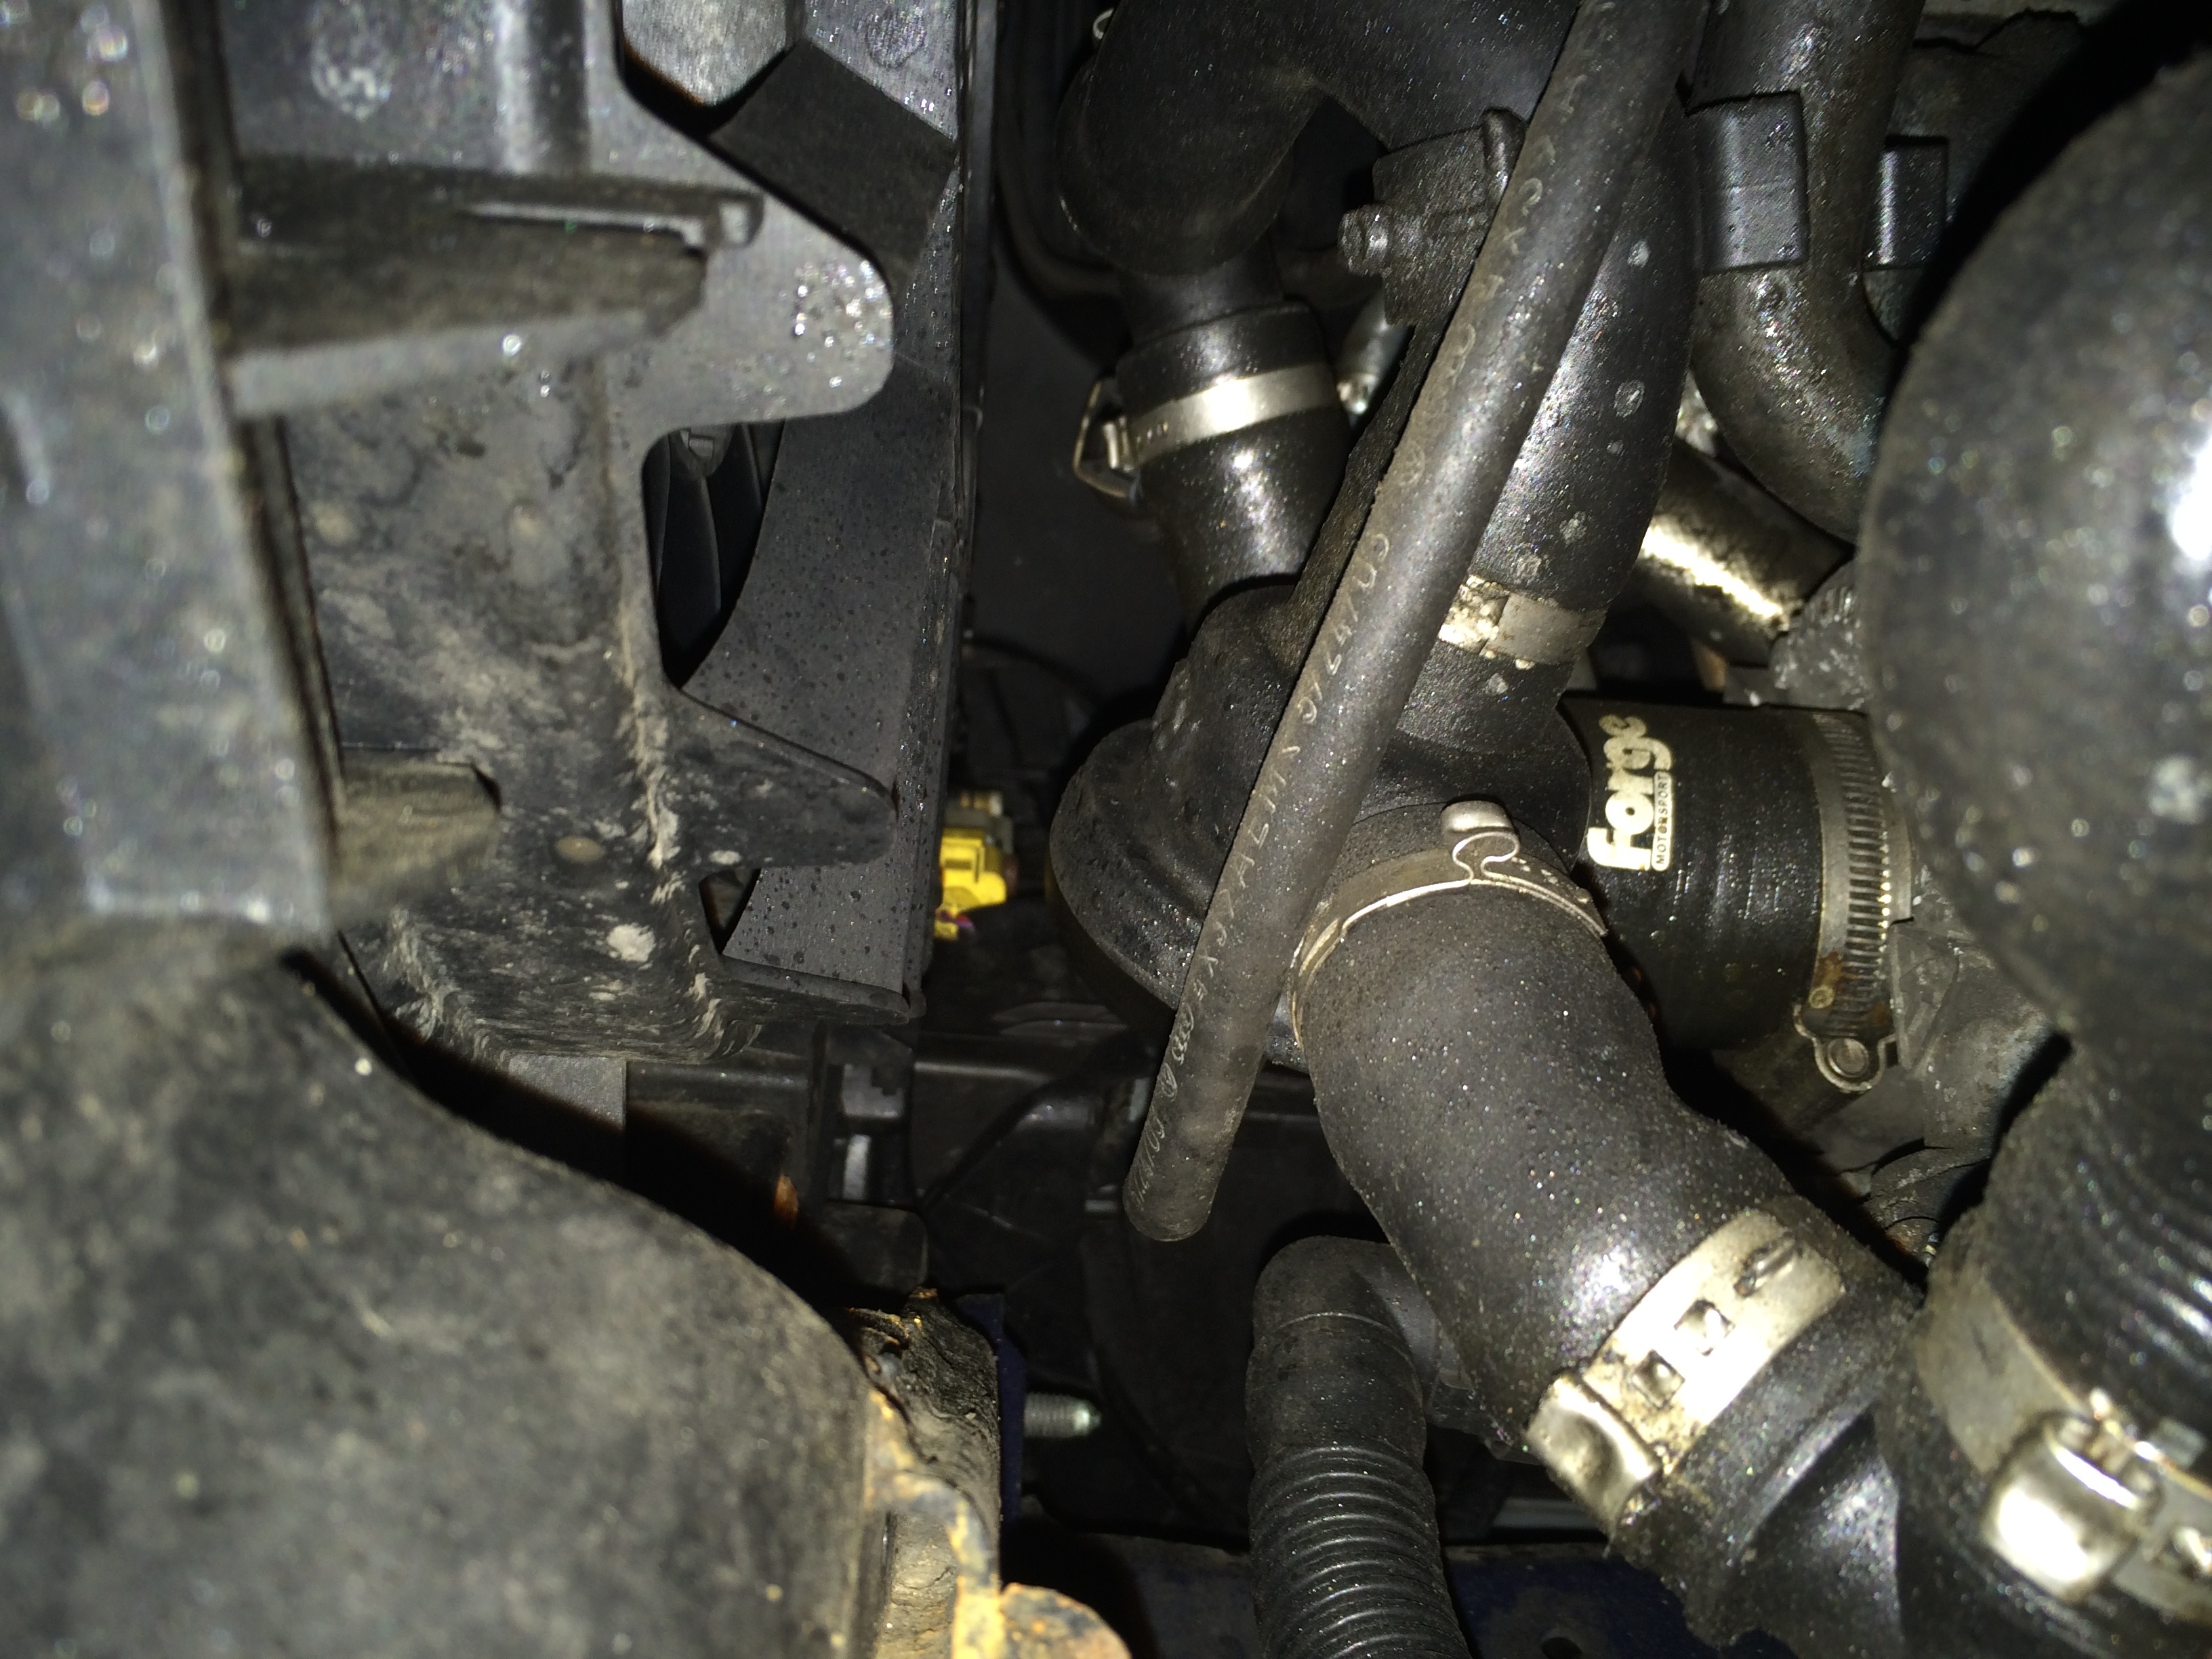
You can see the diverter valve, it has two rubber hoses going to it and a vacuum line connection going to the back.
Use a screwdriver or angled pick and stick it under the clamp. Working it back and forth will loosen the clamp and disengage the tab.
One down. One to go.
Once you remove the two clamps, try to slip the hoses off. You may need to twist them a little bit to free them. If that doesn't work, take the angled pick and work it under the hose.
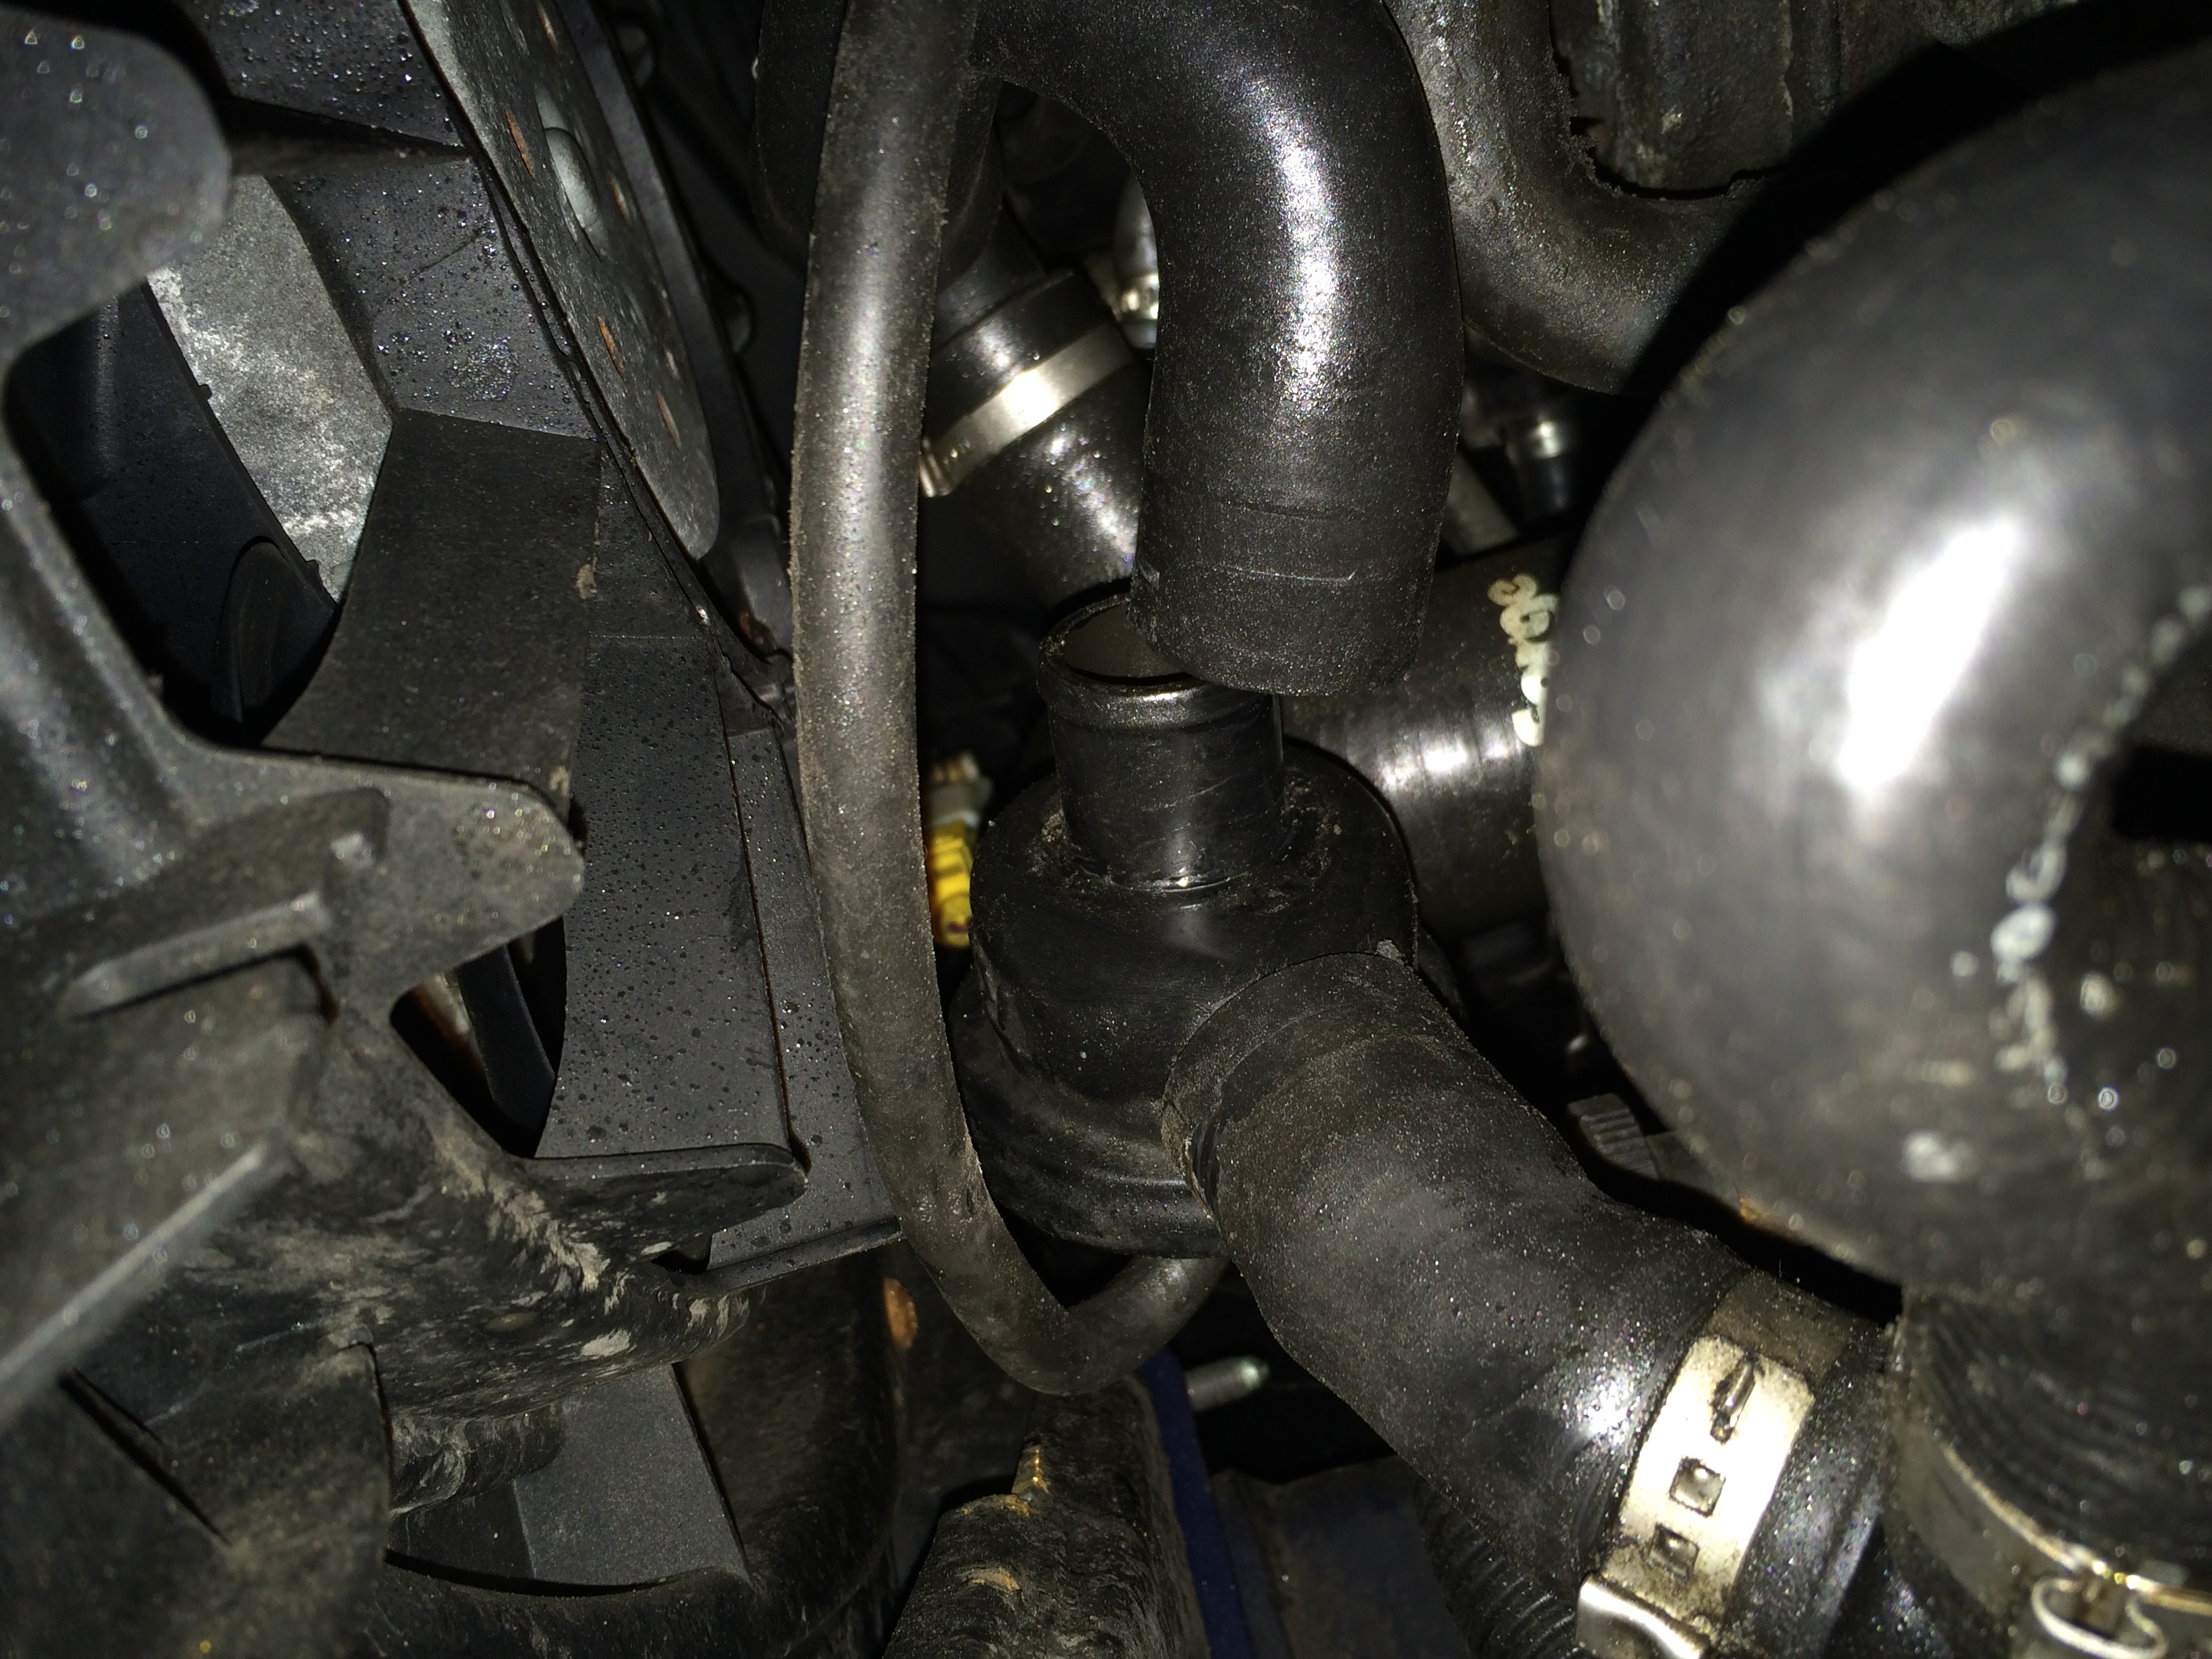
Once you get the diverter valve out, you can undo the vacuum line connection.
In order to verify my suspicions, I took my brake bleeder vacuum pump and hooked it up to the APR DV on my workbench. Once I started to pull a vacuum on the valve, I could see the gauge quickly falling, indicating that the diaphragm is torn and not holding a proper vacuum.
I did the same with the aftermarket diverter valve before I installed to verify that it was functioning properly, but didn't get any pictures. However, once a vacuum was applied, the piston rose and stayed until I released the vacuum.
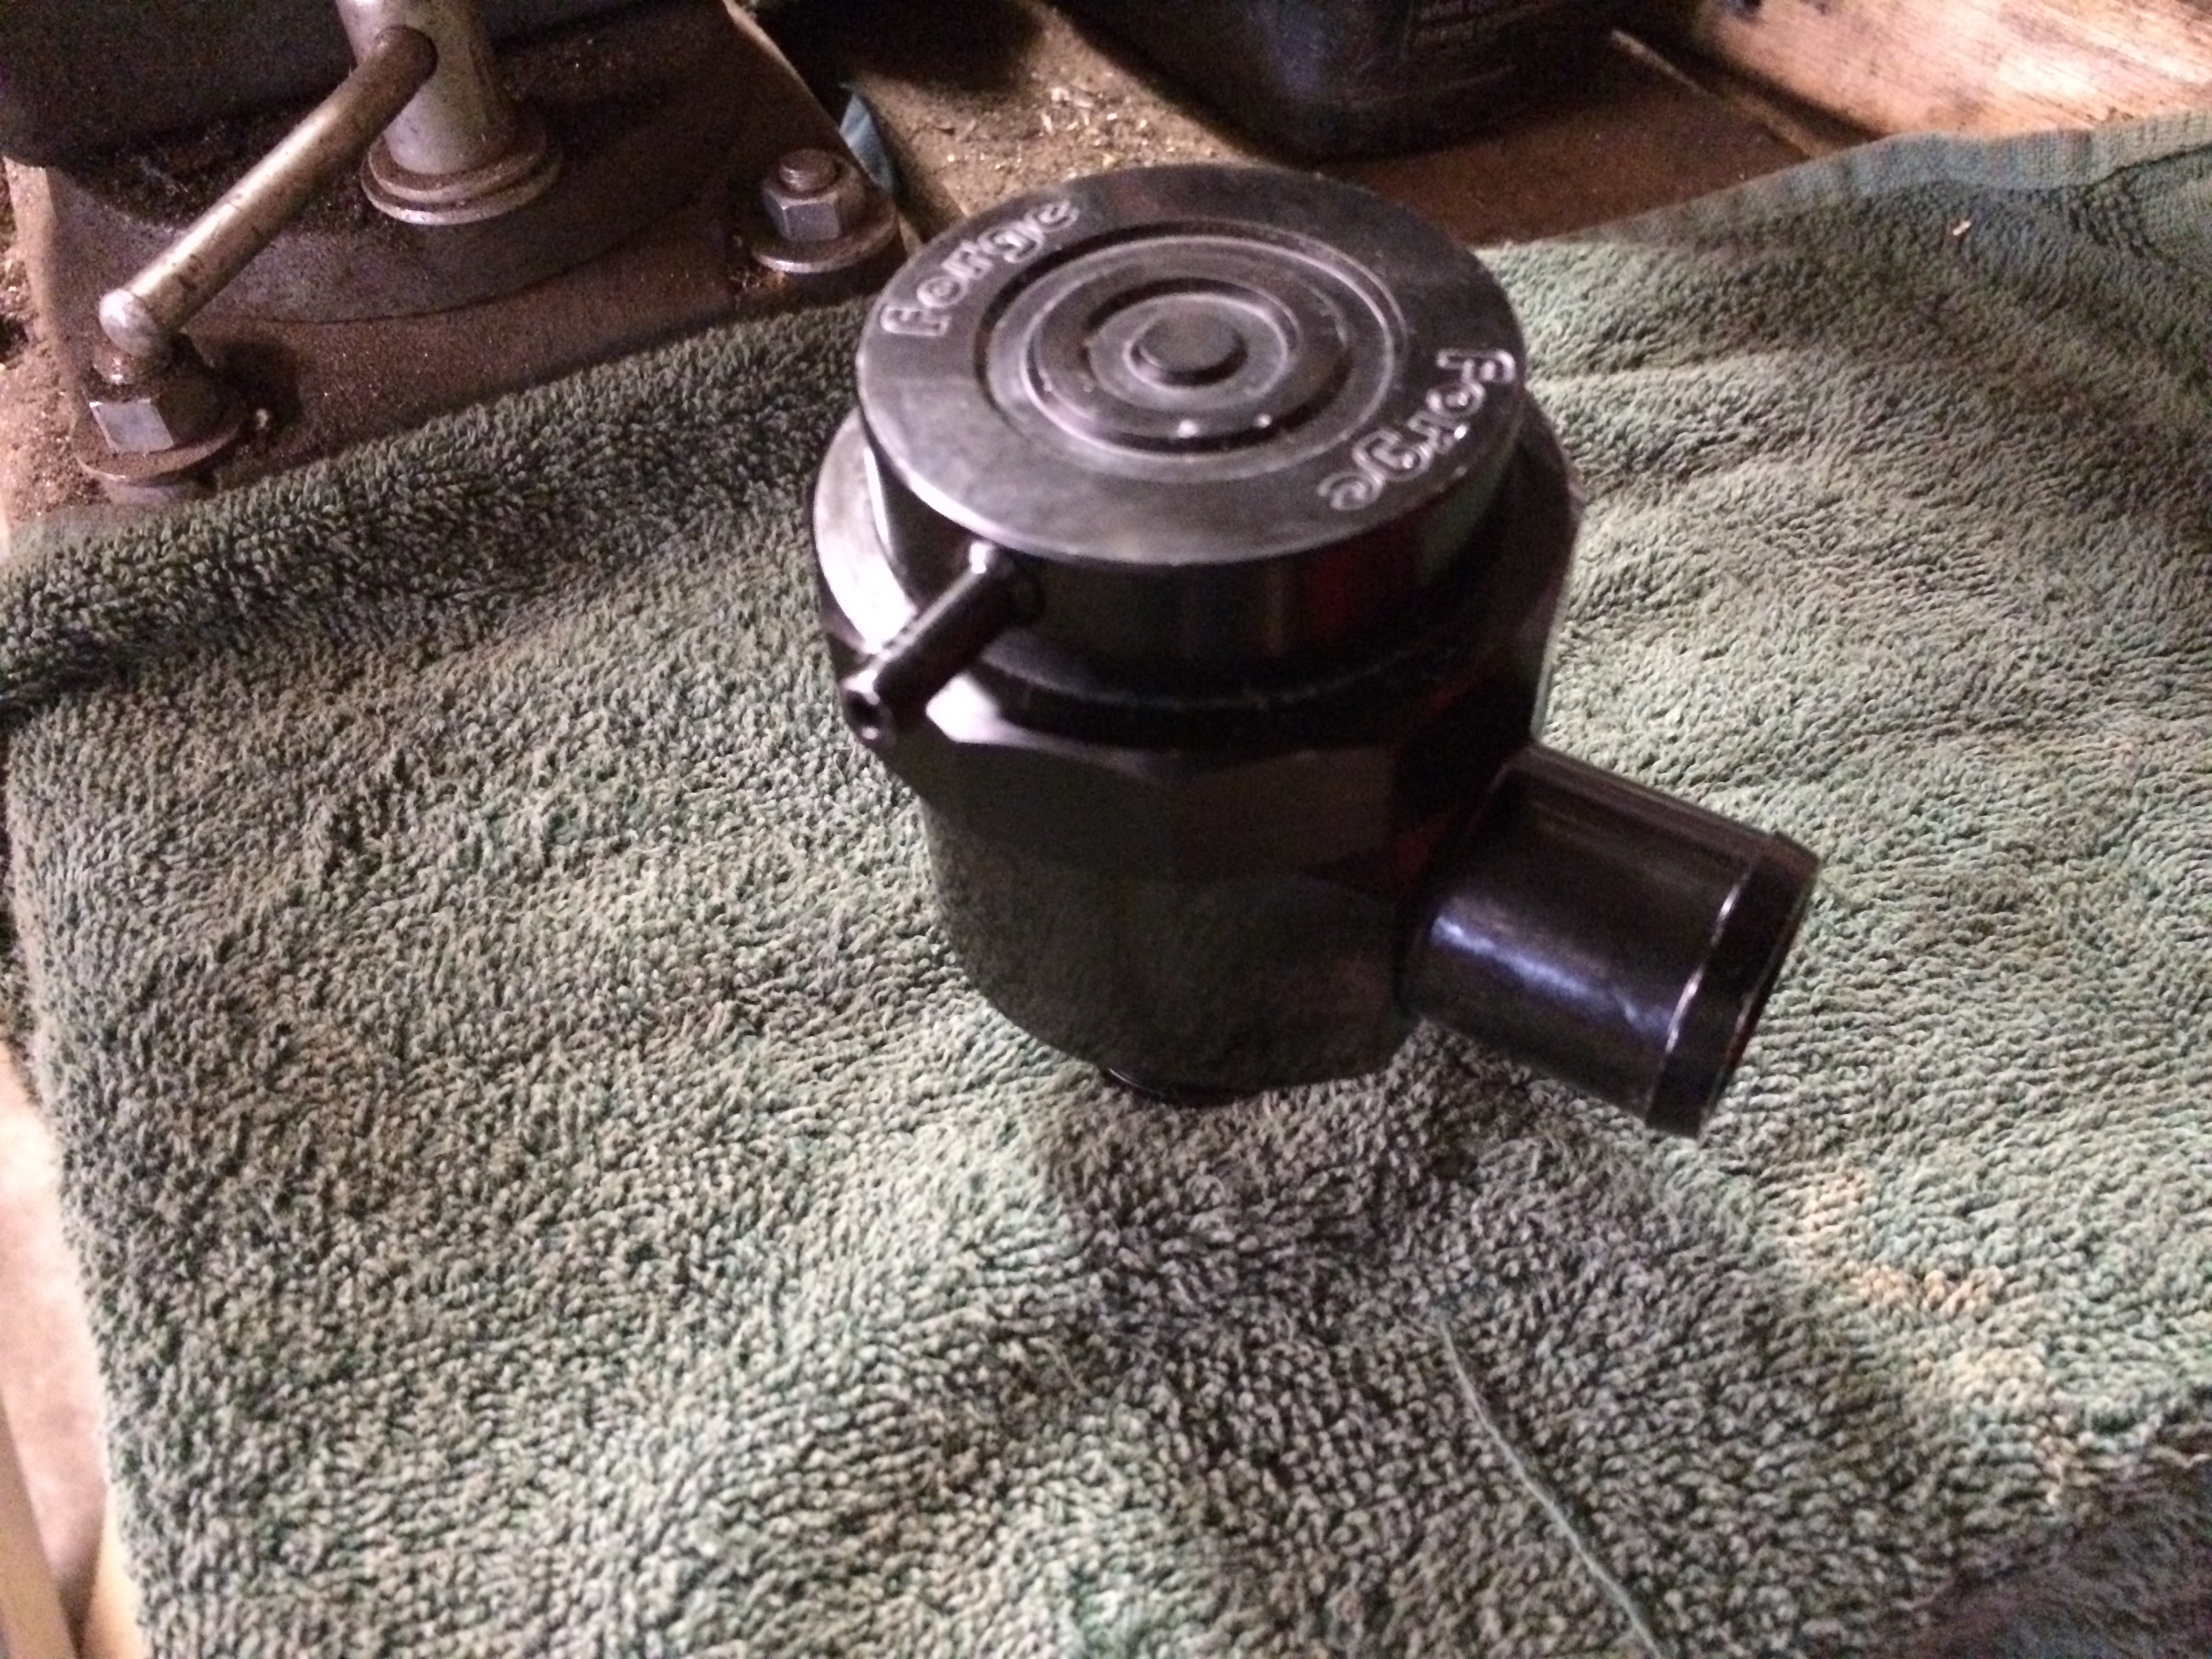
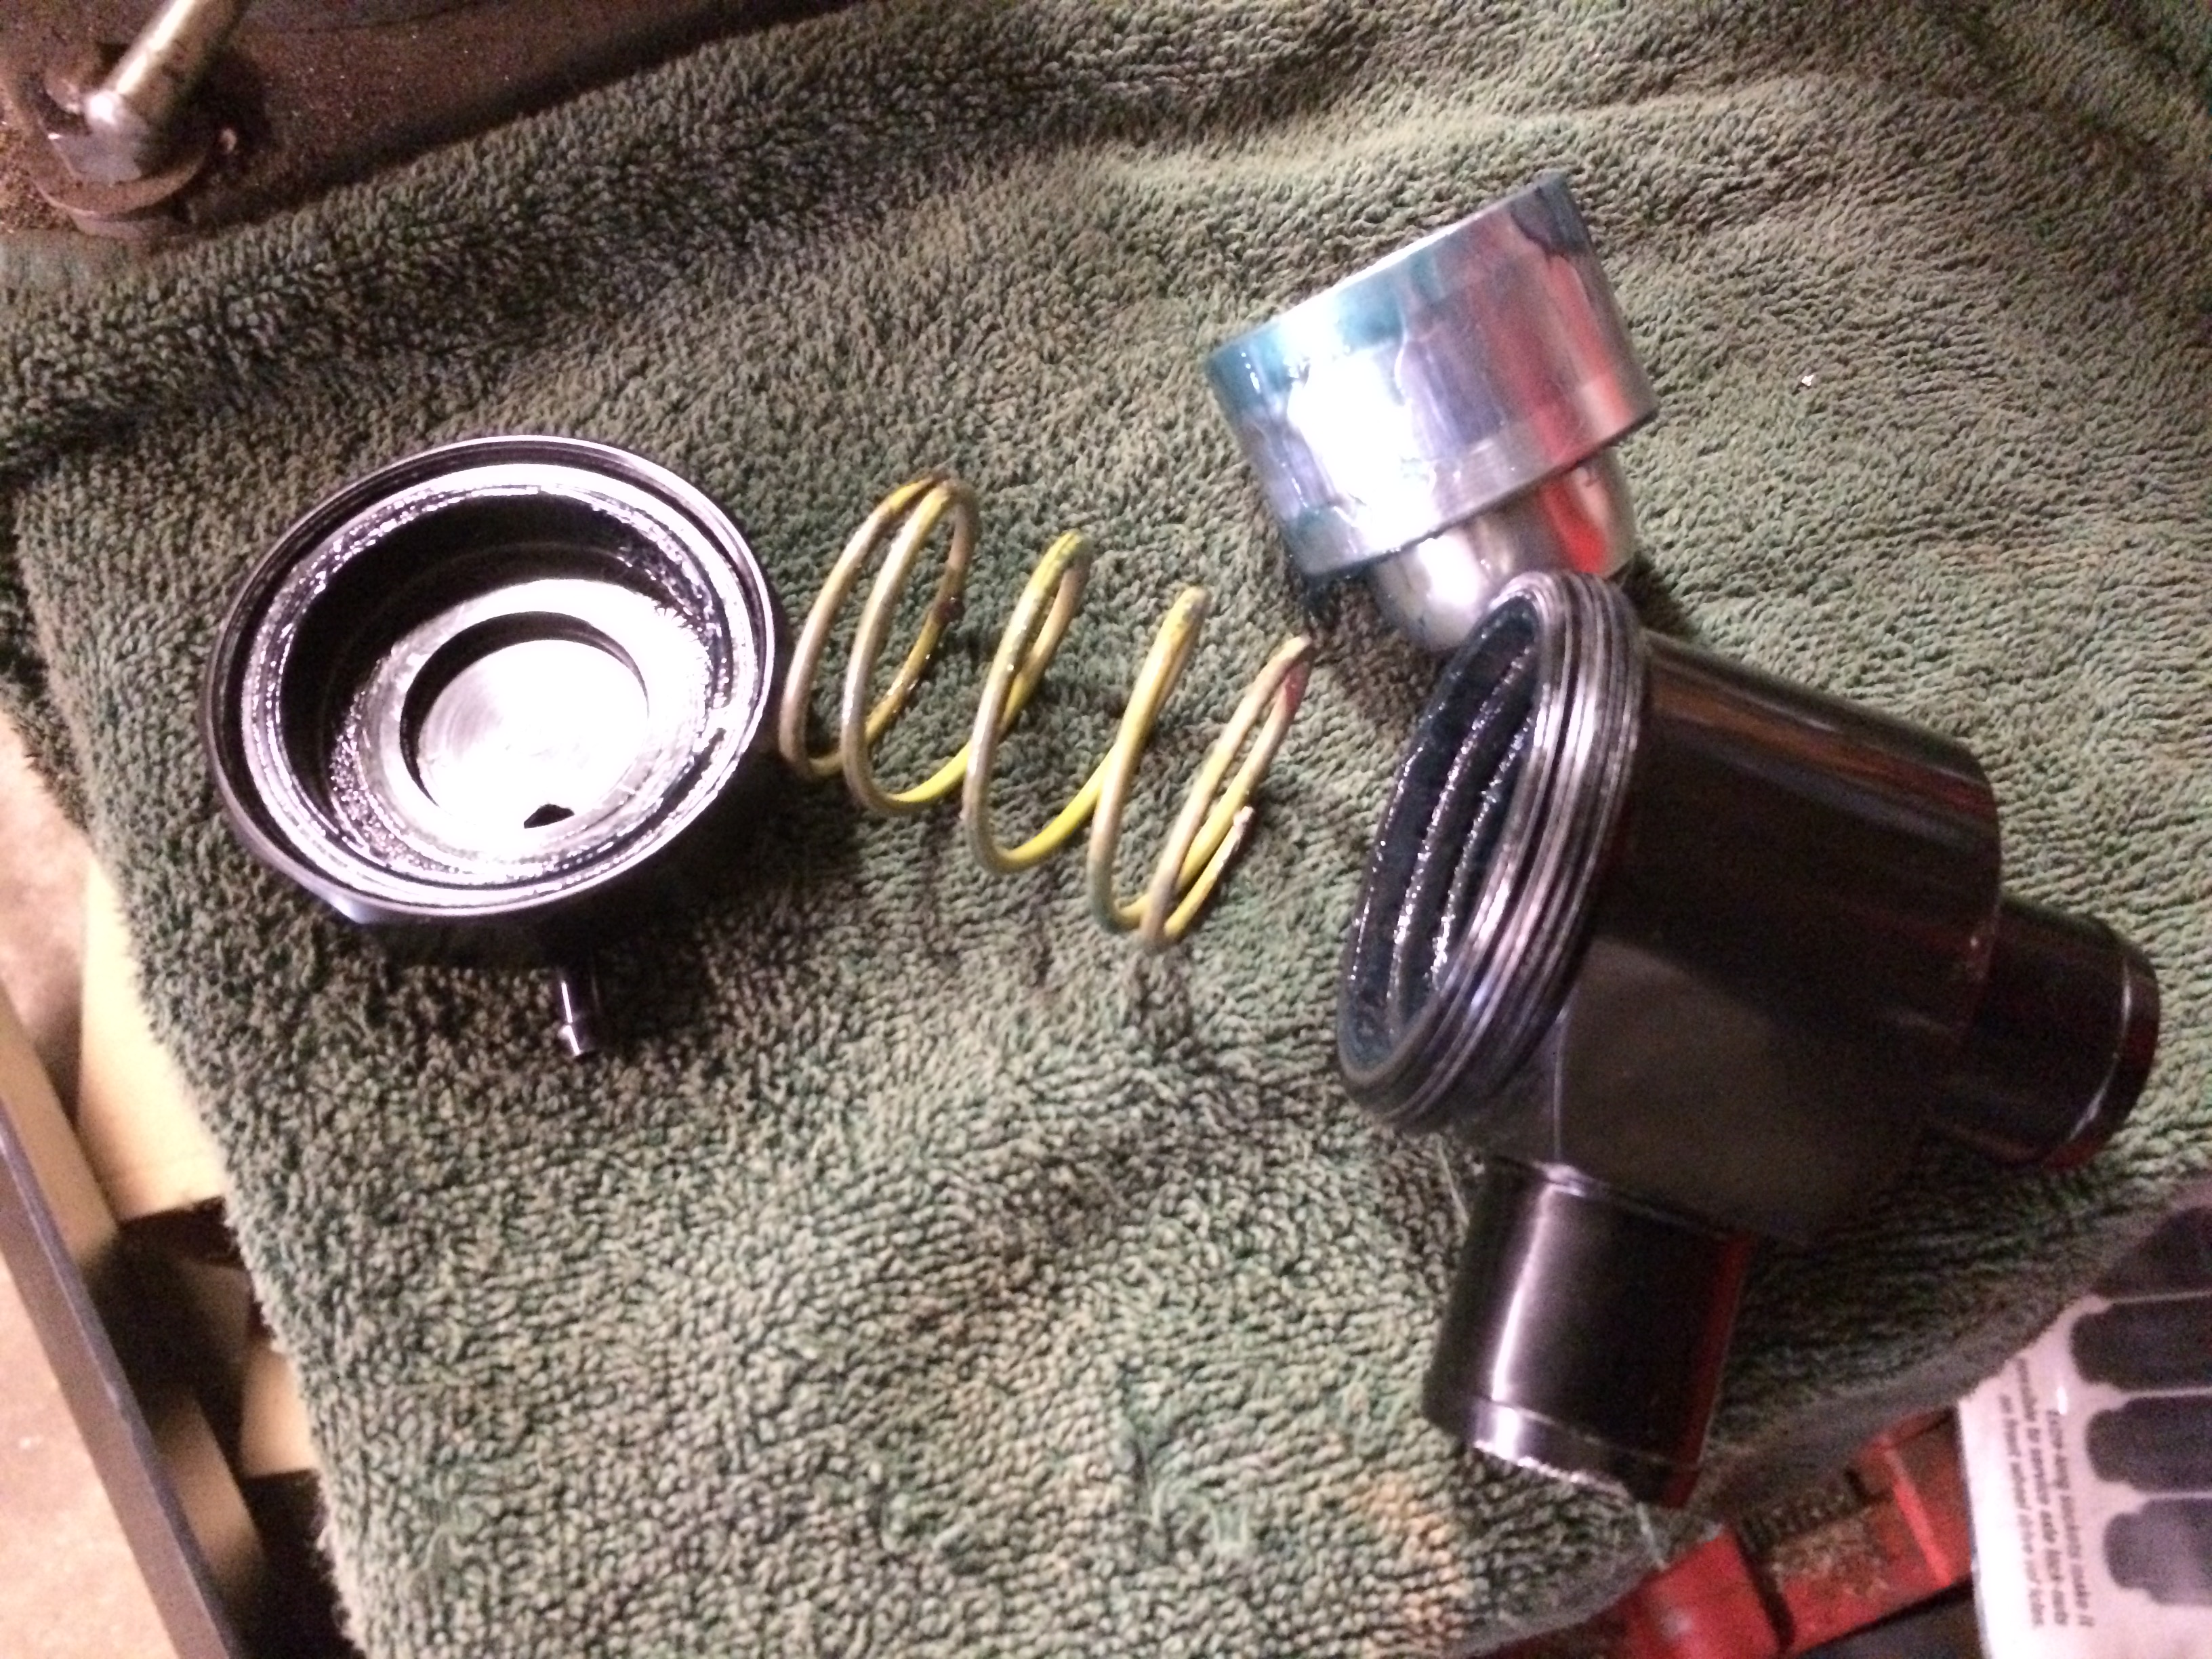
Here's the aftermarket diverter valve. The cap can be easily twisted off and disassembled. From here, you can see the main components, the vacuum port/cap, spring, piston and valve body. The spring is matched to your boost pressure. I have an APR Stage 1 tune which peaks at around 15-18 psi, so I use the yellow spring. The aftermarket diverter valve will come with different color springs which are rated for certain boost pressures to fine tune the valve.
Once it is disassembled, wipe the grease from the components and re-grease it. Apply grease to the inside of the valve body and the outside of the piston. I use a high temp lithium grease. Most manufacturers use a Mobil 1 grease in their rebuild kits, but any high temp lithium grease would be fine. You should do this as part of your regular maintenance, about every other oil change would be sufficient.
Installation
Installation is the reverse of removal!
Step 1: Connect the vacuum line to the port and use a large zip-tie as a clamp to secure it. With this particular model, the vacuum nipple can be spun around to whatever position you need based on what space you have available.
Step 2: Slip the hoses on and tighten the hose clamps. Make sure that you have the diverter valve in the same position as you took it out. So, the screw cap is facing away from you in this picture and the end that the piston sits in facing up.
All done! Go and enjoy your car that is now boosting properly. :)
After installing the aftermarket diverter valve, I noticed a major improvement in how the car holds boost and I no longer have the weird "mooing" sound that the APR made.
Shop Audi VW Diverter Bypass Valve Upgrade