I thought about what to write next, and as I recently replaced all my spark plug wires, I figured that it was too simple of a job to write about. It’s akin to writing an entire blog post about how to replace your windshield wipers. Oh, wait…
It got me thinking. Not all of us actually know how easy it is to change the spark plug wires. But after reading this, no one will have an excuse to NOT visit their favourite online parts store and pick up a set of wires to perform a DIY spark plug wire change. This DIY was created based on a Volvo 940, however the procedure includes some universal instructions that most vehicles with spark plug wires can benefit from.
Step 0: Find the parts
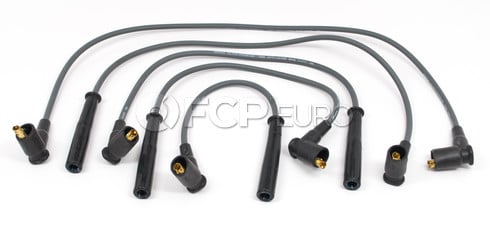
OEM parts are always the best when it comes to fitment and quality. When your budget doesn’t allow for OEM parts, or you know as a fact that an aftermarket part is exactly the same, save for the branding, then it makes total sense to go aftermarket. As opposed to the OEM plugs, I picked up a set of Bosch plugs (P/N: 09204) with FCP’s lifetime warranty.
Step 1: Remove the spark plug wire cover
For my B234F, a large Philips head screwdriver will remove the two screws on top.
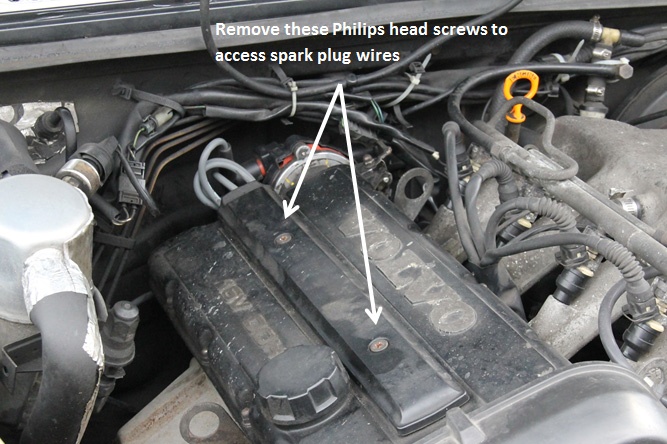 Step 1: Remove the screws
Step 2: Label your wires
Don’t forget this step. Although the lengths of the wires make it simple enough for you to put your wires back into the engine easier, the order in which they plug into the distributor is not always 1-4. In my case, the wires plugged in out of order. Every car will be different, so it is important to label the wires as you pull them out to prevent any potential damage to the engine.
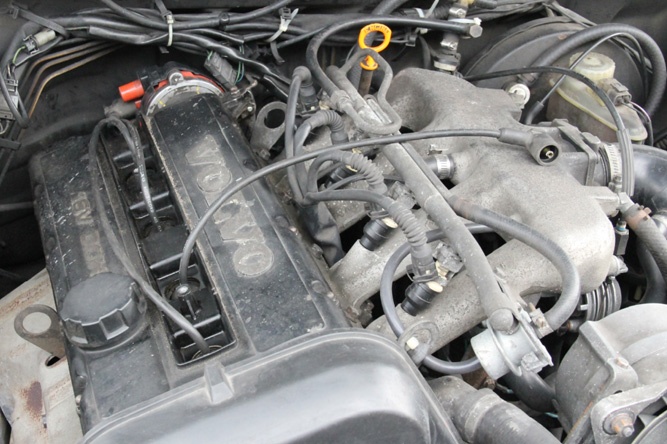 Step 2: Label your wires
Step 3: Disconnect the battery and remove the wires
When doing any electrical work, as a rule of thumb you should always disconnect your battery.
As much as possible, tug on the body of the spark plug wire near the spark plug as opposed to pulling on the wire itself. In some cases, corrosion will have built up at the connection and you may cause some damage pulling it out. When removing the wires from the distributor, again, pull from the connector, not the wire.
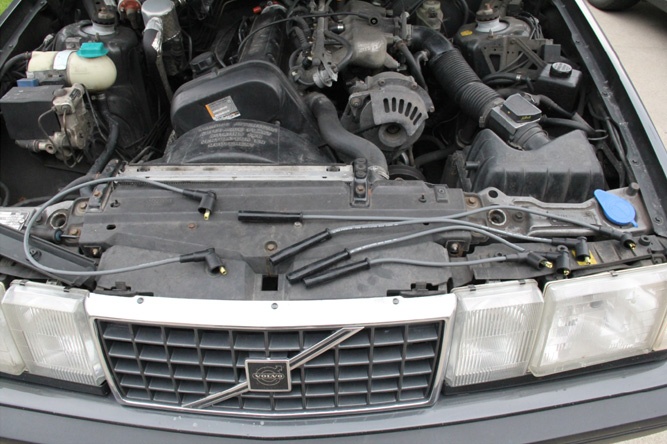 Step 3: Remove your wires
Step 4: Reinstall the wires
Grab all your wires and reinstall them in the opposite order you took them out. Make sure that you put the wires back into their appropriate clips as well. In my case, one clip plays a very important role to the safeguarding of my wires. It keeps my ignition wire from melting on the exhaust manifold. Needless to say, that’s an important clip.
Tuck the wires under the ignition wire cover and screw it back on. The Bosch wires I bought were on the long side, so I had to bunch them up in a bundle at the end. Not ideal, but also doing no harm to the engine.
Start your car, and if everything goes well, you can thank your friendly FCP for showing you how to perform one of the easiest tasks you can do on your own car.
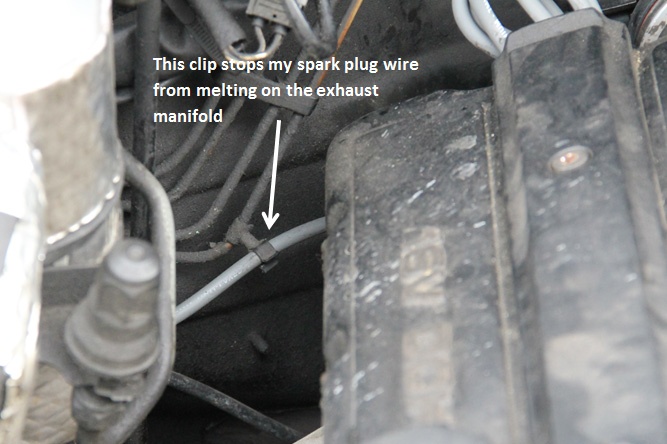 Step 4: Reinstall your wires, making sure to reattach any clips