- 09/13/2018
- 4 Min Read
- By: Jose Martinez
How To Change The Engine Oil On An Air-Cooled Porsche 911

The air-cooled Porsche 911 is also an oil-cooled machine. A large cooling fan blows air over the cylinders and heads to provide some direct air-cooling, but a big portion of the overall cooling comes from the large quantity of oil circulating through the engine’s dry sump system and oil coolers—ranging from 8-14 quarts, depending on the year of the vehicle. All years of air-cooled 911 keep some oil at the bottom of the engine case, but most of it is stored in a separate, remote oil tank. This means that there isn't just one, but two oil drain plugs that need to be removed to allow the oil to drain completely.
Save some money and gain peace of mind by changing the oil yourself using this simple procedure.
Model Years Applicable:
All Porsche 911 models up to 1989.
Tools needed to complete this repair:
- 15mm, 19mm Wrench, or 10mm Hex Wrench (depending on style of oil drain plug)
- Oil Filter Wrench
- Shop Rags or Paper Towels
- 2 Oil Drain Pans or Bucket capable of holding 12 quarts total
- Gloves to protect against hot oil (highly recommended)
Parts needed:
- 12 Quarts of Engine Oil
- 1 Oil Filter
- 2 Oil Drain Plug Gaskets
- 2 Oil Strainer/Drain Plate Gaskets (if the drain plate is removed)
- 8 M6 Nylon Lock Nuts and Sealing Washers (if the drain plate is removed)
Step 1: Drain Oil Tank
Start the engine and get it up to operating temperature. There are several meters of oil piping that need to be drained, and warming up the engine oil will make sure all oil debris will get flushed out along with the old oil. We will be draining the oil tank first, which will contain most of the engine oil. Because the oil will be hot and drain very rapidly, make sure you have a drain container that will hold at least 9 quarts. This way you avoid a hot oily mess that could possibly burn your skin. It is highly recommended that you wear gloves during this process as well.
Every Porsche 911, 1989 and below (with the exception of 1972) has the oil tank located to the right of the engine behind the rear right wheel. 1972 911s have their oil tank to the right of the engine but just ahead of the rear right wheel. The drain plug will be at the very bottom of the oil tank, regardless of year.

After placing the oil drain container under the drain plug, slowly remove the plug and let the tank oil drain out completely.
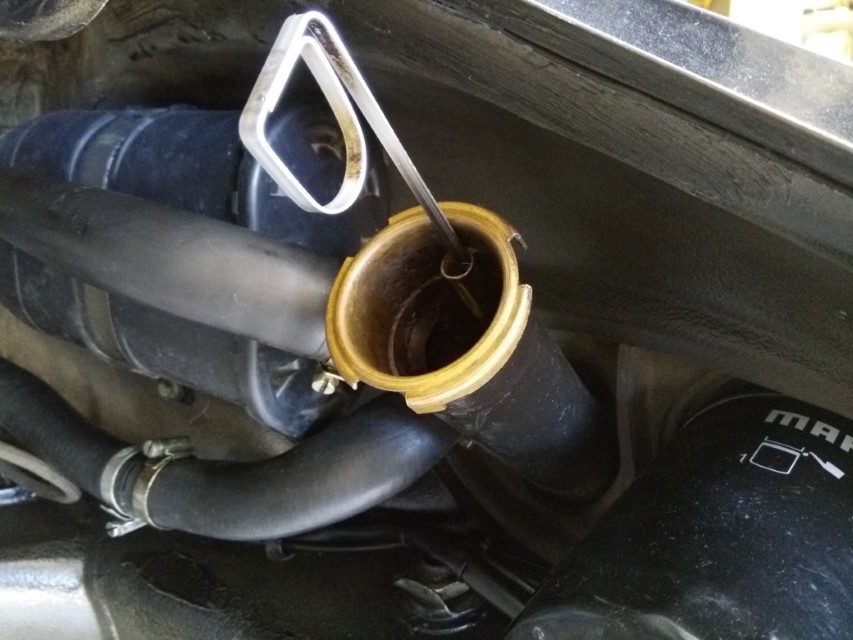
Step 2: Remove Oil Filter
With the oil drain container still under the oil tank, remove the oil filter located at the top of the oil tank. On 1972 models it is located in the engine compartment to the right of the engine, more or less in the same spot as other years.
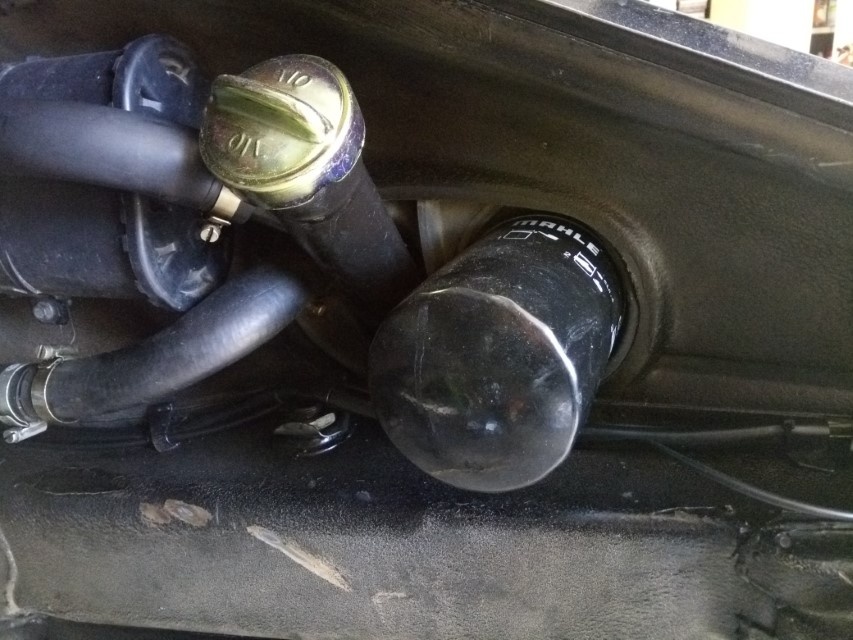
It should come off by hand but if it is too tight, use an oil filter wrench. Some oil may spill out so keep a rag or paper towels handy. Some of the filter oil may continue to drain out the bottom of the oil tank.
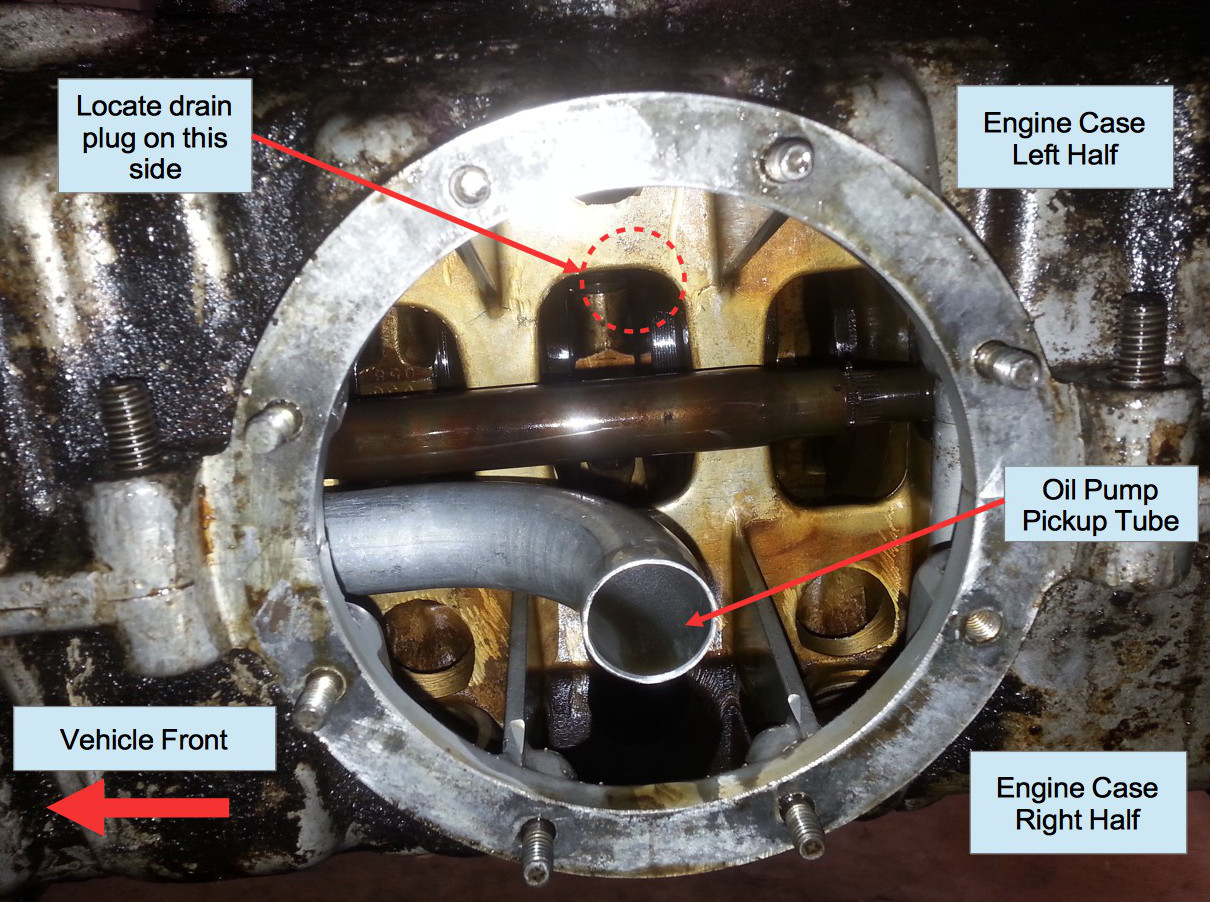
Step 3: Drain Engine Case
Place a second oil drain container under the drain plate at the bottom of the engine case. All 911s up to late 1983 had the engine case drain plug in the drain plate. After late 1983 the drain plug is located on the left side of the engine case, right next to the drain plate instead. Remove the drain plug and let the engine case drain out completely.
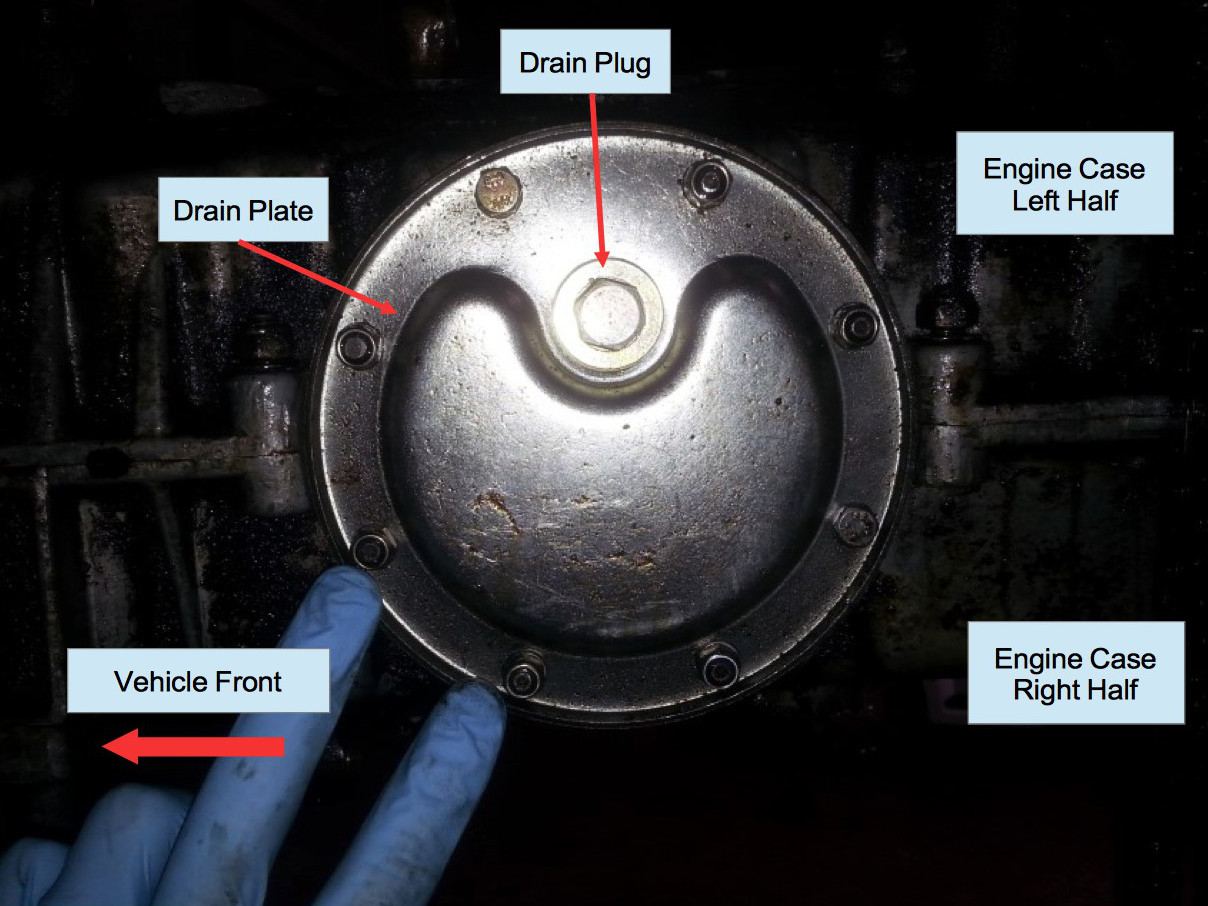
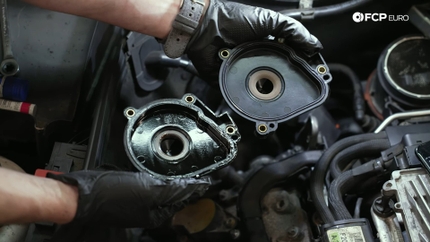
You will notice that much less oil will drain out of the engine than the oil tank, but it still drains very quickly. Underneath the drain plate is an oil strainer screen that should be inspected and cleaned of debris occasionally although not necessarily with every oil change. If you do remove the drain plate, replace the two plate and strainer gaskets and make sure the oil drain plug is not installed directly over the oil pump pickup tube to avoid oil starvation issues. Replace the 8 M6 plate nuts and sealing washers with new ones to prevent leaks. Torque new plate nuts very gently to no more than 11 N-m (8.1 ft-lbs).
Step 4: Replace Oil Filter and Plug Gaskets
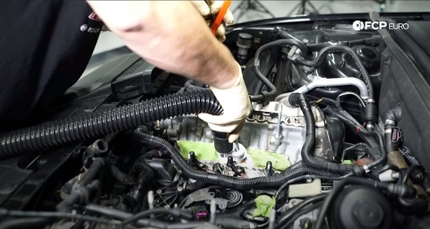
Once all the oil is drained, take a new oil filter and smear some engine oil on the filter gasket to lube it. Spin on the filter and hand-tighten it. Inspect each oil drain plug for any metal debris and wipe clean. The factory engine oil drain plug is magnetic and the factory oil tank one is not, but it can be upgraded to the magnetic version to catch more metal debris. Replace each respective oil drain plug back into the engine case and oil tank with new oil plug gaskets to prevent oil leaks. Torque both plugs to 42 newton-meters (31 lbs-ft). Recycle or dispose of used oil and filters in accordance with your local regulations.
Step 5: Refill Oil with Minimum Quantity to Start Engine
All years of 911 have the oil filler cap at the top of the oil tank located inside the engine compartment underneath the right rear fender, except 1972, which has an external oil filler door located outside the right rear fender.
Remove the oil filler cap and you will find the oil dipstick. Pull out the dipstick so you don't get oil all over it while you are filling with new oil.
On 1972 and earlier 911s slowly add 8 quarts of new engine oil. On 1973 and later 911s add 9 quarts. Keep a rag or paper towels on hand to catch any spills around the filler. When you are finished, wipe the dipstick clean, put it back in the oil filler, and replace the oil filler cap.
Step 6: Run Engine and Top-Off Oil
Start the engine and bring it up to normal operating temperature. If you take it for a short relaxed drive to warm it up, park it on a flat level surface and leave it running. After idling for a few minutes, remove the oil cap and check the oil level on the dipstick with the engine still running. If the oil level seems low, slowly add oil to the running engine and check the dipstick again. A rule of thumb is that two quarts of oil will change the oil level from the low mark on the dipstick to the high mark, so fill it very slowly to avoid overfilling. If you overfill the oil it can cause all kinds of problems such as oil leaks in the engine compartment, damaged catalytic converters, or heavy deposits inside the engine. A safe target is to maintain hot oil levels in between the two dipstick lines at all times.
Note: The oil level can only be checked accurately using the dipstick, when the engine is at operating temperature, running, and idling. The dash oil gauge is only a reference.
Your engine is now ready to run until the next oil change interval.