- 05/16/2018
- 1 Min Read
- By: Evan Madore
How To Clean Out + Replace The Sunroof Drain Port On A BMW E30

If you're noticing leaks from your sunroof, or water accumulation, or can even just visibly see dirt and grime build up in your E30's sunroof drain, her's a quick step-by-step tutorial on how to replace the infamous "Elephant Trunk."
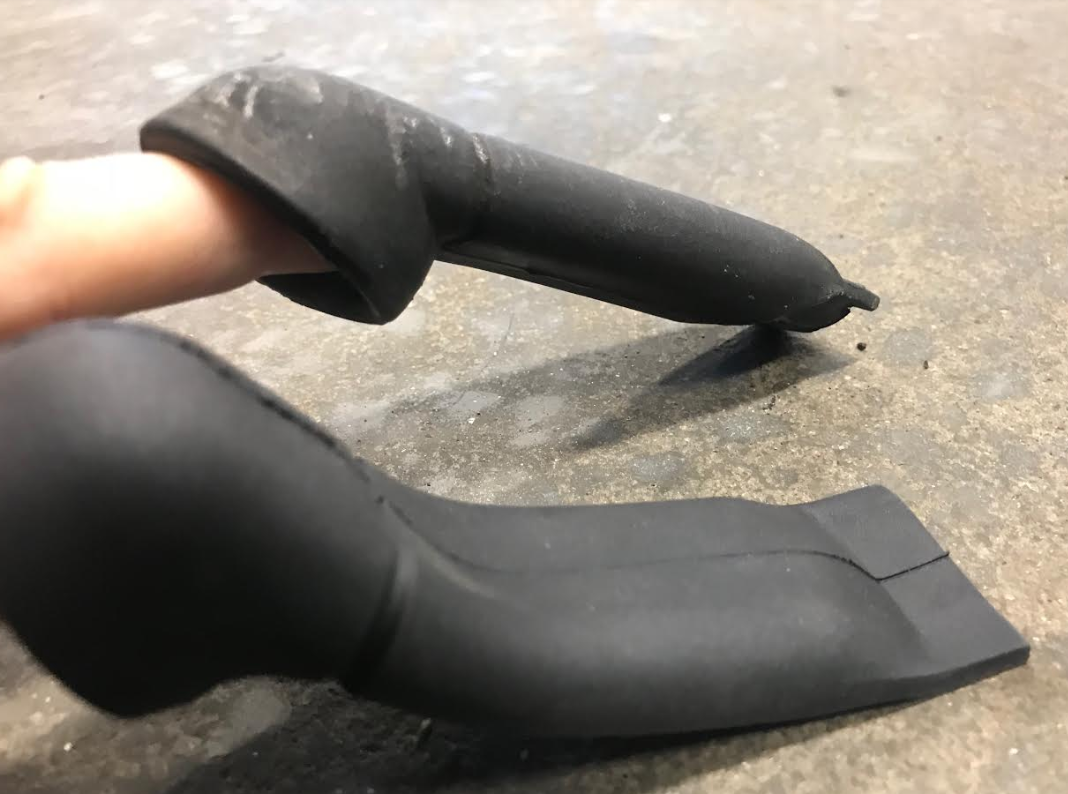
Pictured: On the top is the original, almost completely solidified sunroof drain. Beneath it is the new hotness.
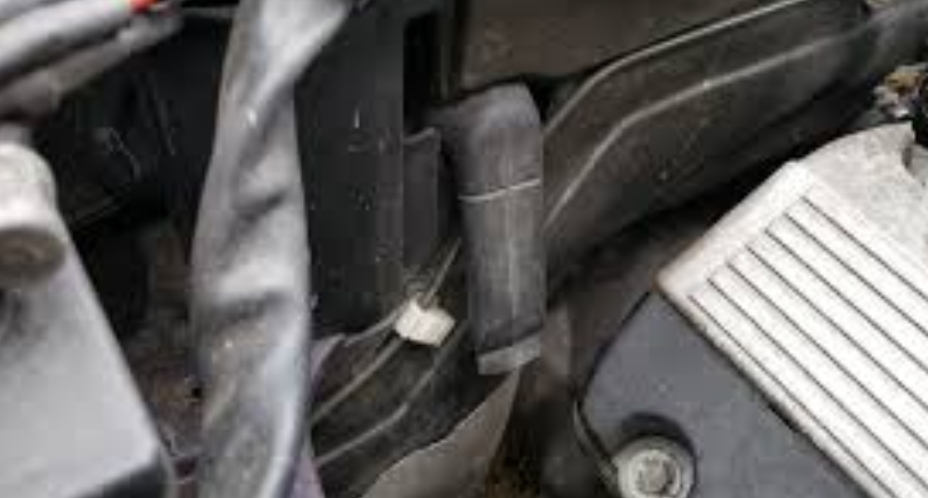
In this simple DIY repair we will be replacing the sunroof drain port found on BMW E30's, commonly referred to as the "elephant trunk". If you own a late 80's early 90's BMW 3-series with a sunroof, you may be familiar with the common problem of water pooling in your passenger side foot well from clogged drains. These cars equipped with sunroofs will have water drain ports that lead down the A-pillar into a tray and drains out of a rubber petcock on the firewall.
This rubber petcock commonly referred to as the elephant trunk narrows at the tip and drains water around the sunroof, under the cowl, and nervously close to your engines ECU. Cleaning out the ports and replacing the drain port is a simple way to keep your interior dry and your ECU safe from water damage. You will need some compressed air to aid in cleaning the drains and a replacement drain hose BMW part number 51731911369.
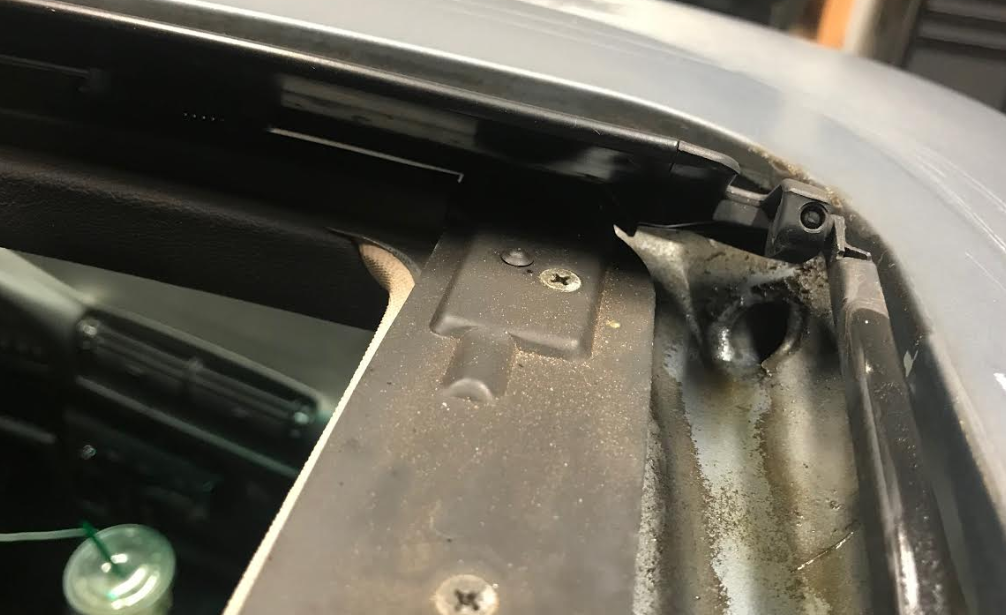
Step 1: Remove Original Drain Port
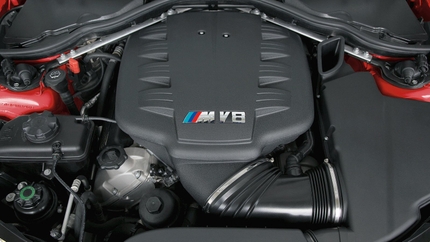
With the sunroof open all the way back and the drain ports exposed, begin by removing the original drain port to expose the slot, clean out what you can and remove any grit you may find. The port will be located on the passenger side and be on rear corner of the engine in the engine bay, like seen below.
Step 2: Clean Out The Drain Hoses And Ports
With the roof now open, you can now begin by cleaning out the drain port locations.
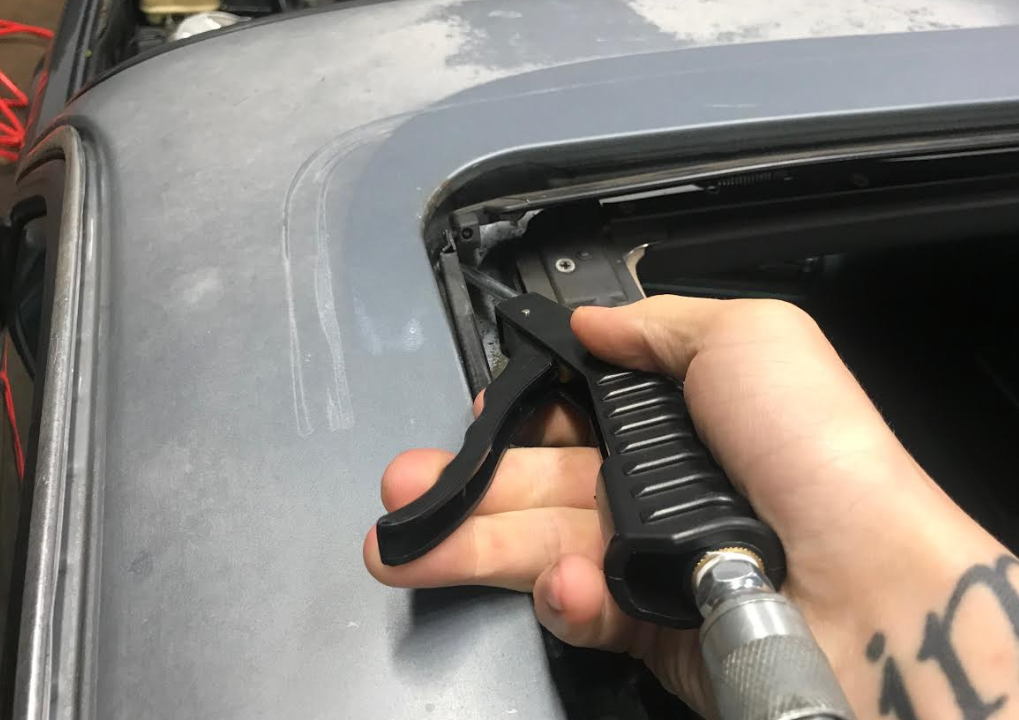
Step 3: Force Out The Grime
Using compressed air and an air nozzle gun like the one below, blow out compressed air into the tubes leading down to the cowl area where the drain is. Clean out both sides of the forward sunroof on both ports. You can even use electrical tape by wrapping it around your compressed air nozzle to form a better seal for maximum pressure.
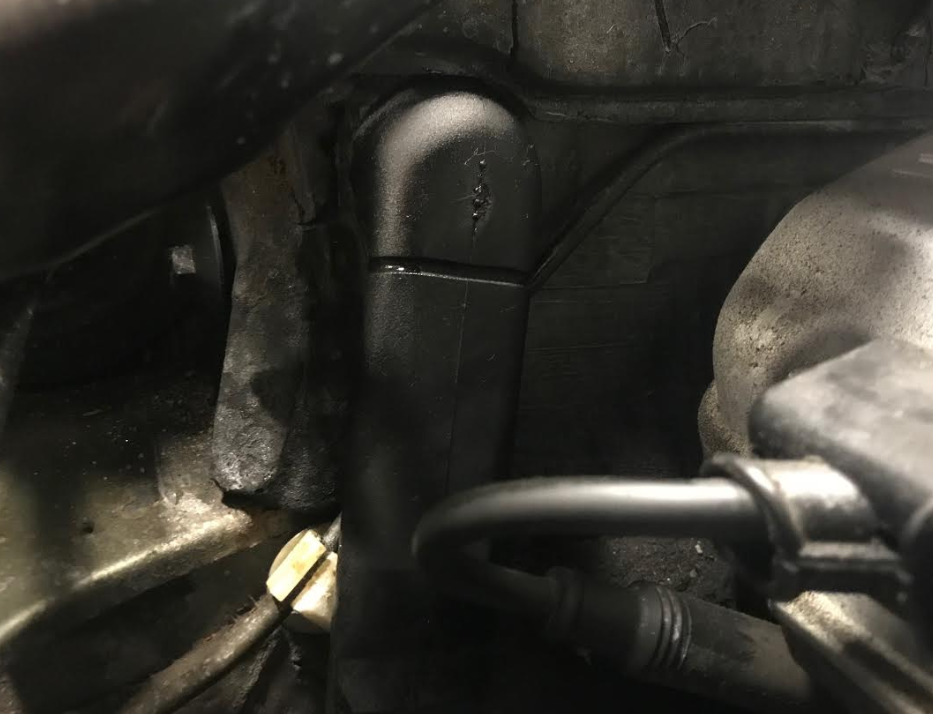
Step 4: Install The Replacement Hose
Install the replacement drain hose onto the port, right where the original sat. Even though the new hose is very flexible compared to the original, it's still a bit stiff when maneuvering over the grooves of the port. Trying several pick and hooks to mount it properly did not seem to work, but adding a bit of oil on the inner lip worked perfectly and the hose slipped right over the groove as it should.
That's it, that's all. If you have any questions, don't hesitate to leave them in the comments below. And be sure to subscribe to our YouTube channel for more DIYs like the one in this post.