- 08/05/2021
- 16 Min Read
- By: Christian Schaefer
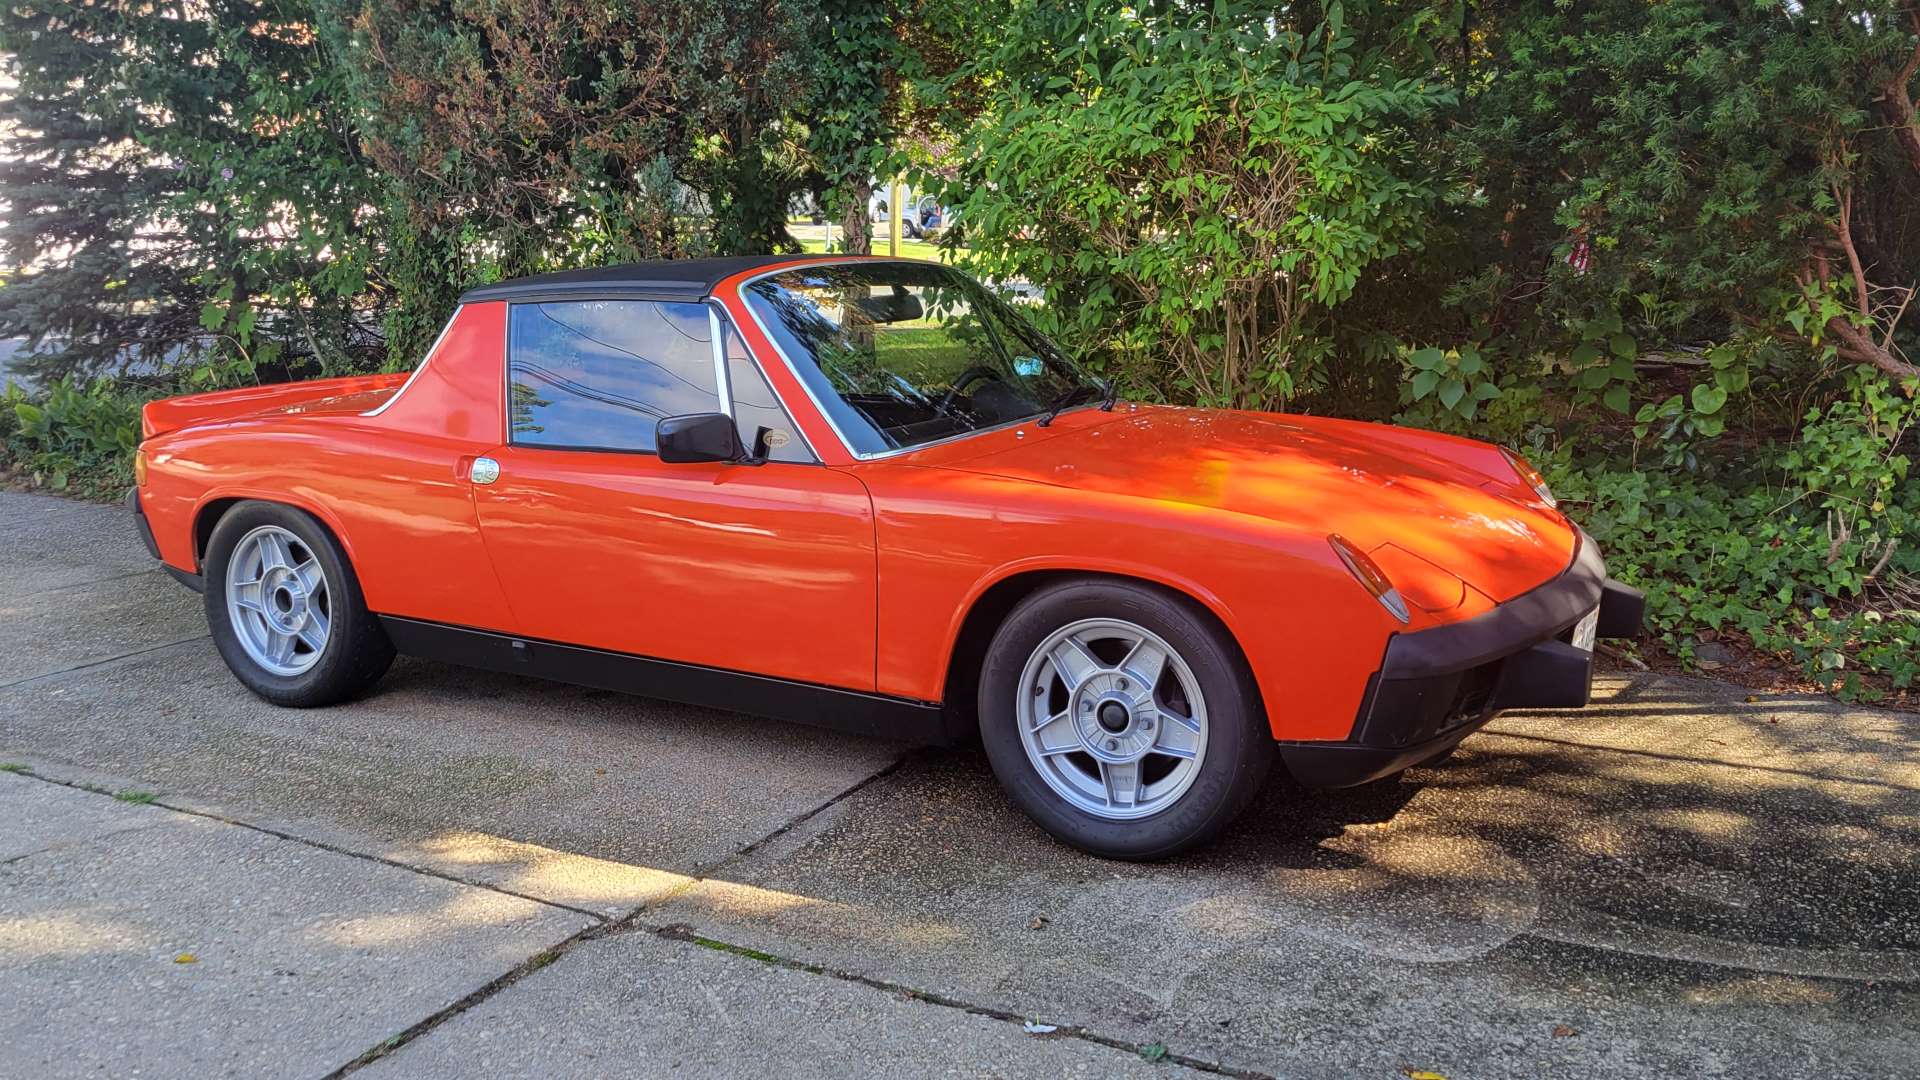
How To Complete A Volkswagen Mk7 GTI Turbocharger Upgrade (IS38 Turbo Upgrade)

The MK7 Volkswagen GTI is arguably the best daily driver for the average enthusiast. It features a great chassis, plenty of power, very good fuel mileage, and plenty of room to haul around your stuff. The optional Performance Pack ups the power and ads a limited-slip differential, among other improvements. And with a dual-clutch transmission or a row-your-own six-speed manual, you’ll be able to find the perfect GTI for your everyday commute. The 217-227 horsepower and 258 lb-ft of torque the GTI offers are plenty enough to get yourself in trouble around town. However, wind it out, and you may find that the stock turbo falls off at the top end, and rightfully so. VW has always designed the car as an everyday machine, so they fit the seventh-generation GTI with a turbo that packs a great mid-range punch for getting through traffic and tight places. So how can you make your GTI even better? Try more power!
The most common upgrade for the MK7 is the IHI IS38 from the Golf R. Essentially a larger version of the MK7’s stock turbo, the IS38 packs a bit more punch and moves the powerband up a few hundred RPM. With street-legal aftermarket exhaust components and a larger front-mount intercooler, GTIs with the IS38 have produced over 350 wheel-horsepower and 380 wheel-torque. If that sounds like something you’re after, keep reading to find out what it’ll cost to make that power and how you can install the parts yourself.
Volkswagen and Audi models and years applicable:
|
|
|
How much will it cost to upgrade the turbocharger on my Mk7 VW GTI?
Relative to other Euro cars, upgrading the turbocharger on your Mk7 GTI isn’t that expensive. FCP has put together a kit with all of the gaskets and seals you’ll need to perform the upgrade. We’ve even included colder plugs and some Liqui Moly turbocharger additive. Expect to spend around $1050 on our kit. However, while you have the new turbo on the bench and lots of access to the exhaust, this is a great time to perform some other upgrades.
You won’t be able to run the stock engine computer tune once you install the IS38, so you’ll need to go to a tuner to have them remap the ECU. That cost is dependent on who you go to, so we can’t comment on that. Call your local European performance shop and find out what that’s going to cost before buying anything.
The IS38 can produce a significant bump in power over the stock numbers, and at a certain limit, you’ll need a stronger clutch. Expect to pay around $900 for an upgraded clutch and pressure plate. Make it around $1600 for a kit that includes a lighter flywheel.
How long will it take to upgrade the turbocharger on my Mk7 VW GTI?
With the right tools and the swap kit at the ready, you and a buddy can upgrade the turbo in a day. However, this is a great opportunity to upgrade other parts, like the downpipe and exhaust. Factor in more time if you’re swapping those parts out too.
Are there any other parts I can install while upgrading the turbocharger on my Mk7 VW GTI?
Why yes, there is! On the turbocharger itself, you can replace the factory diverter valve with an aftermarket blow-off valve, and you can install a turbo muffler delete. The turbo muffler bolts to the front of the turbocharger, and as the name implies, it quiets the turbocharger’s induction noise. Several aftermarket companies like 034 Motorsports and ECS Tuning make a muffler delete. The delete replaces the factory muffler and allows all of the natural turbocharger noises to be heard.
The aftermarket blowoff valve is a debated topic. Replacing the OEM diverter valve with the blow-off valve will give you those classic turbo noises when you lift off the throttle. However, some tuners don’t recommend them. Data logging has shown that BOVs that vent to the atmosphere can cause rich spikes in the air/fuel mixture. Consult your tuner before making any purchases.
With the turbo removed, you will have good access to remove the downpipe. Replacing the downpipe and the rest of the exhaust behind it with freer-flowing units will help you make more power under the curve. The aftermarket pieces will have larger diameter piping and higher-flowing catalytic converters in the downpipes. The increased area inside the pipes allows the engine to push its exhaust out quicker and produce more power.
Parts required to upgrade the Mk7 VW GTI turbocharger:
- Audi/VW IS38 Turbocharger Upgrade Kit
- Turbo Muffler Delete (Optional)
- Upgraded Blow-Off Valve (Optional)
- Aftermarket Turbo Inlet (Optional)
- Aftermarket Downpipe (Optional)
Tools required to upgrade the Mk7 VW GTI turbocharger:
- T25 Torx Bit Socket
- T30 Torx Bit Socket
- 4mm Hex Bit Socket
- 5mm Hex Bit Socket
- 6mm Hex Bit Socket
- 7mm Nut Driver
- 8mm Triple-Square Socket
- 10mm Socket
- 12mm Socket
- 13mm Socket
- 15mm Socket
- 16mm Socket
- Oxygen Sensor Socket
- 12mm Wrench
- 22mm Wrench
- Ratchets
- Extensions
- Torque Wrench
- Pliers
- Hammer
- Pry Bar
- Flathead Screwdriver
- Anti-Seize
- Spark Plug Gapping Tool
- Feeler Gauges
Steps required to upgrade the Mk7 VW GTI turbocharger:
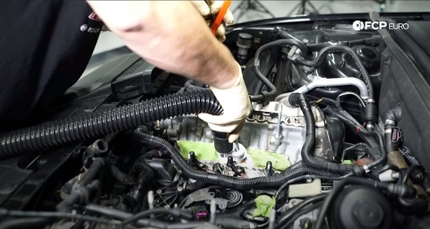
Step 1: Gain access to the turbocharger
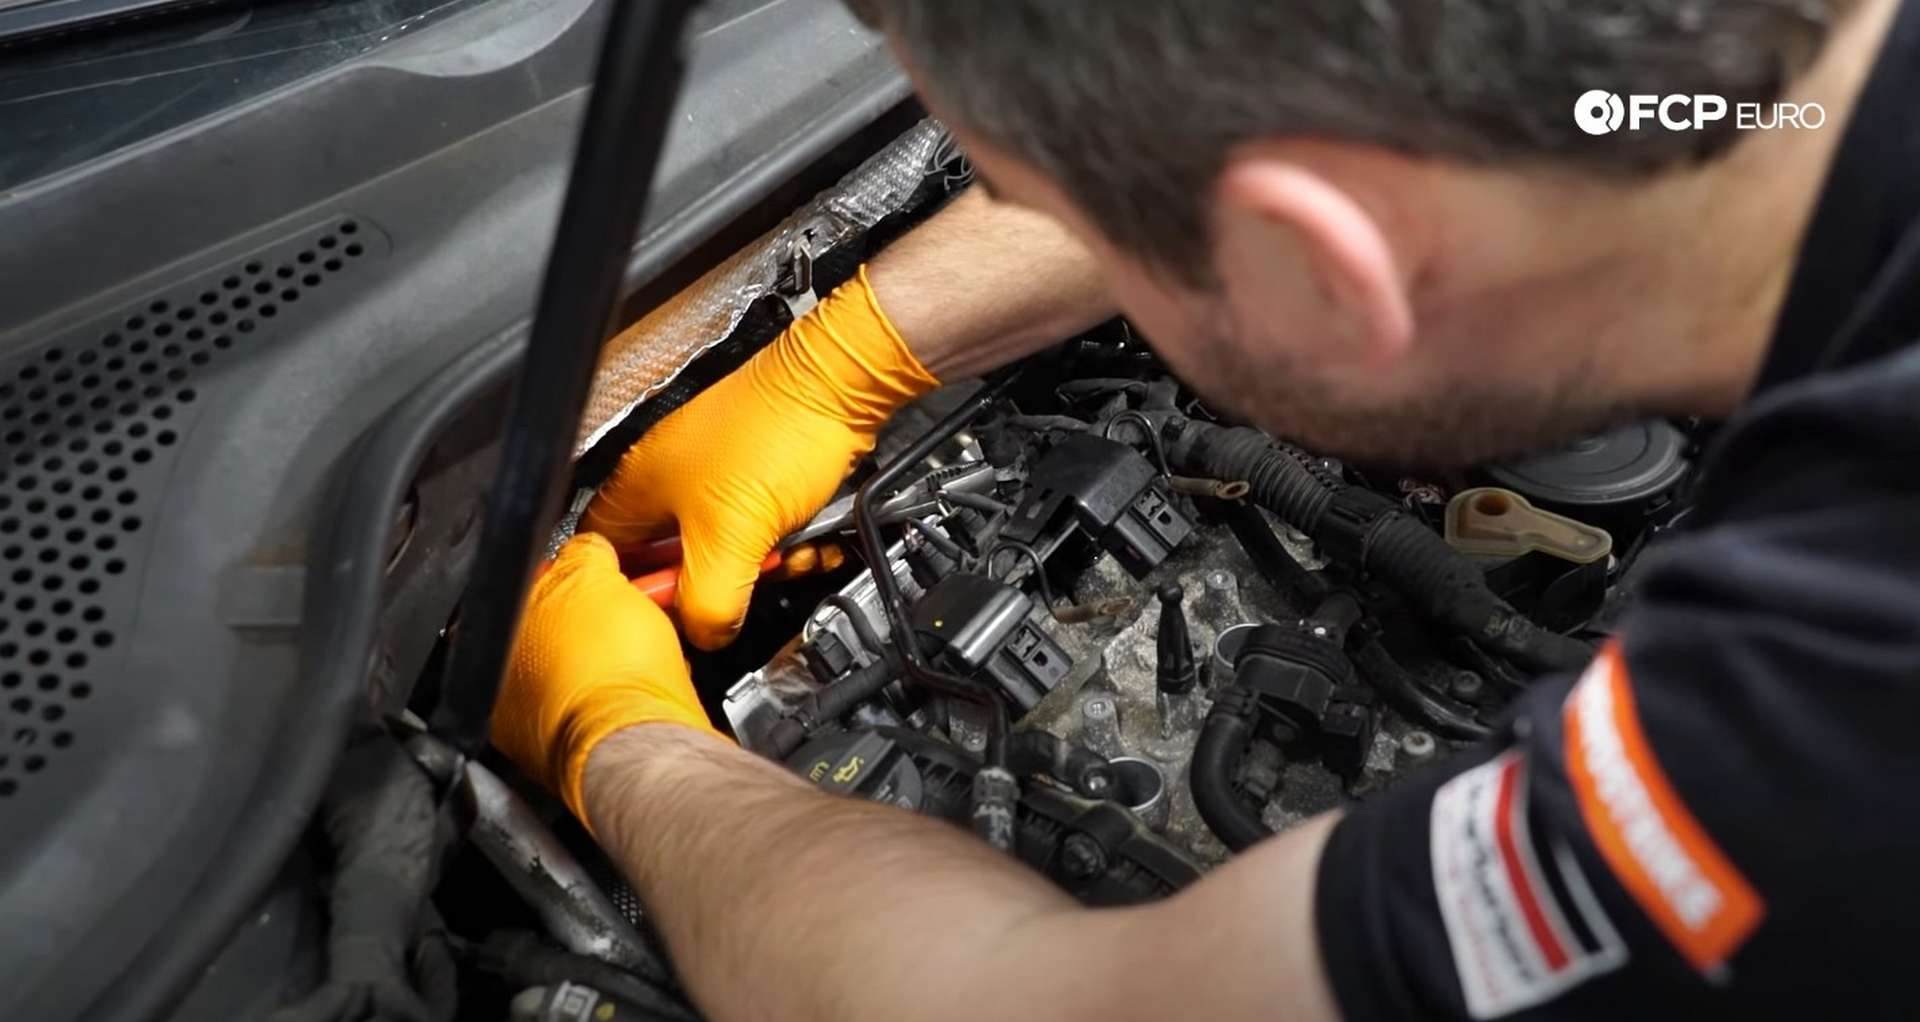
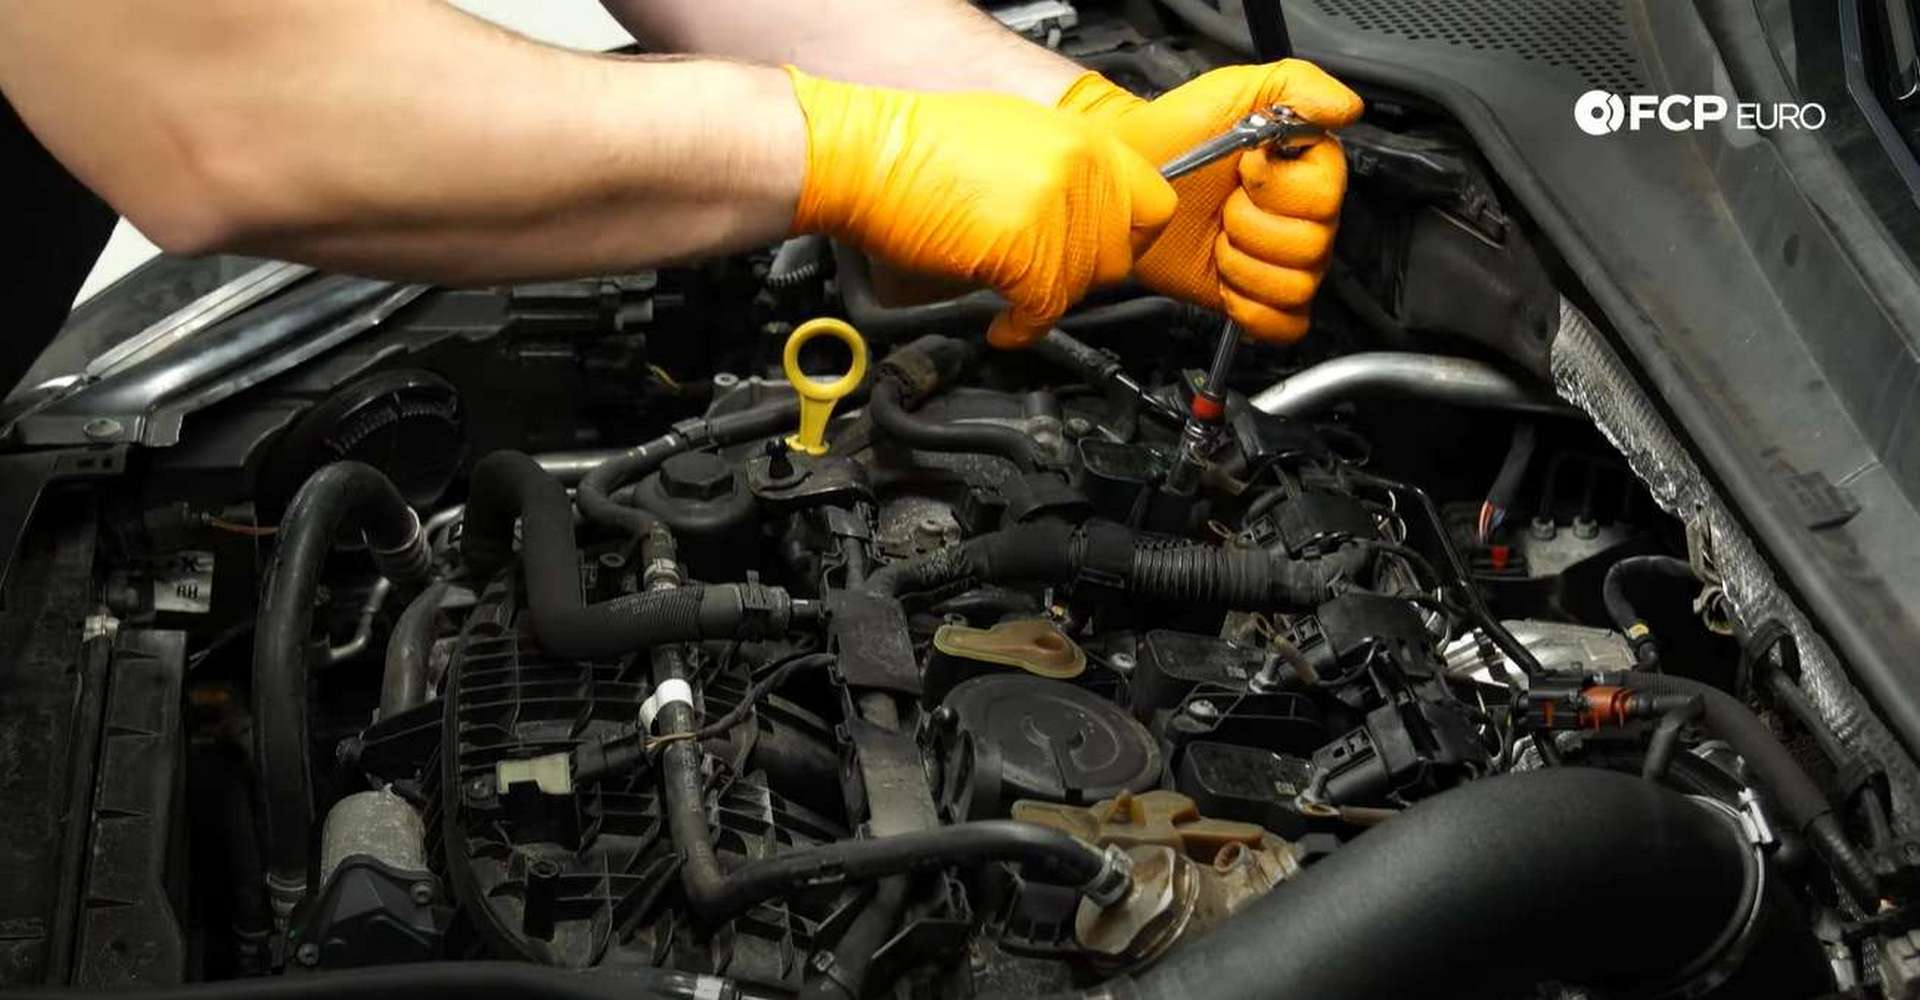
Start by removing the plastic engine cover from the cylinder head. Then, locate the ground wires for the coil packs and remove the nuts that secure them to the studs with a 10mm socket.
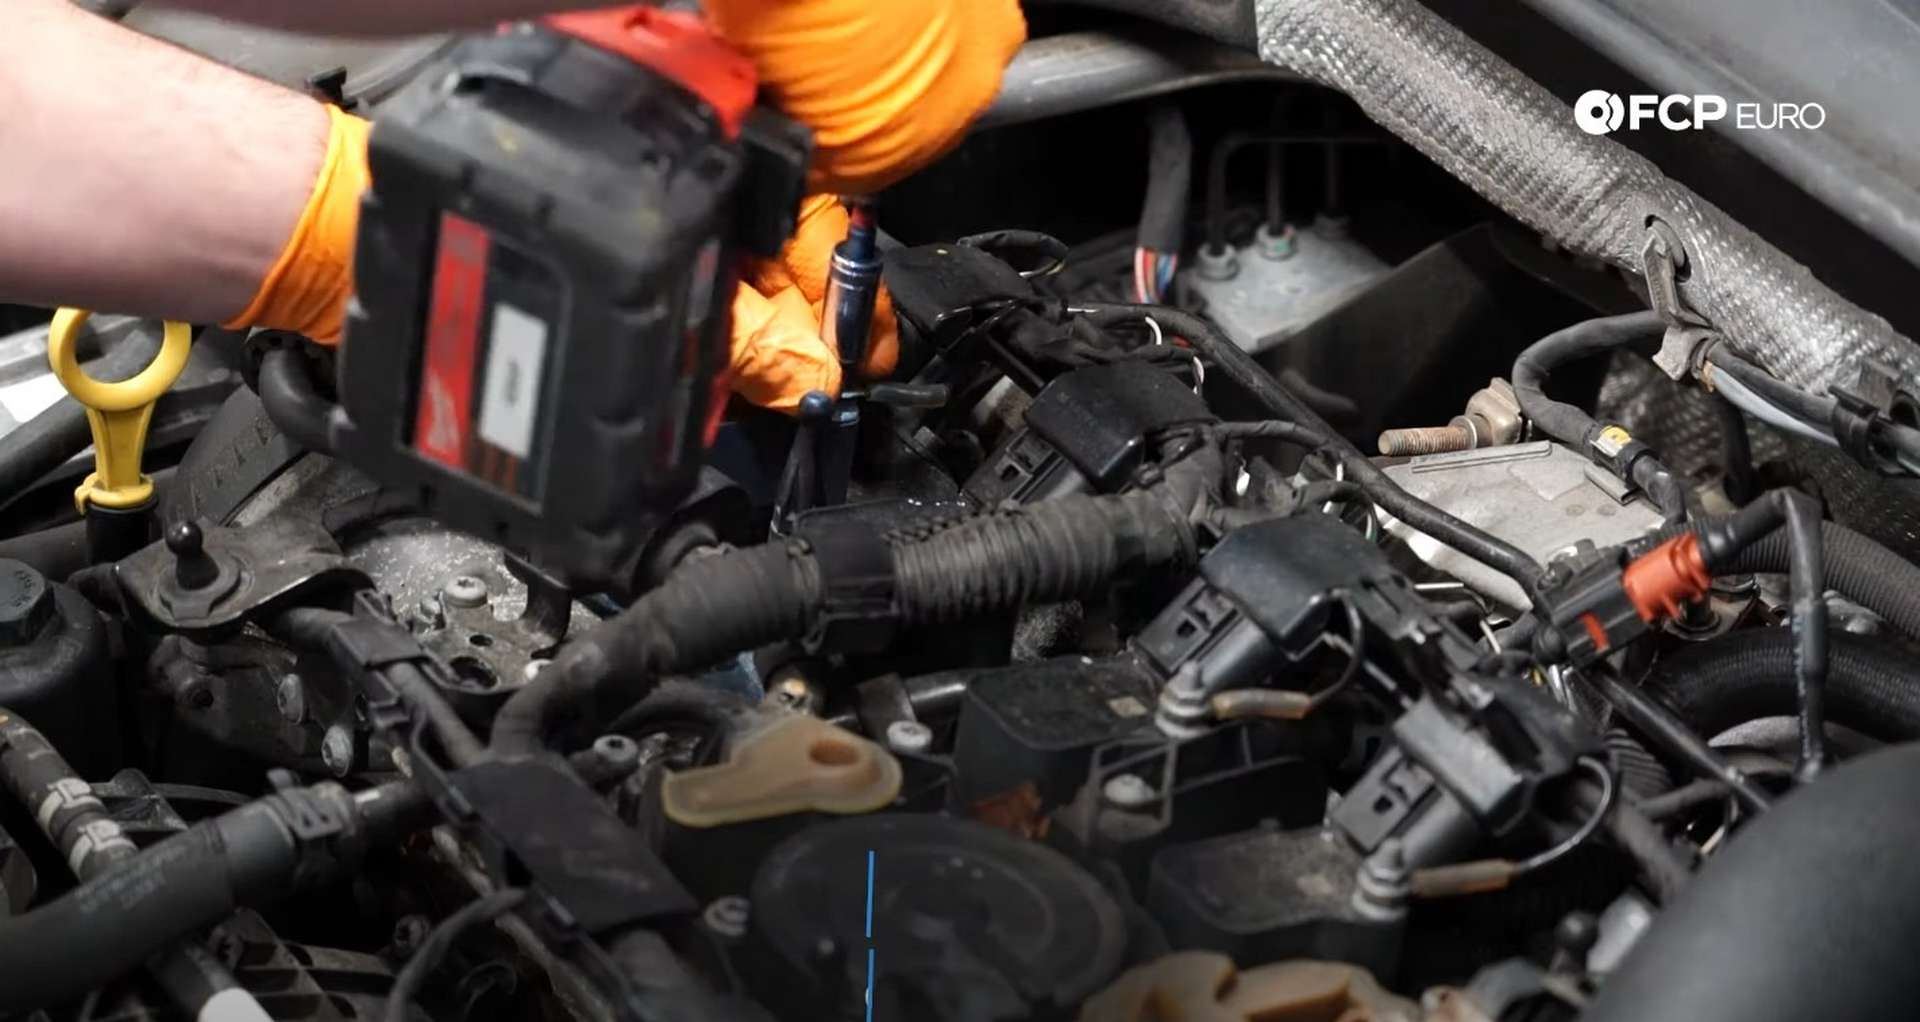
Then use the same socket to remove the studs mounting the coils to the cylinder head. Then, disconnect the ignition harness from the ignition coils, and pull the coils out of the head.
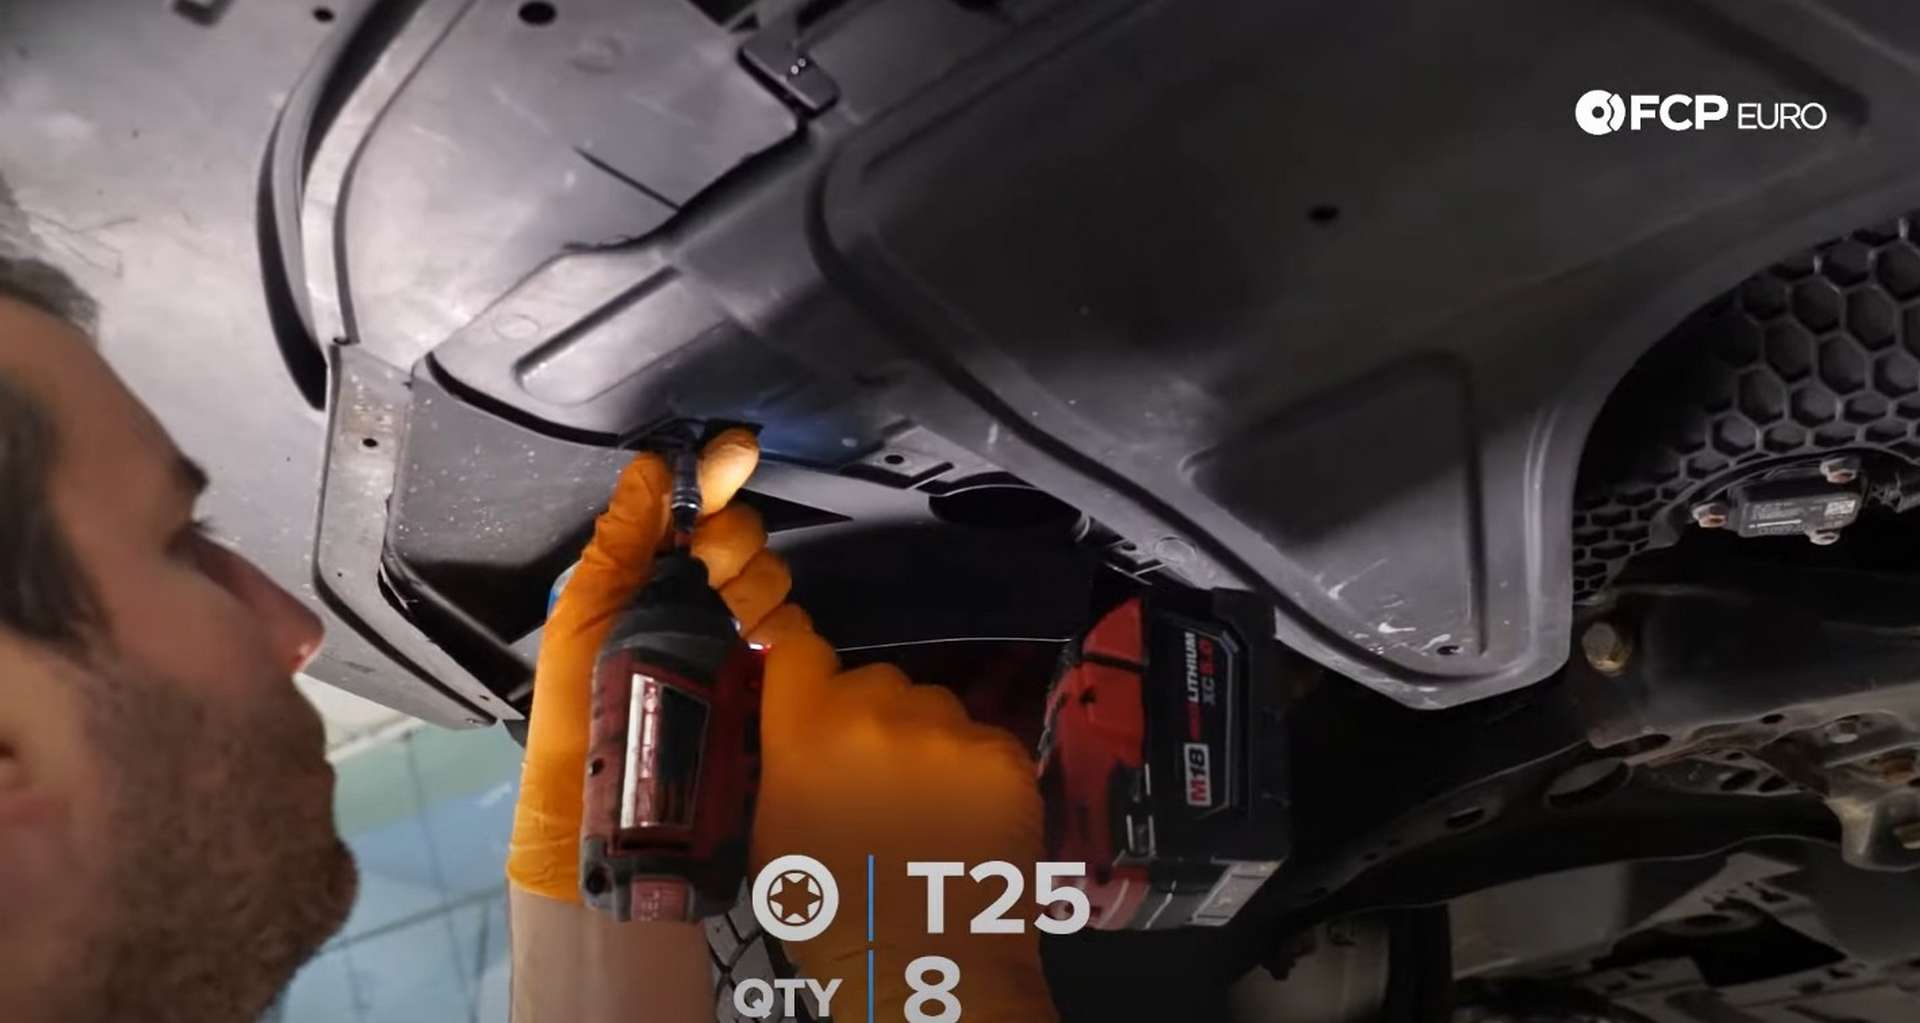
Next, jack up the car and place it onto jack-stands. To access the engine’s underside, remove the eight T25 fasteners mounting the splash shield to the chassis’s underside. The front of the splash shield clips into the bumper, so press out the tabs with your fingers or a flat head screwdriver.
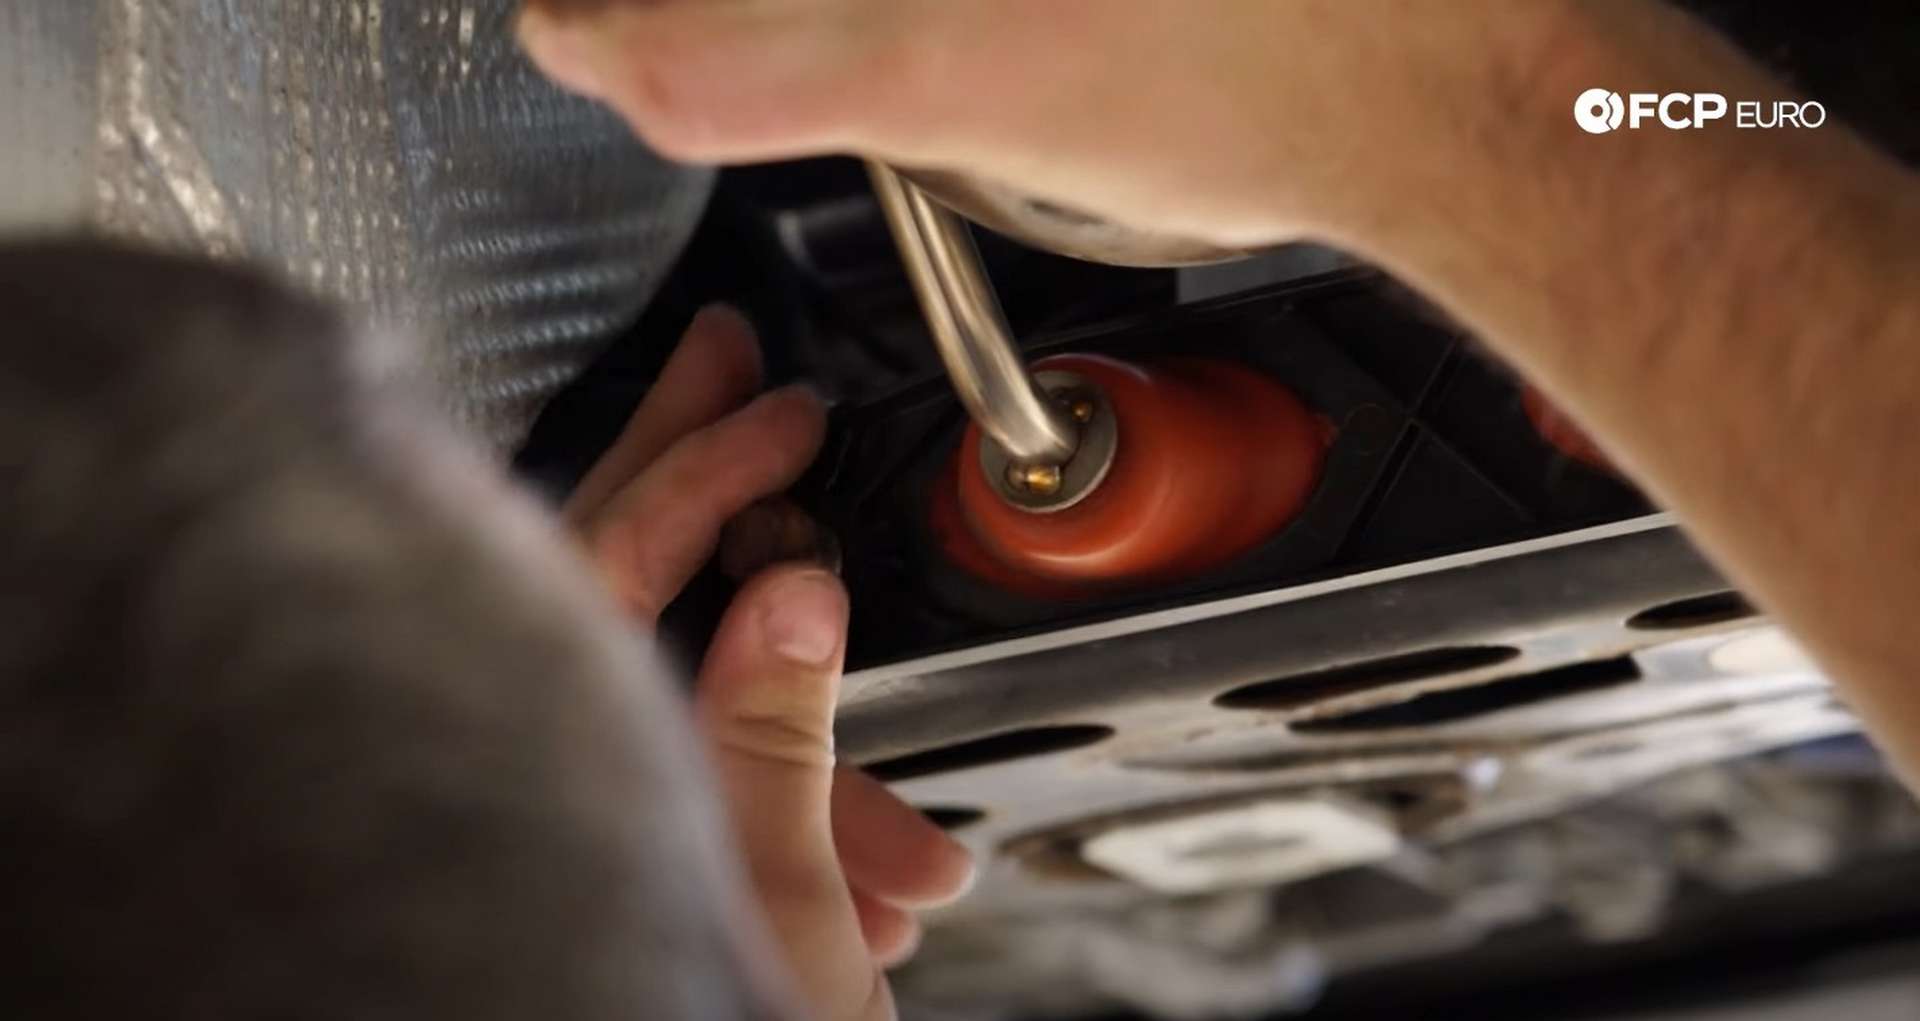
After that, locate the coolant temp sensor. Removing the coolant temp sensor will be one of the easiest ways for you to drain enough coolant to clear the lines running to the turbocharger. Use a flathead screwdriver to pull out the lock and then pull the sensor out of the hose. Be sure to open the cap on the coolant tank to let the coolant drain faster.
Use a drain pan to catch the draining coolant. Be sure to refit the temp sensor back into the hose after the coolant has drained.
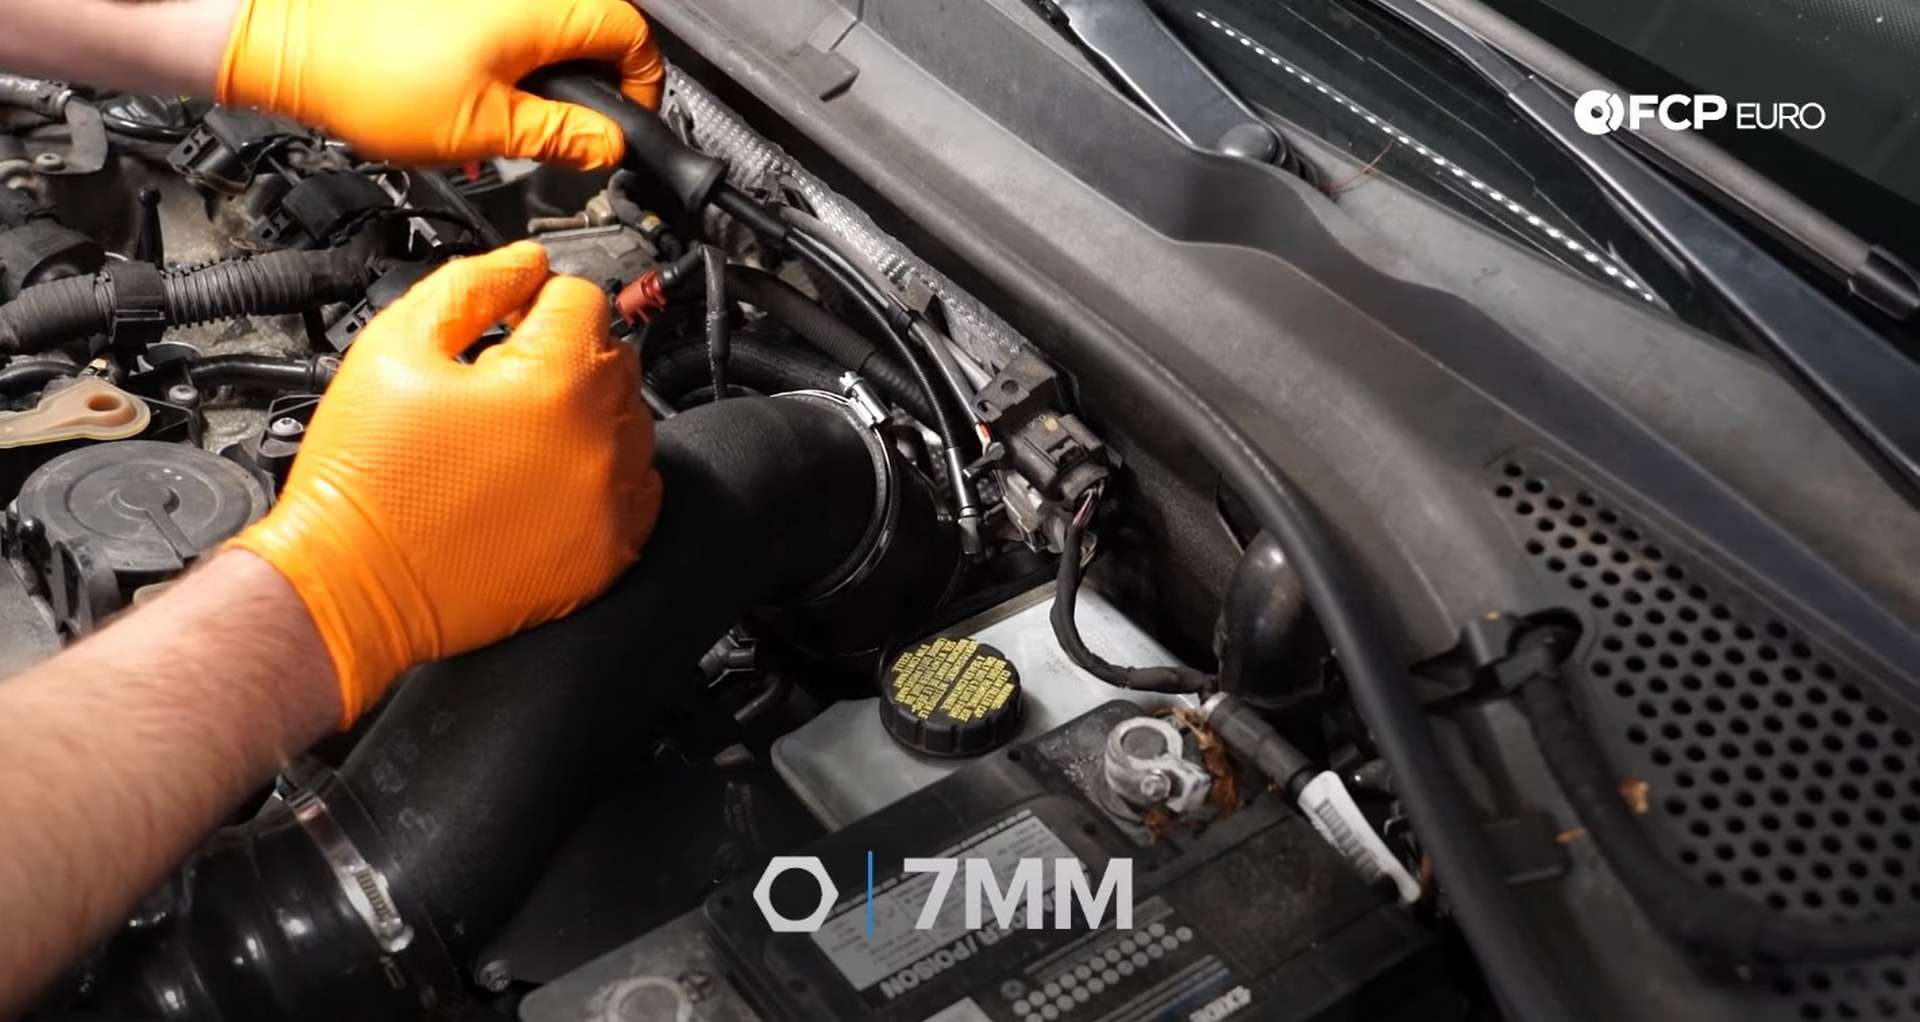
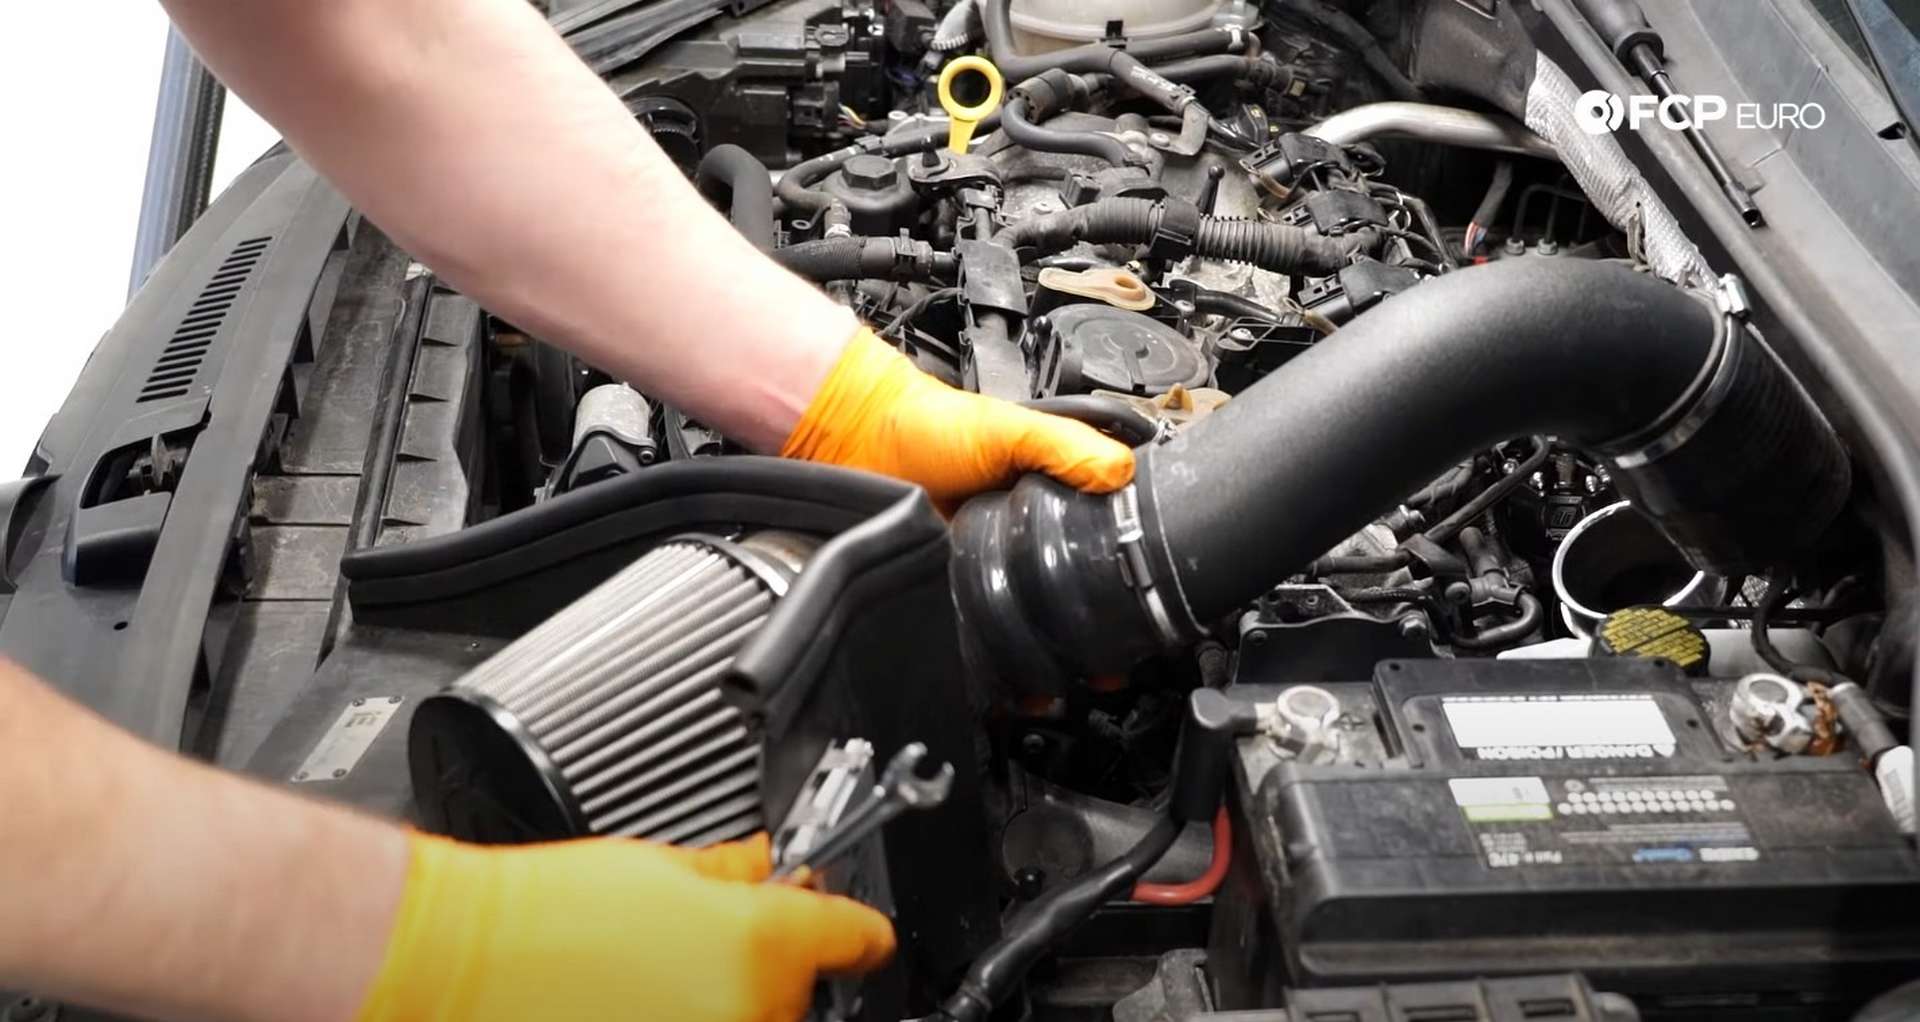
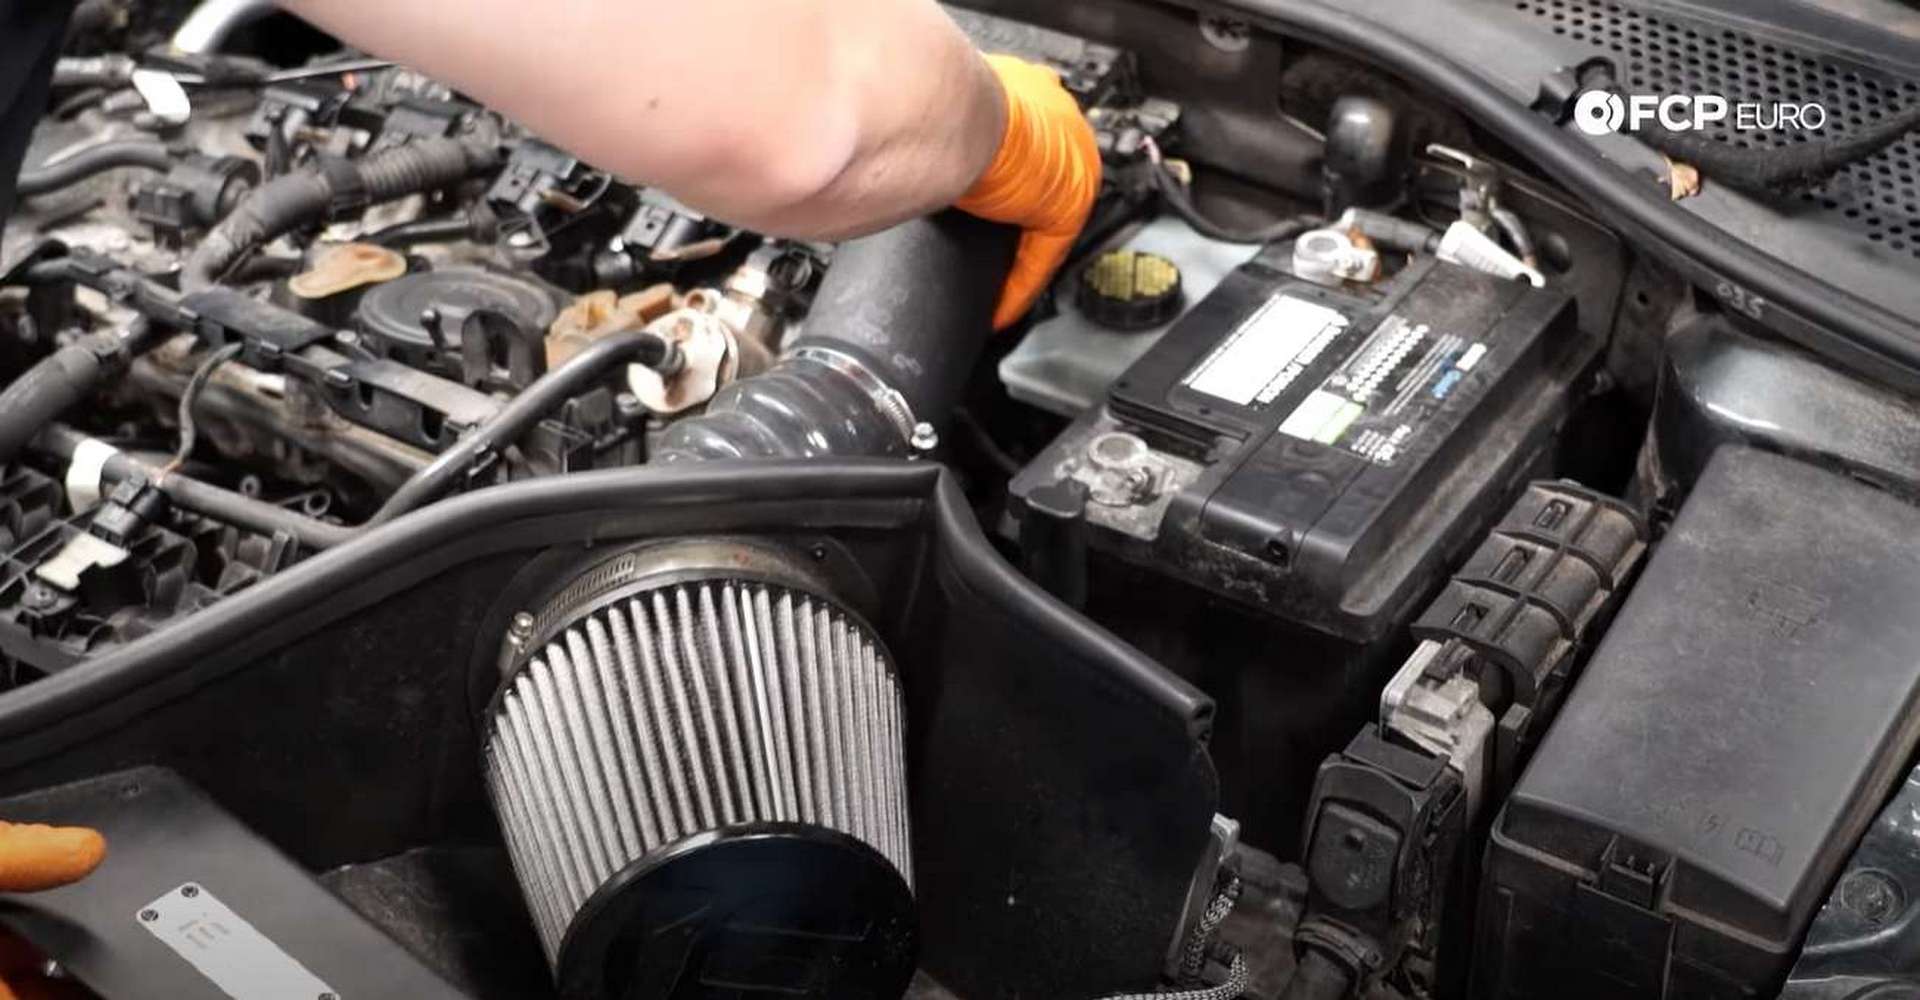
Next, head back into the engine bay and remove the intake. The GTI in this video has an IE intake setup, but the factory airbox removal is mostly the same. Remove the fastener from the left side of the heat shield with a 4mm hex bit socket. Then, loosen the clamp that connects the intake pipe to the turbocharger inlet with a 7mm socket. The clamps can be tough to reach, so using a flex head nut driver will make loosening and tightening these clamps much easier.
Under the intake, behind the filter, is the connection for the secondary air hose and a vacuum line. Pull down on the hoses to remove them from the intake. Then, pull the intake out of the rubber isolating grommet and remove them from the engine bay.
The intake connects to the turbocharger inlet pipe. Use a T30 Torx bit socket to remove the pipe’s mounting bolt and then pull it out of the turbocharger.

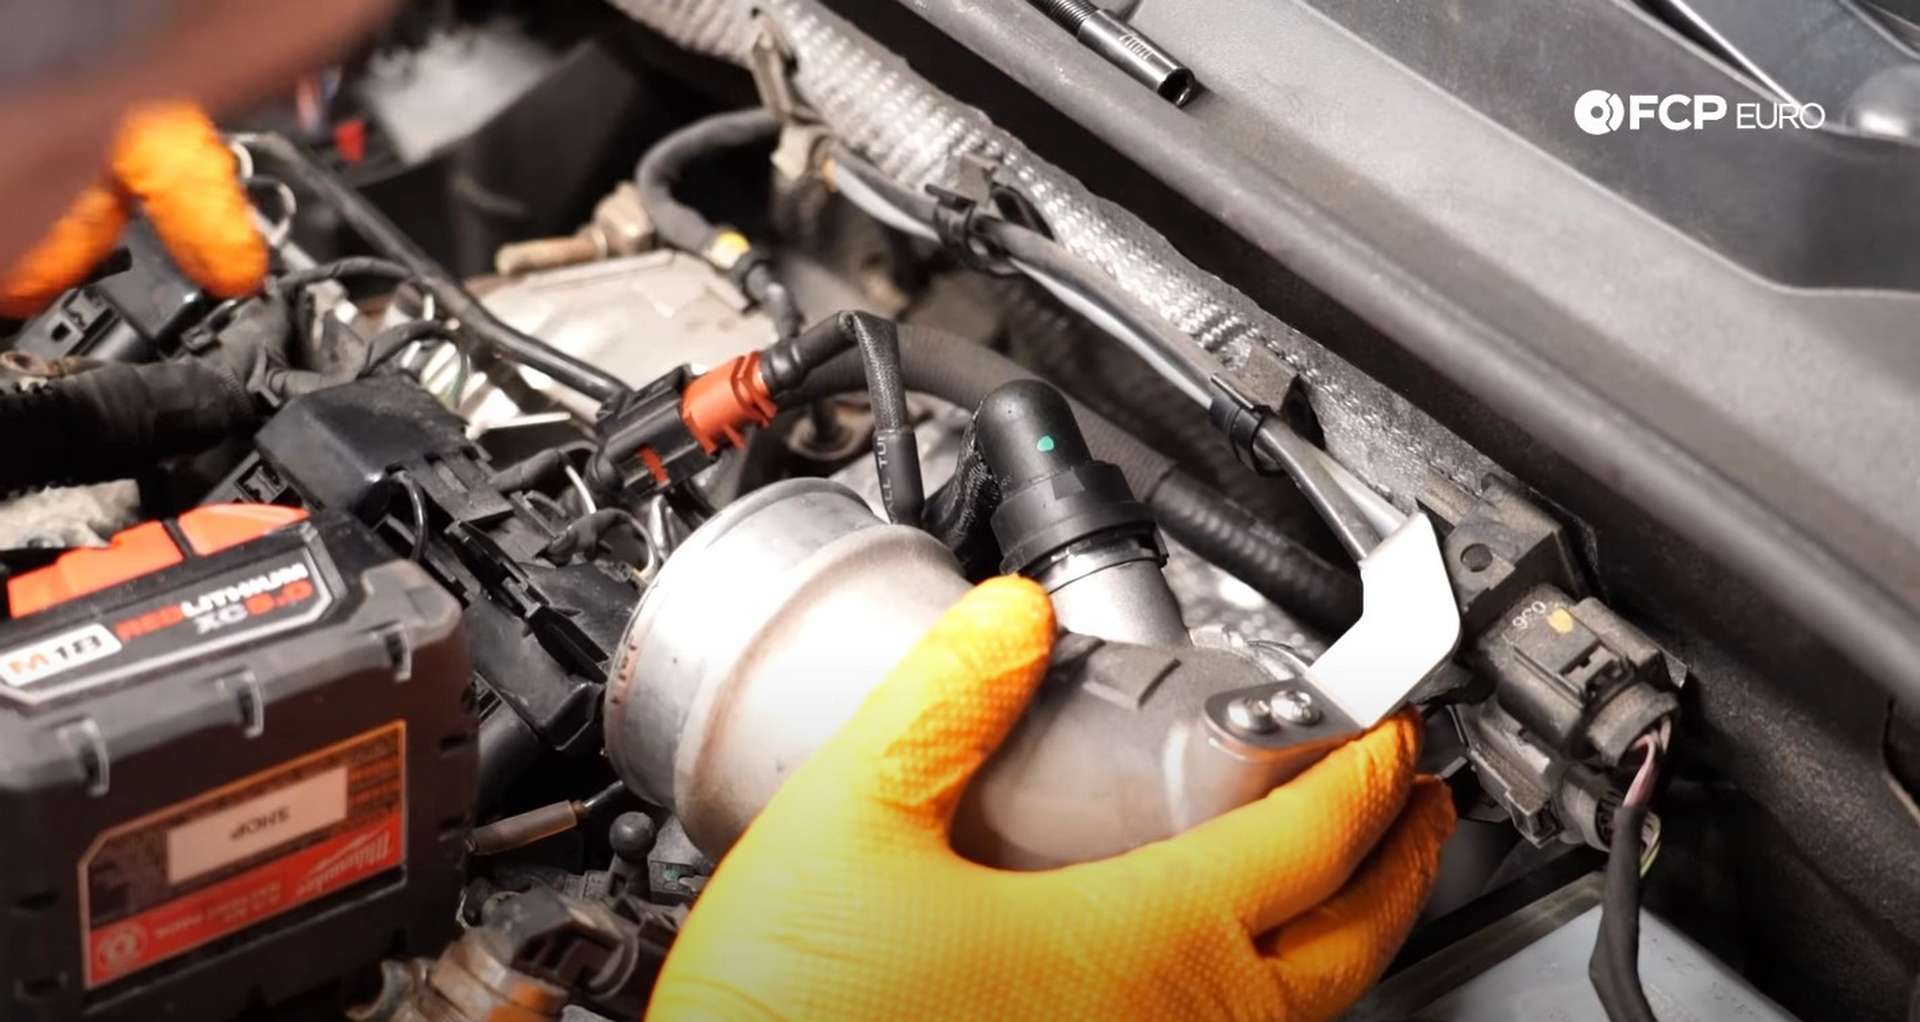
Before you can take the pipe out of the engine bay, you need to disconnect the PCV hose from it. Use a small flathead screwdriver to pry around the hose’s edges to get it to come off the pipe.
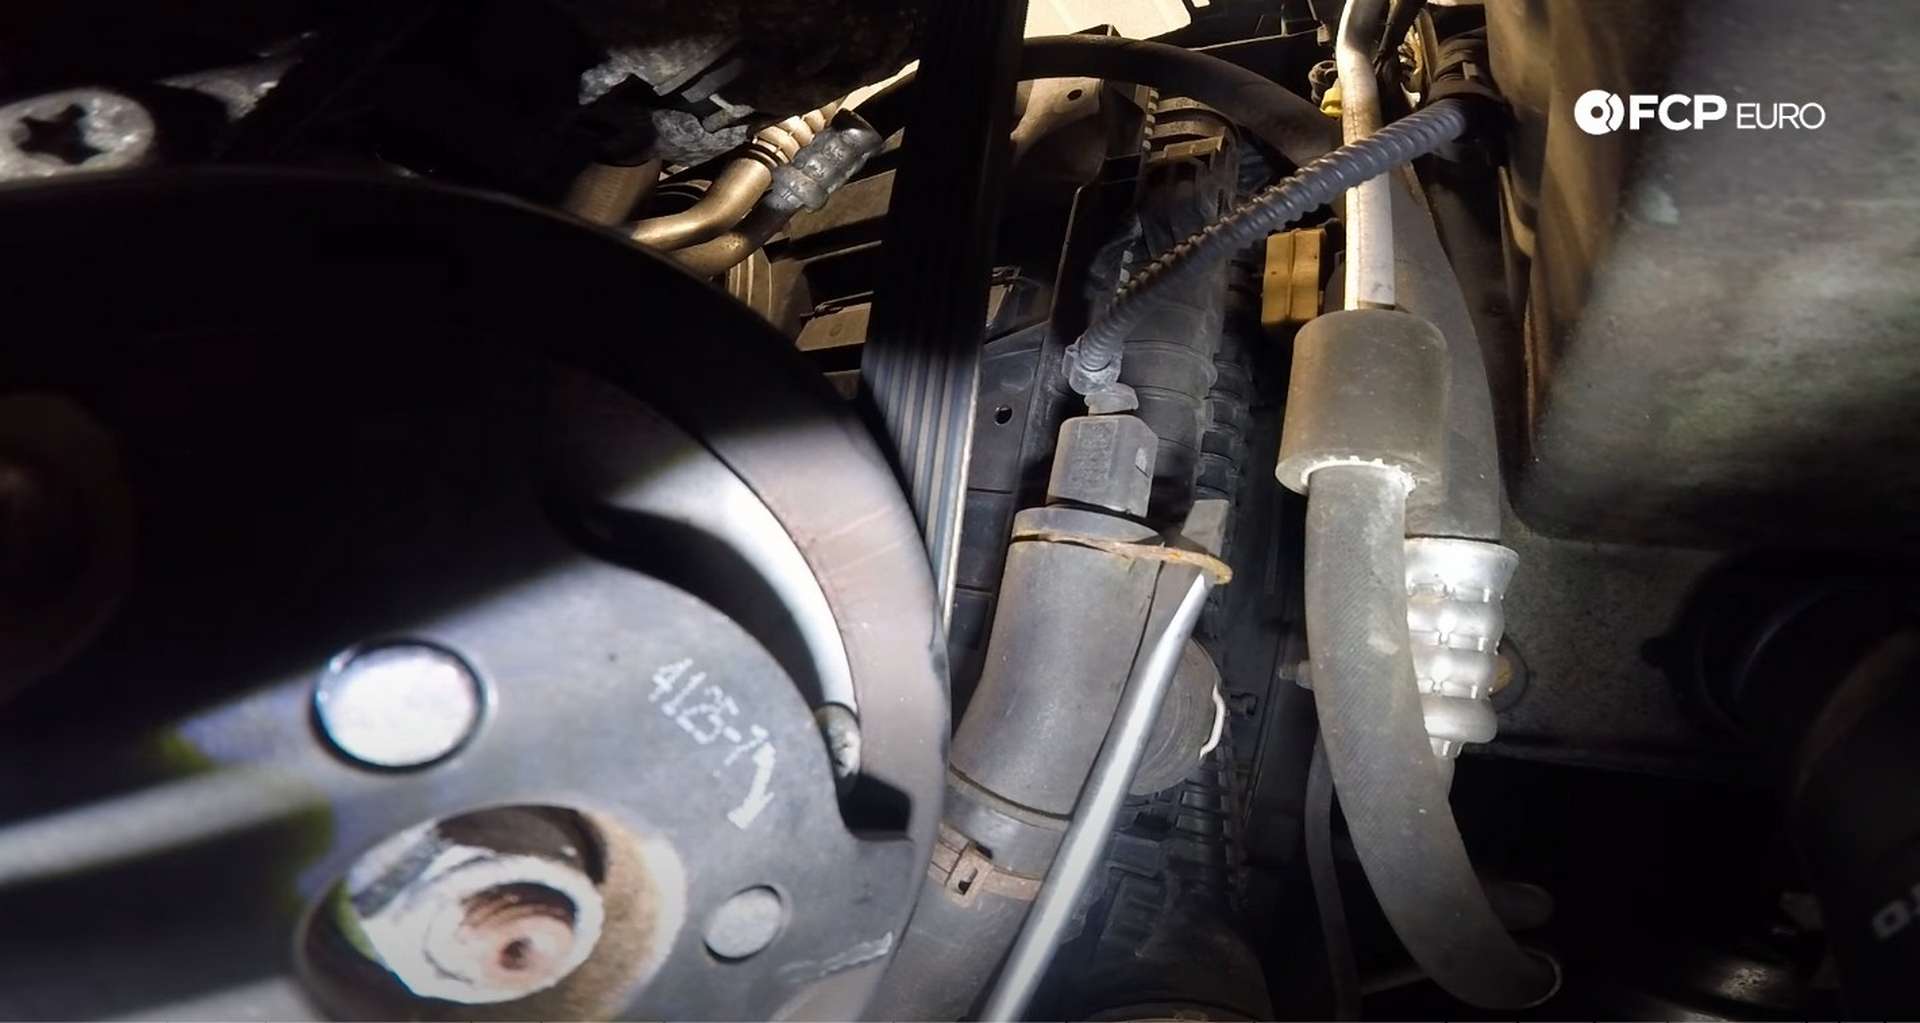
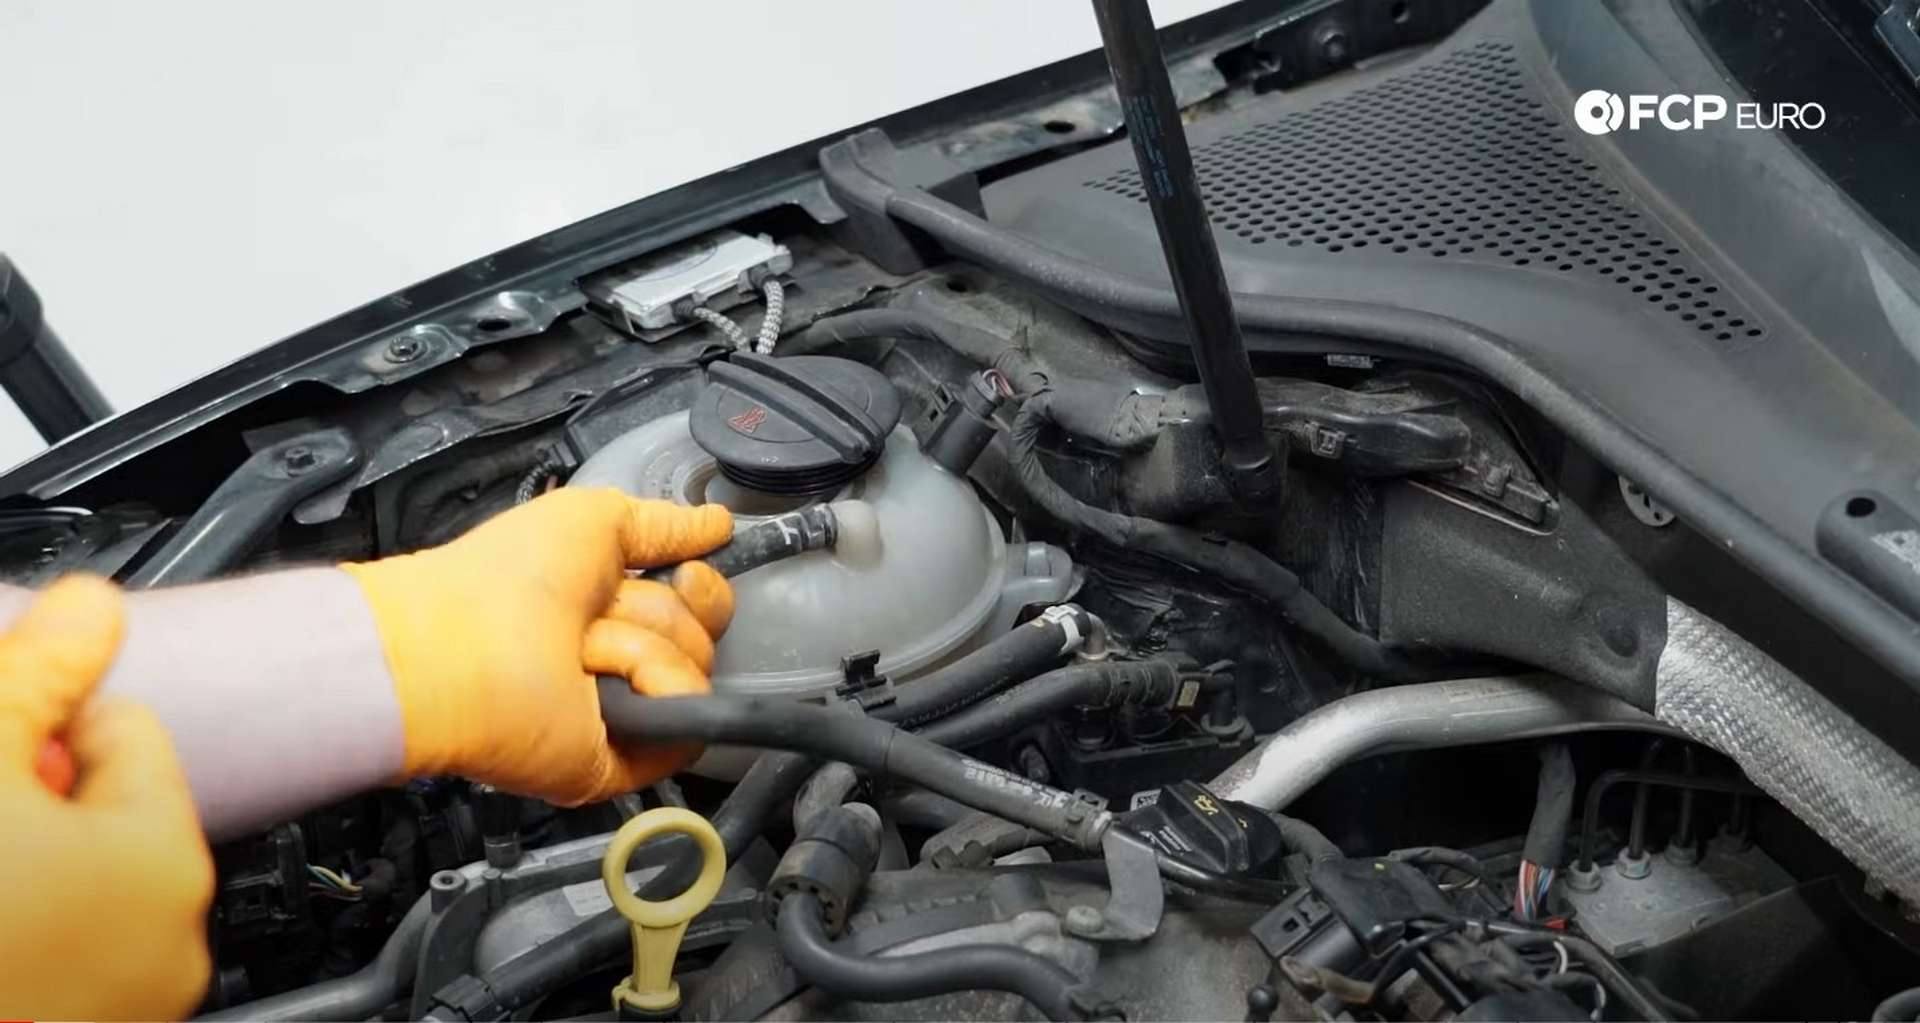
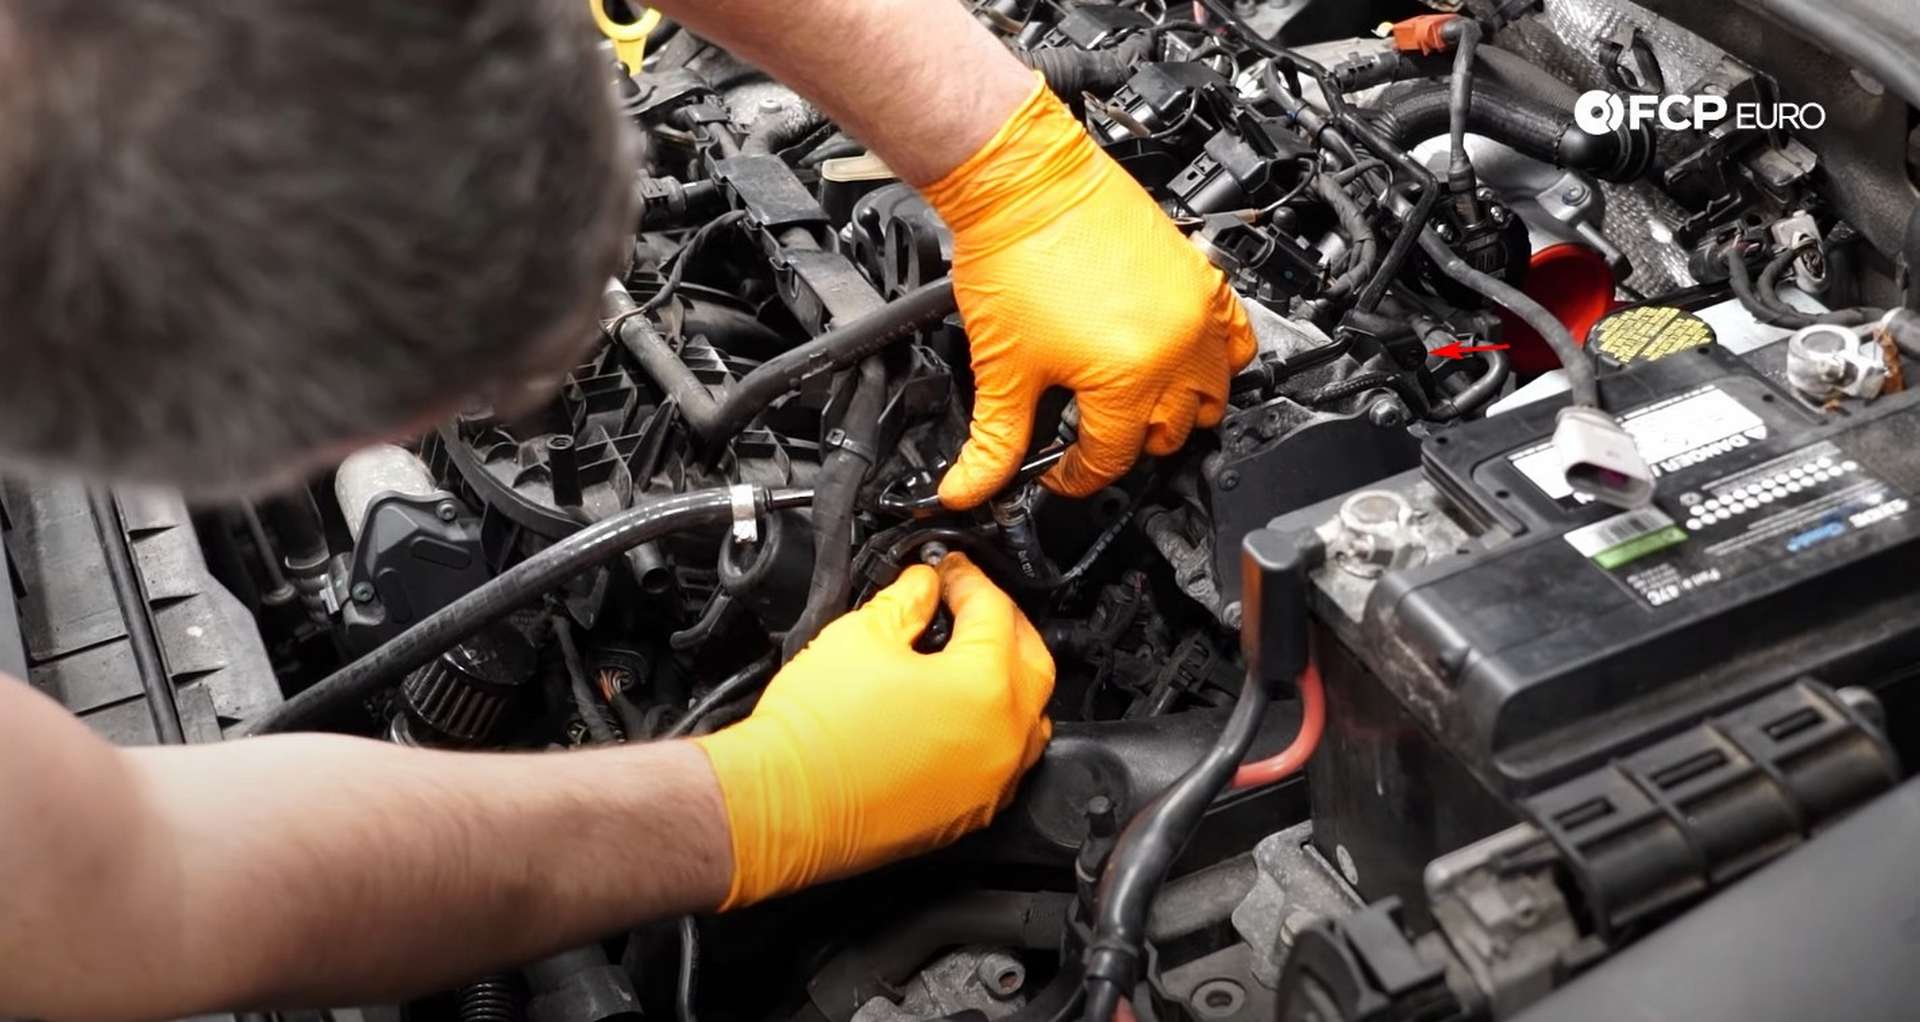
Next, you need to remove a small, black, coolant hardline that runs around the back of the engine. First, use pliers to slide the hose clamp back and then pull the line off of the expansion tank.
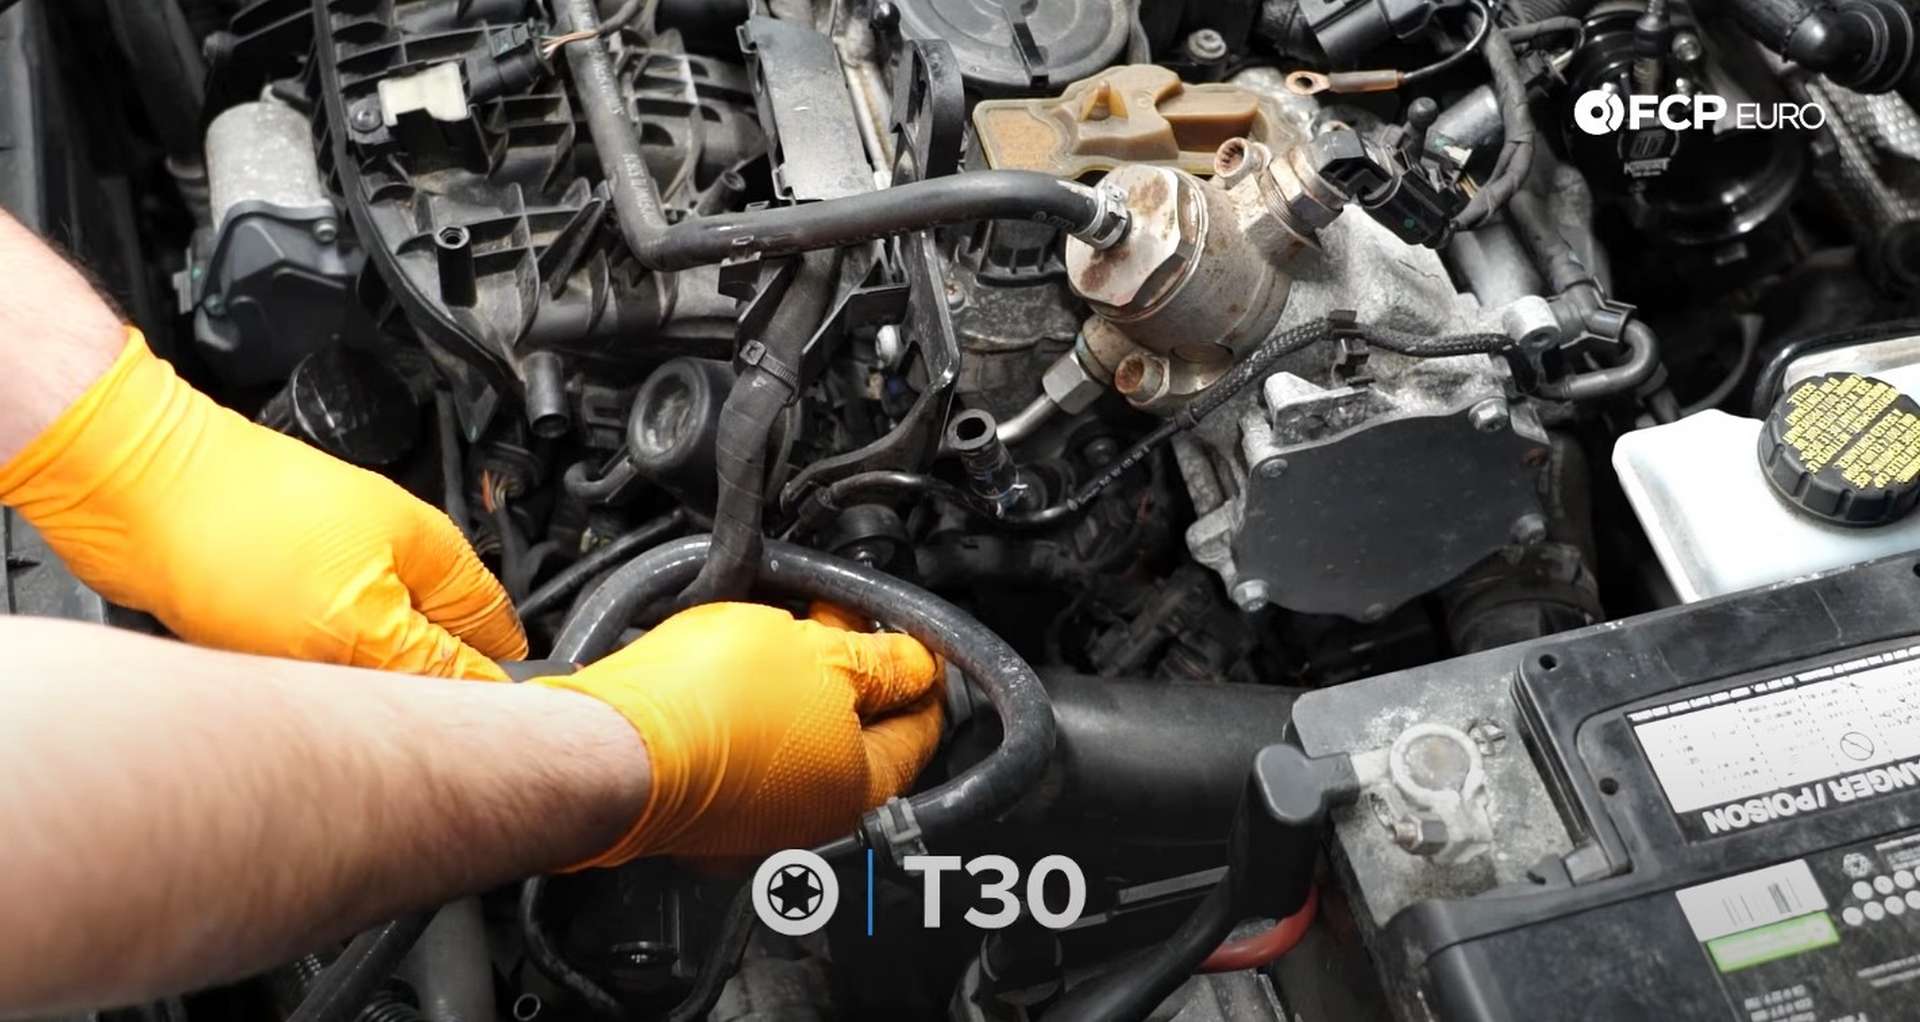
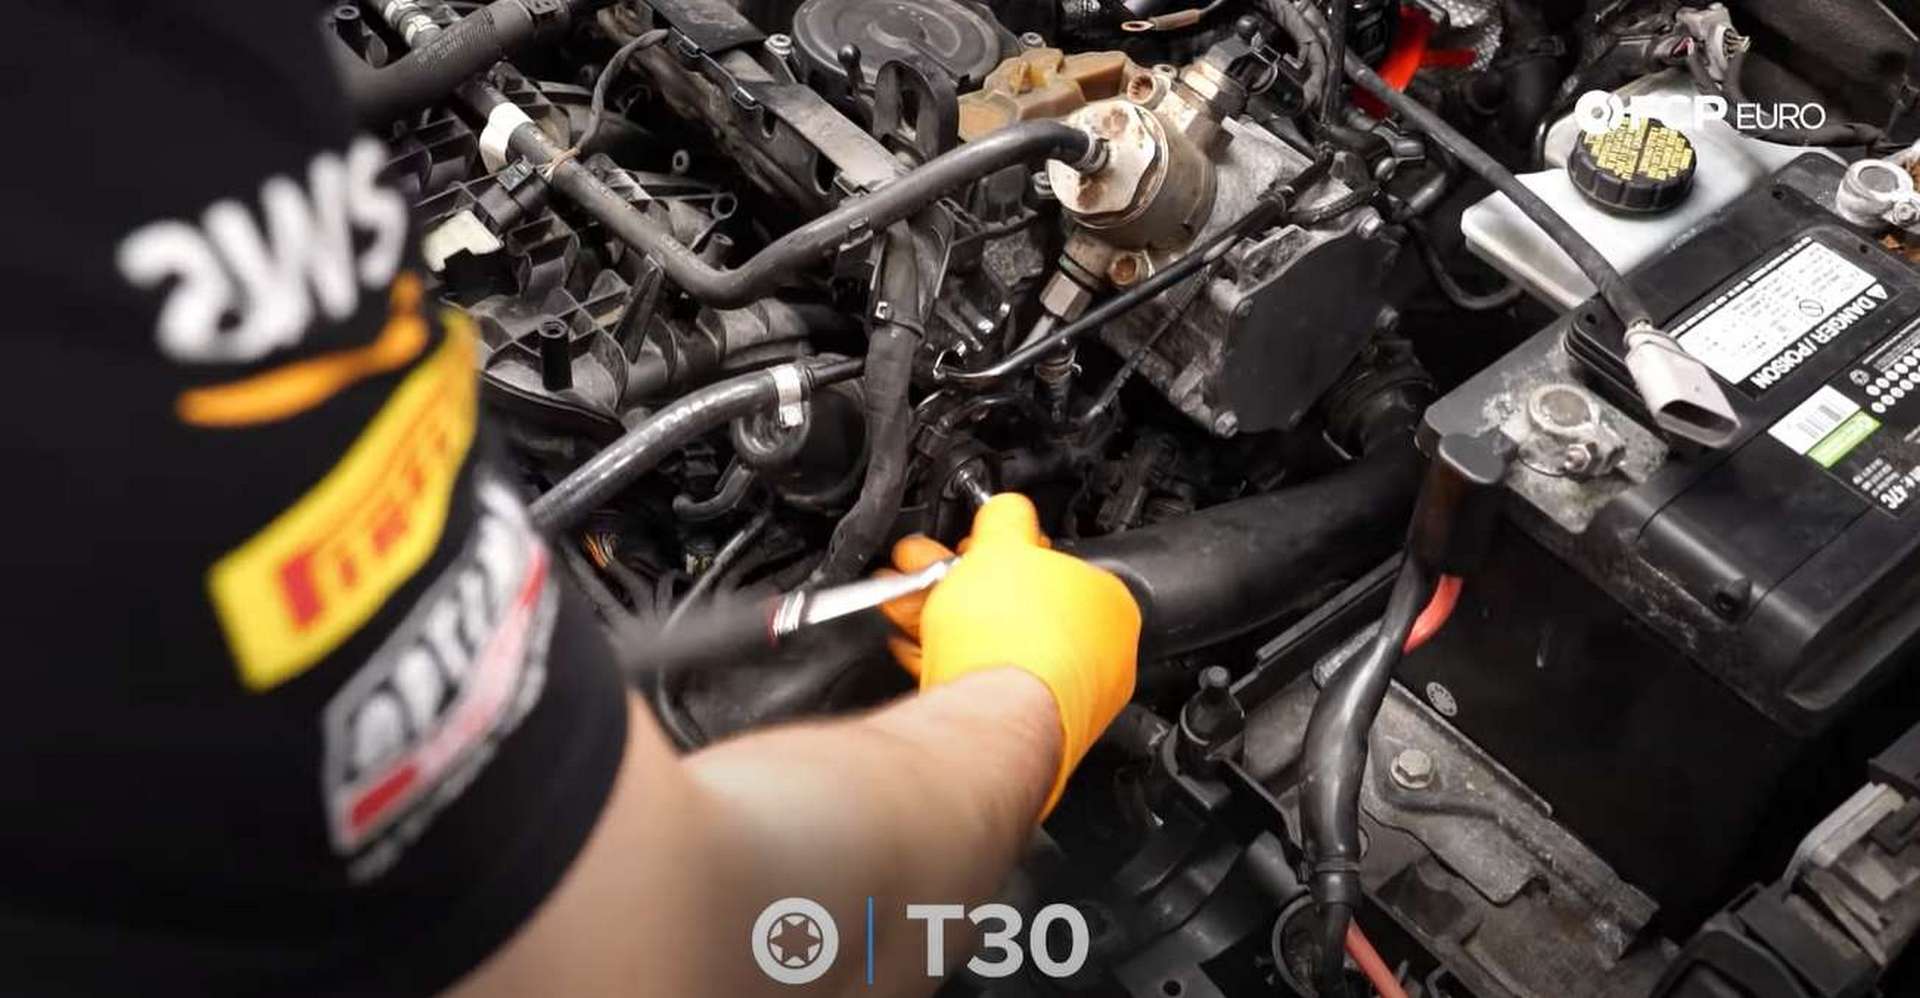
Then, trace the hardline around the engine and locate its three mounting bolts. Use a T30 Torx bit socket to remove the fasteners. Lastly, disconnect it from its two other soft lines. Use pliers to pull back the hose clamps and then free the line from the hoses. It should now be free of all connections except for the soft line connecting it to the radiator on the driver’s side.

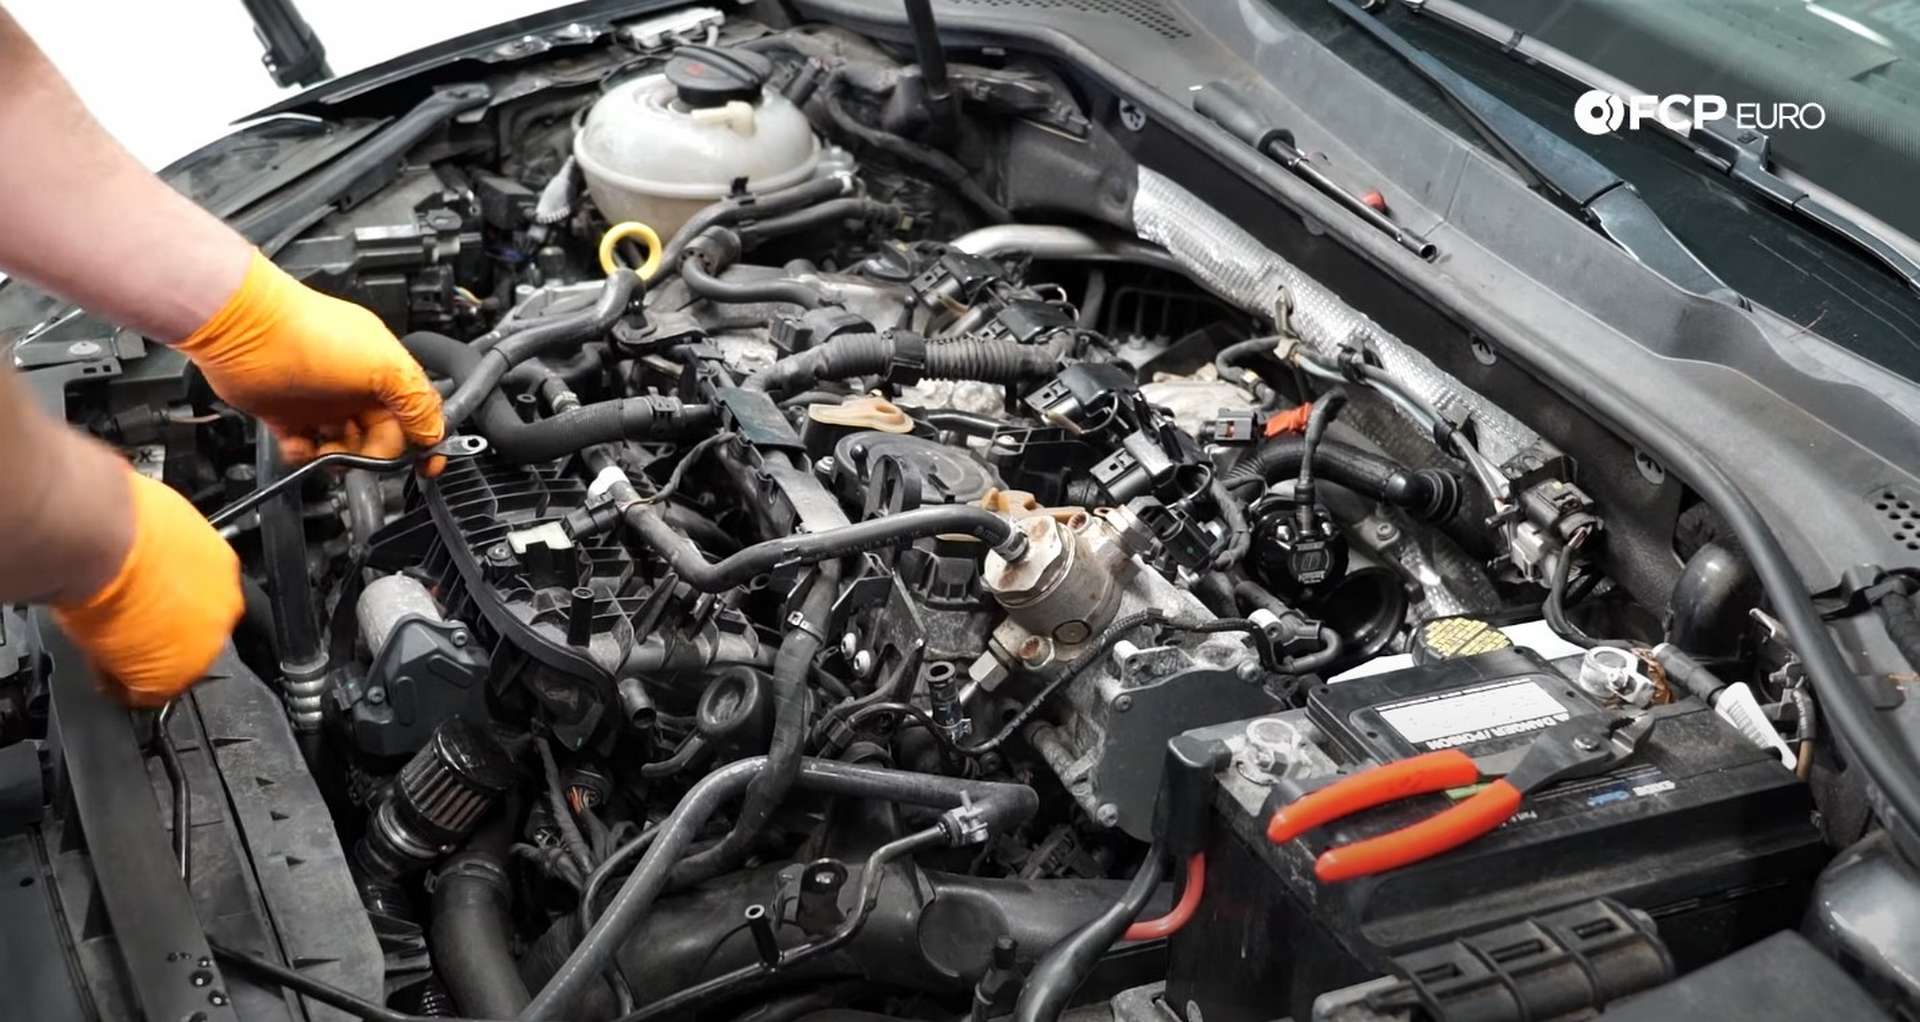
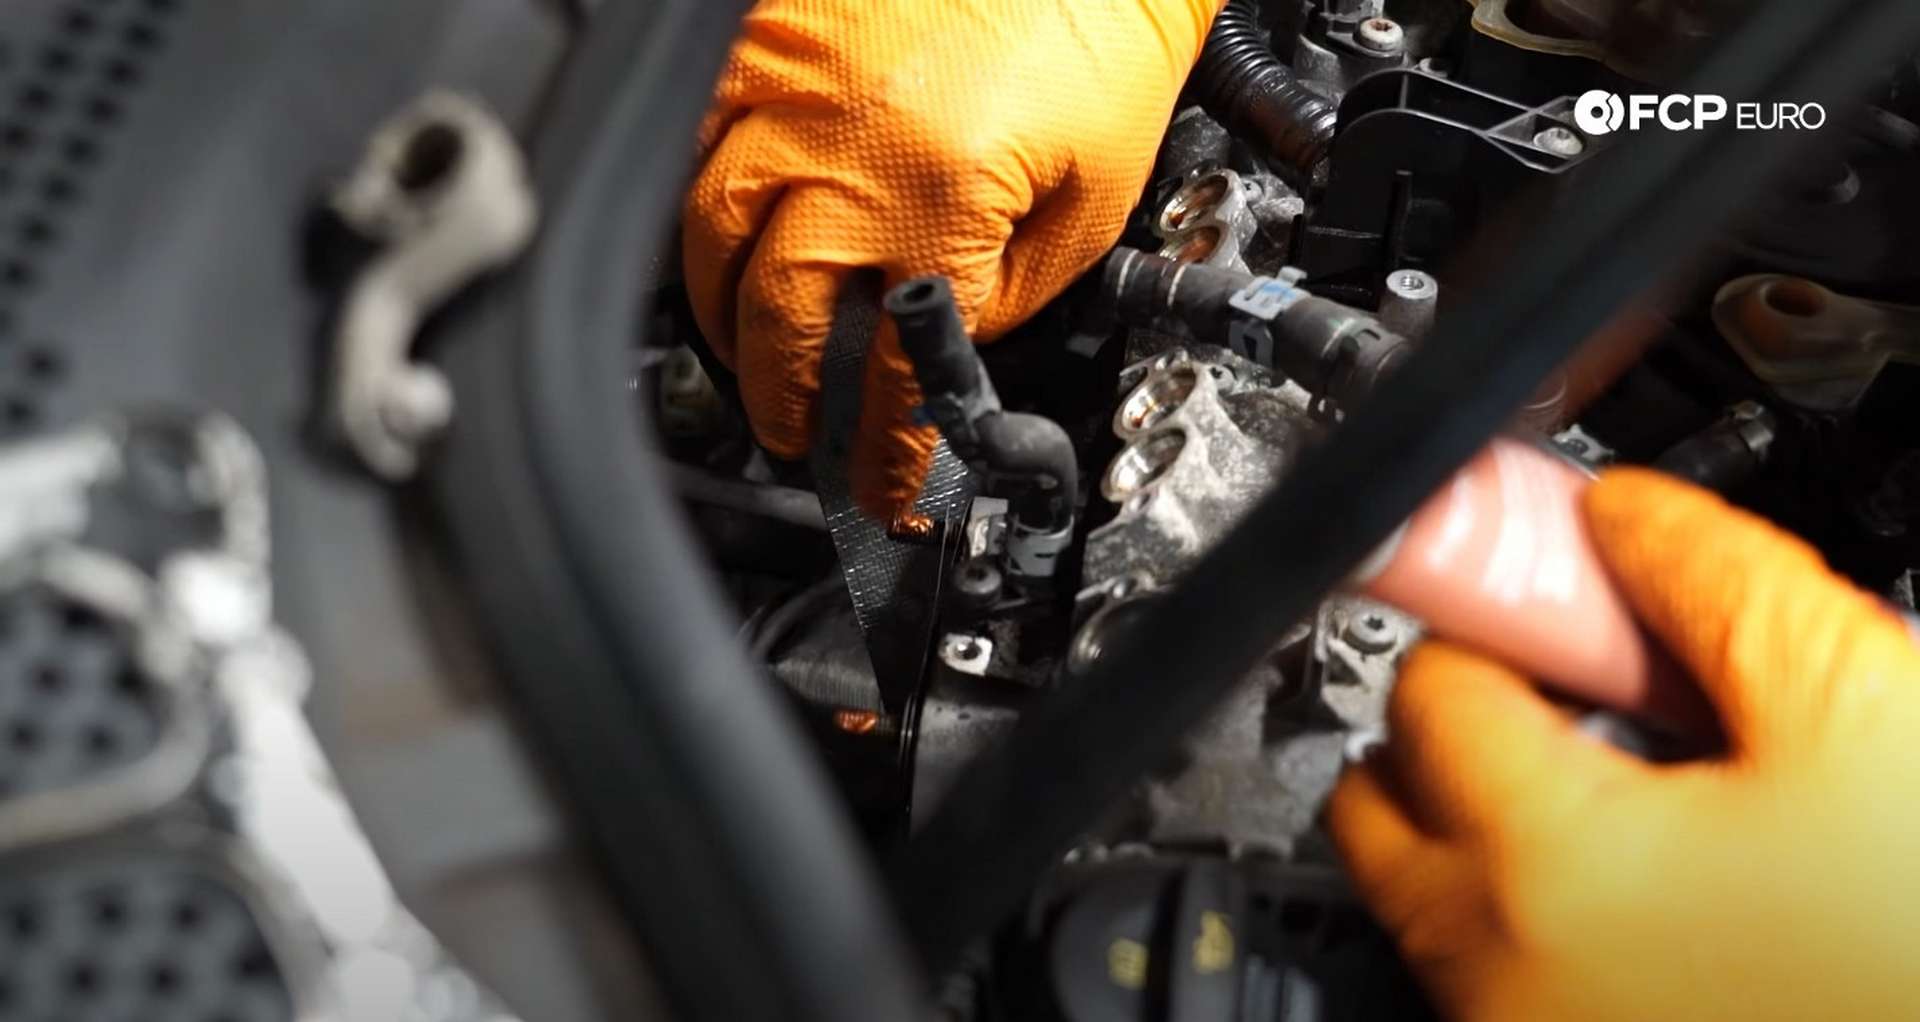
You’ll need to disconnect a few wires before being able to fold the coolant line out of the way. Unplug two camshaft actuators on the passenger’s side of the cylinder head and the diverter valve plug. With those disconnected, you can move the coolant hardline out of the way.
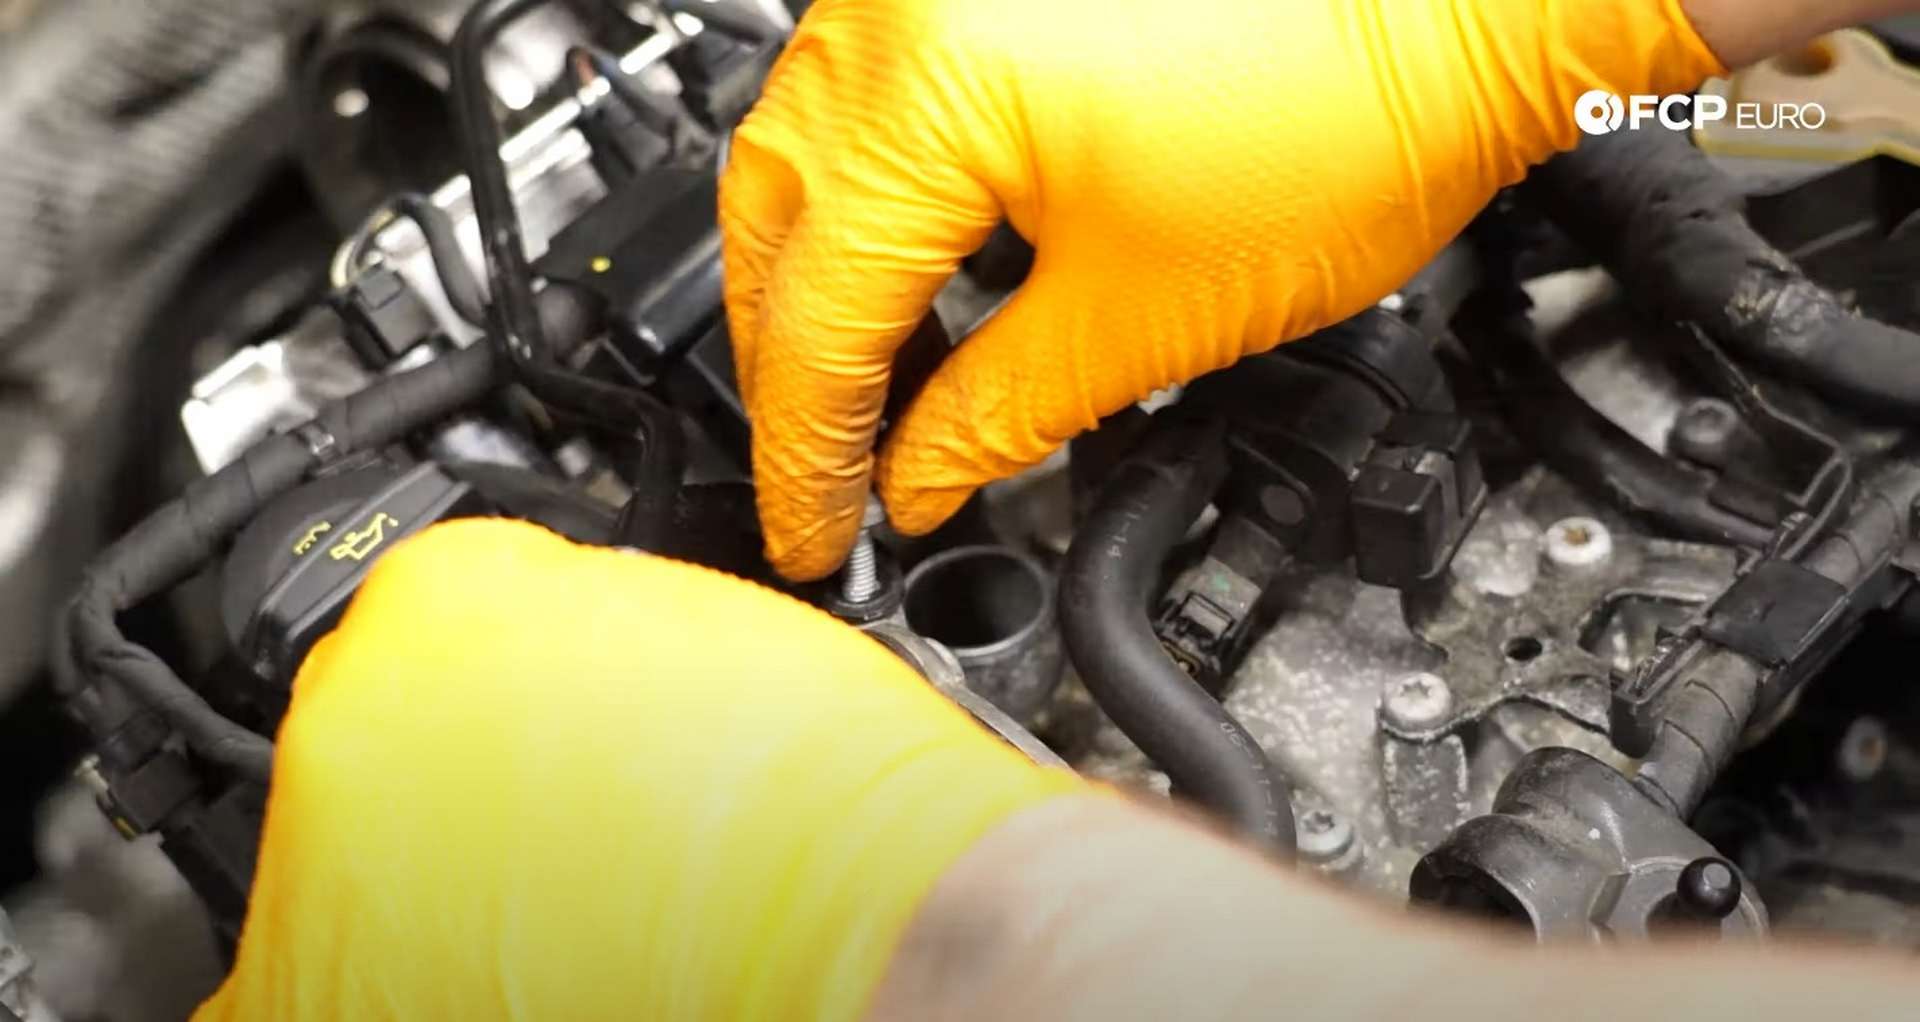
Next, grab a T30 Torx bit socket and remove the bolt securing the charge pipe to the engine. Then, use a 7mm socket or nut driver to loosen the pipe’s clamp securing it to the turbocharger. Wiggle the pipe off of the turbo once you loosen the clamp.
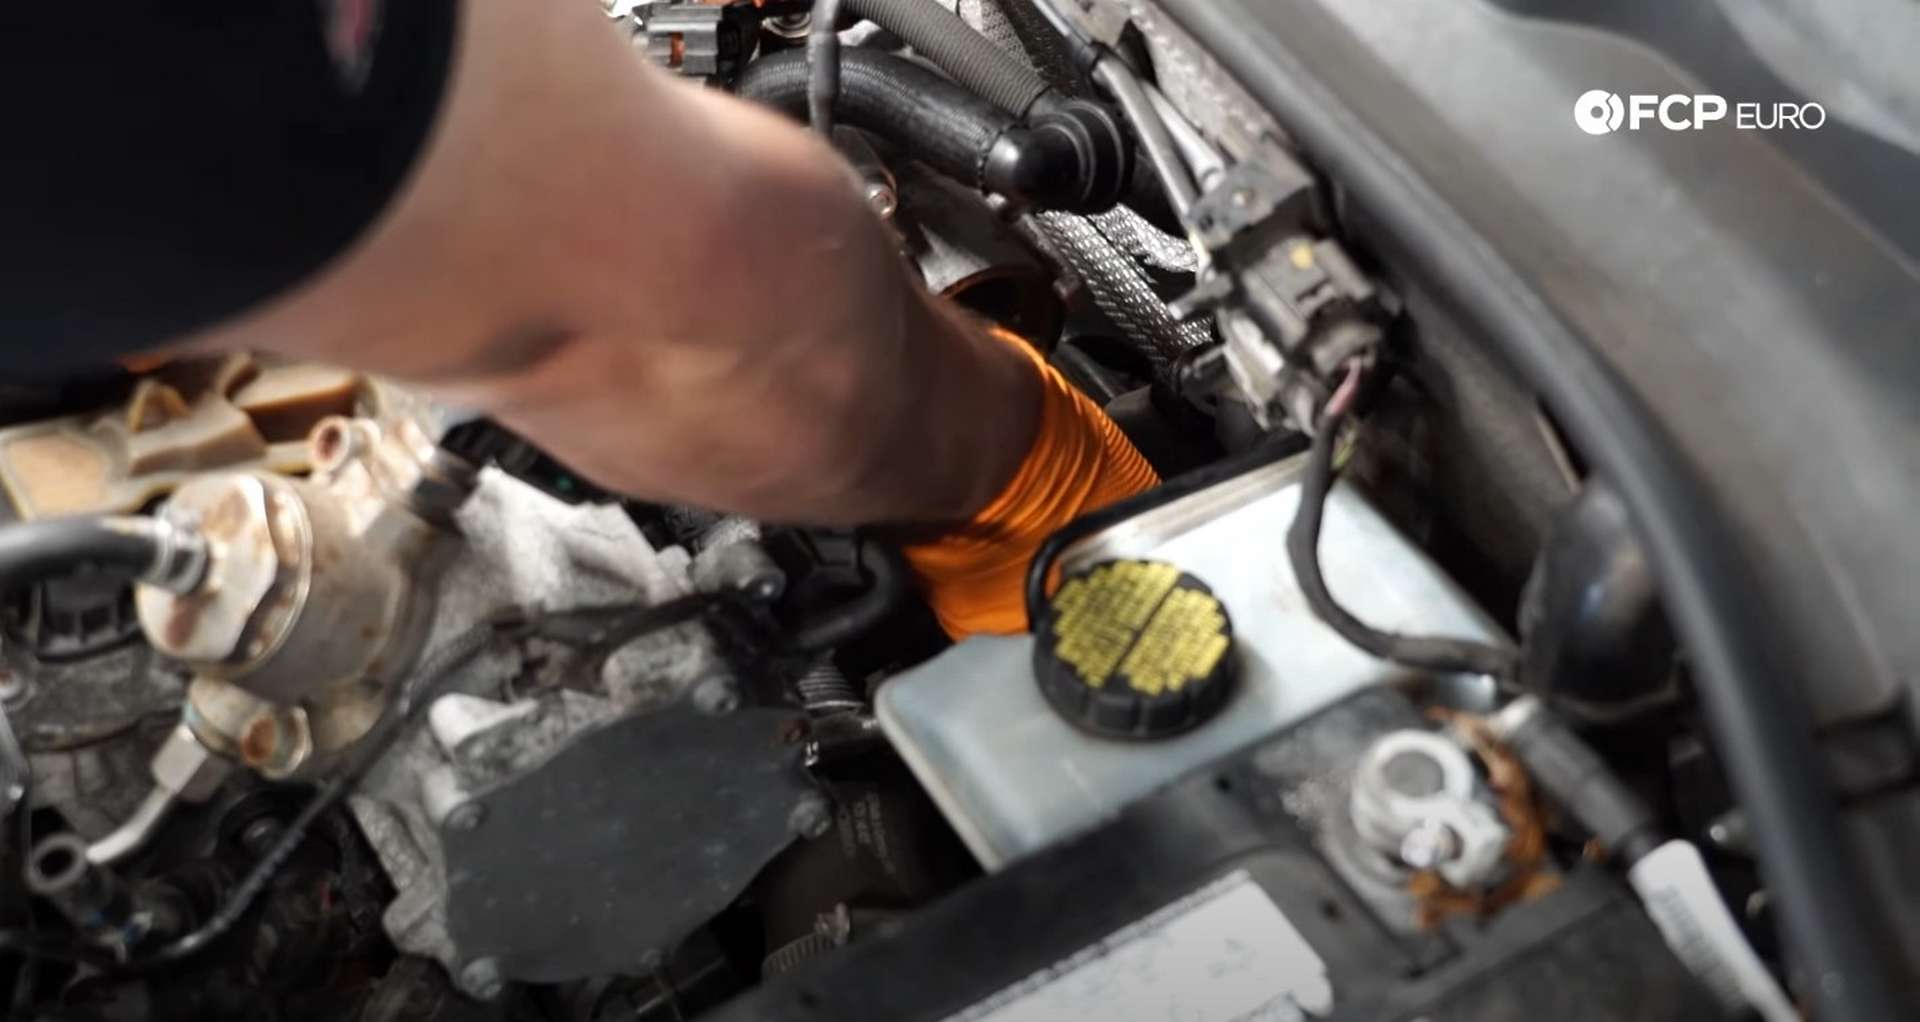
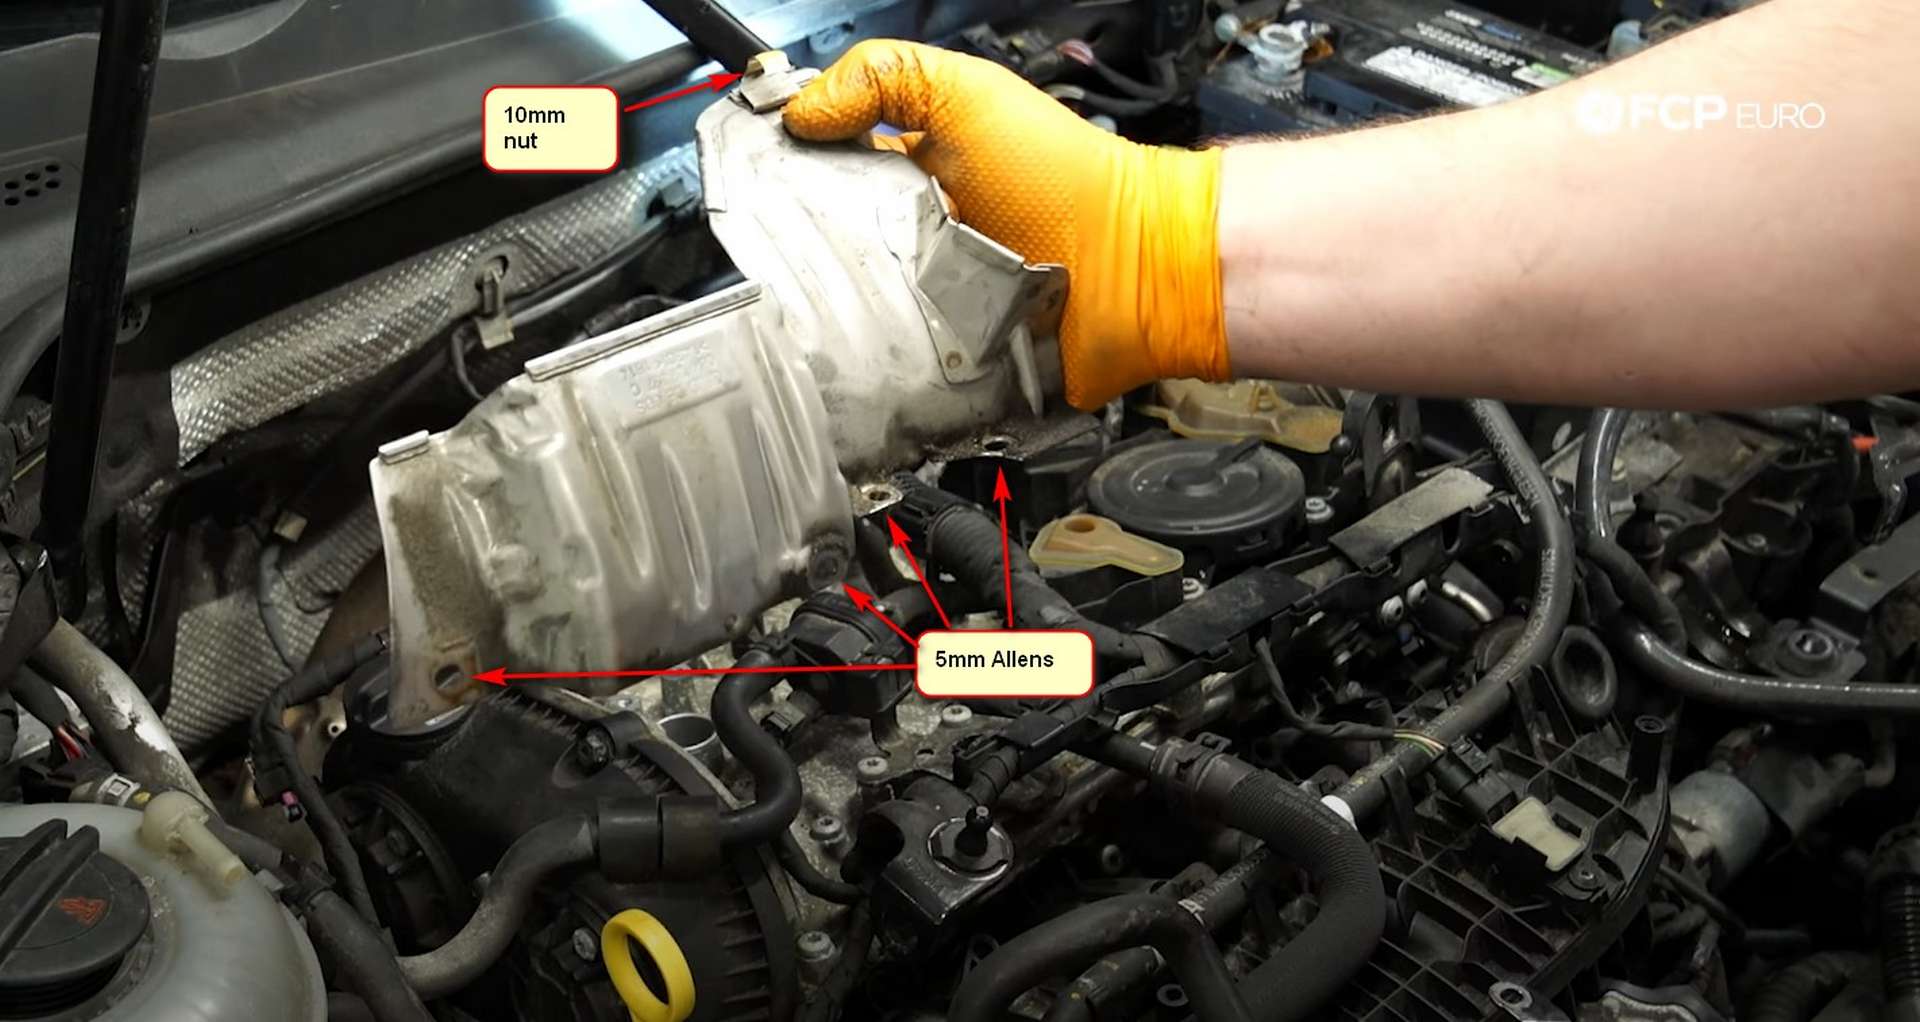
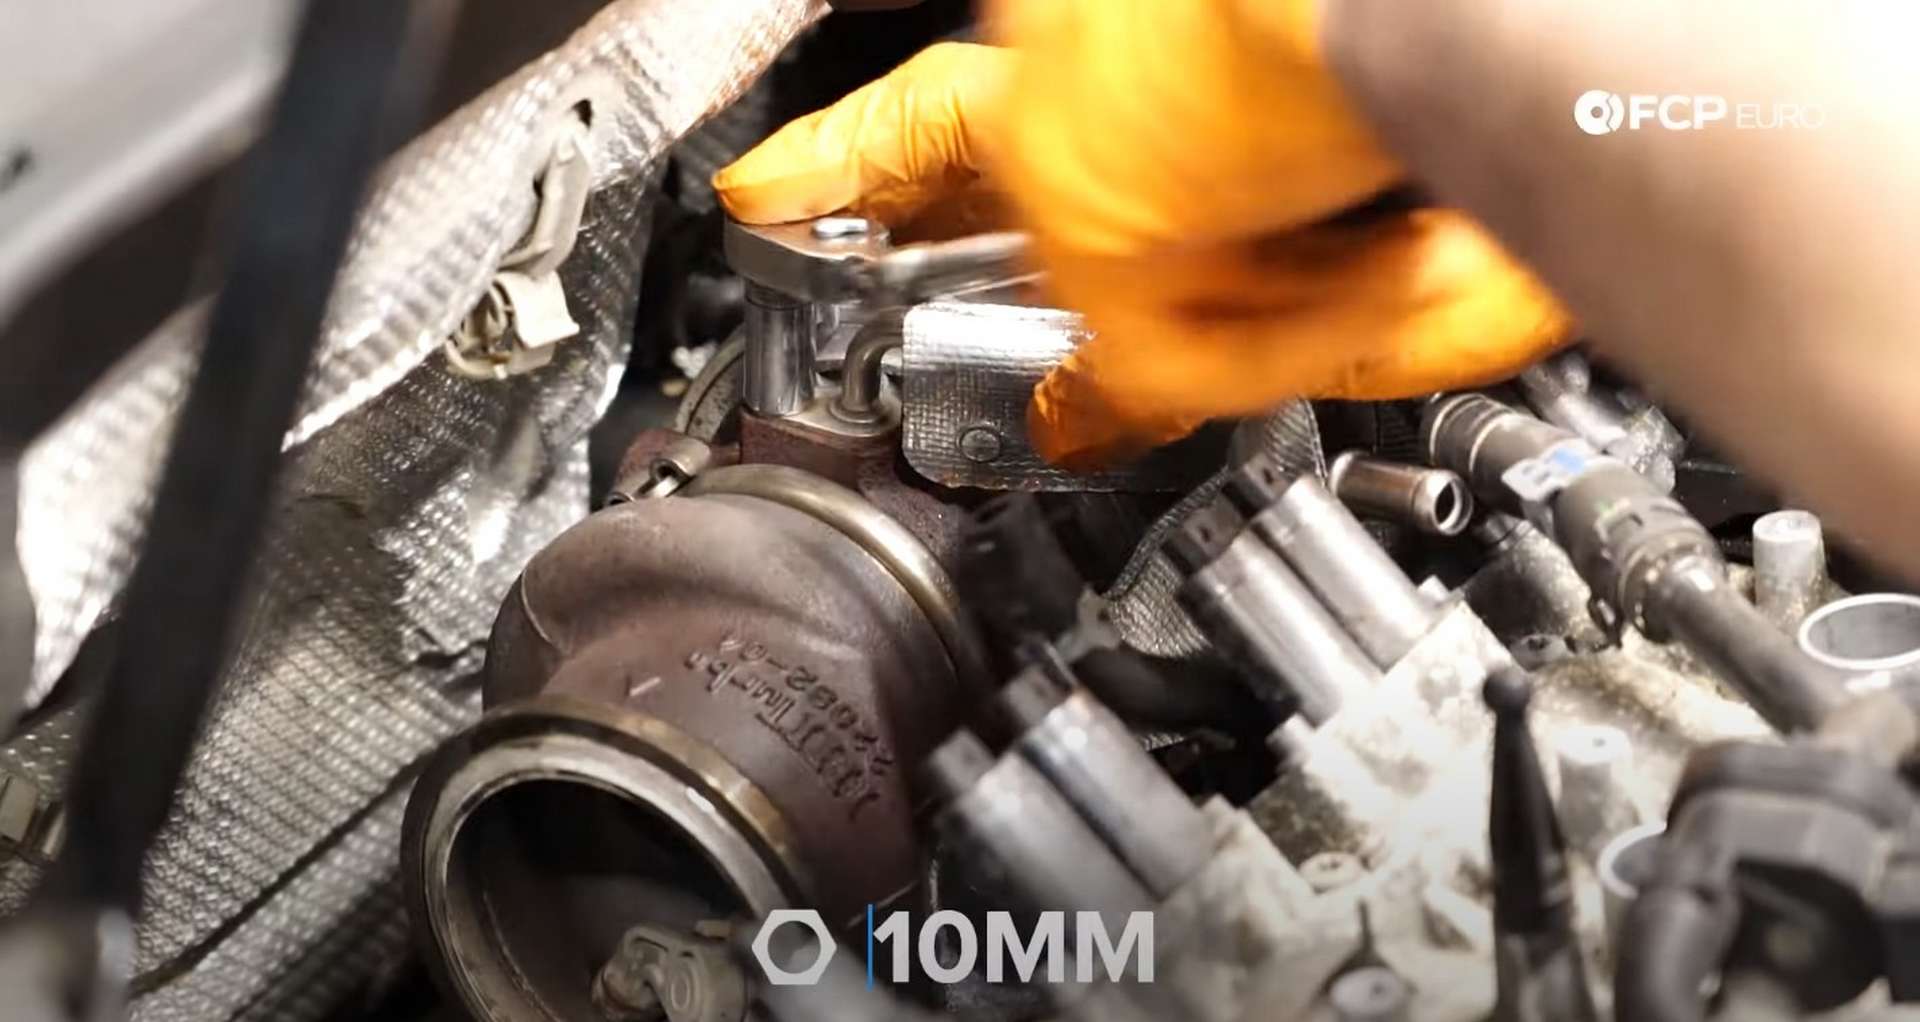
After pulling the charge pipe off the turbocharger, reach around and disconnect the wastegate solenoid’s electrical connector. Then, remove the turbo’s heat shield. The heat shield mounts to the turbo by four 5mm Allen bolts and a 10mm nut. Space is tight, and you’ll need to lean over the engine to see the fasteners.
Step 2: Remove the downpipe
While upgrading your turbo, replacing the factory downpipe with one that uses a high-flow catalytic converter and a larger pipe diameter will help free up even more power. Check out these options from several reputable aftermarket companies. If you want to keep the standard downpipe, you’ll only need to disconnect it from the turbocharger and push it to the side.
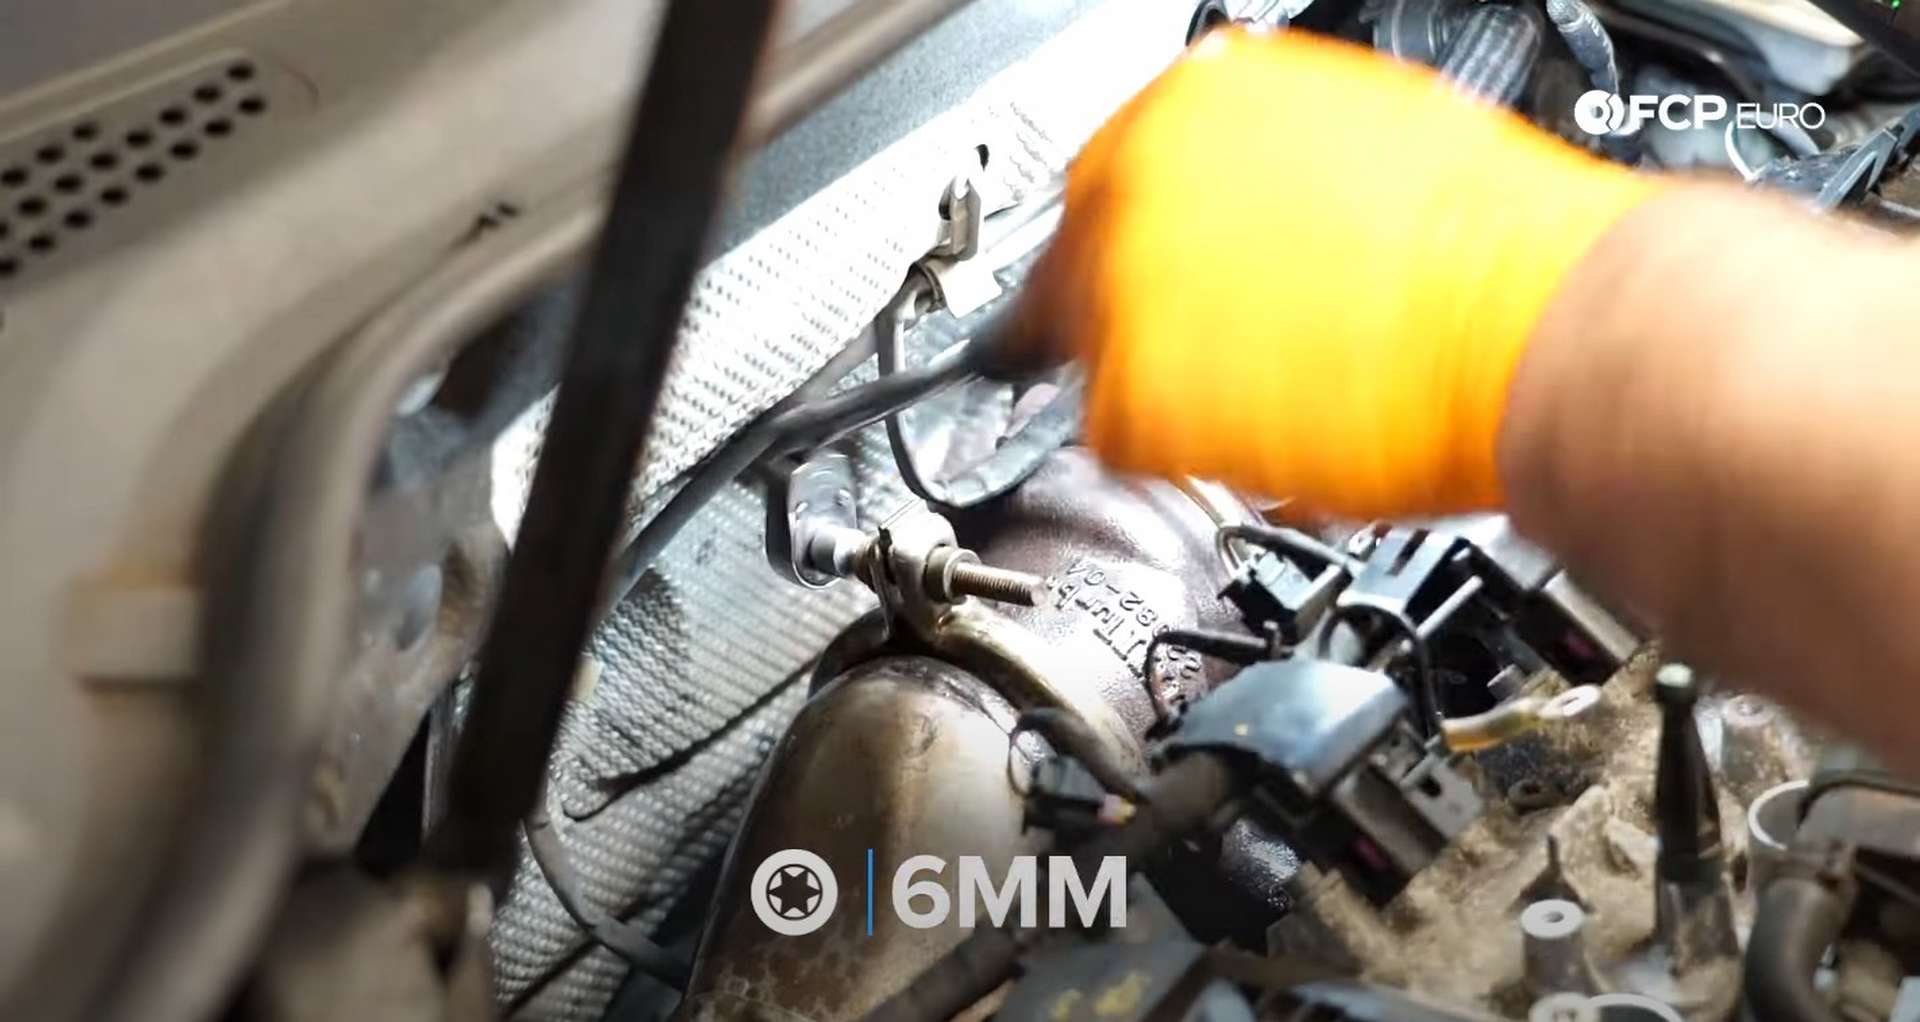
Before attacking the bolts, hits them with some penetrating fluid. This isn’t exclusive to the downpipe hardware either. Hit the manifold bolts and the O2 sensor threads, too. Once the bolts have soaked, unclamp the downpipe from the turbo with a 6mm hex bit socket.
Use a flathead screwdriver to pop the clamp off the downpipe. Slide it over the turbo’s exhaust housing; it’ll hang on there until you’re ready to tighten it back up. If you aren’t replacing the downpipe, skip the rest of this and move on to the next step.
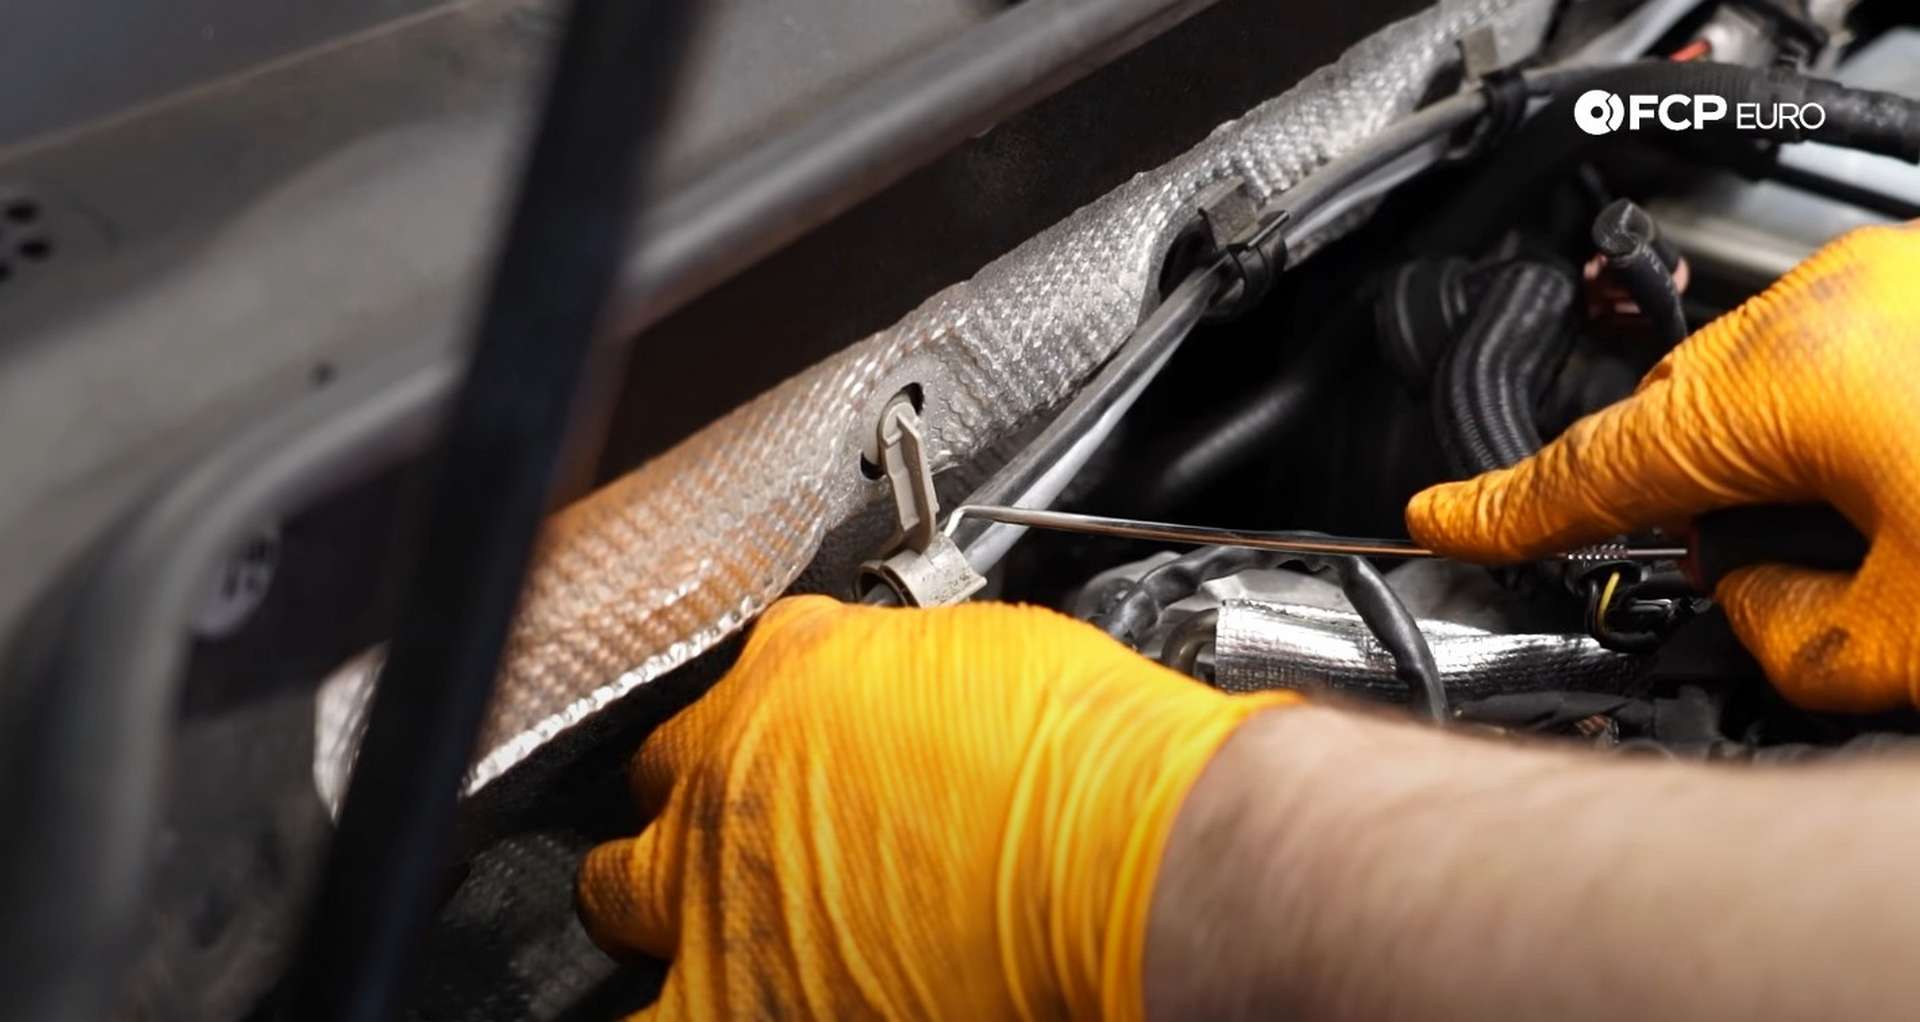
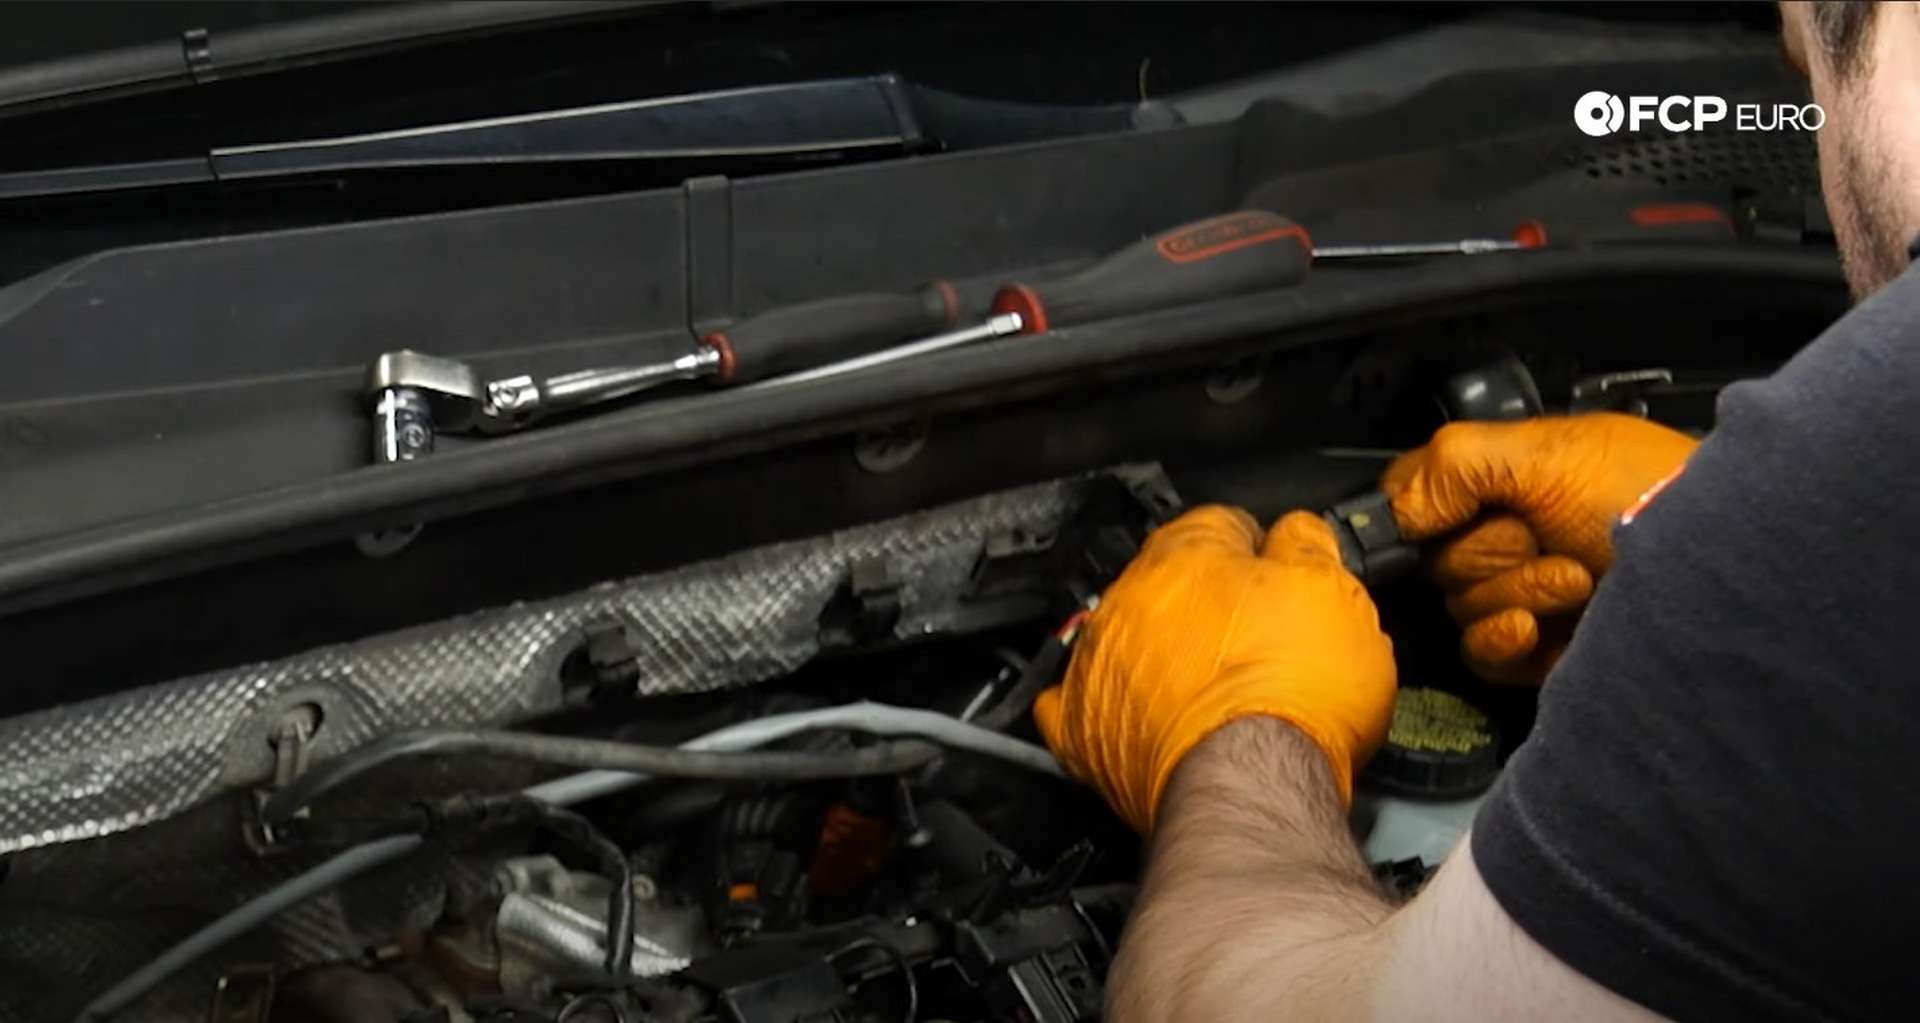
Before getting under the car to disconnect the rest of the downpipe, disconnect both O2 sensors. Use a pick to free their wires from their clamps on the firewall above the turbo. Then unplug their connections near the brake fluid reservoir.
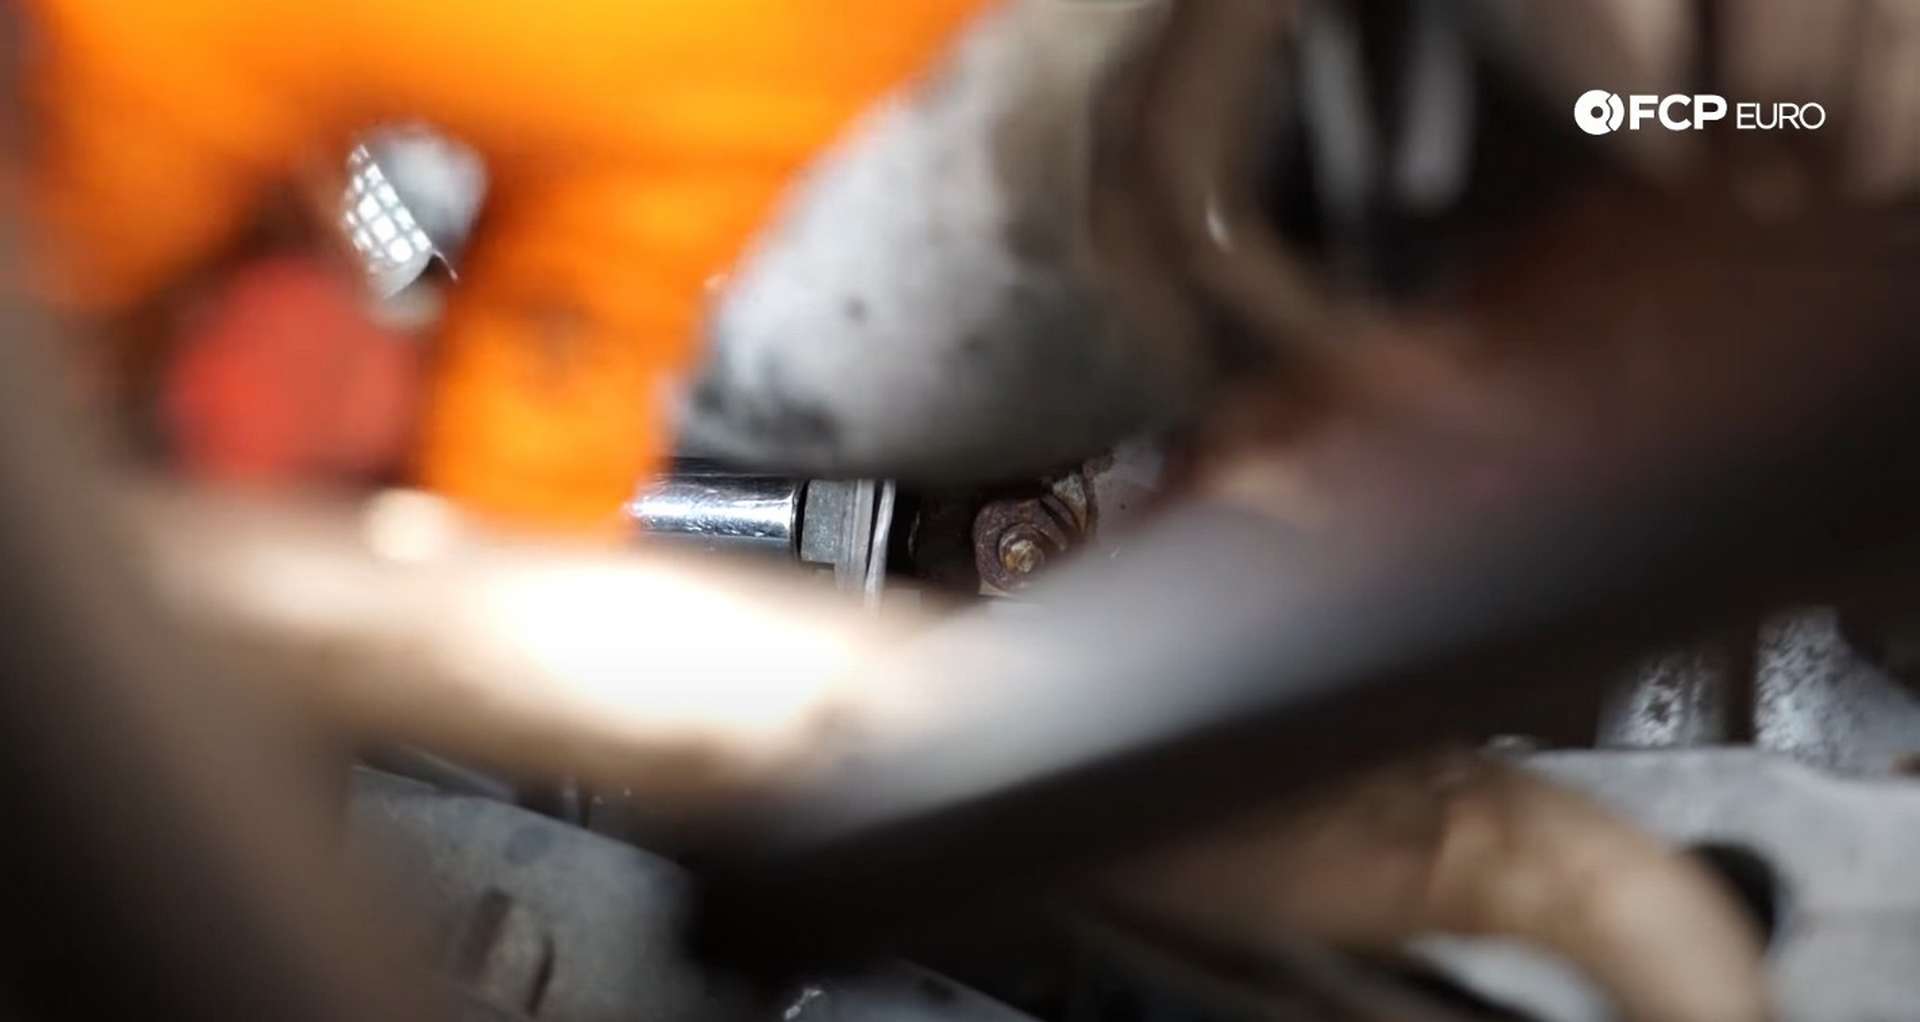
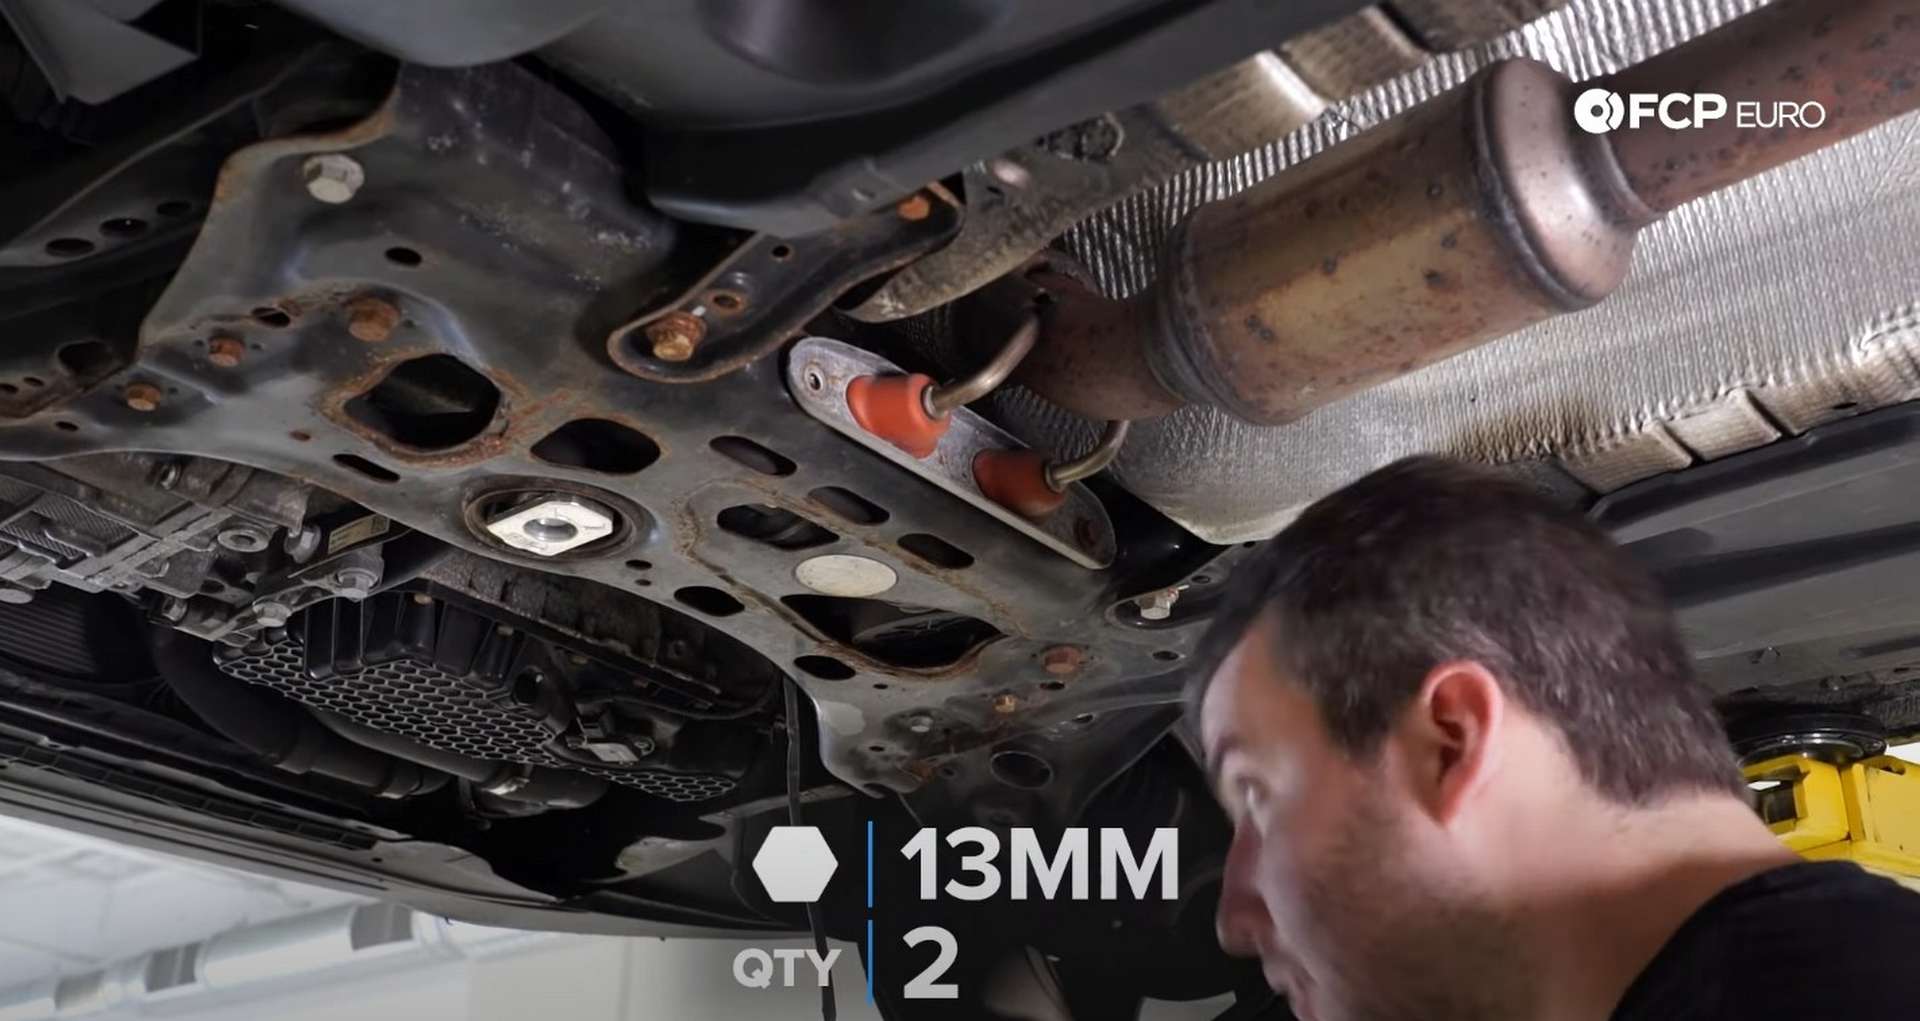
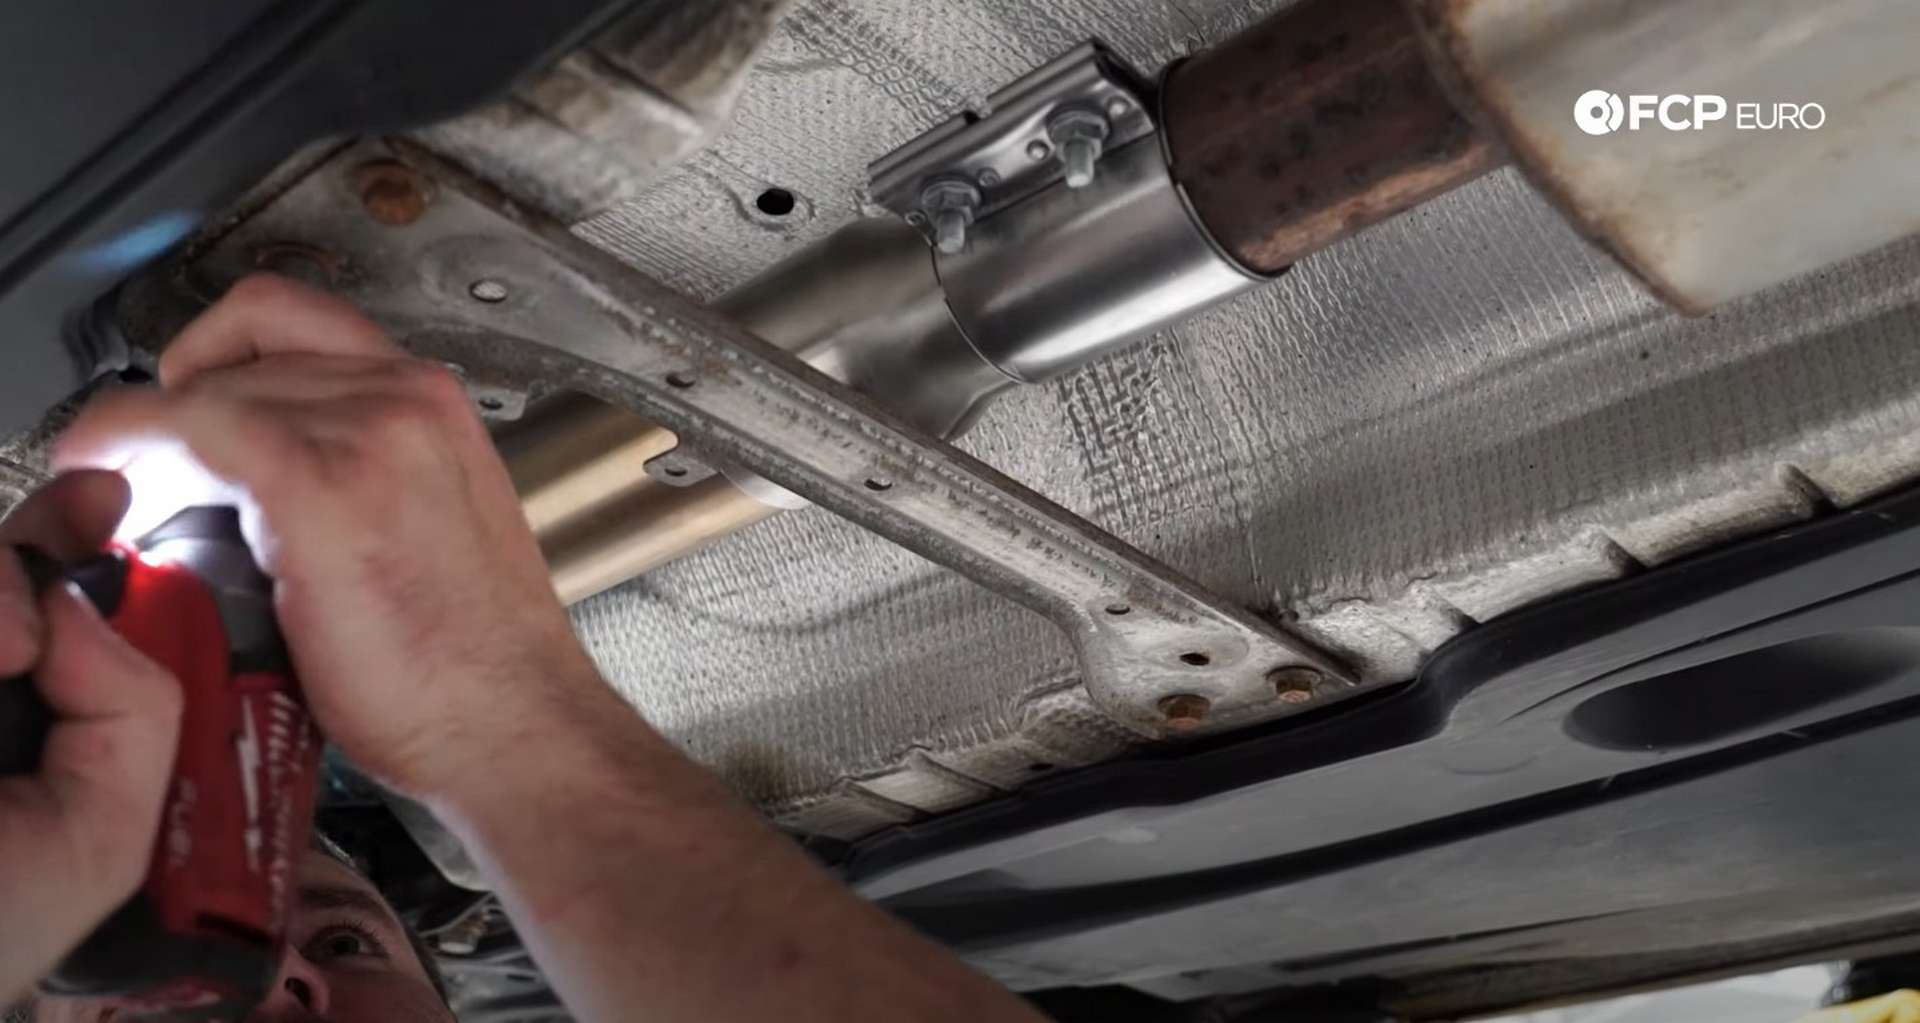
After that, get under the car and locate the bracing bracket on the pipe. It comes off of the pipe just after the cat. Use a 13mm socket to remove the two nuts on the bracket. Space and visibility are limited here, so you may have to fumble around a while before getting them off.
If you’re GTI isn’t equipped with the performance pack, you’ll need to remove the small heat shield over the axle to get to the second downpipe bracket nut. Use a 16mm socket to remove the two bolts for the heat shield.
Next, remove the chassis brace that sits below the exhaust. Use a 13mm socket to remove the four bolts.
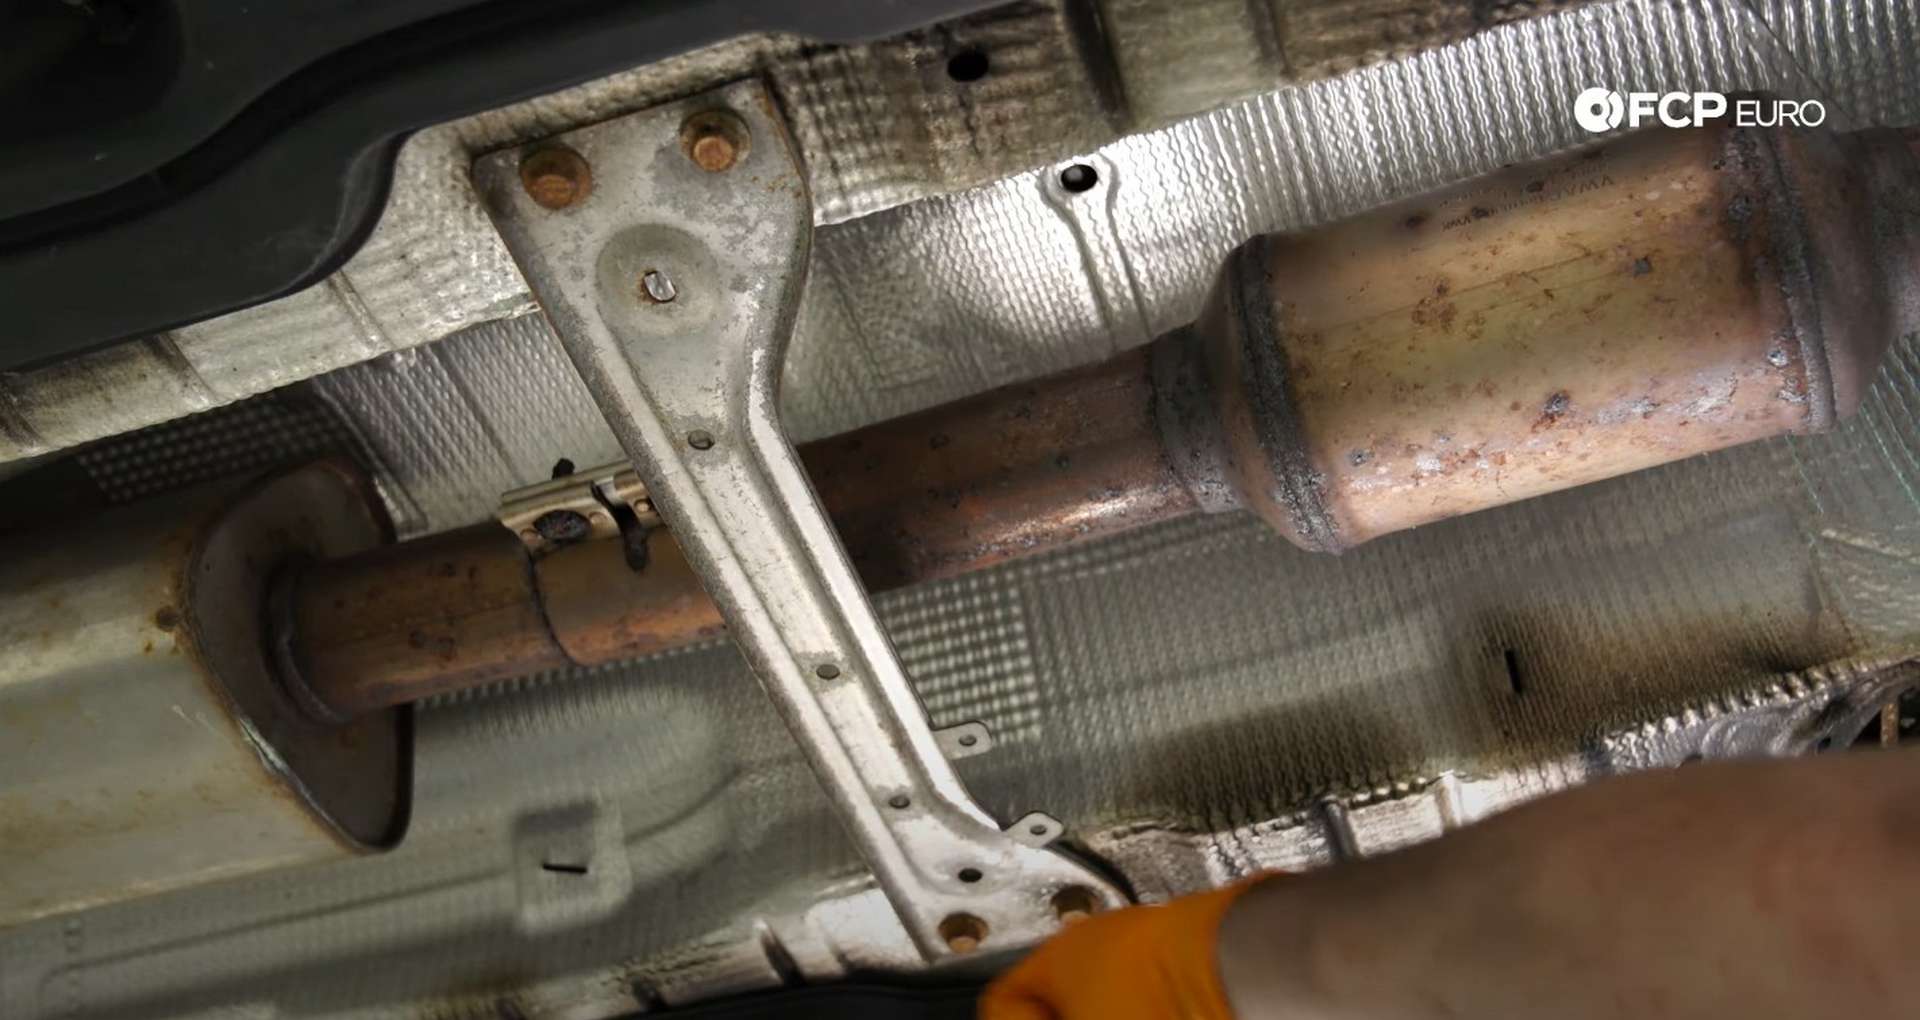
Then, remove the clamp connecting the downpipe to the rest of the exhaust. The nuts and bolts on our clamp were very rusty and nearly round, so we had to slice through the clamp to get it to release the downpipe.
Lastly, remove the two 13mm bolts for the remaining downpipe bracket.
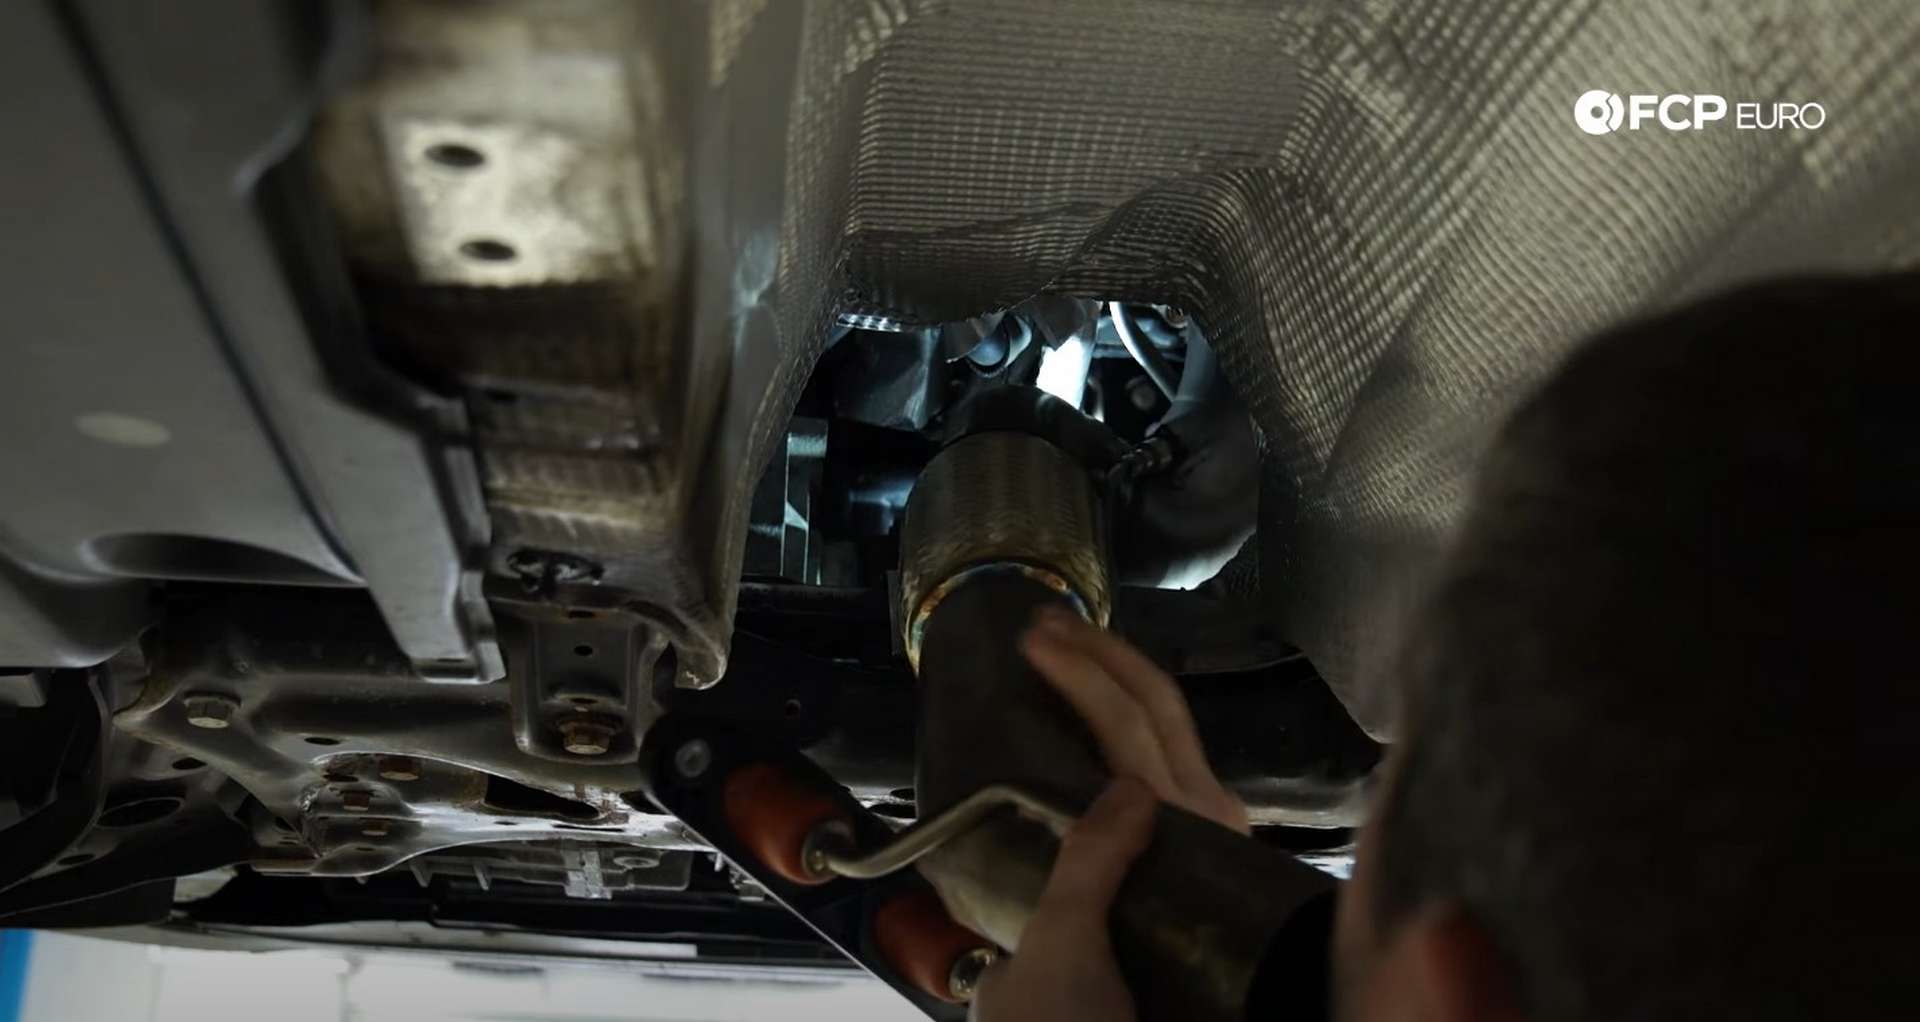
With those bolts out, pull the downpipe out of the car. Use an O2 sensor socket to remove the O2 sensor from the downpipe.
Step 3: Disconnect the turbo lines and brackets
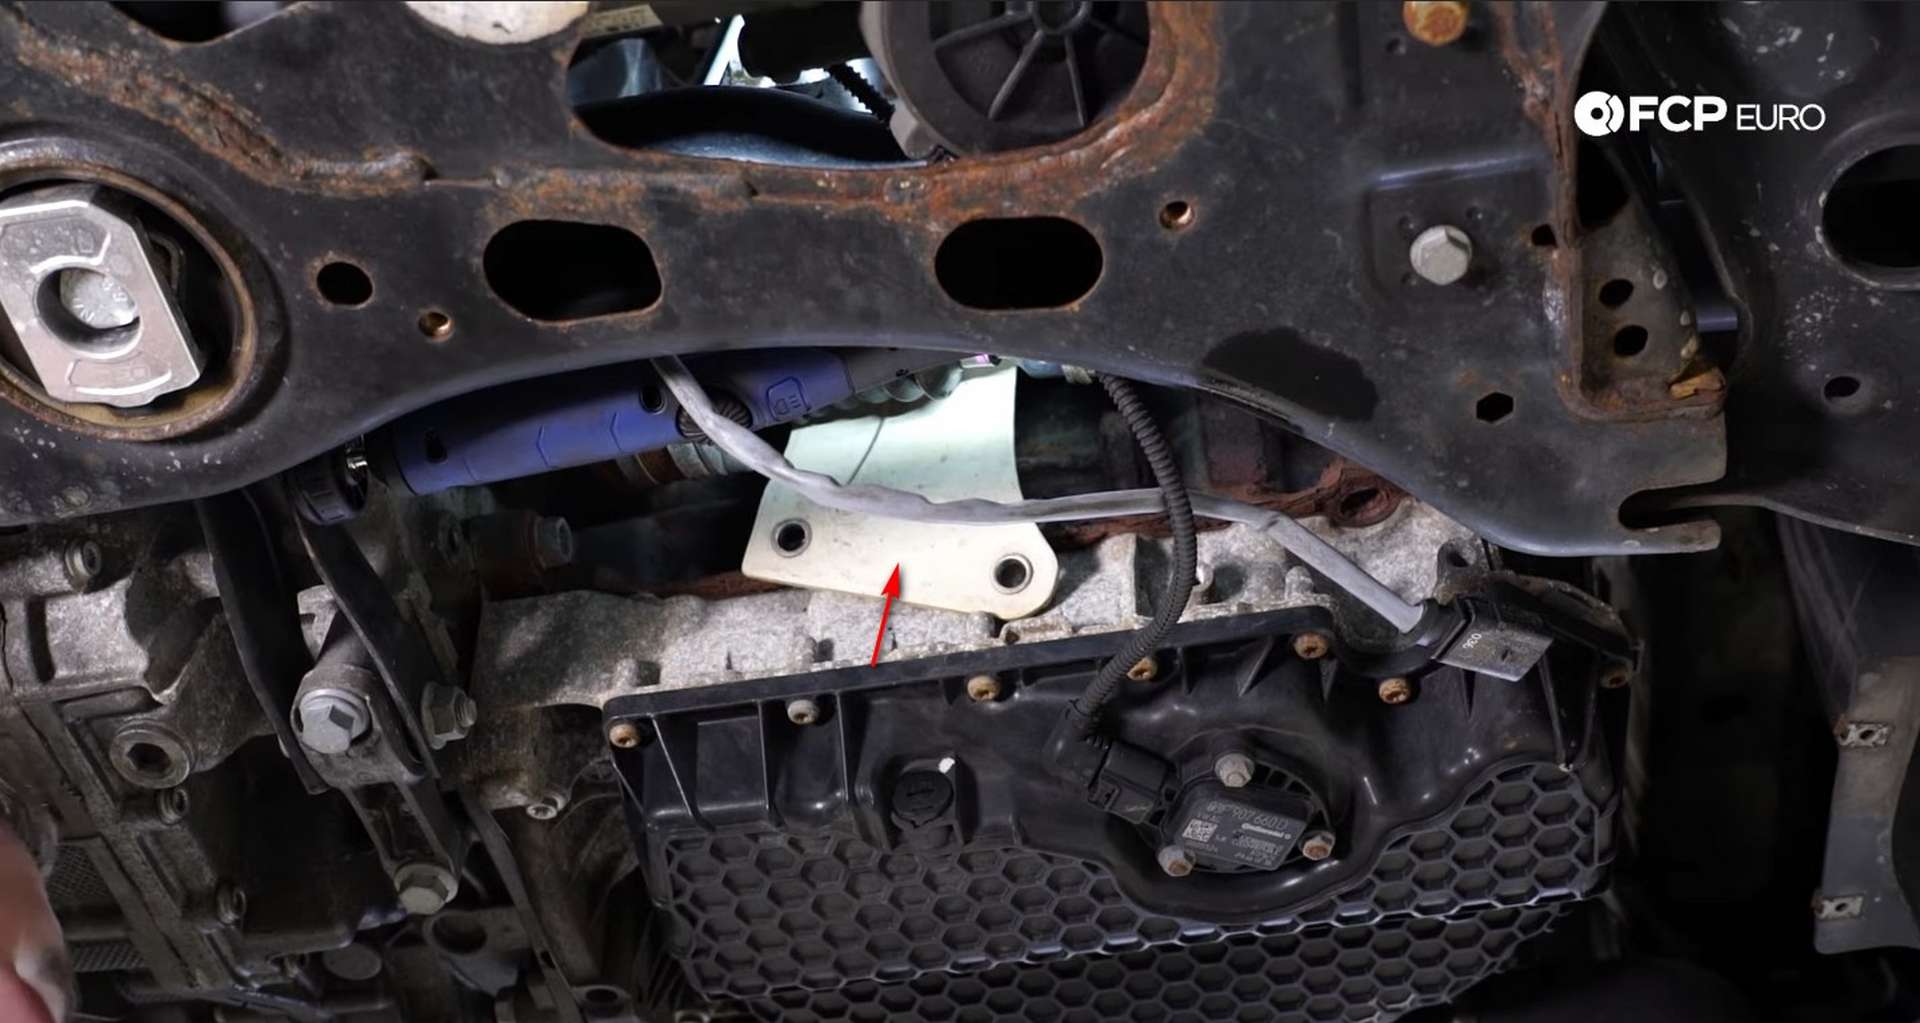
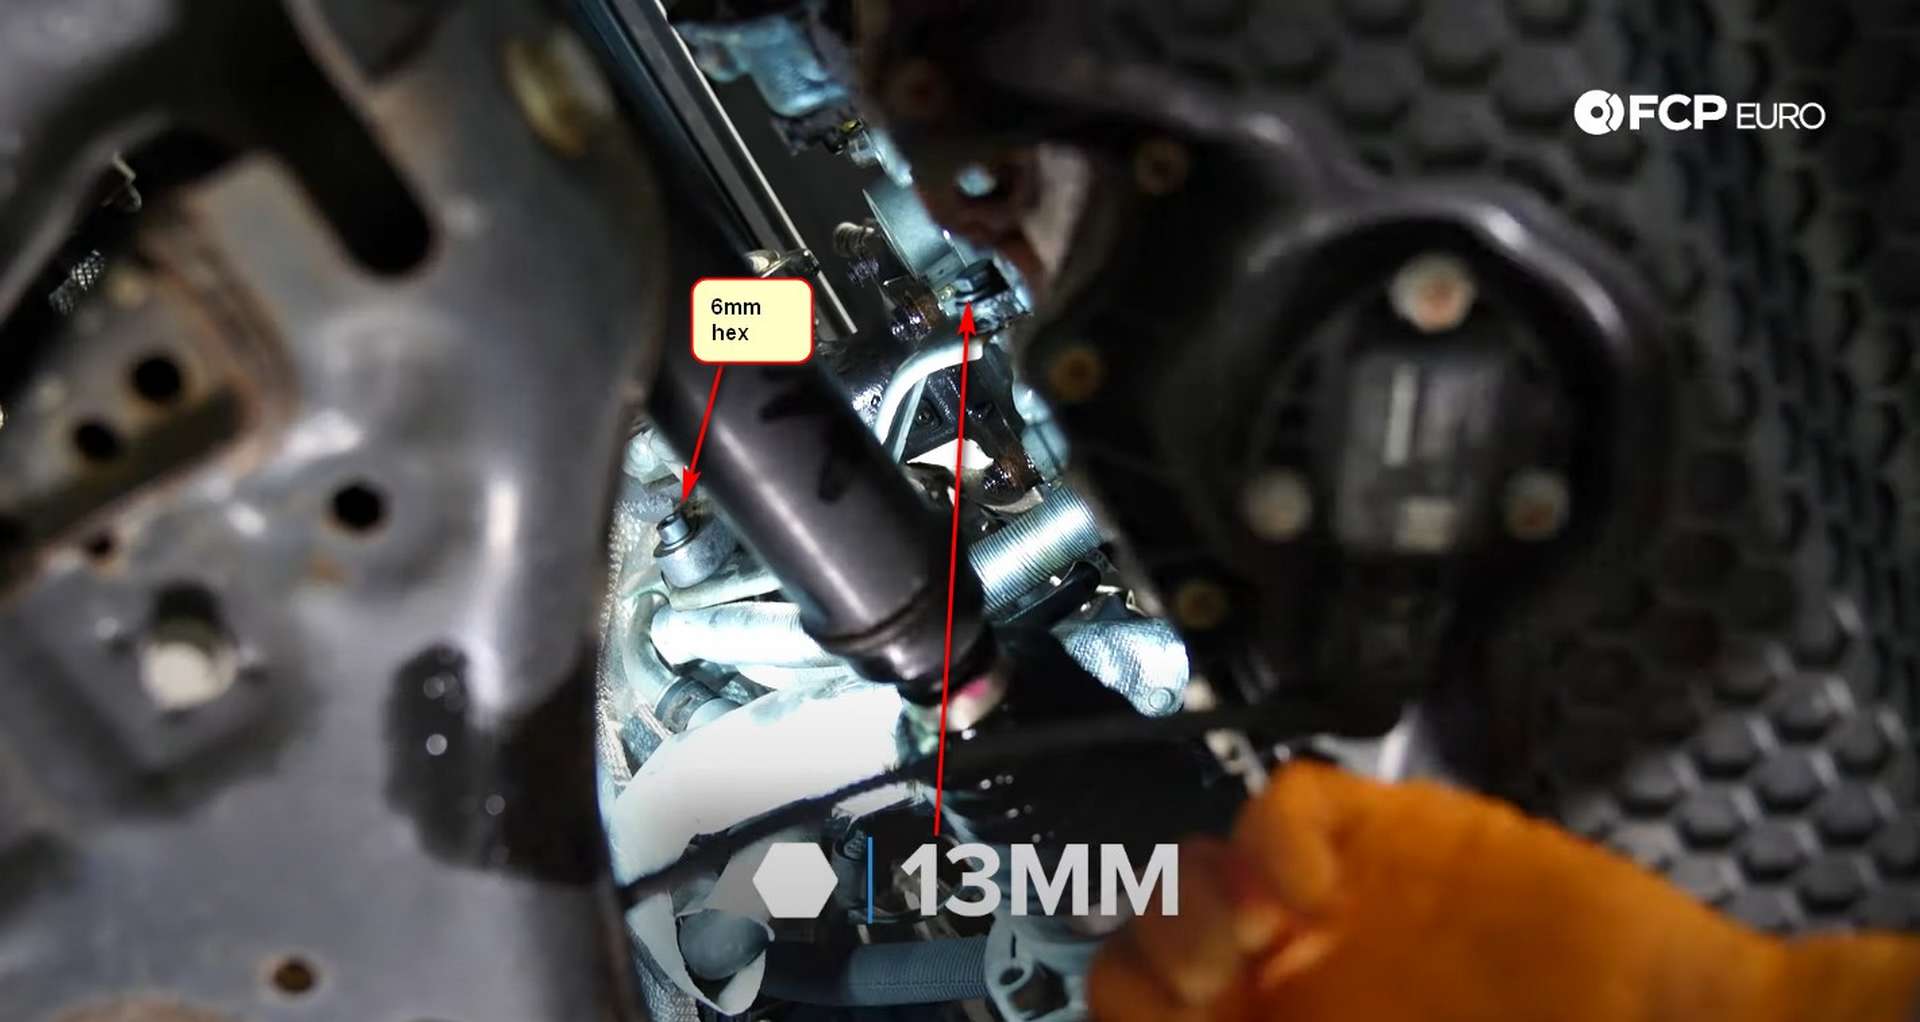
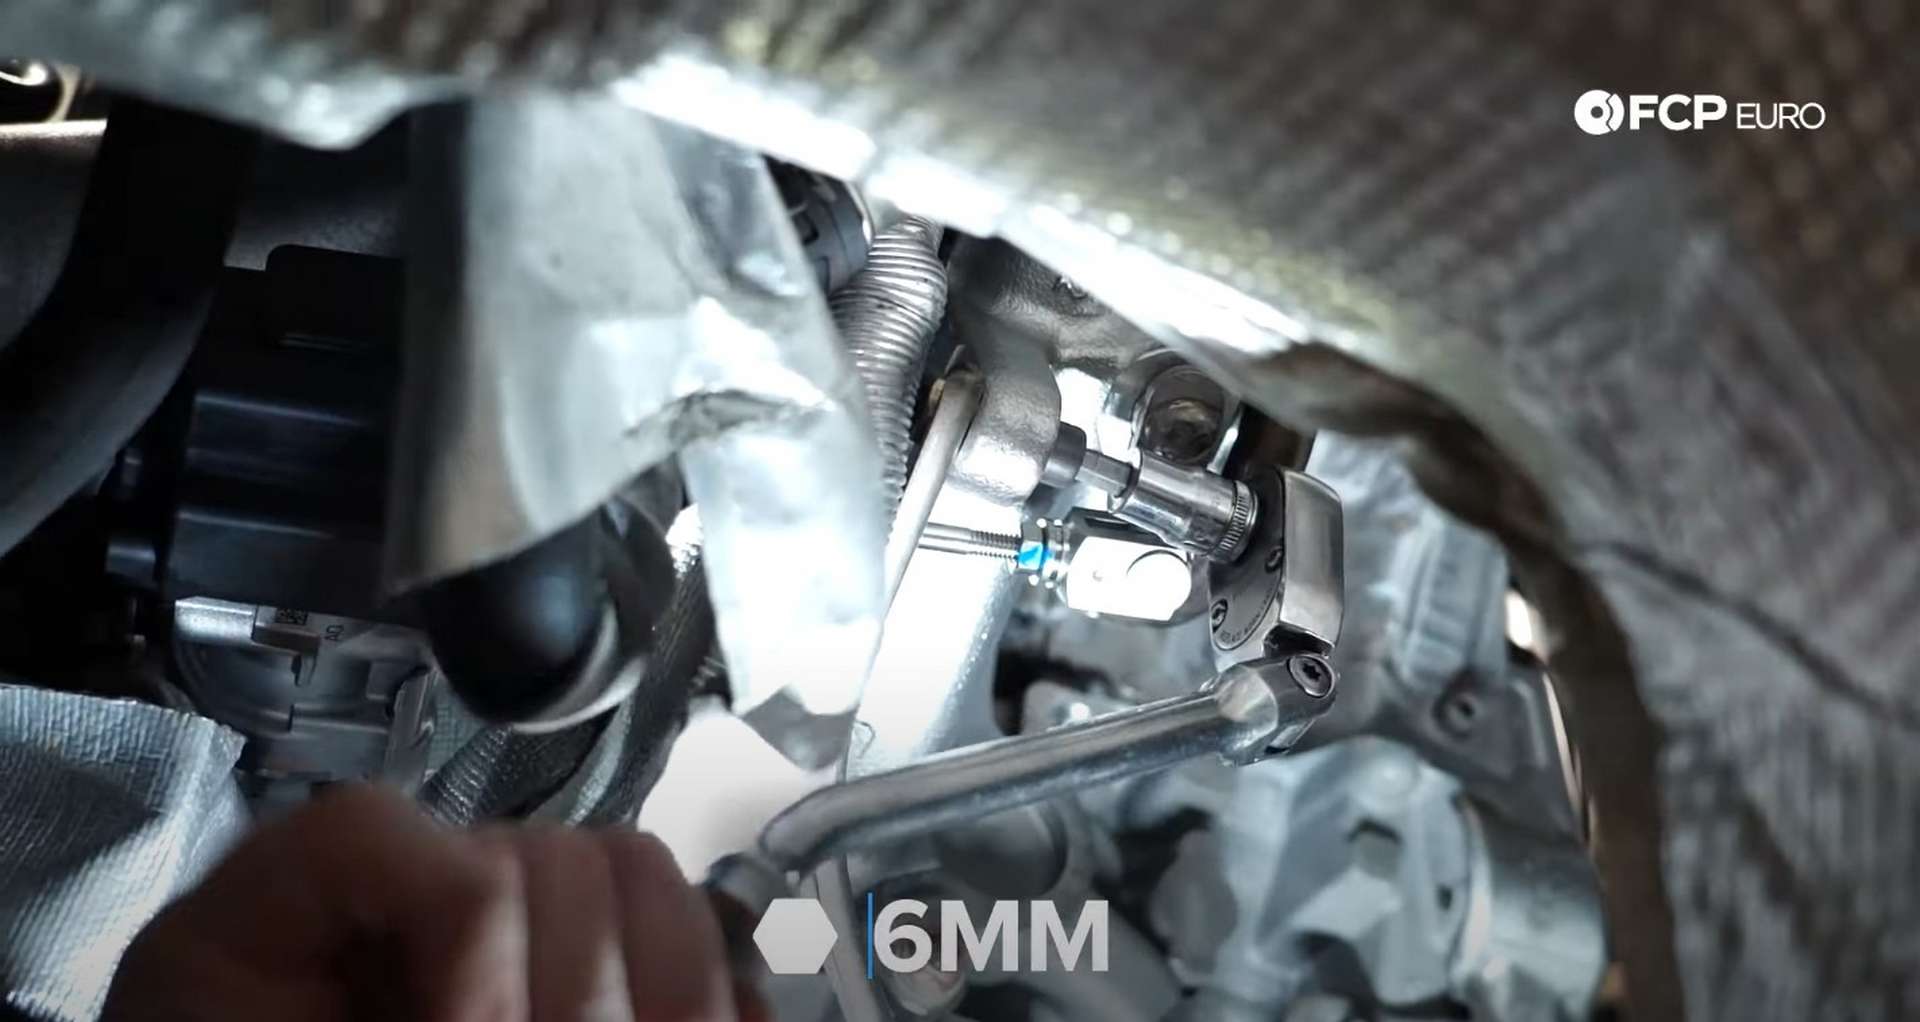
Under the turbocharger is a bracing bracket. Use a 13mm socket to remove the bolt securing the bracket to the engine. Then, use a 6mm hex bit socket to remove the bolt securing the bracket to the turbocharger.
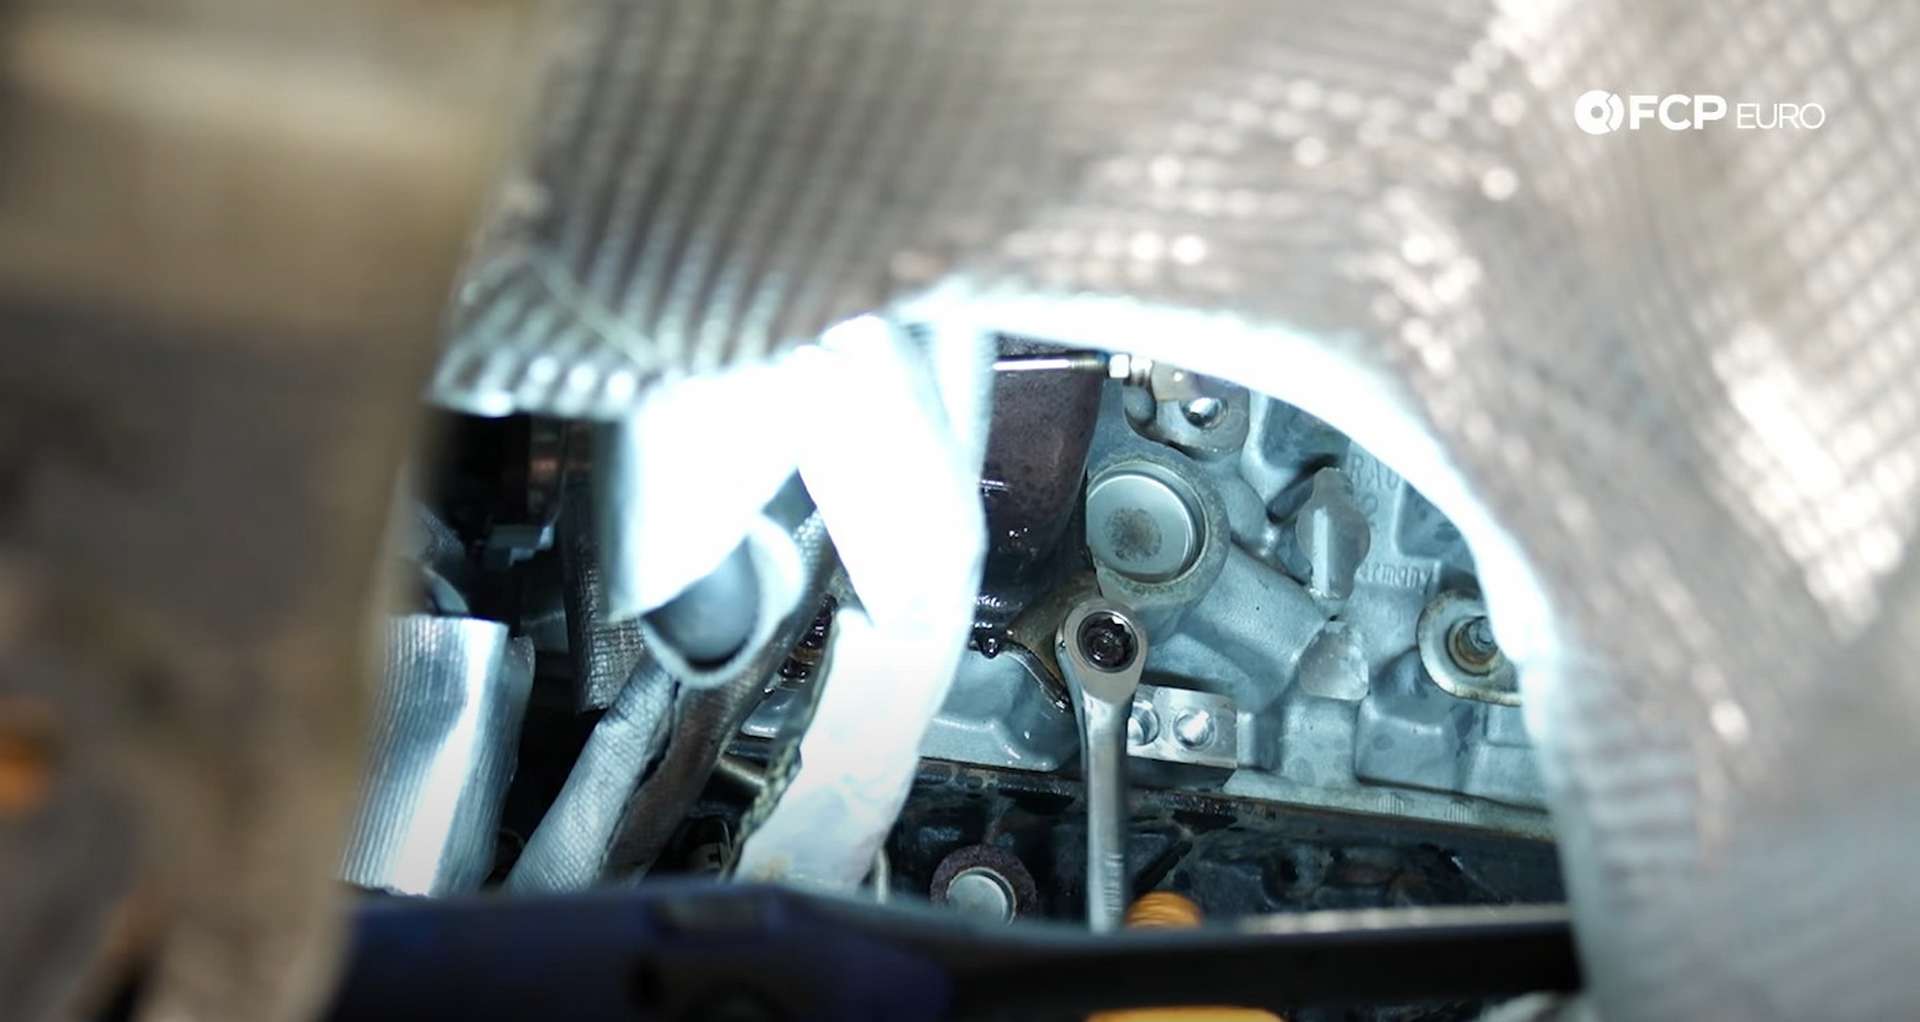
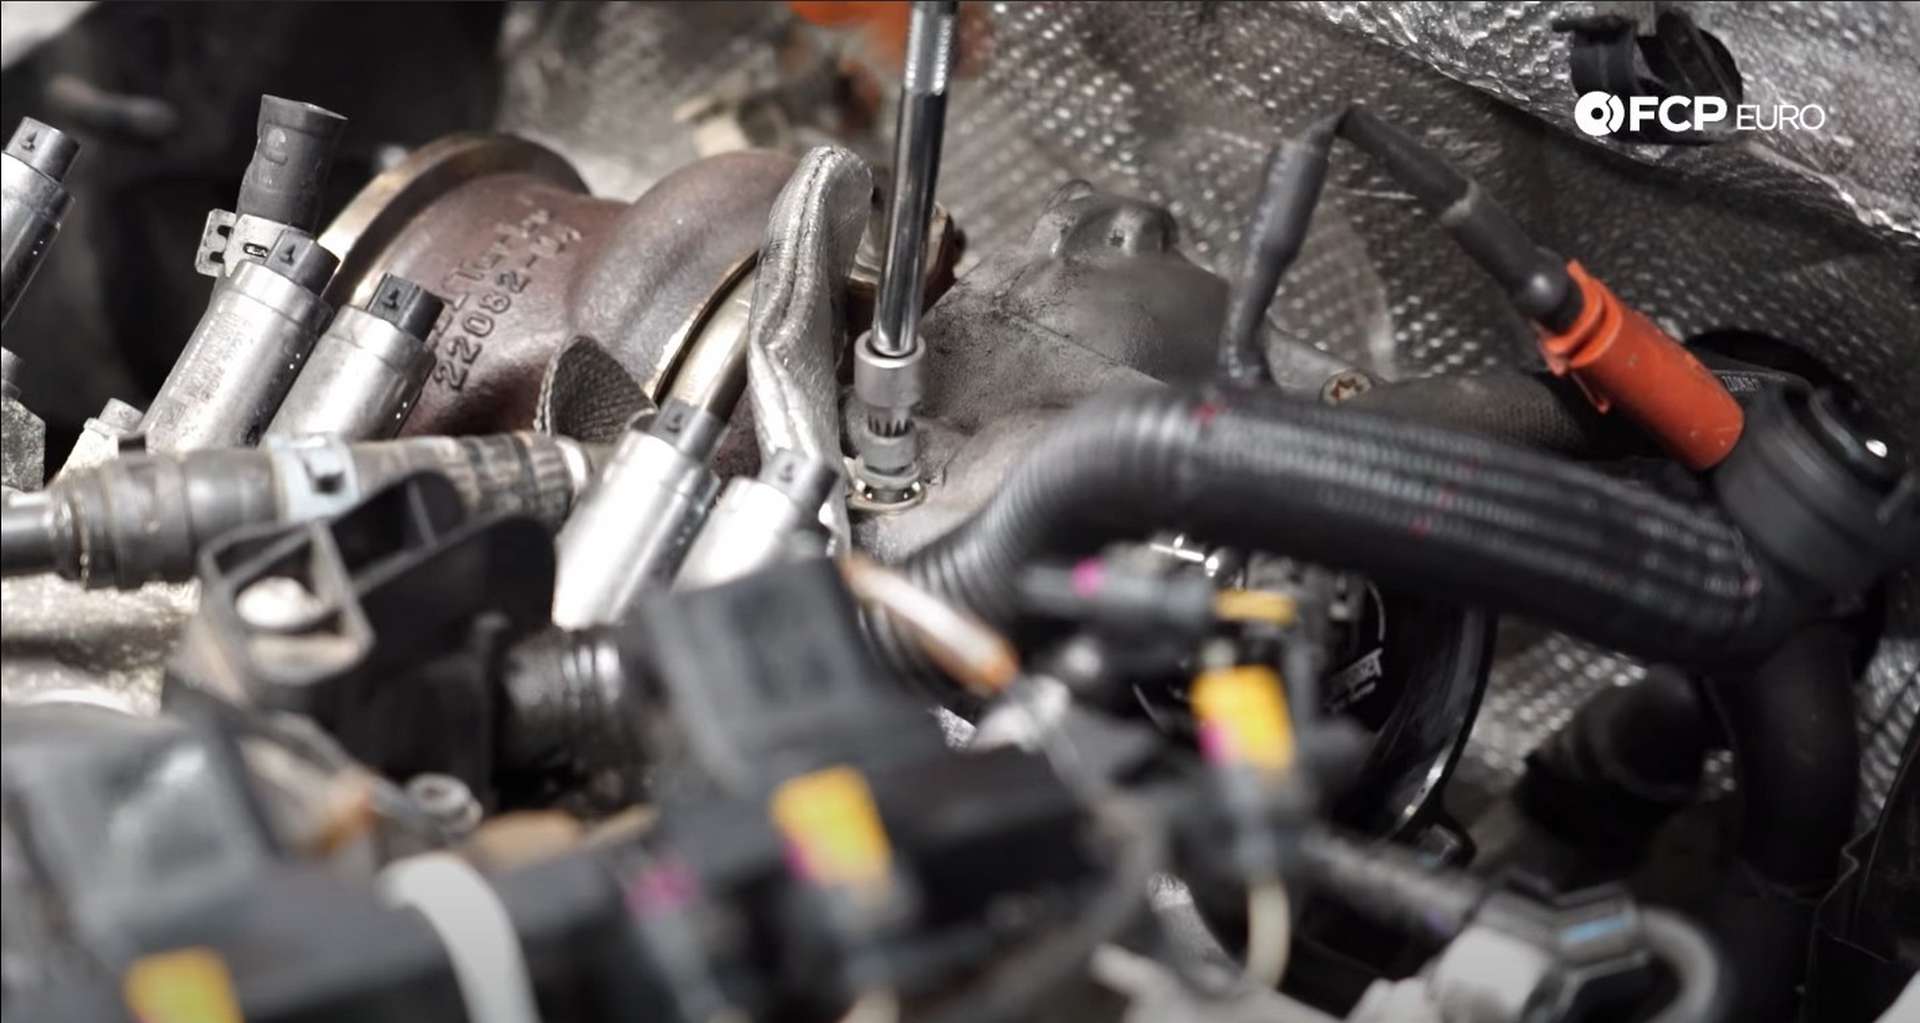
Next, use a 12mm socket or wrench to remove the two nuts that secure the turbo’s exhaust housing to the cylinder head. Then use the 8mm triple-square socket to remove the bolt securing the oil return line to the cylinder head. Use a flathead screwdriver to help disconnect the line from the head once you’ve removed the bolt. Have a rag or small drain pan handy to catch the oil that will come out of the return line.
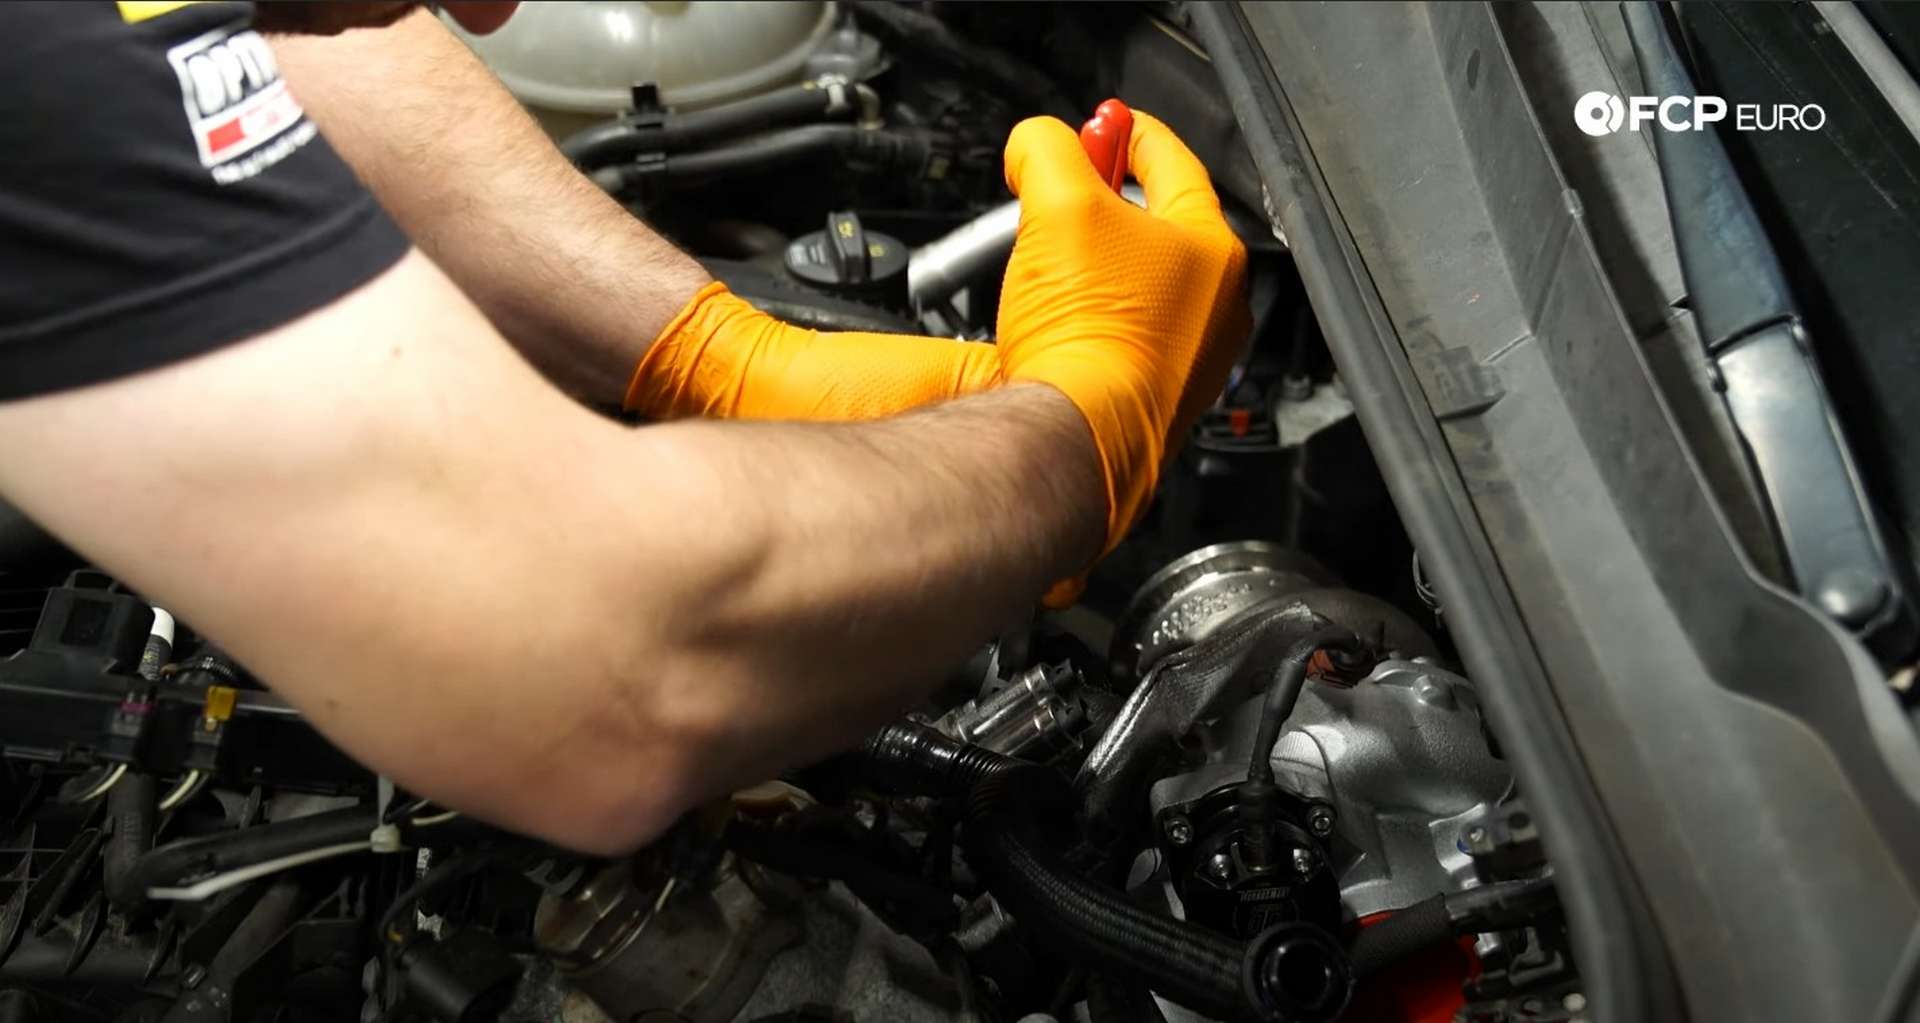
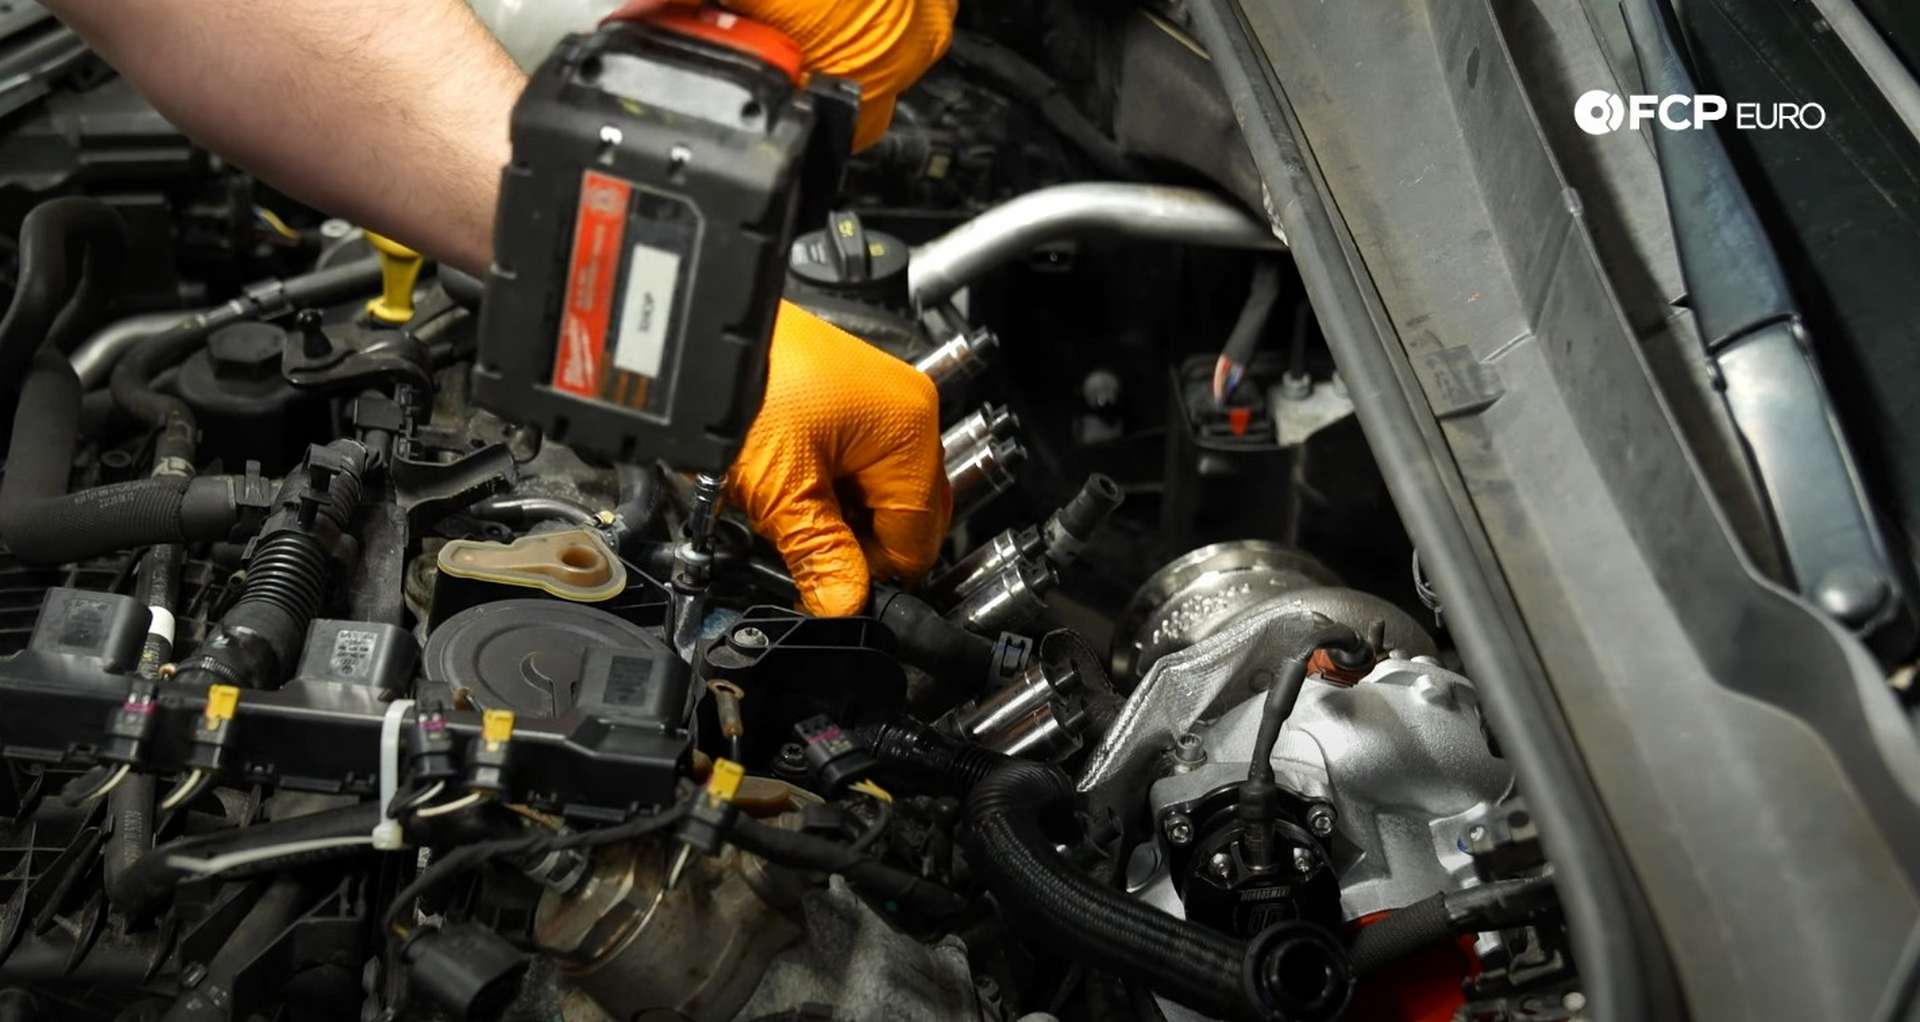
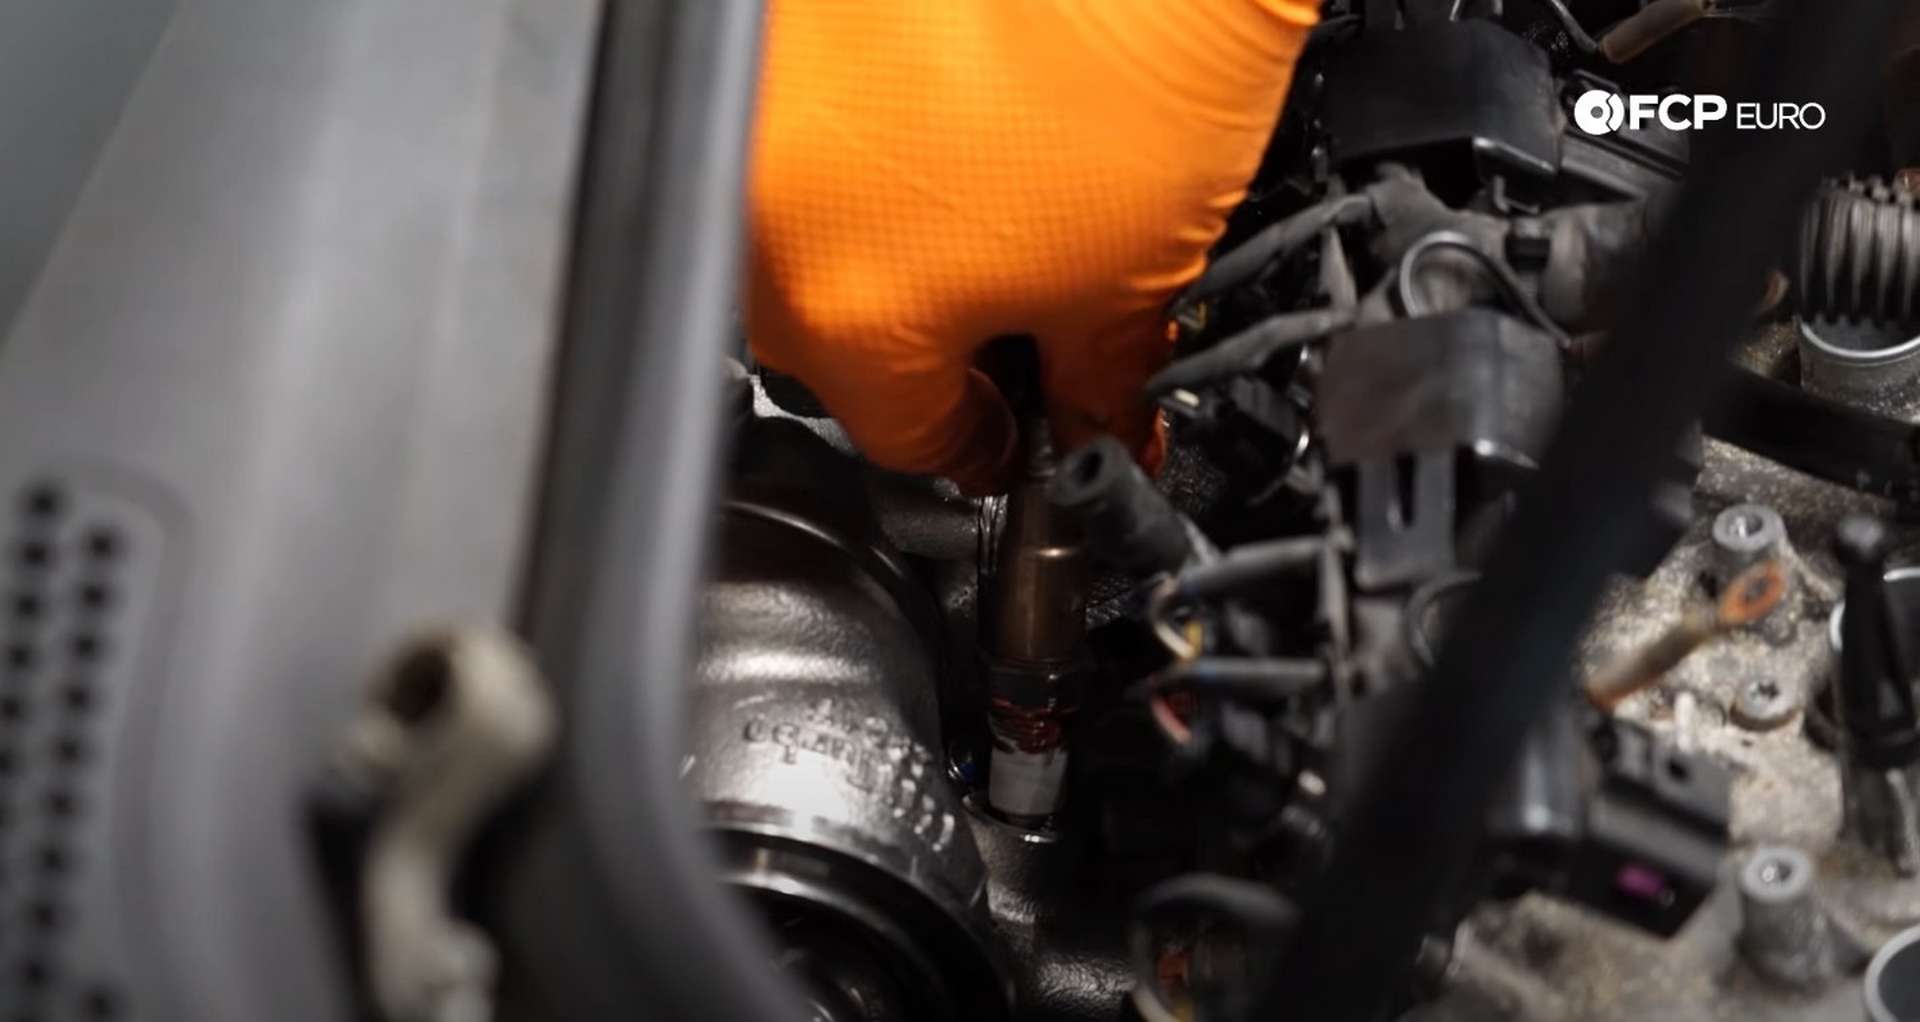
Next, head back into the engine bay. Use an O2 sensor socket to remove the other sensor from the turbocharger.
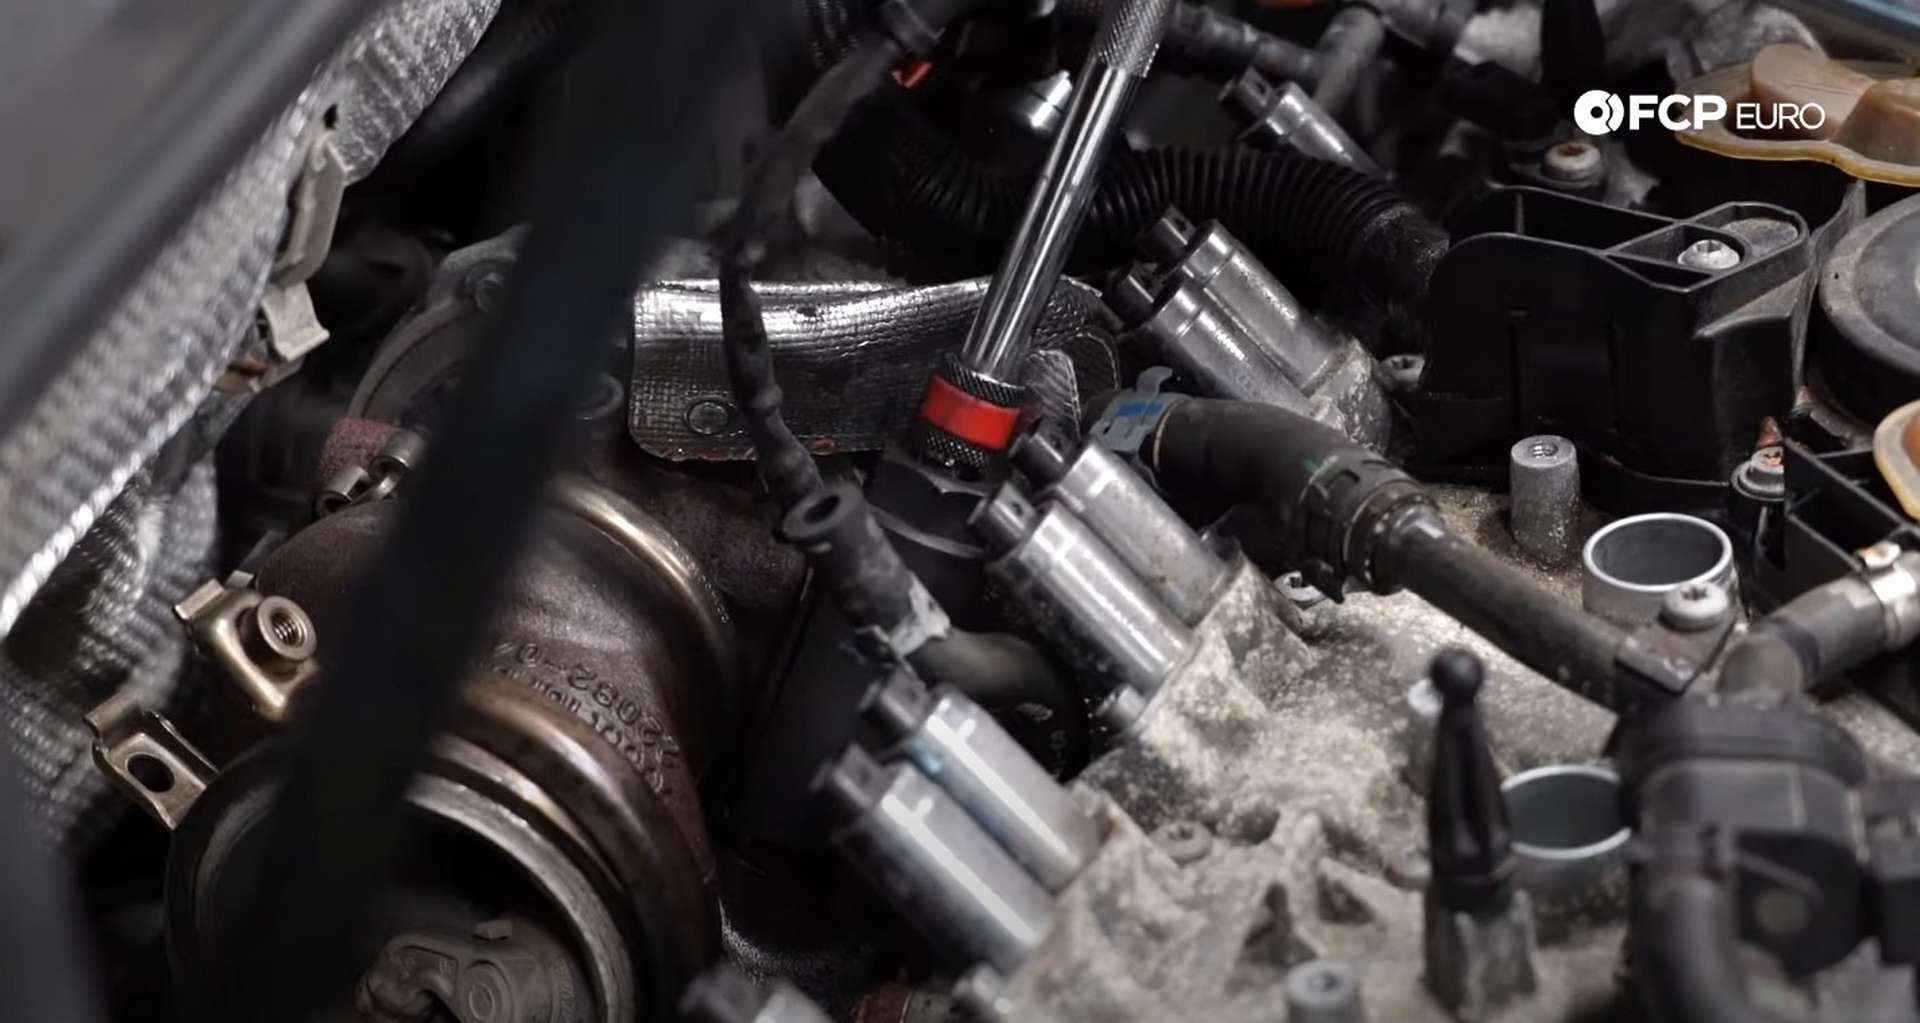
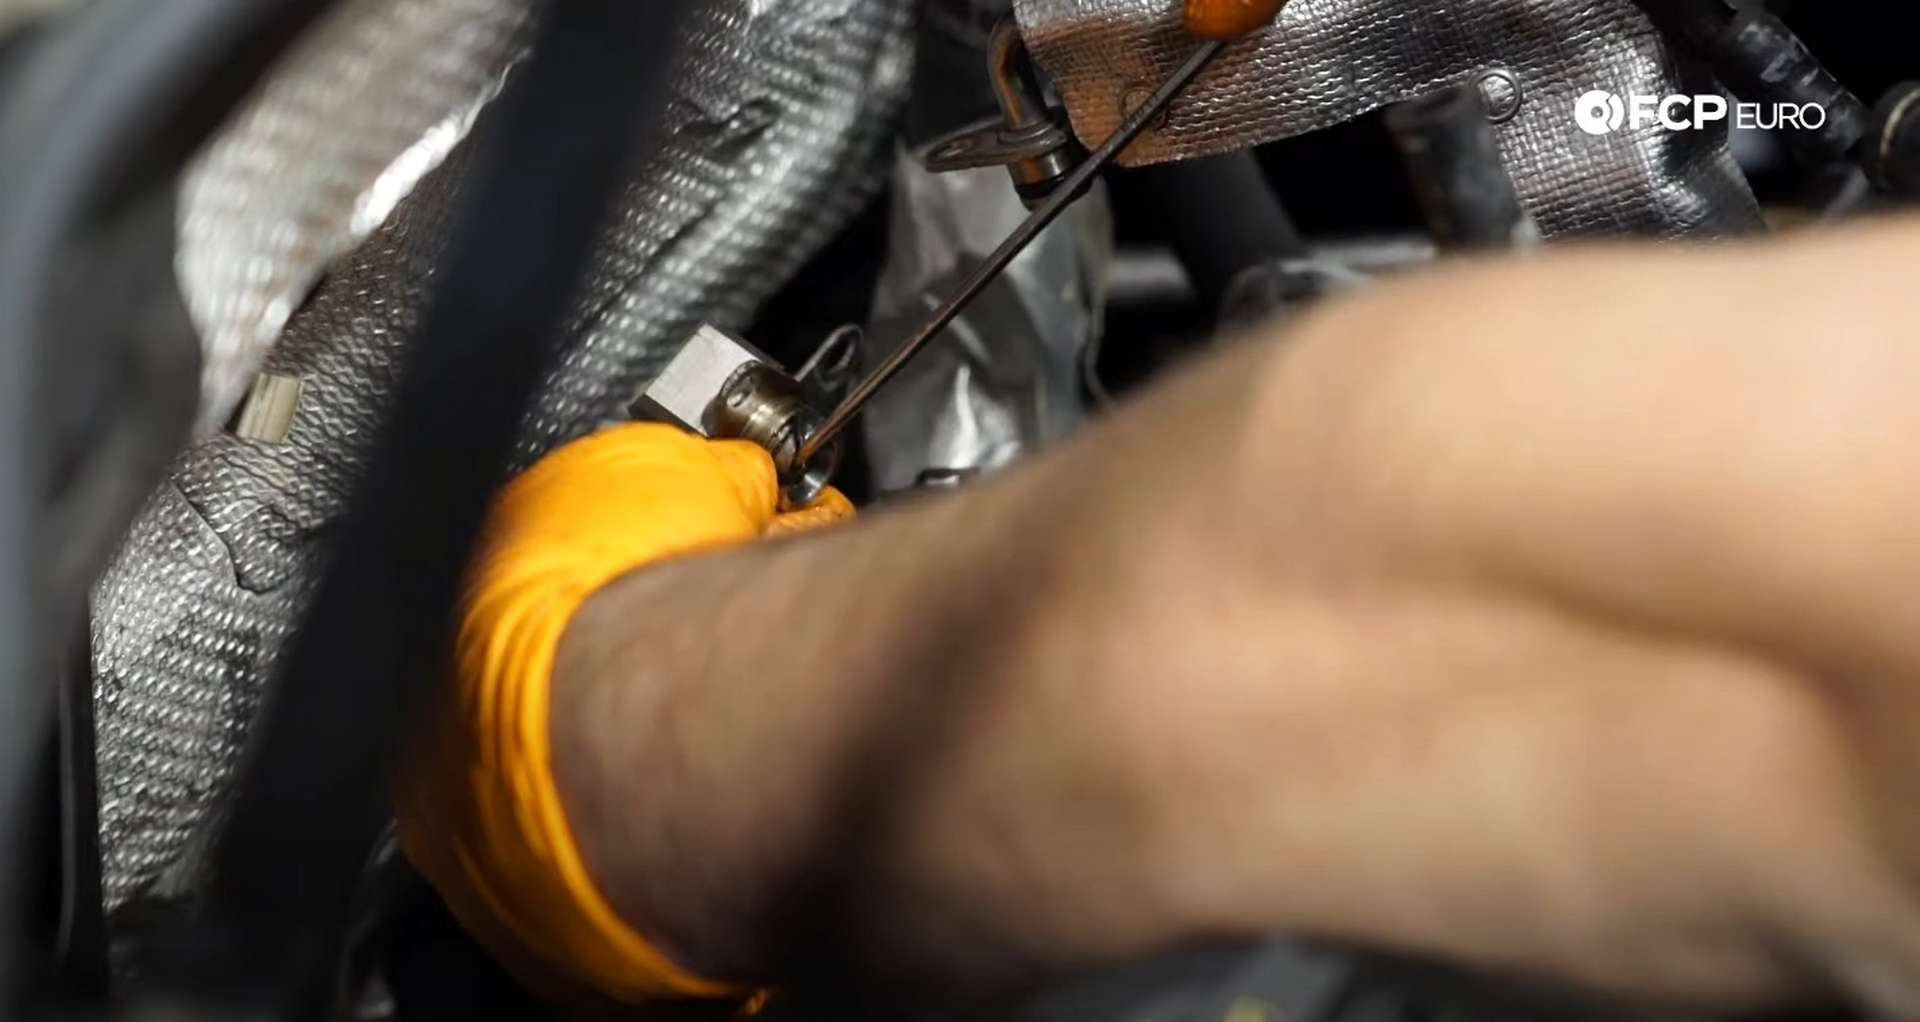
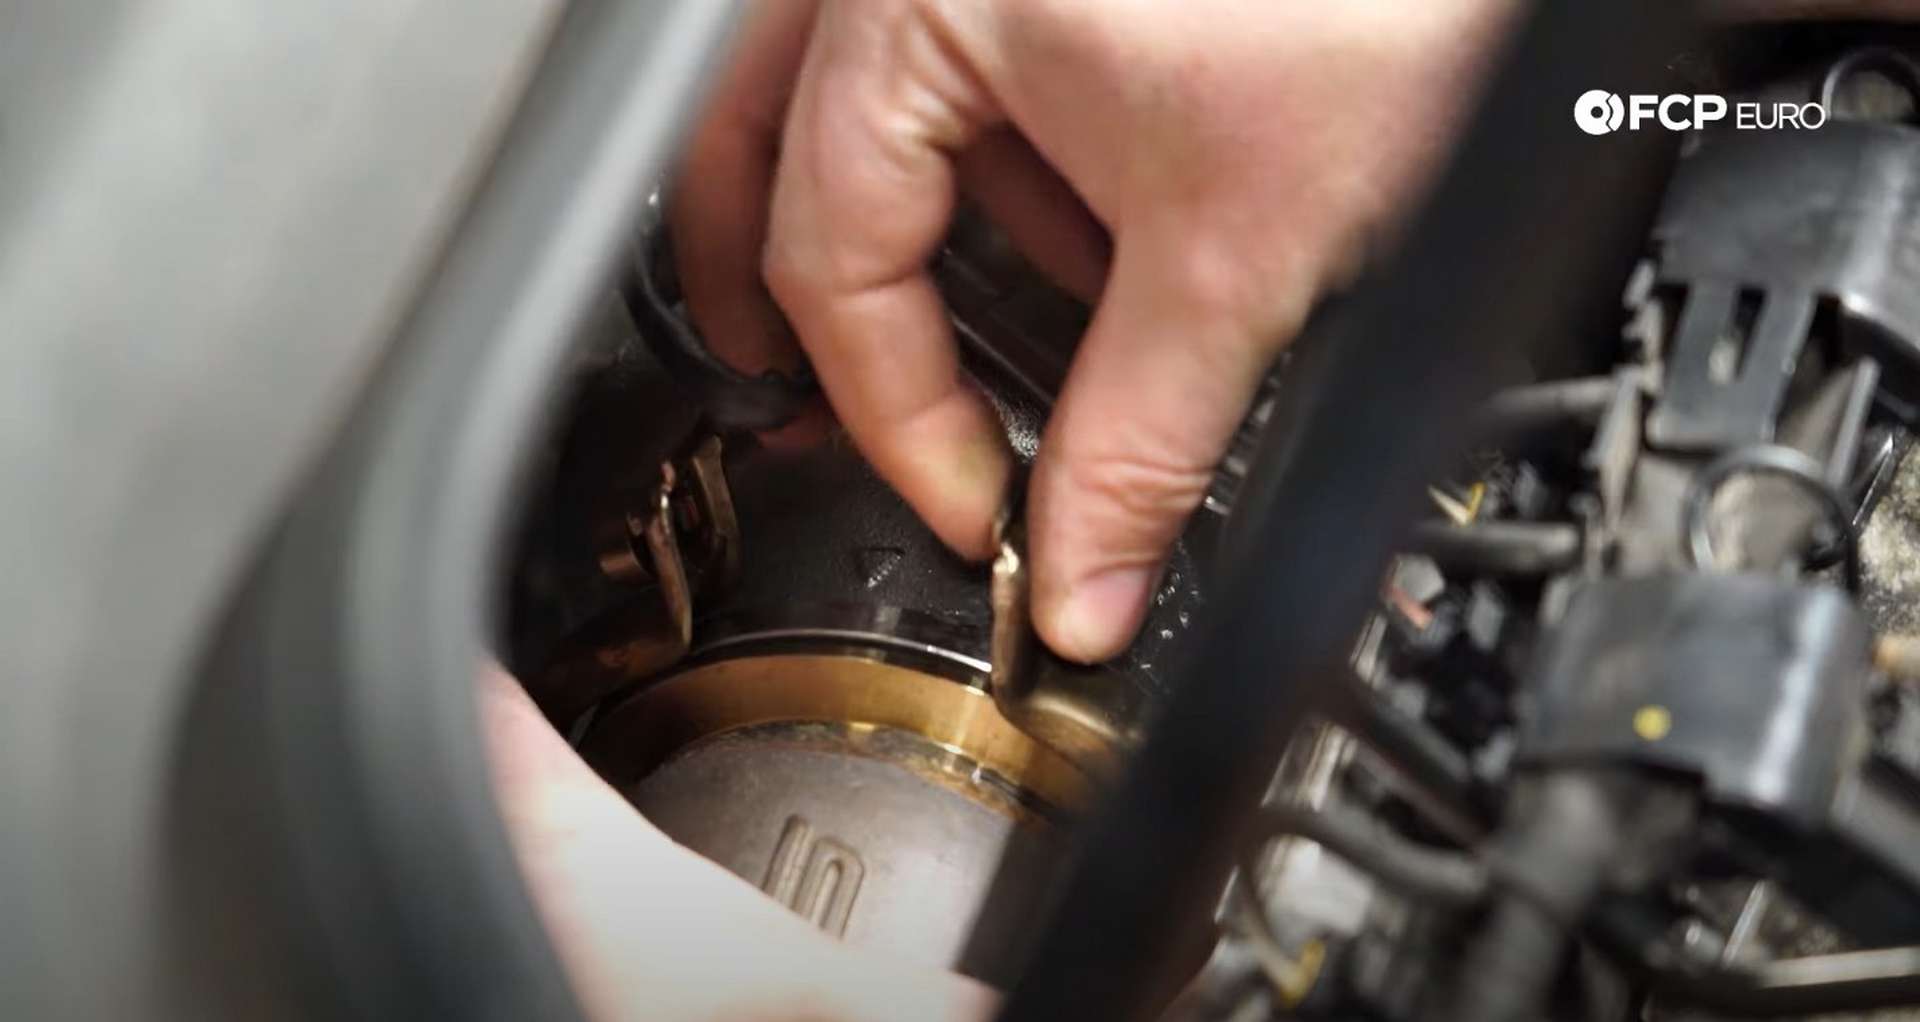
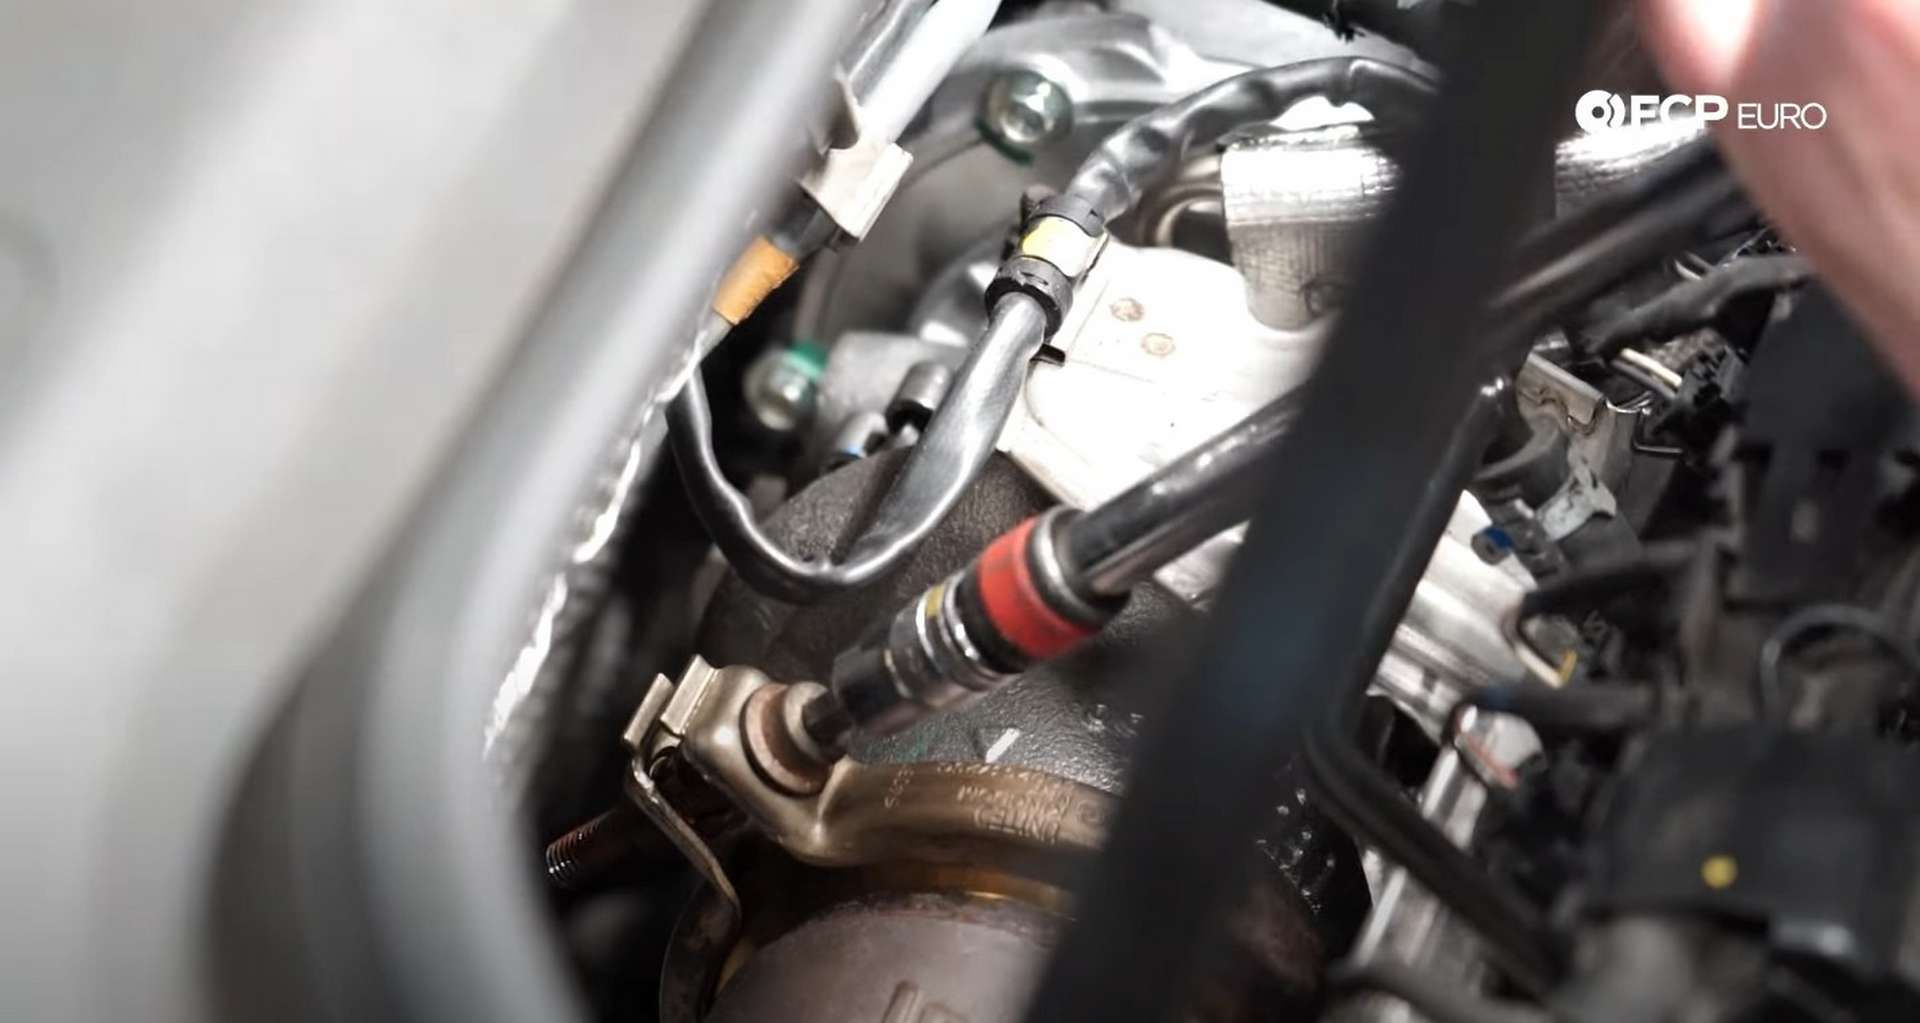
All that’s left is two coolant lines and the oil feed line. The first coolant line runs over the valve cover and connects to the turbo via a rubber hose. To give yourself more room to remove the line from the turbo, use a T30 Torx bit socket to remove the line’s two mounting fasteners. Then, use pliers to pull back the hose clamp on the rubber line and pull it off of the turbo.
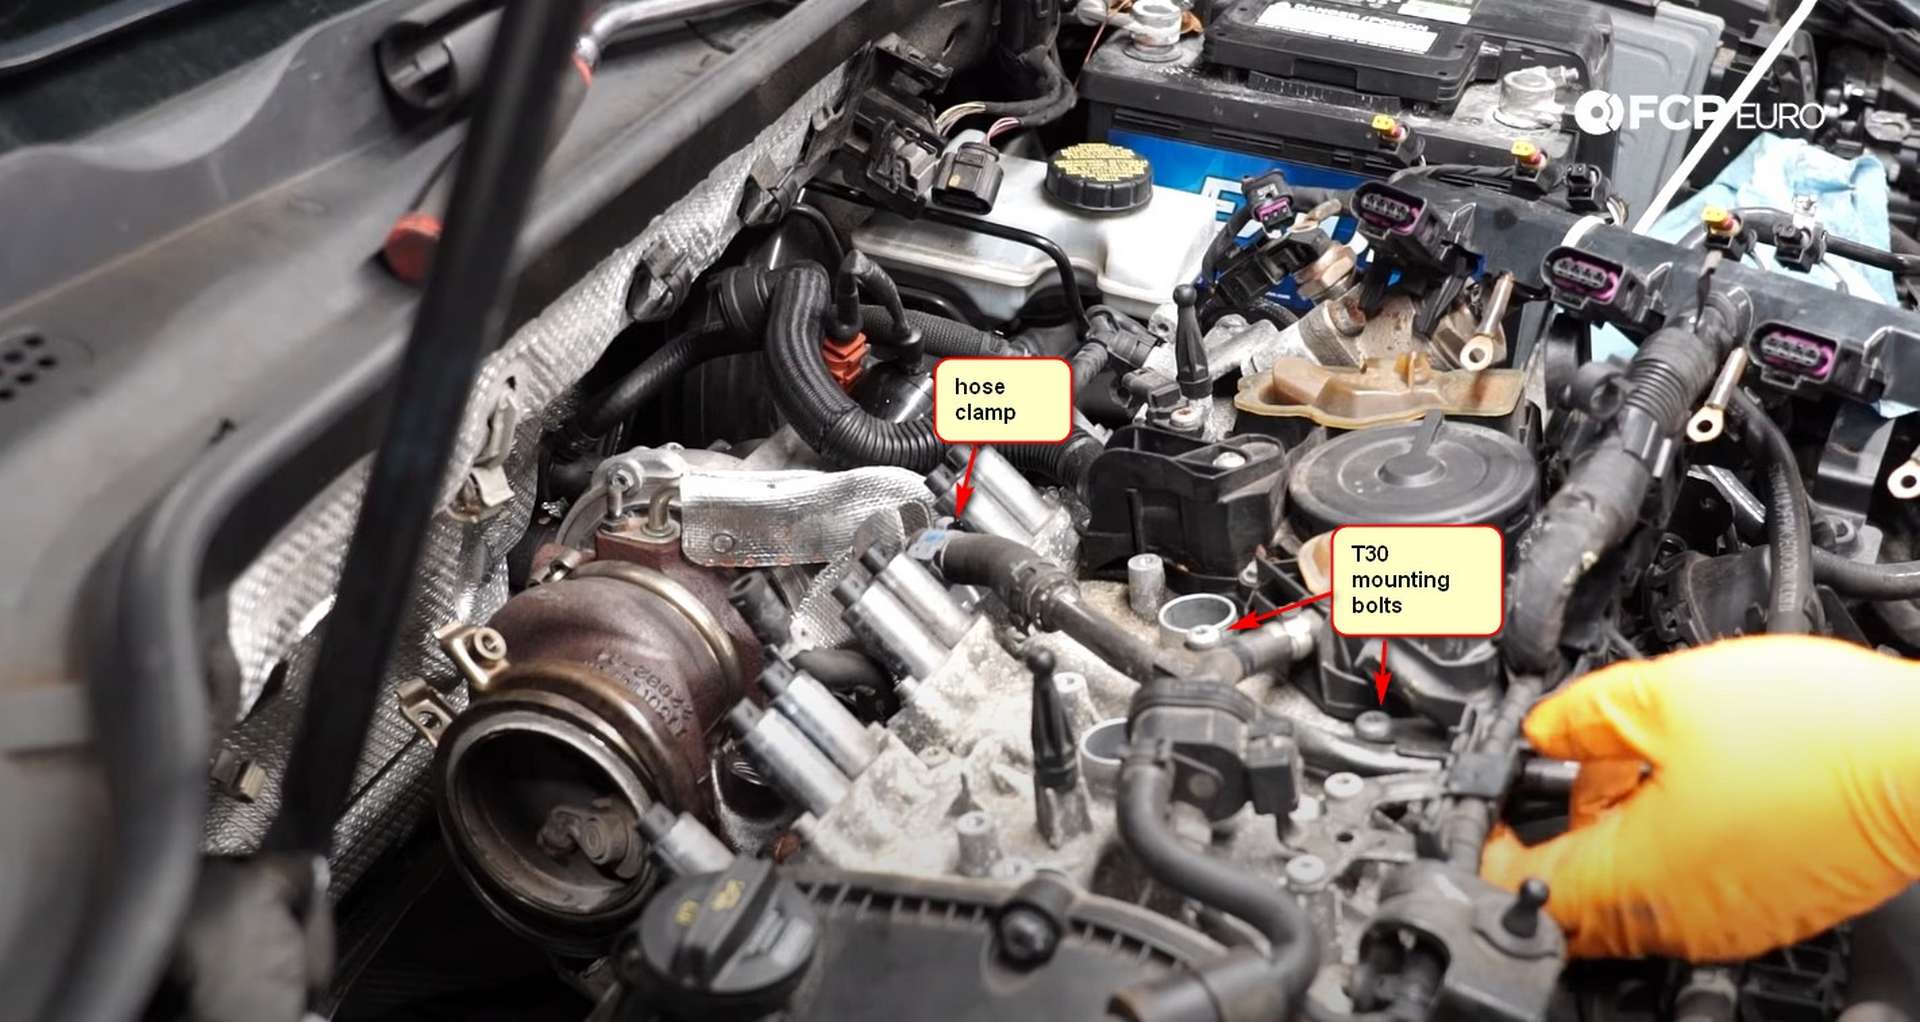
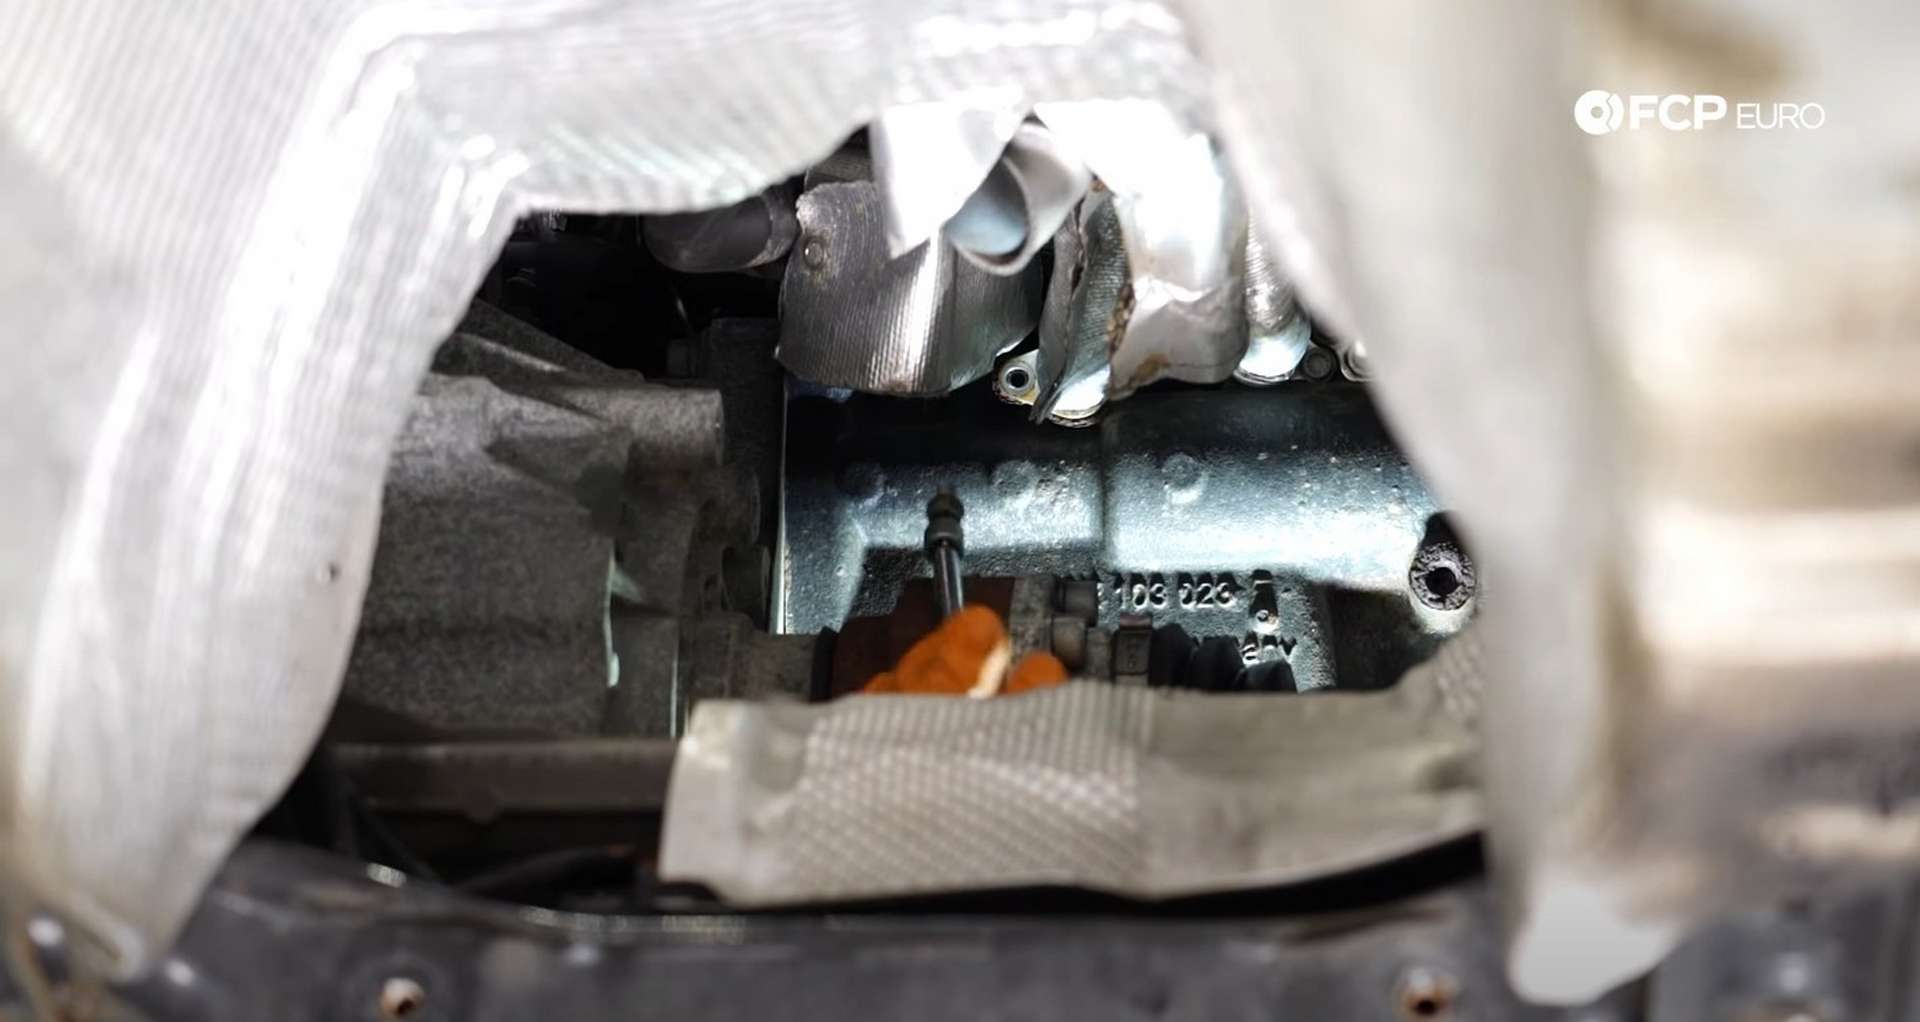
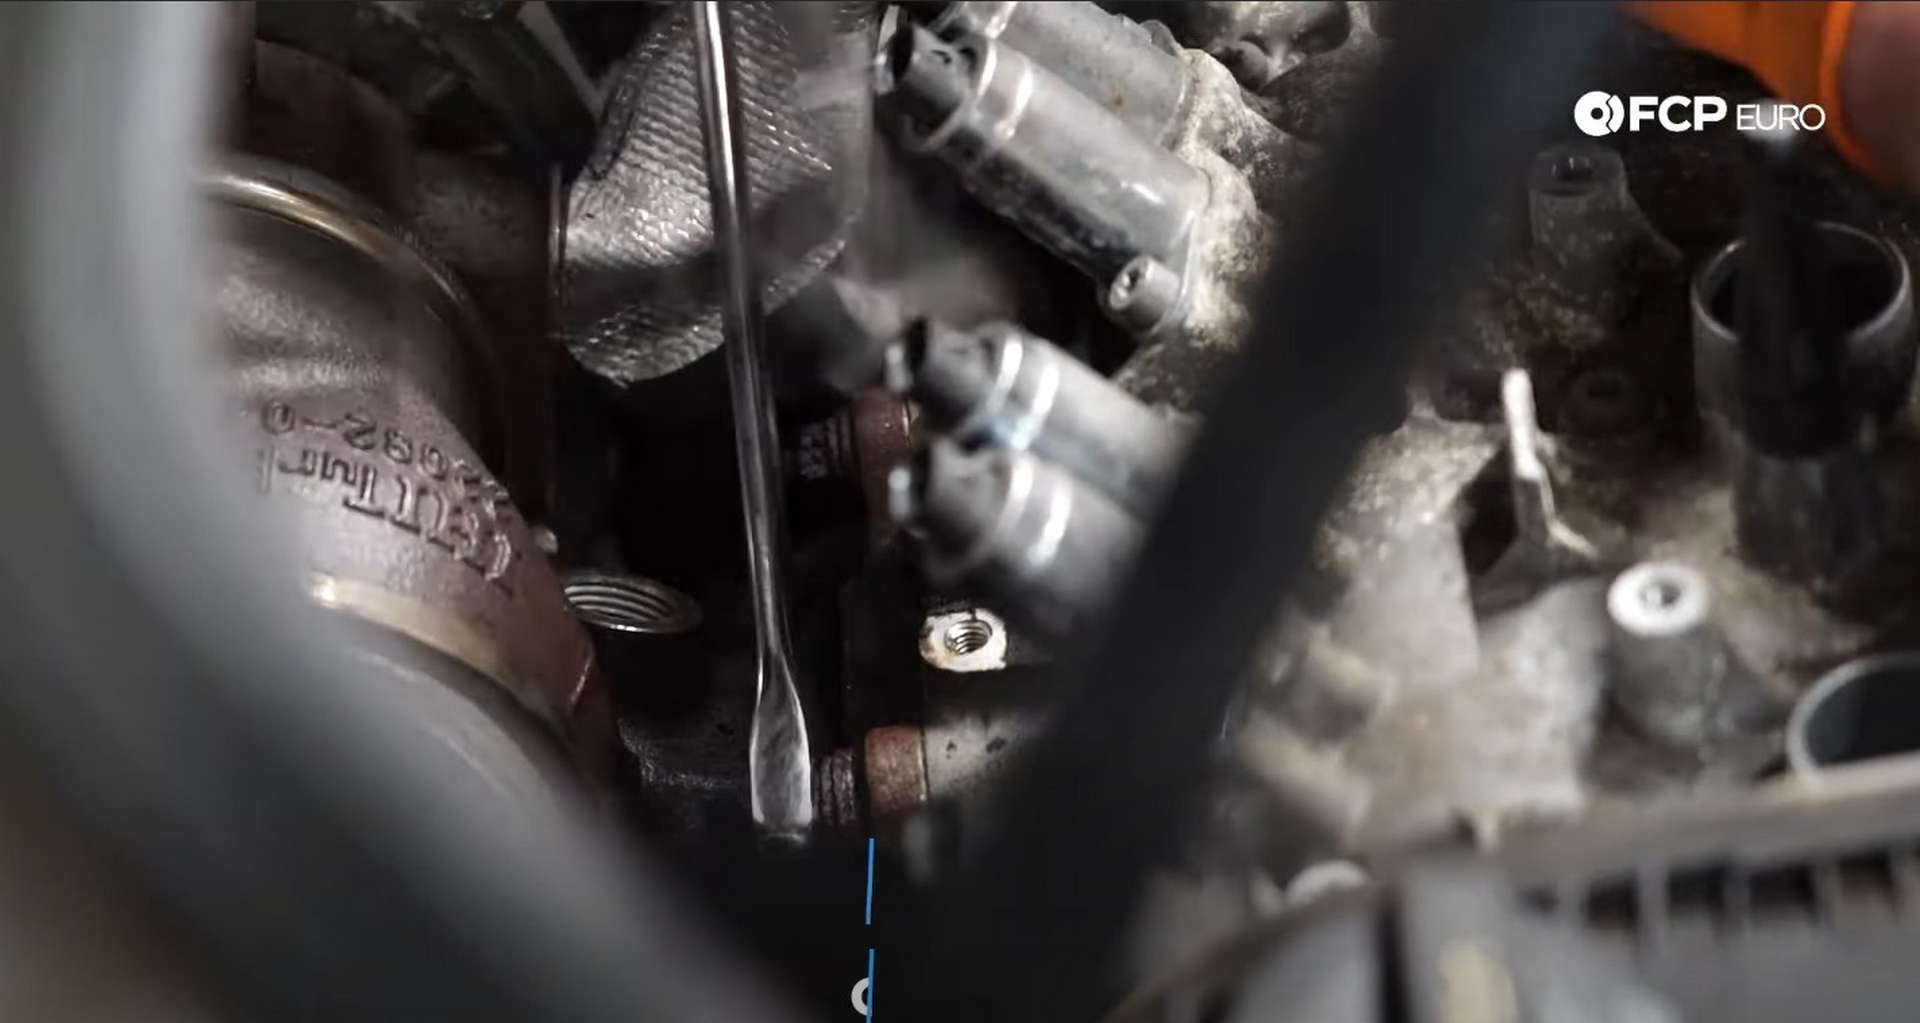
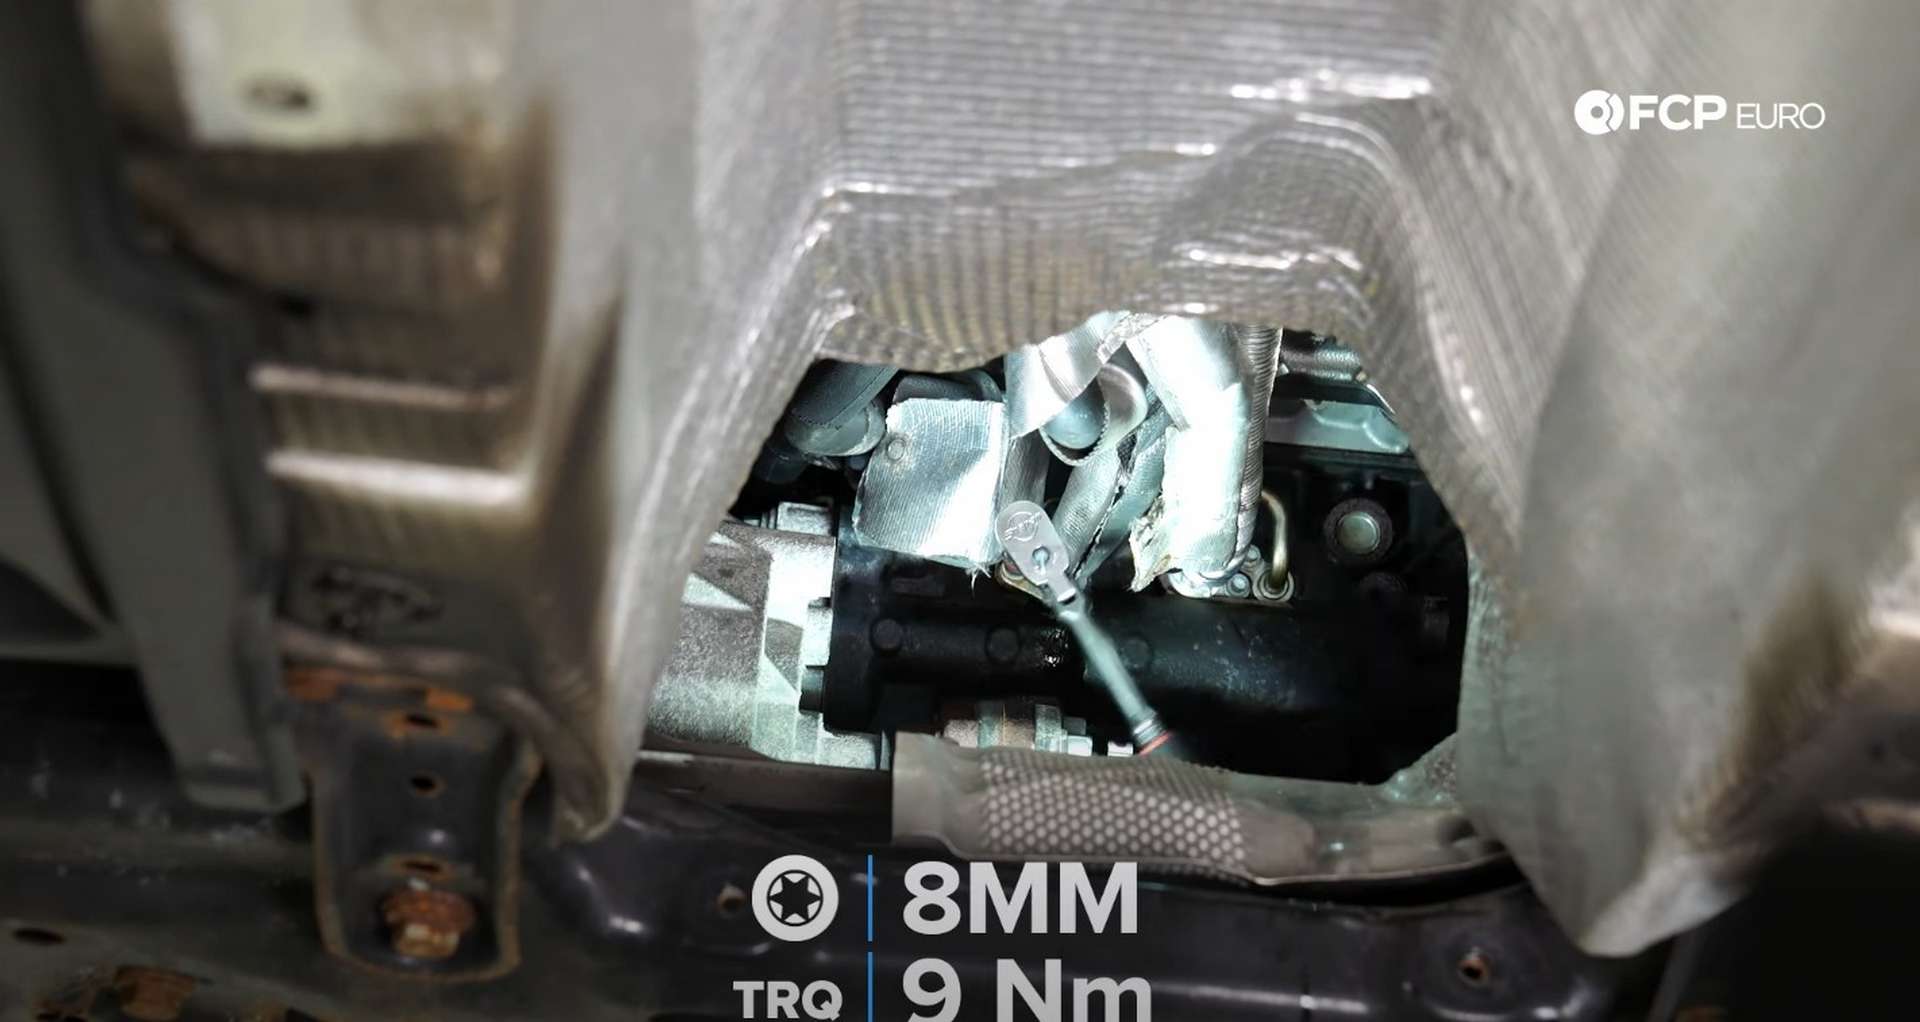
Next, reach around the back of the turbocharger and disconnect the other coolant line. Use a T30 Torx bit socket to remove the line’s bracket bolt and an 8mm triple-square for the line’s mounting bolt.
Then, remove the two bolts securing the oil feed line to the turbo. Use a 10mm socket to remove the stud/nut, and use an 8mm triple-square for the line’s bracket.
Step 4: Replace the turbocharger
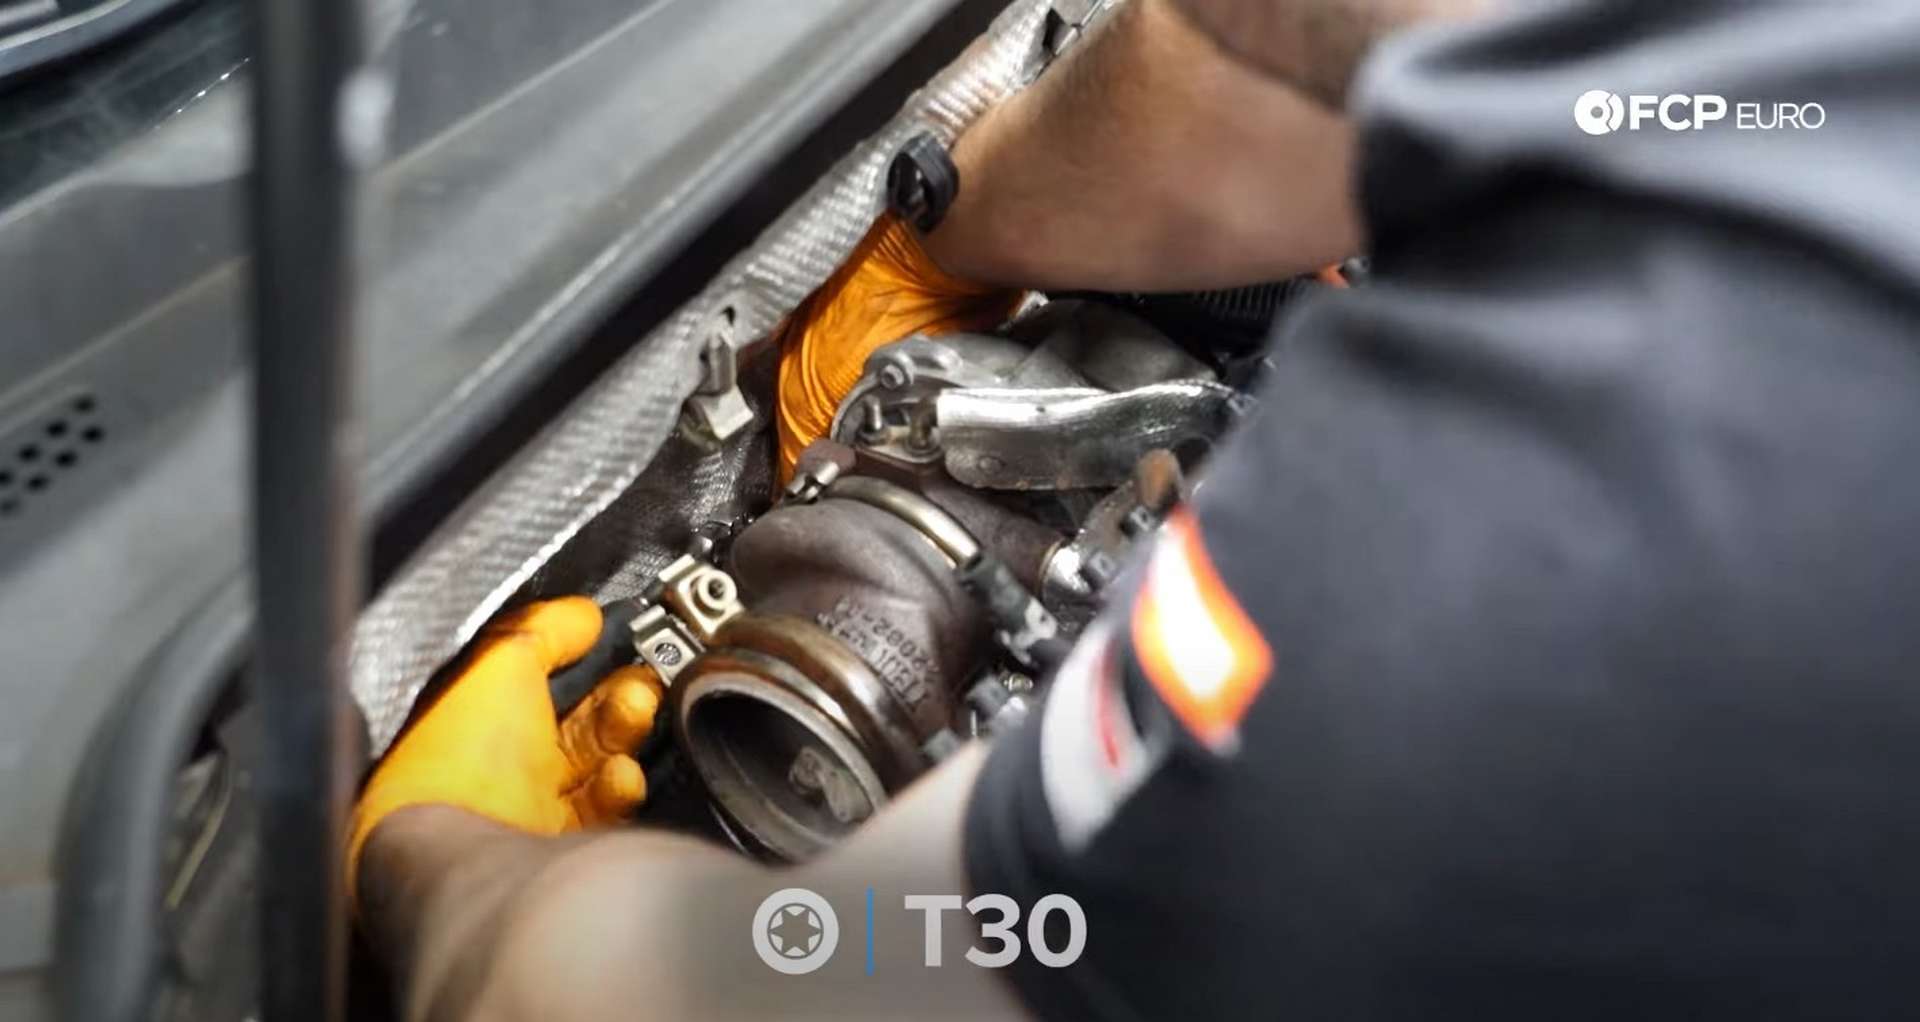
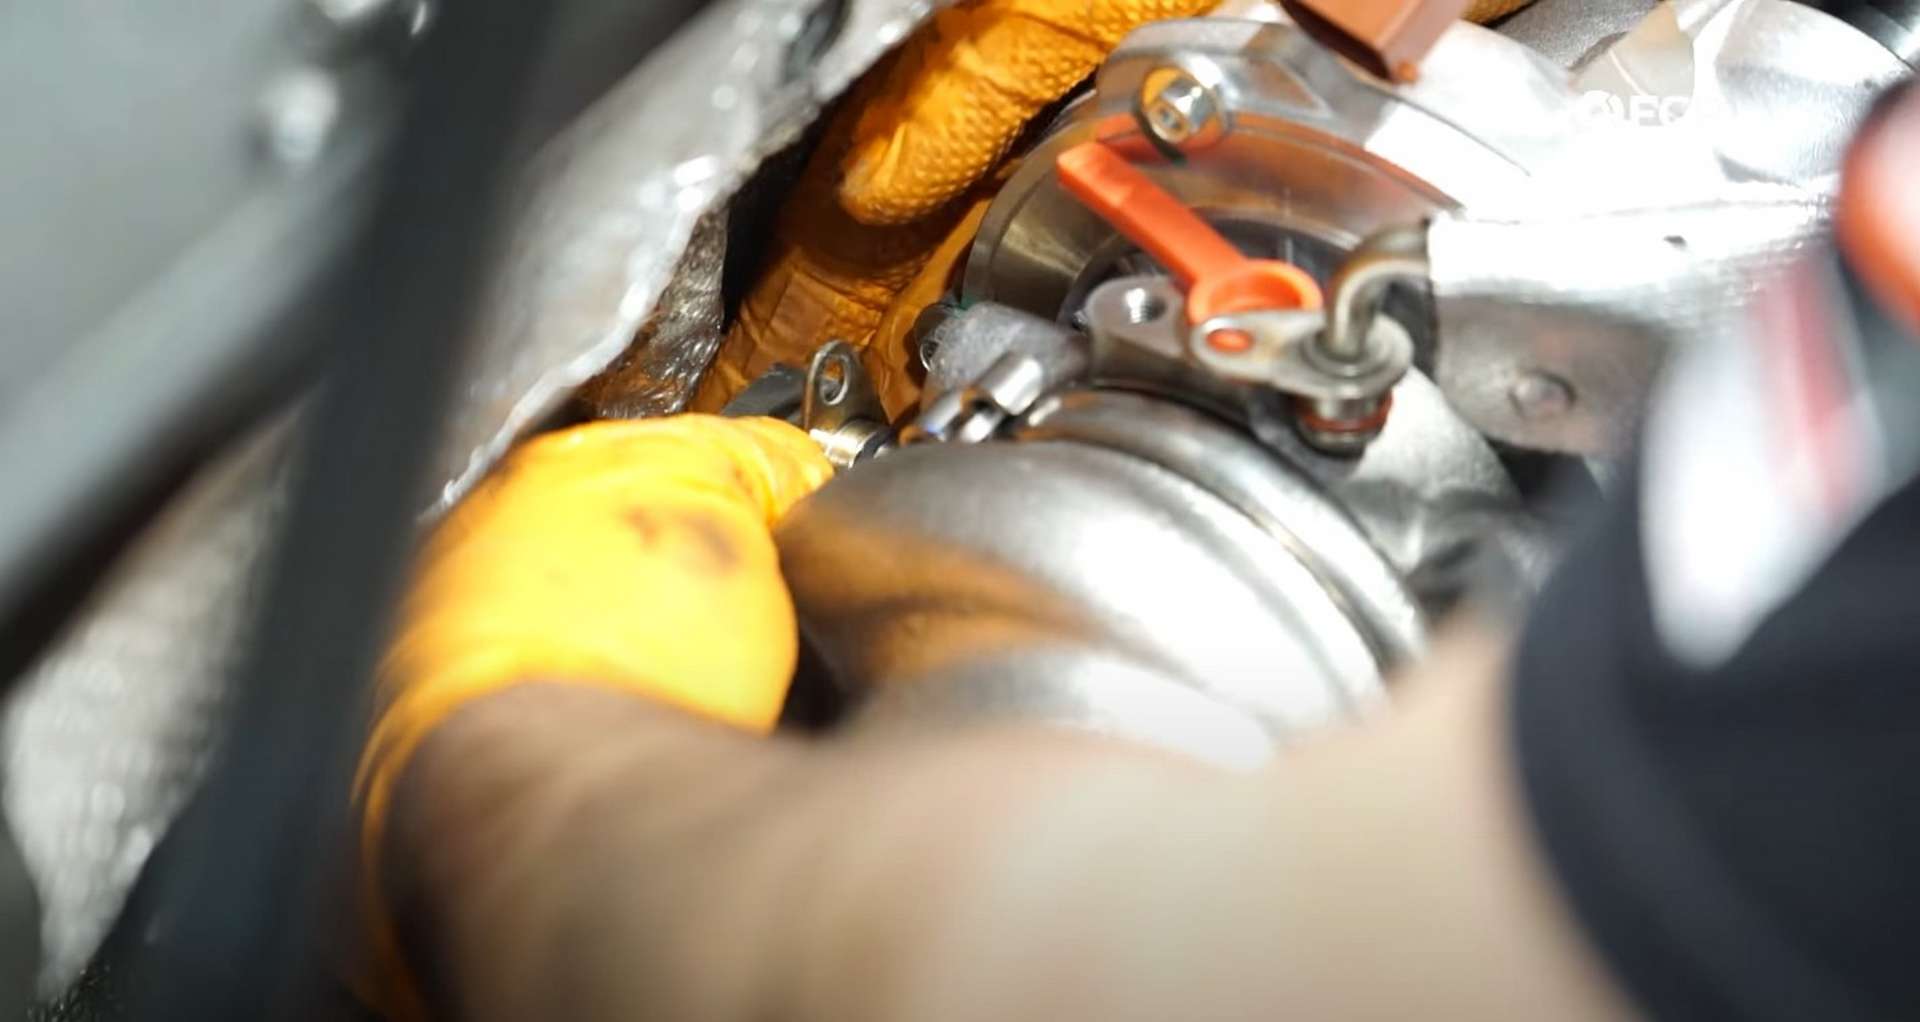
Reach behind the cylinder head and use a 12mm wrench to remove the two nuts from the top of the turbo’s exhaust housing.
The turbo is now free from the engine. If you have trouble getting the turbo up and over the valve lift actuators, disconnect the ignition harness from them and unplug the cam sensor. Then, pull the ignition harness away from the turbo and lay it over the intake side of the engine. After that, use a T25 Torx bit socket to remove their mounting bolts and then remove them from the head.
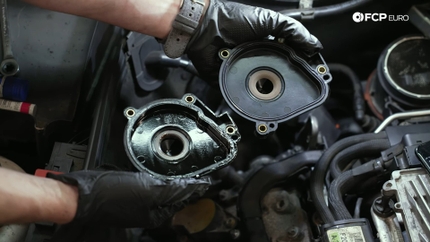
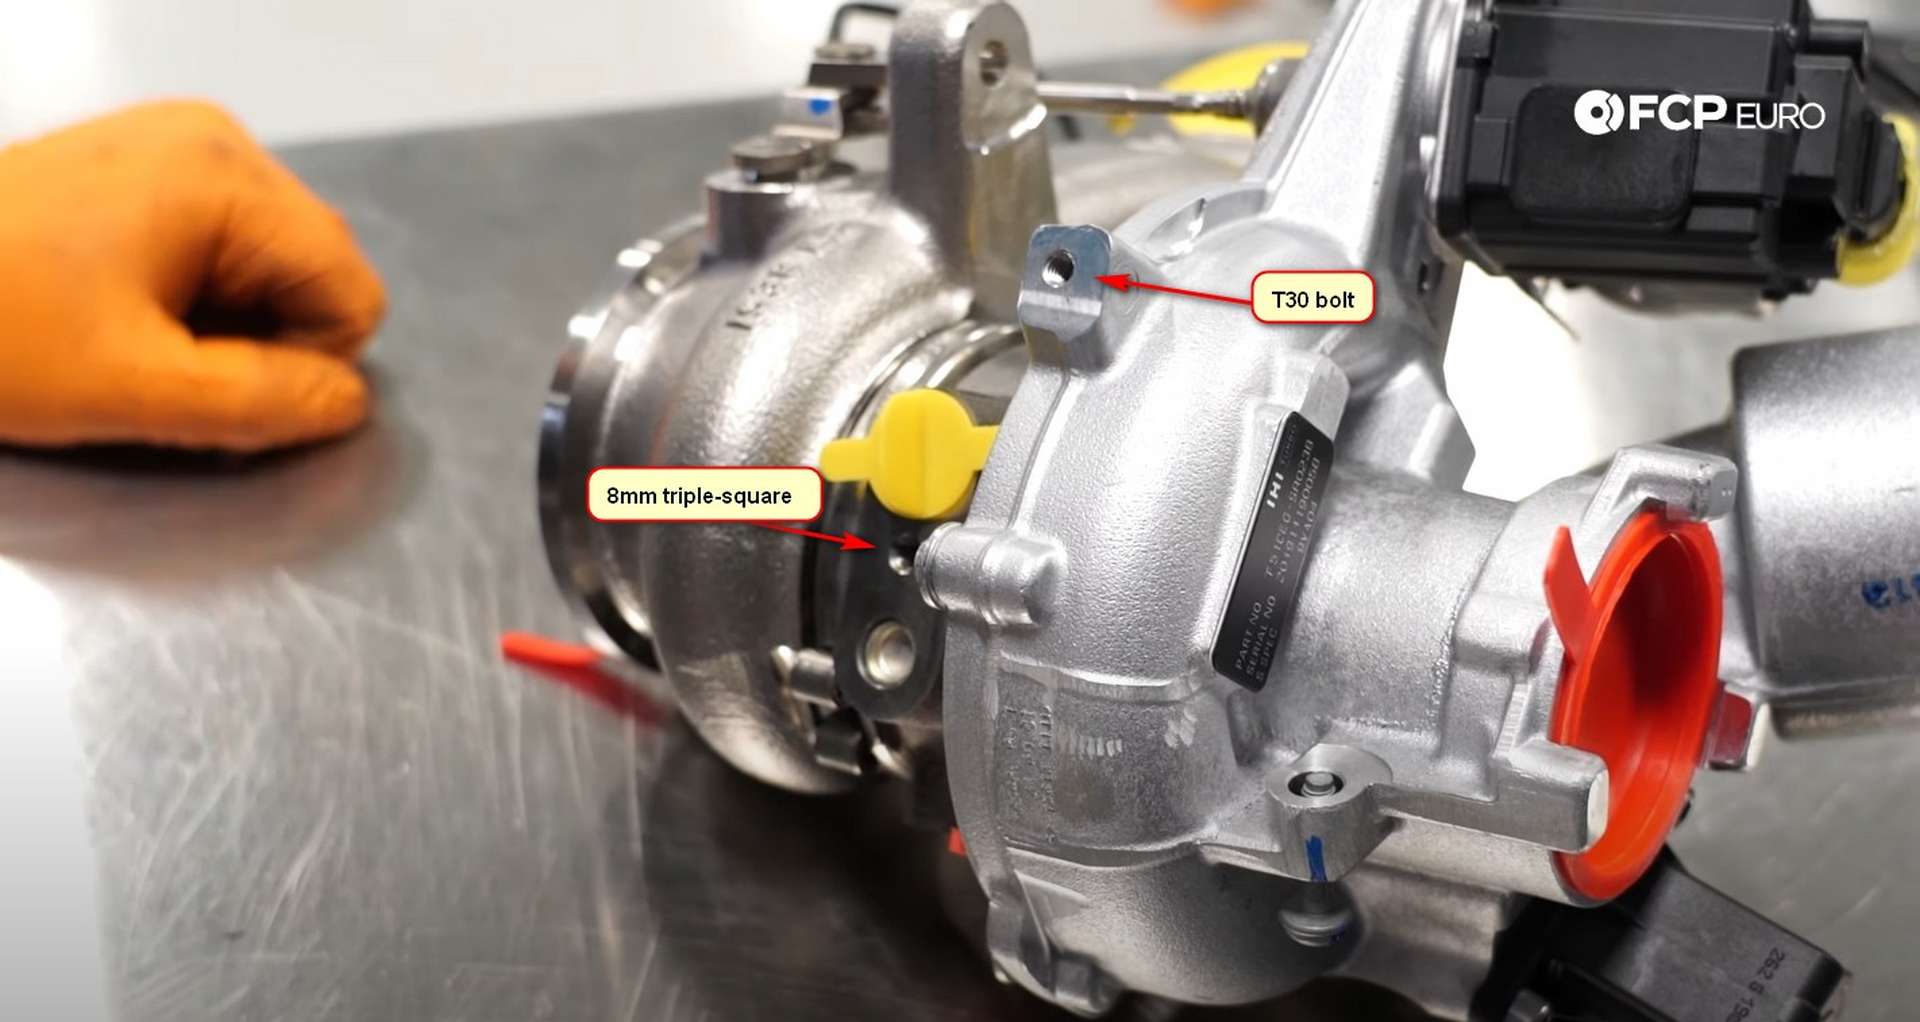
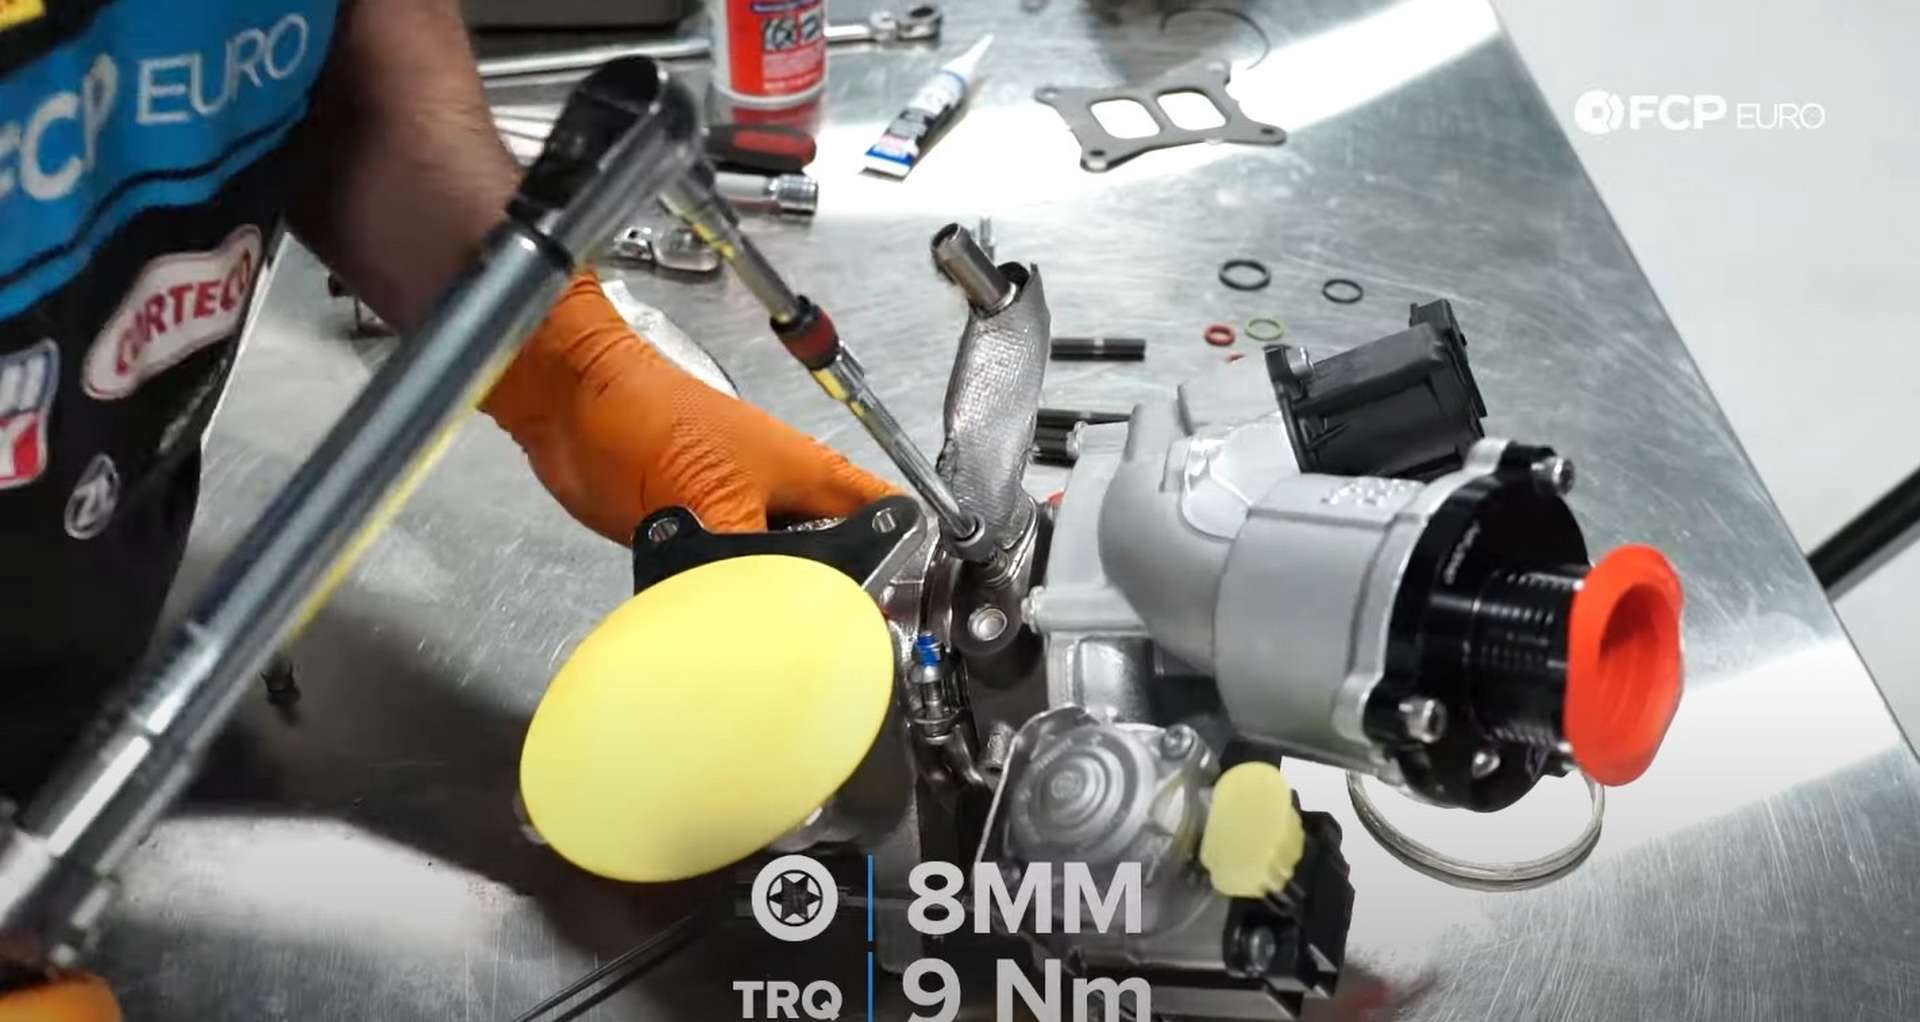
Put the turbocharger on a clean work surface and start swapping parts onto the new one. Use an 8mm triple-square socket to remove the oil return line and coolant return line fitting from the old turbo.
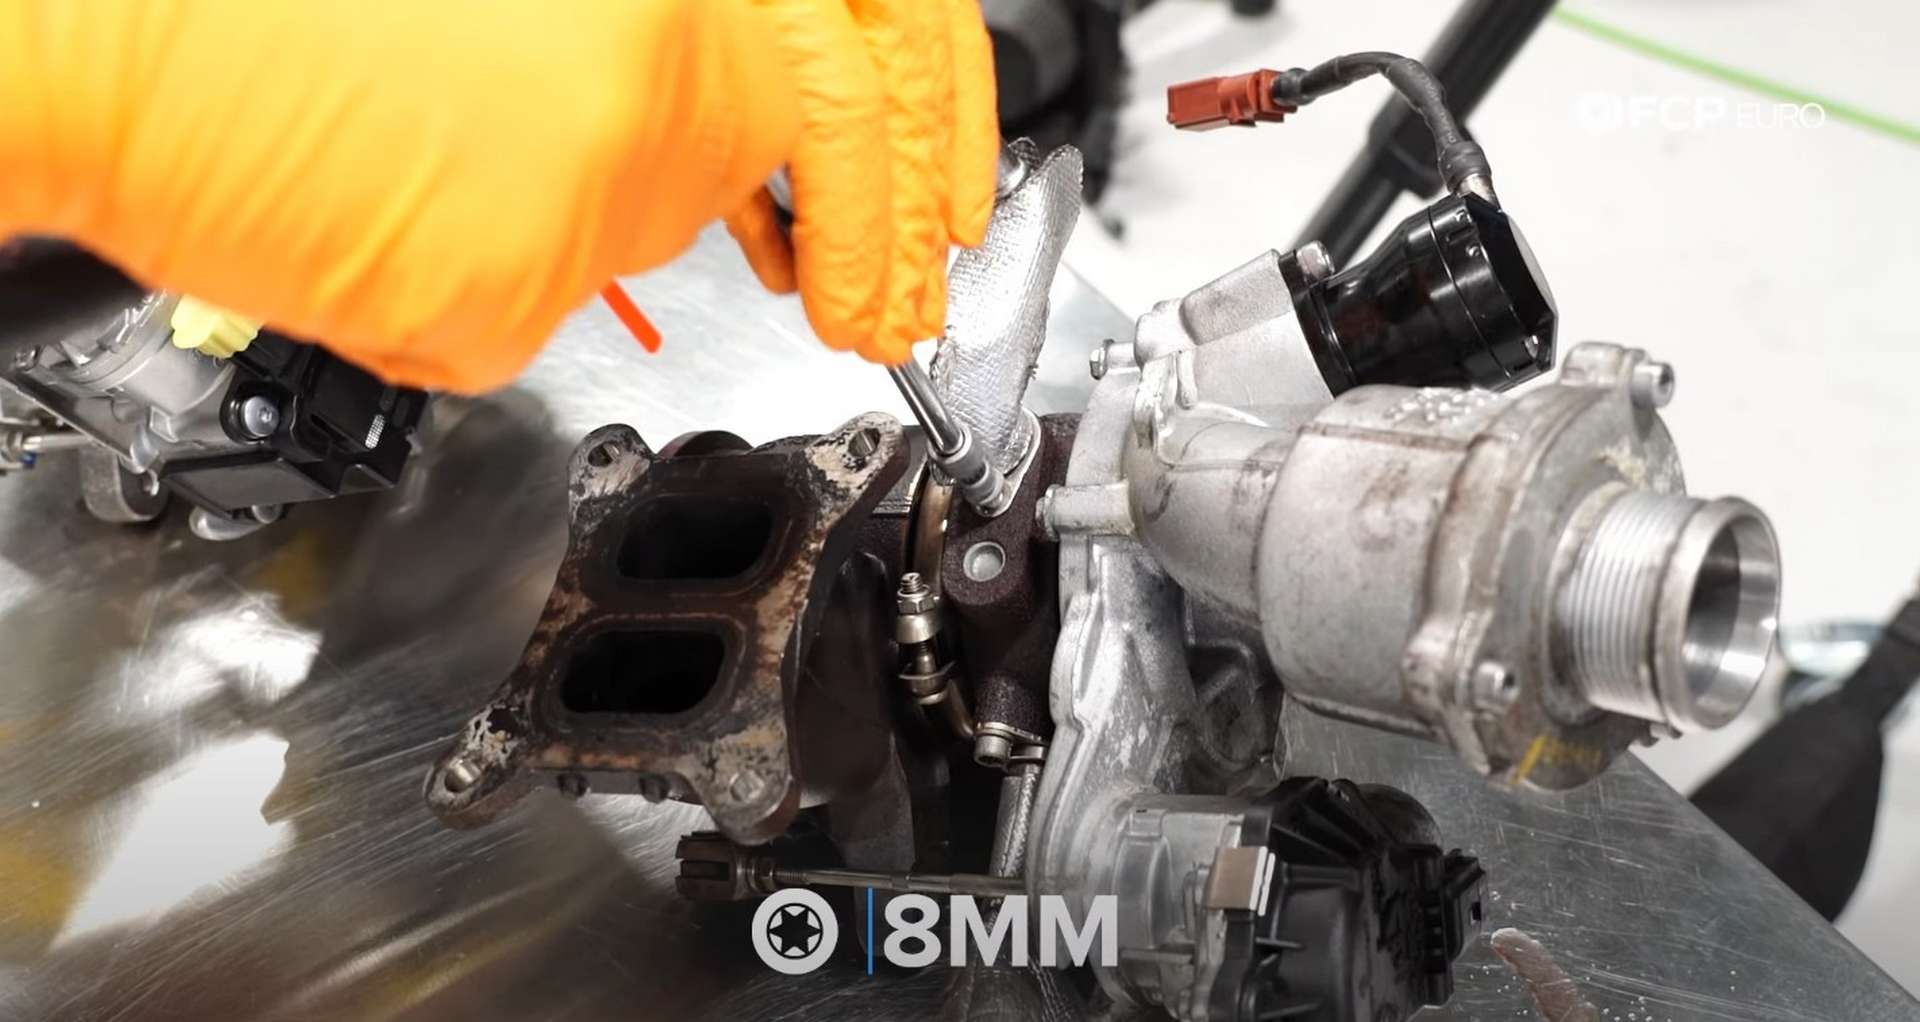
Then, replace the o-rings on the line and fitting, and fit them to the IS38. Thread in their mounting bolts by hand before tightening with the 8mm triple-square. Torque both bolts to 9Nm.
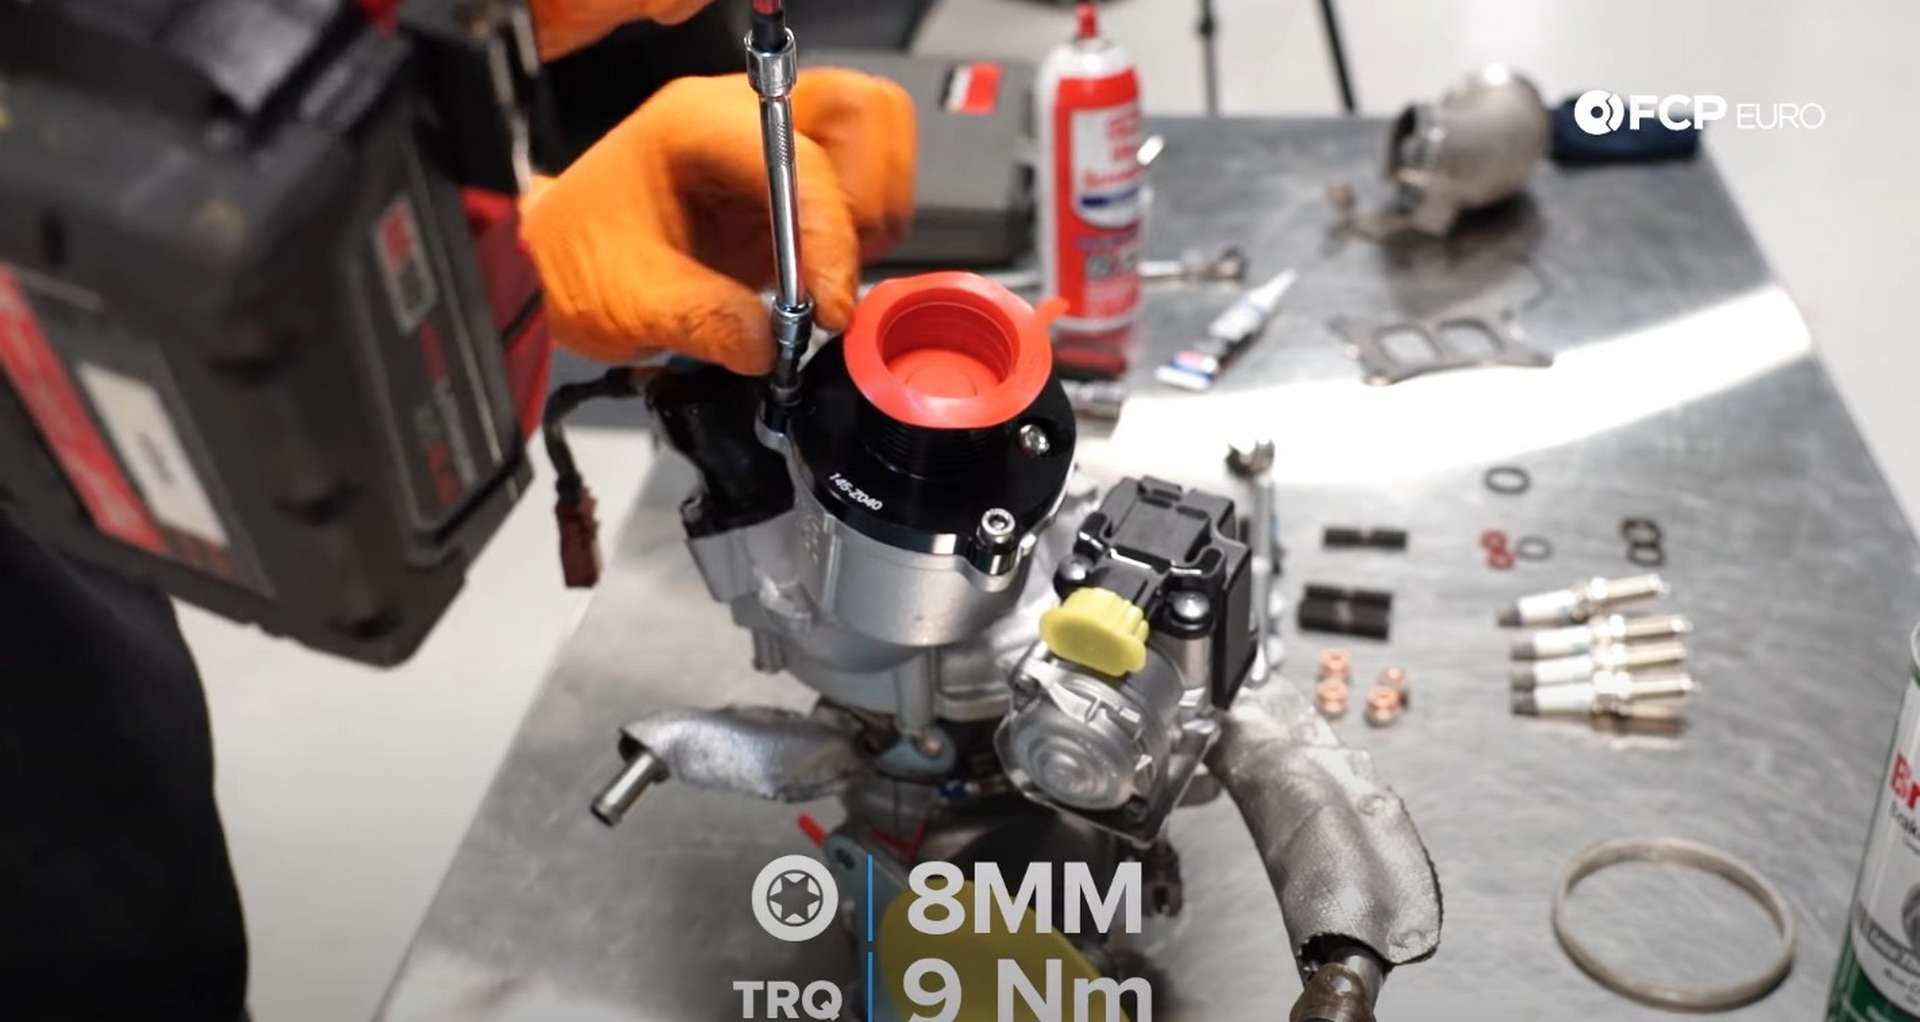
If you aren’t upgrading any other part of the turbocharger, scroll down to the installation. Otherwise, now is when you should replace the OEM diverter valve and muffler with aftermarket parts. First, use a 4mm hex bit socket to remove the diverter valve’s three bolts.

Pull off the old valve and replace it with whichever one you choose. Thread in the mounting bolts by hand before tightening with the 8mm triple-square. Torque the bolts to 9Nm. Then remove the turbo muffle with the same socket and replace it with the aftermarket muffler of your choice. Use the same tightening process as the diverter valve.
Next, head back into the engine bay and replace the o-rings from the rest of the turbo’s coolant and oil lines.
Don’t panic if the new o-rings are a red/brown color rather than the black ones you removed. The only difference between them is the color.
After that, fit the new exhaust gasket onto the studs on the cylinder head. Do yourself a favor and apply some anti-seize to the studs too.
Now you’re ready to install the new IS38 to the engine. Get the turbo situated on the studs first. Then, ensure all of the lines and wiring are in the right places and aren’t pinched before tightening anything down. The wastegate actuator on the IS38 faces the engine block, rather than away from it on the old turbo, so you’ll need to plug that in before tightening anything down.
Then, thread the top exhaust housing nuts onto the studs. If you can, reach beneath the turbo and thread on the lower ones, too. Otherwise, thread them on from underneath the GTI. Use a 12mm socket to tighten the nuts and torque them to 25Nm.
Step 5: Reconnect the coolant and oil lines to the turbocharger
Remove the plastic caps from the ports as you reinstall the proper lines. First, fit the coolant feed line to the back of the turbo. Remove the plastic cap and lubricate the o-ring with some coolant. Then, press the line into the turbo and thread in its mounting bolt and the brackets bolt by hand. Tighten the mounting bolt with an 8mm triple-square socket and the bracket bolt with a T30 Torx bit socket. Torque them both to 9Nm.
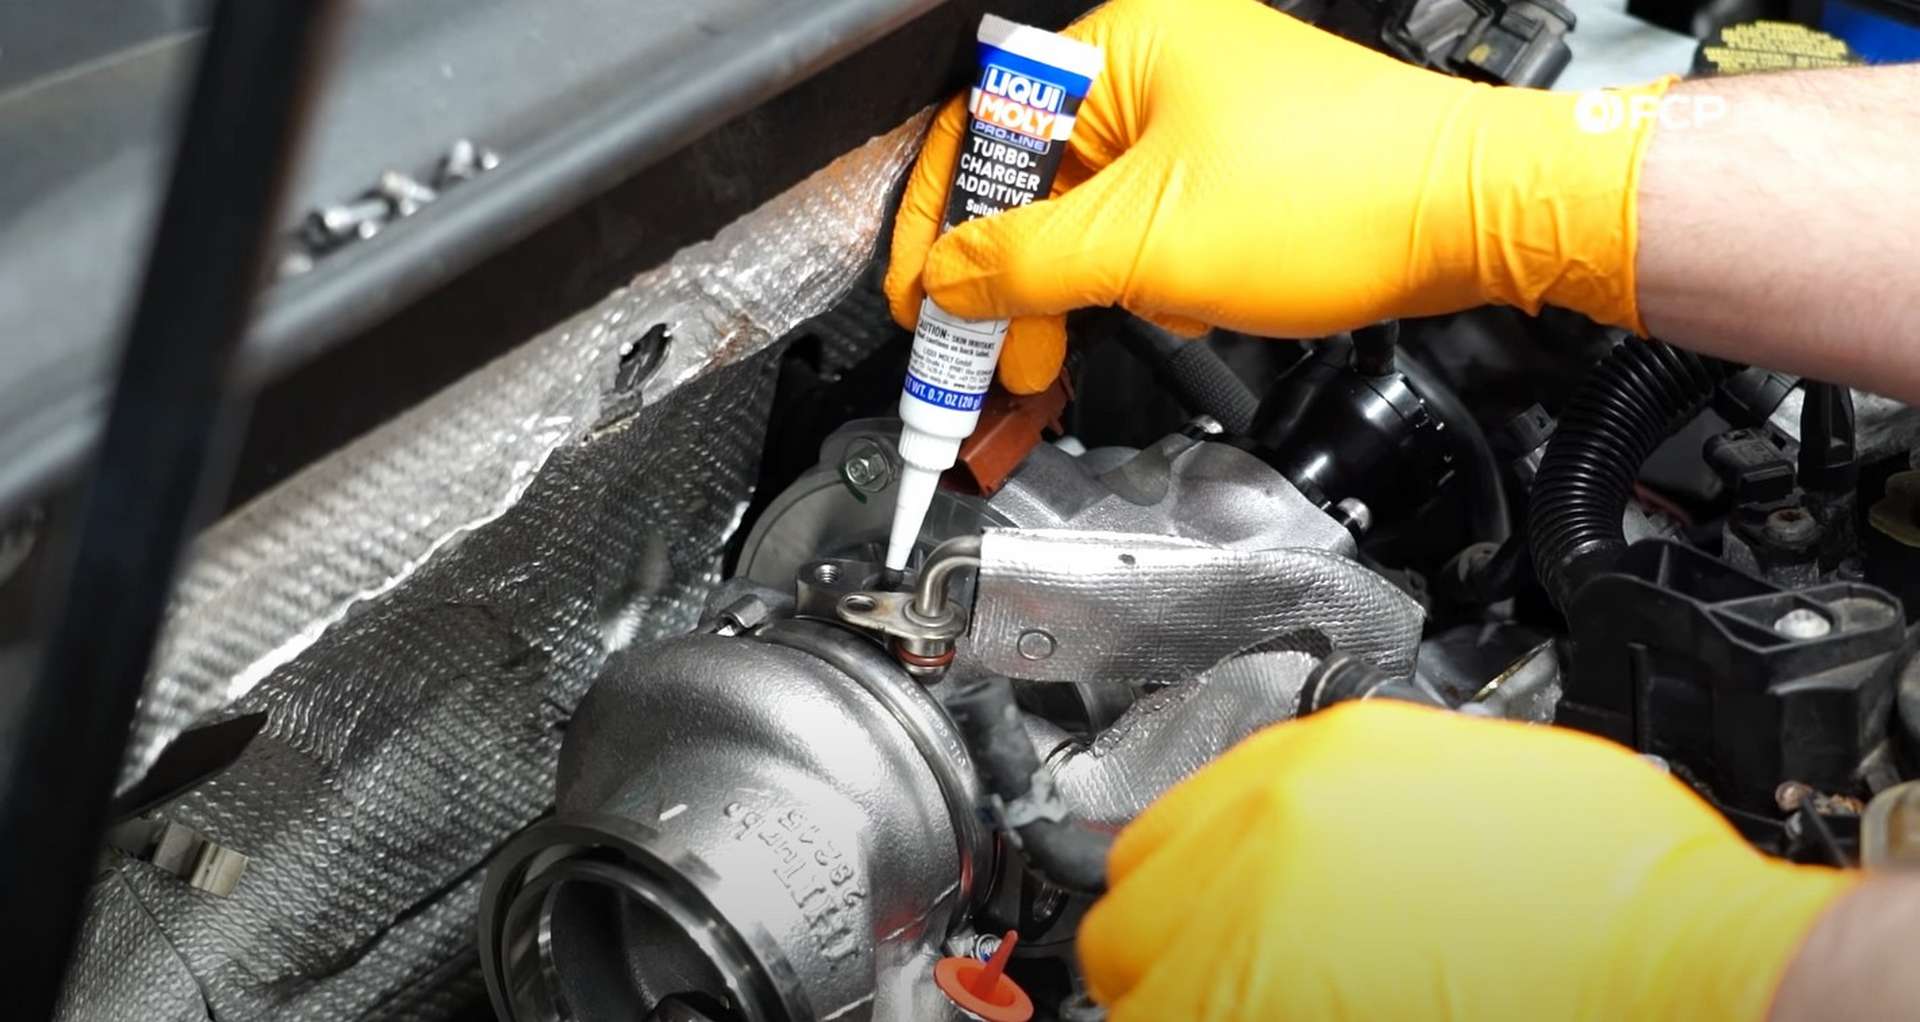
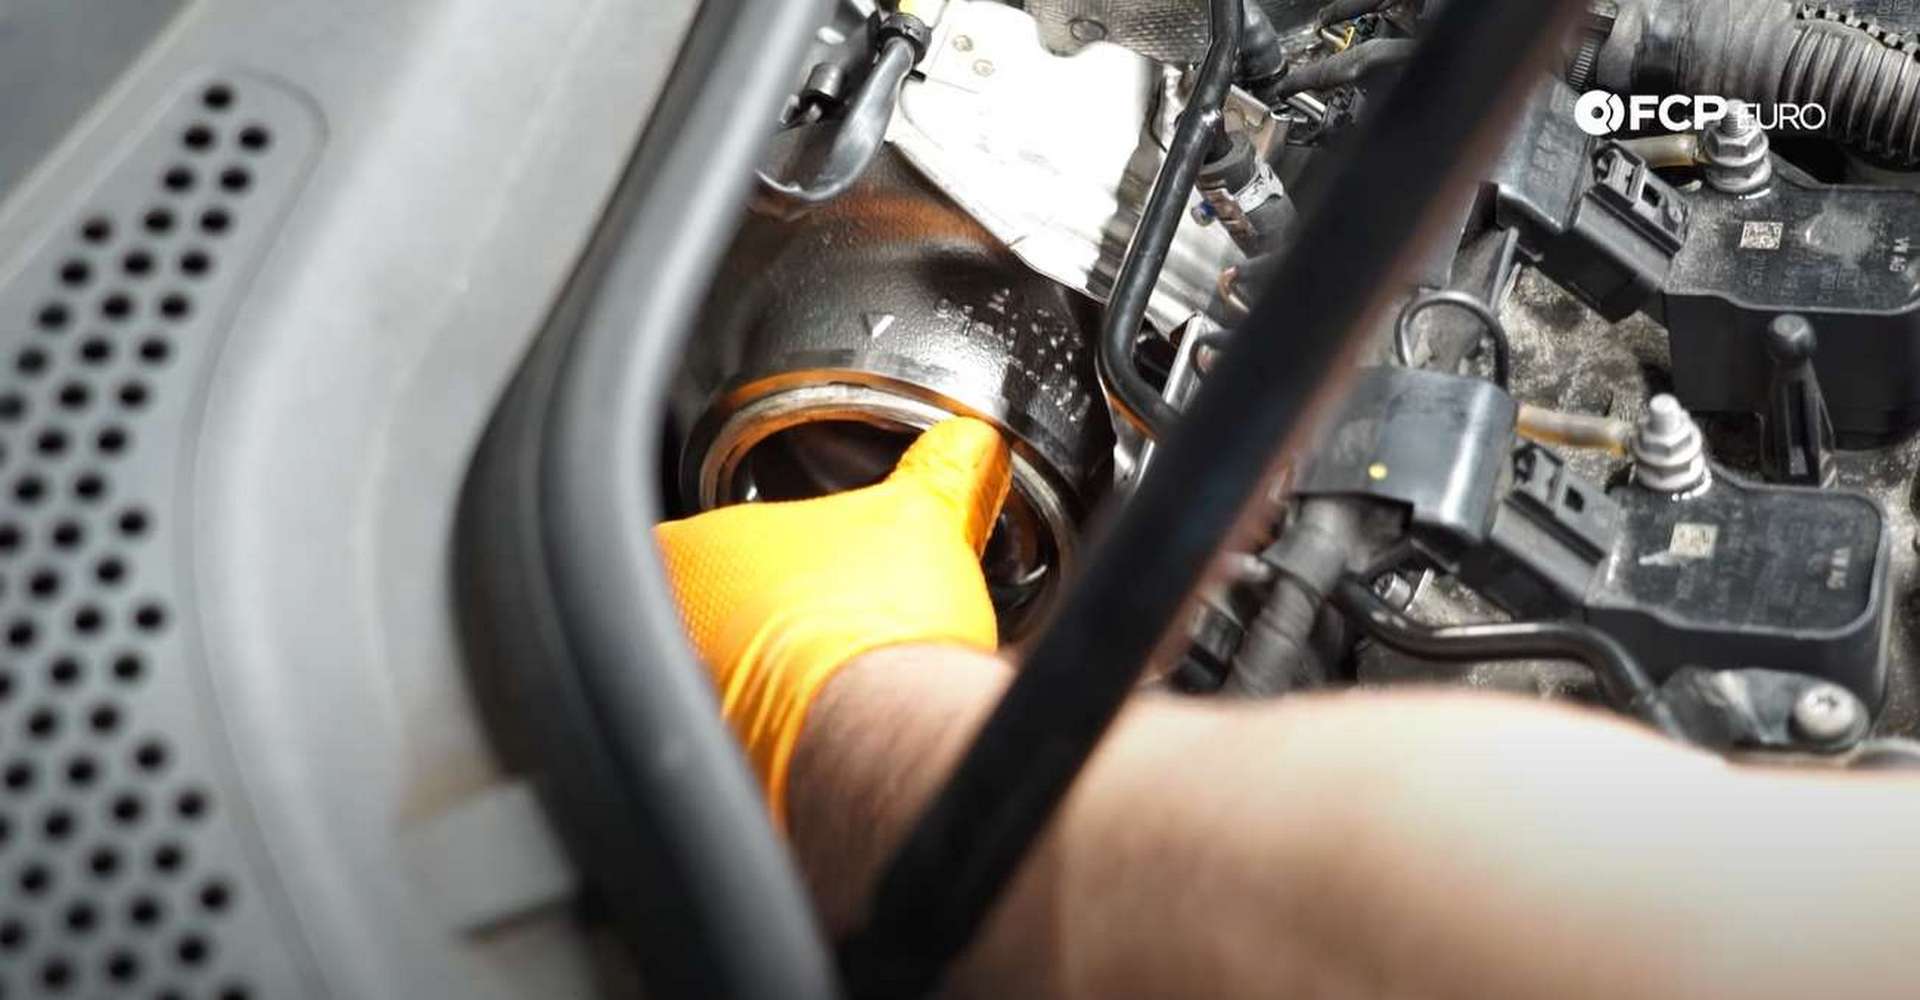
Next, refit the oil return line to the head. Use the same installation process as the coolant return line. Then, remove the cap for the oil feed line and pour in the Liqui-Moly turbo additive. The additive is essentially an assembly lube for the turbocharger so that no bearing damage occurs in the turbo on the first start. Then fit the oil line to the turbo. Thread in both bolts and tighten them with an 8mm triple-square. Torque them to 9Nm.
If you aren't replacing the downpipe, you can resecure it to the turbocharger. First, fit the new exhaust gasket into the back of the turbocharger. Then, slide the clamp onto the connection and use a 6mm hex bit socket to tighten the bolt.
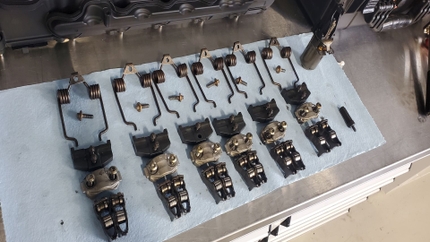
Step 6: Refit the valve lift actuators and intake system
Sit the valve lift actuators into their spots and thread in their mounting bolts. Use a T25 Torx bit socket to tighten the bolts. Just make sure the bolts are tight; they are small and don’t require much torque.
With the actuators secured, you refit the coolant return line to the turbo. Slide the rubber hose onto the nipple fitting and use pliers to secure the hose with its clamp. Then, refit the line’s two bolts and thread them in by hand. Use a T30 Torx bit socket to tighten them down.
Then, move the ignition harness back into position. Start by plugging in the valve lift actuators, then the camshaft sensor and camshaft actuators. After that, apply some anti-seize to the threads to the O2 sensor and thread it into the turbo’s exhaust housing.
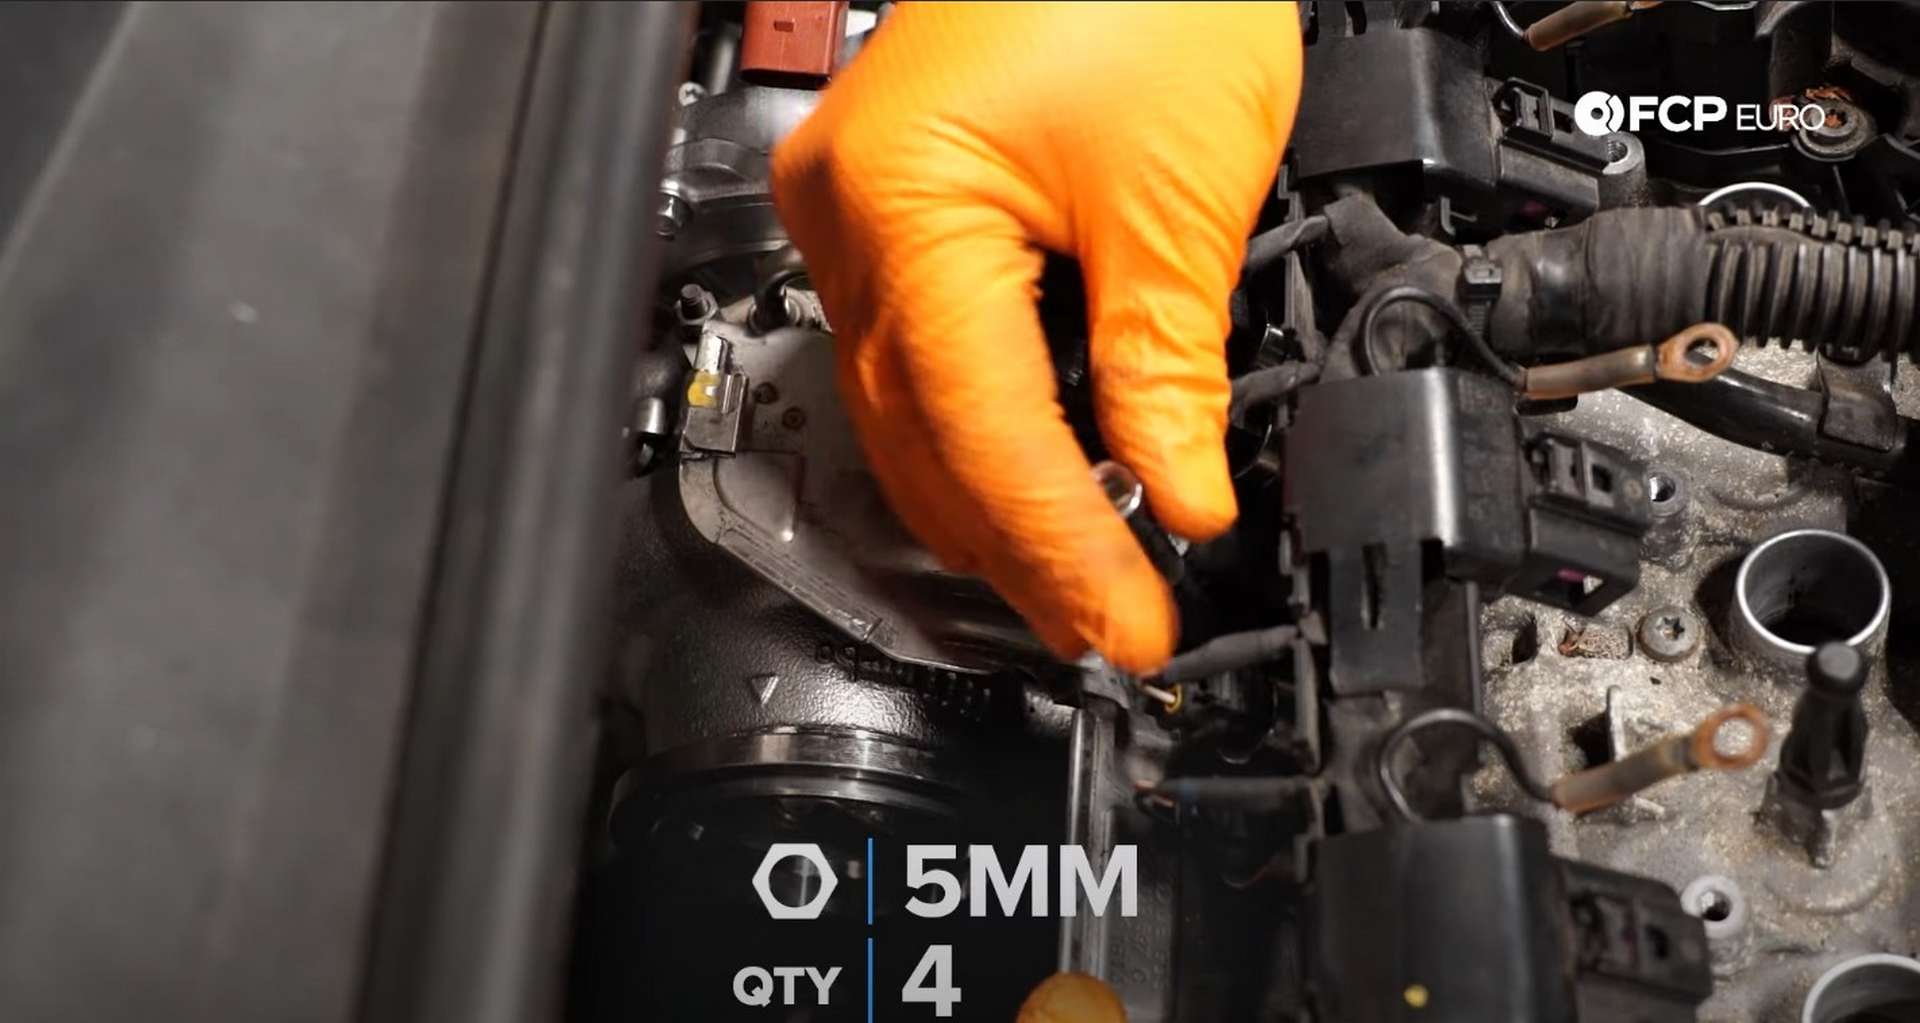
Use the O2 socket to tighten it in the housing. Then, refit the heat shield. Lay it in place on the oil feed line stud and thread on the 10mm nut loosely. After that, install the other four bolts with a 5mm hex bit socket. Place a dab of grease on the end of the socket to get the bolts to stick in place and not fall down the engine bay while you reach down to install them. They are small fasteners, so you don’t need to put much force into them.
Next, refit the coolant hardline around the back of the cylinder head. Push it into its two short hoses before connecting the rubber line on the end back to the expansion tank. Secure all of the rubber lines to the hardline with their hose clamps before installing the mounting bolts.
Then, thread in the coolant line’s three mounting bolts, and use a T30 Torx bit socket to tighten them.
Step 7: Refit the intake
Start by fitting the charge pipe to the turbo. Slide it into position on the turbocharger before threading in the mounting bolt. Use a T30 Torx bit socket to tighten the bolt, then tighten the pipe’s hose clamp with a 7mm socket or nut driver.
Next, refit the turbo’s inlet pipe. Remove the cap on the turbo inlet and fit the metal elbow. Ensure you lubricate the o-ring with oil before fitting it to the turbo. Then, refit the PCV hose to the inlet and secure the pipe to the turbo with its single bolt. Use a T30 Torx bit socket to tighten the bolt.
Then, take the intake assembly and place it into position. Seat the intake pipe into the rubber coupler, and then sit the locating pin on the intake heat shield into the rubber grommet. After that, reattach the vacuum line and the secondary air pipe. Use a 7mm socket to tighten down the intake’s hose clamp.
Step 8: Install the coil packs and spark plugs
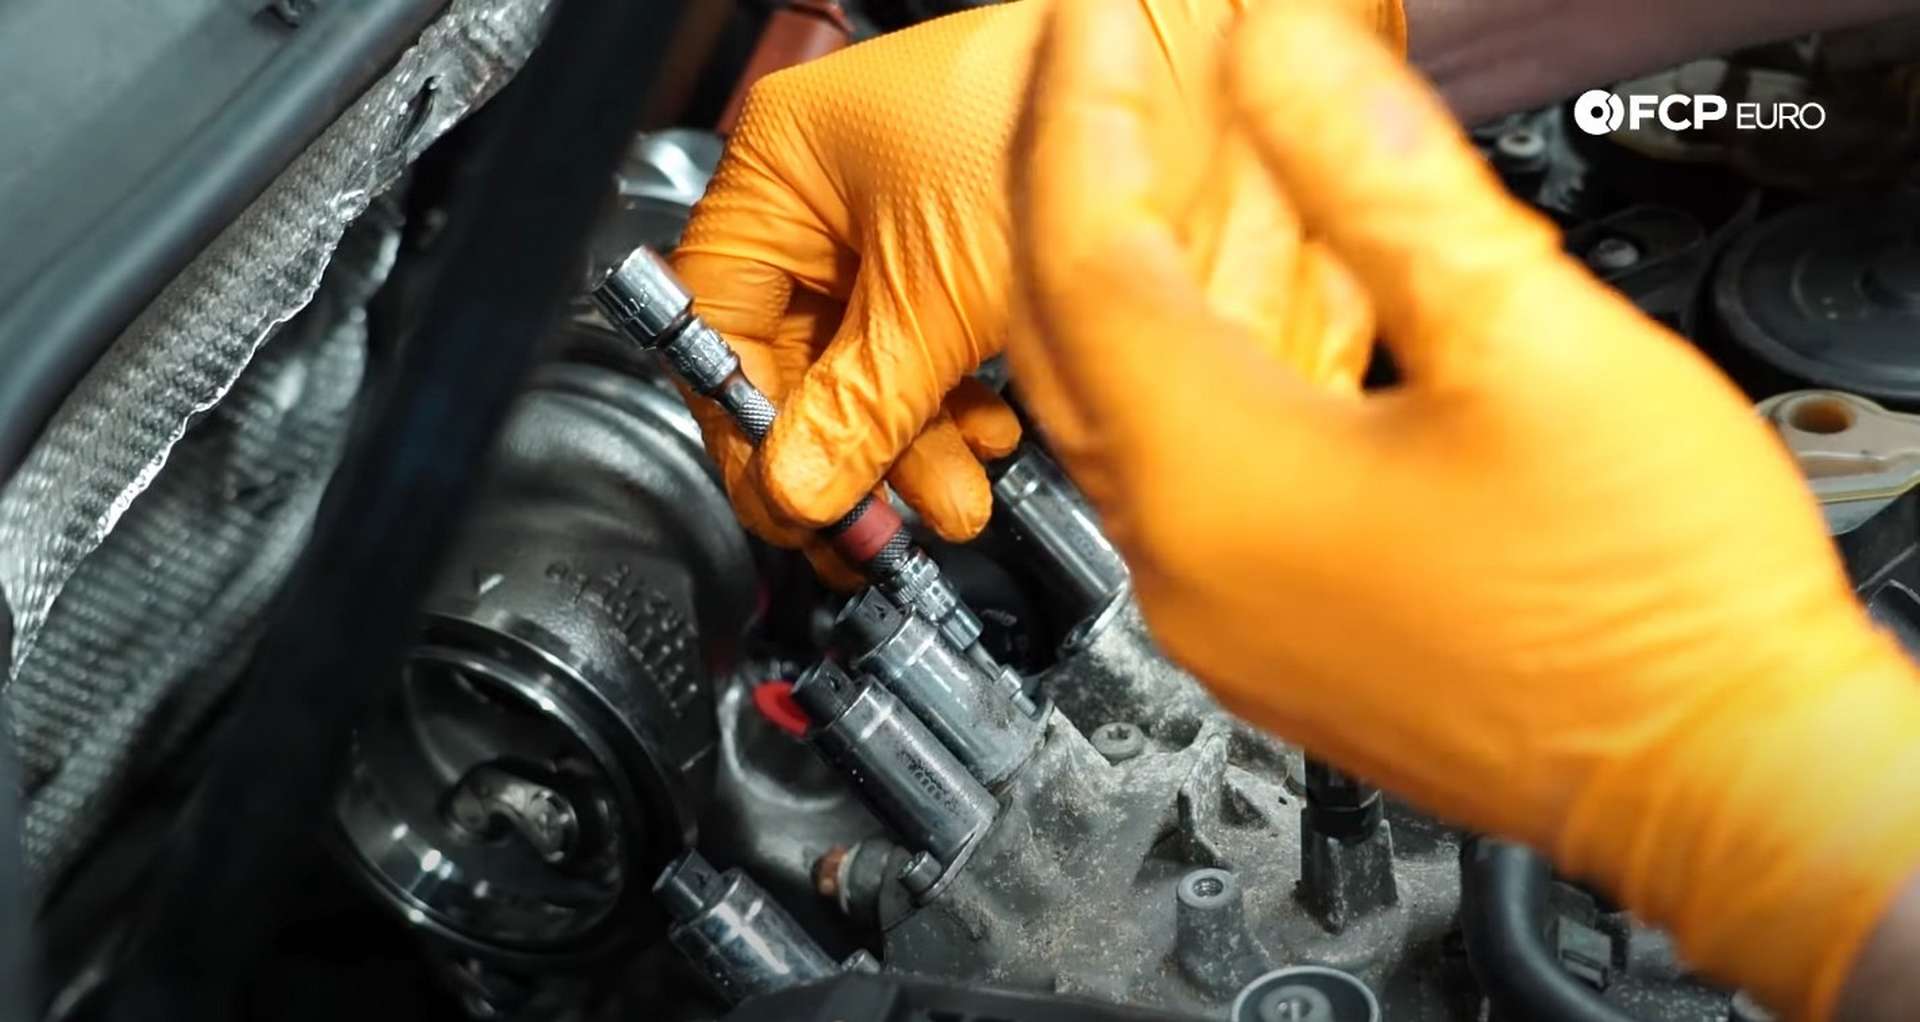
Because the new turbocharger can move more air and increase the power output, colder spark plugs are needed. Use the spark plug socket with an extension to remove the plugs from the head. The correct plugs are part of the kit.
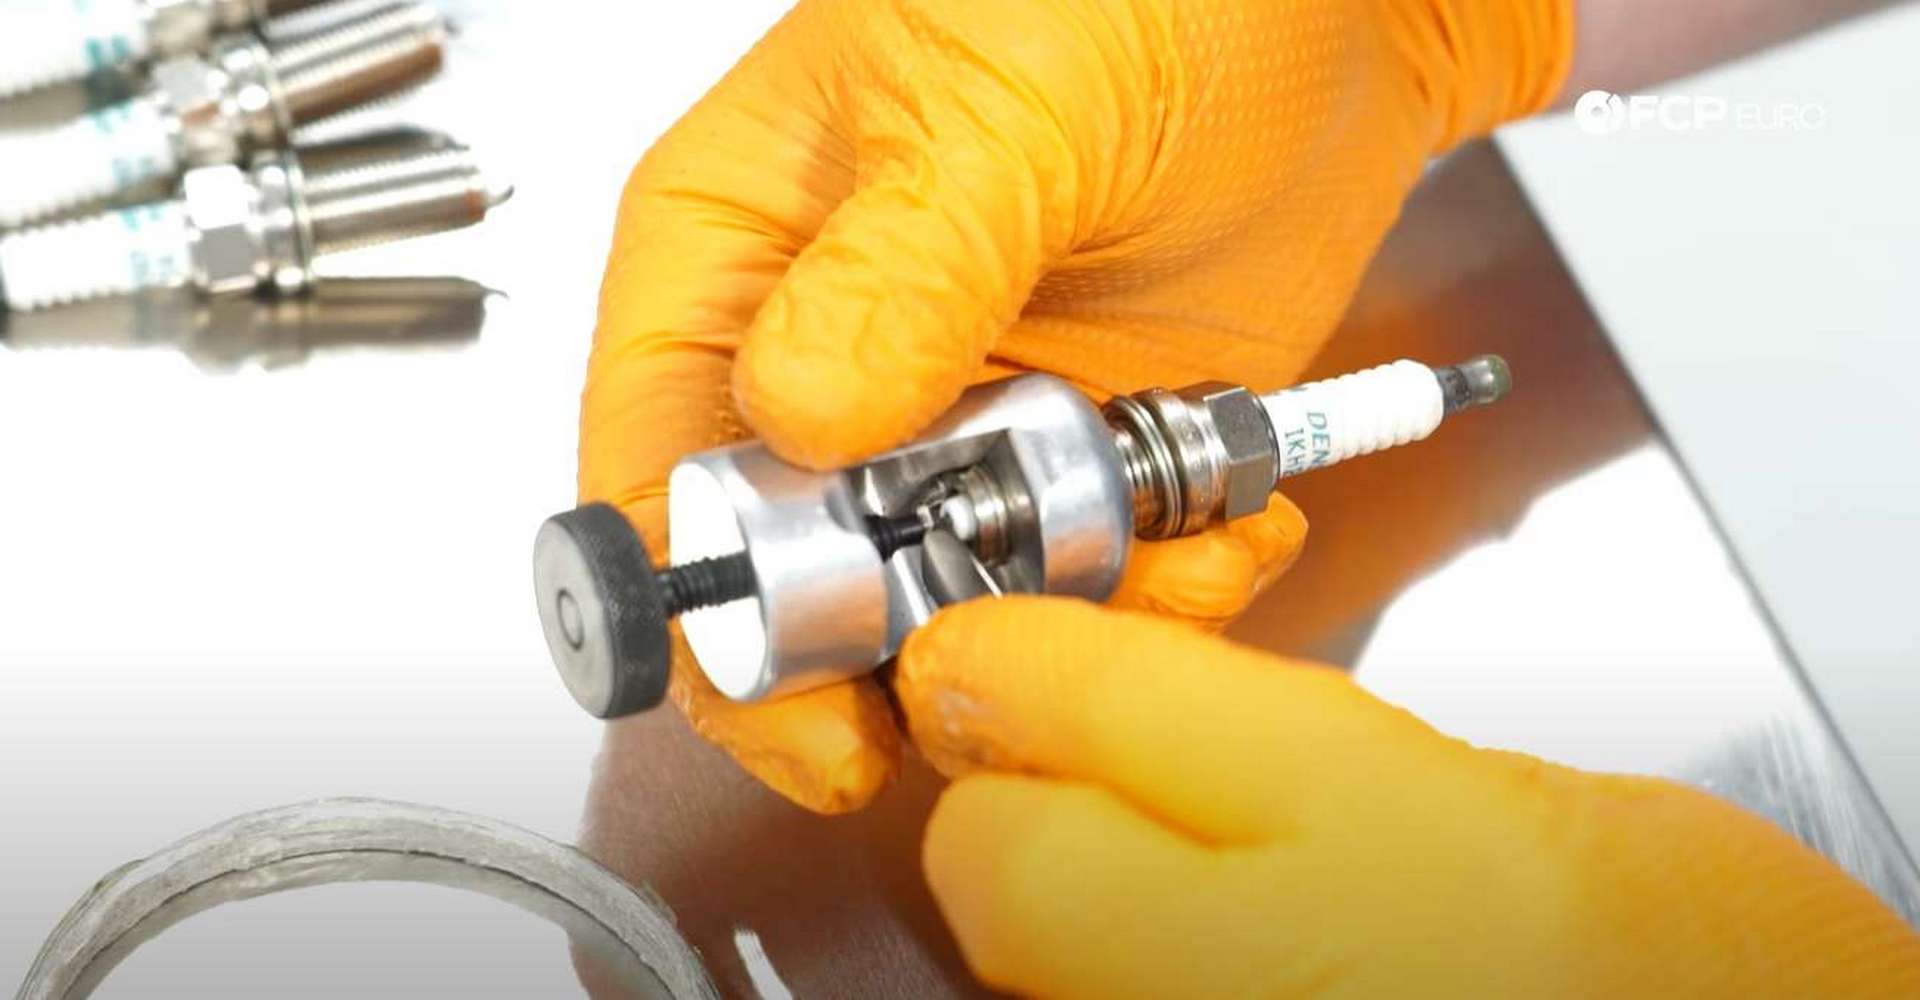
The plugs come gapped to a certain spec, but Corey chose to modify and close the gap based on his expertise. He used the feeler gauges and spark plug gapping tool to reduce the gap to twenty-four-thousandths. Check with your tuner and see what gap he recommends.
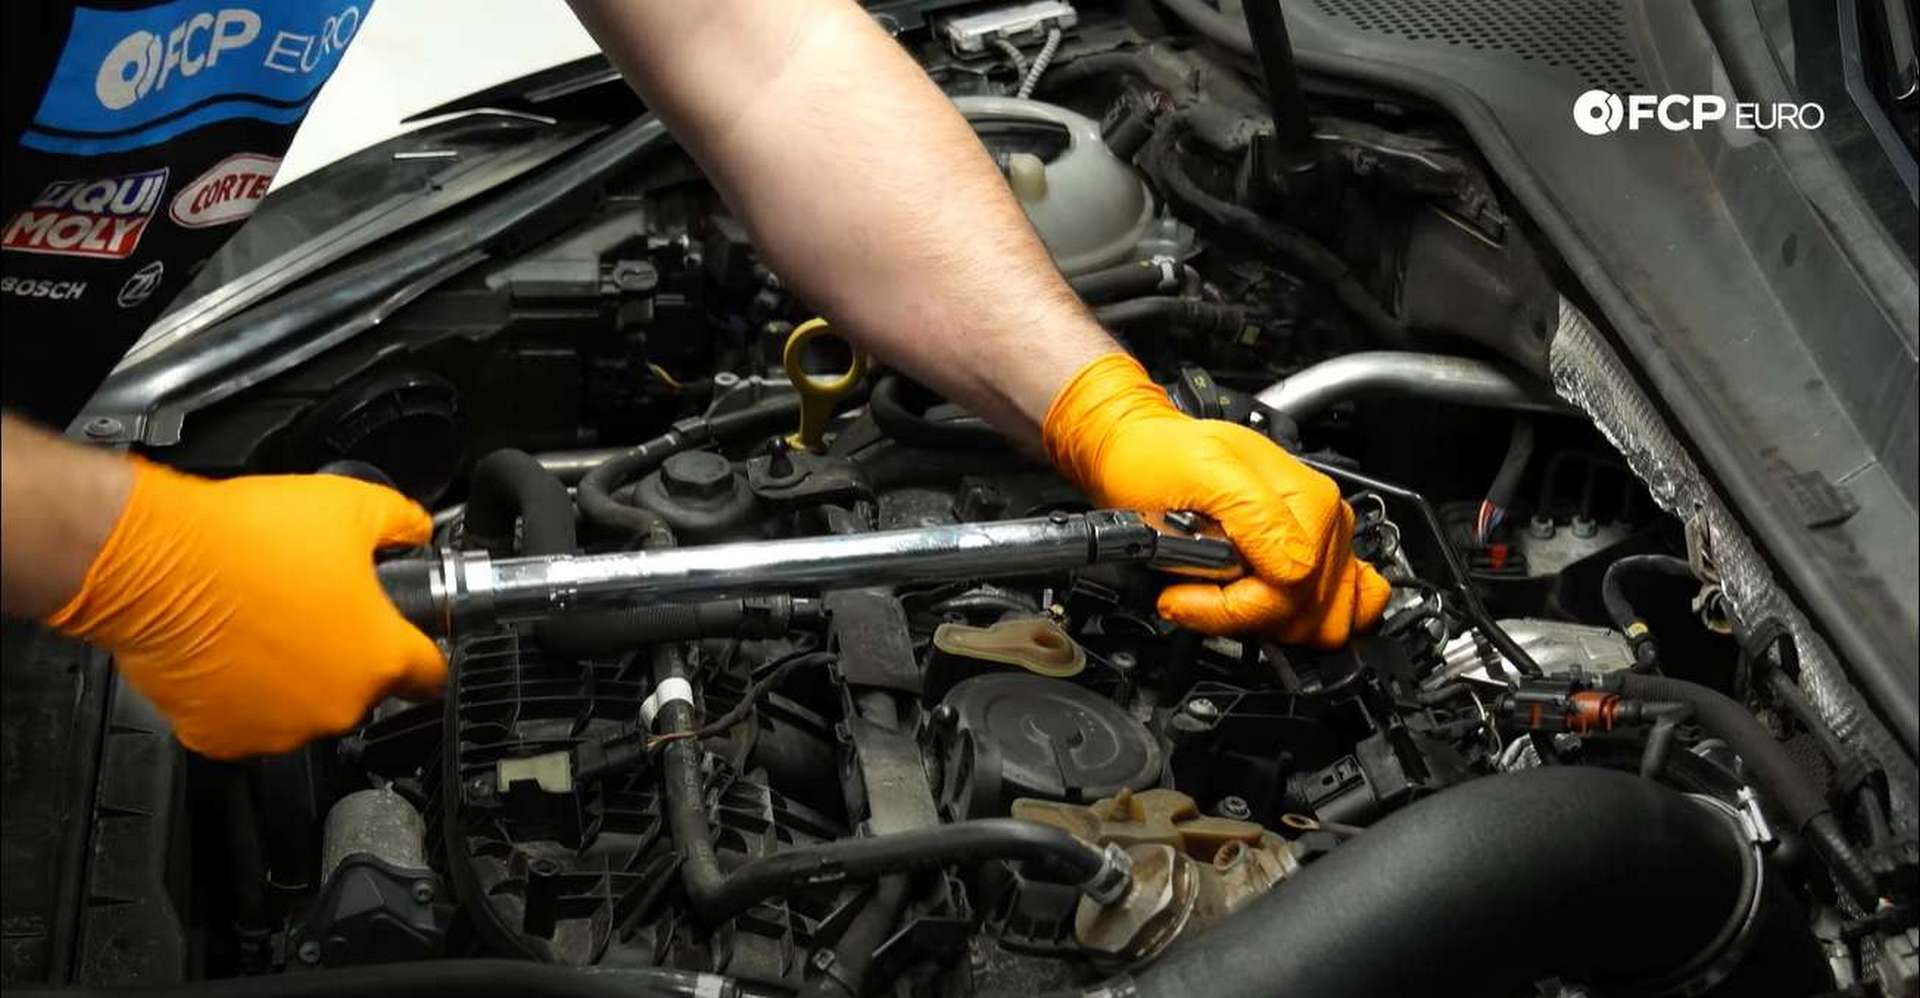
Once you’ve set the gaps, thread the plugs back into the head and use the spark plug socket to torque the plugs to 30Nm. Then, refit the ignition coils into the cylinder head. Press them down until they bottom out and connect the ignition harness to them. Thread in their mounting studs and use a 10mm socket to tighten them down.
Fit the ground wire eyelets onto their respective studs and secure them with the nuts. Use a 10mm socket to tighten the nuts on the ground wires.
Step 9: Install the downpipe
First, install the new exhaust gasket into the back of the turbocharger.
Next, slide under the car and refit the turbo support bracket. Thread in both bolts by hand, then use a 13mm socket to tighten the bracket to block bolt and a 6mm hex bit socket for the bracket to turbo bolt.
After that, thread the rear O2 sensor into the downpipe and tighten it with a 22mm wrench. Then, fit your new downpipe into place. Have the two bolts for the lower bracket handy, so you can thread them in and support the downpipe as soon as it's in position.
Don’t tighten the lower bracket bolts just yet. Head back into the engine bay, route your oxygen sensor wire back through its retaining clip, and plug it in. Then, secure the downpipe to the turbo.
Pull the mouth of the downpipe against the turbo and slide the v-band clamp over their connection. Once you think you have it in place, thread in the locking bolt. Run your hand around the connection before tightening it to ensure the clamp is on correctly. Then, use a 6mm hex bit socket to tighten the locking bolt.
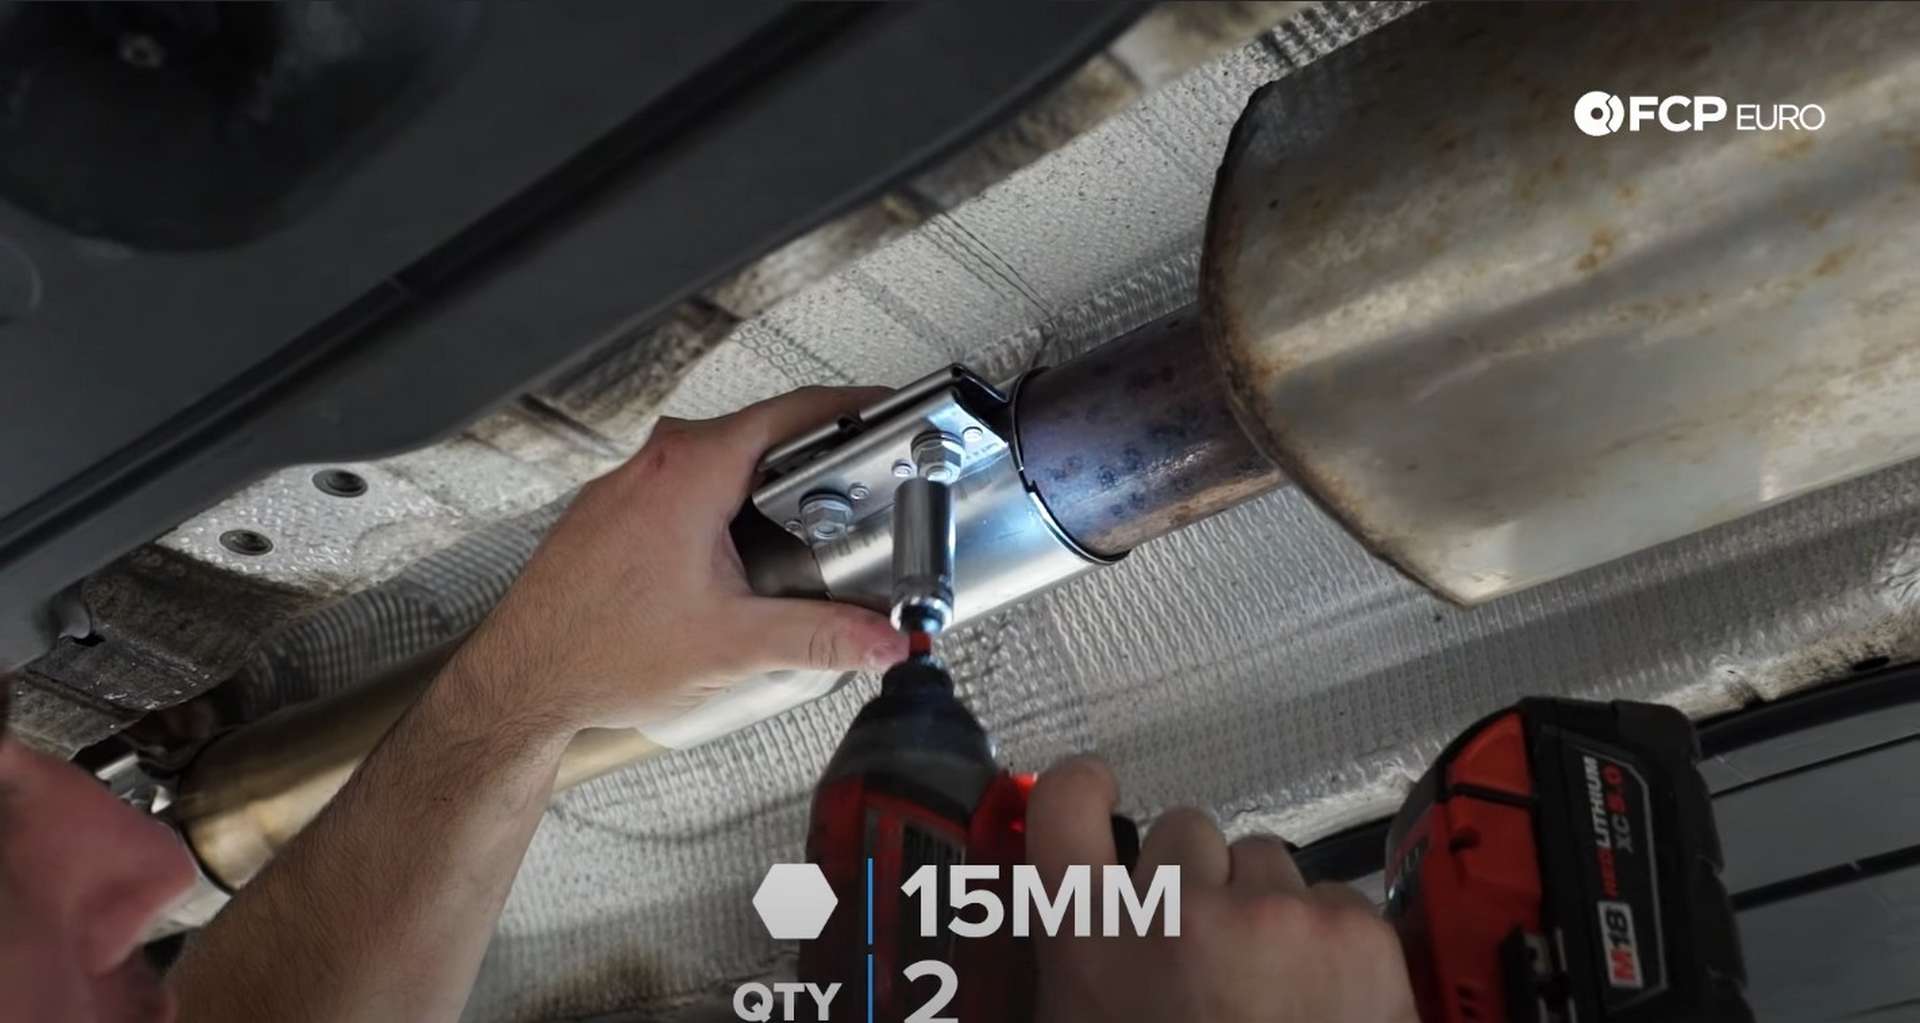
Next, head back under the car and align the downpipe with the exhaust. Slide the clamp over their connection, but leave it loose. Then, use a 13mm socket to tighten the lower bracket bolts.

After that, use a 15mm socket to tighten the exhaust clamp’s nuts.
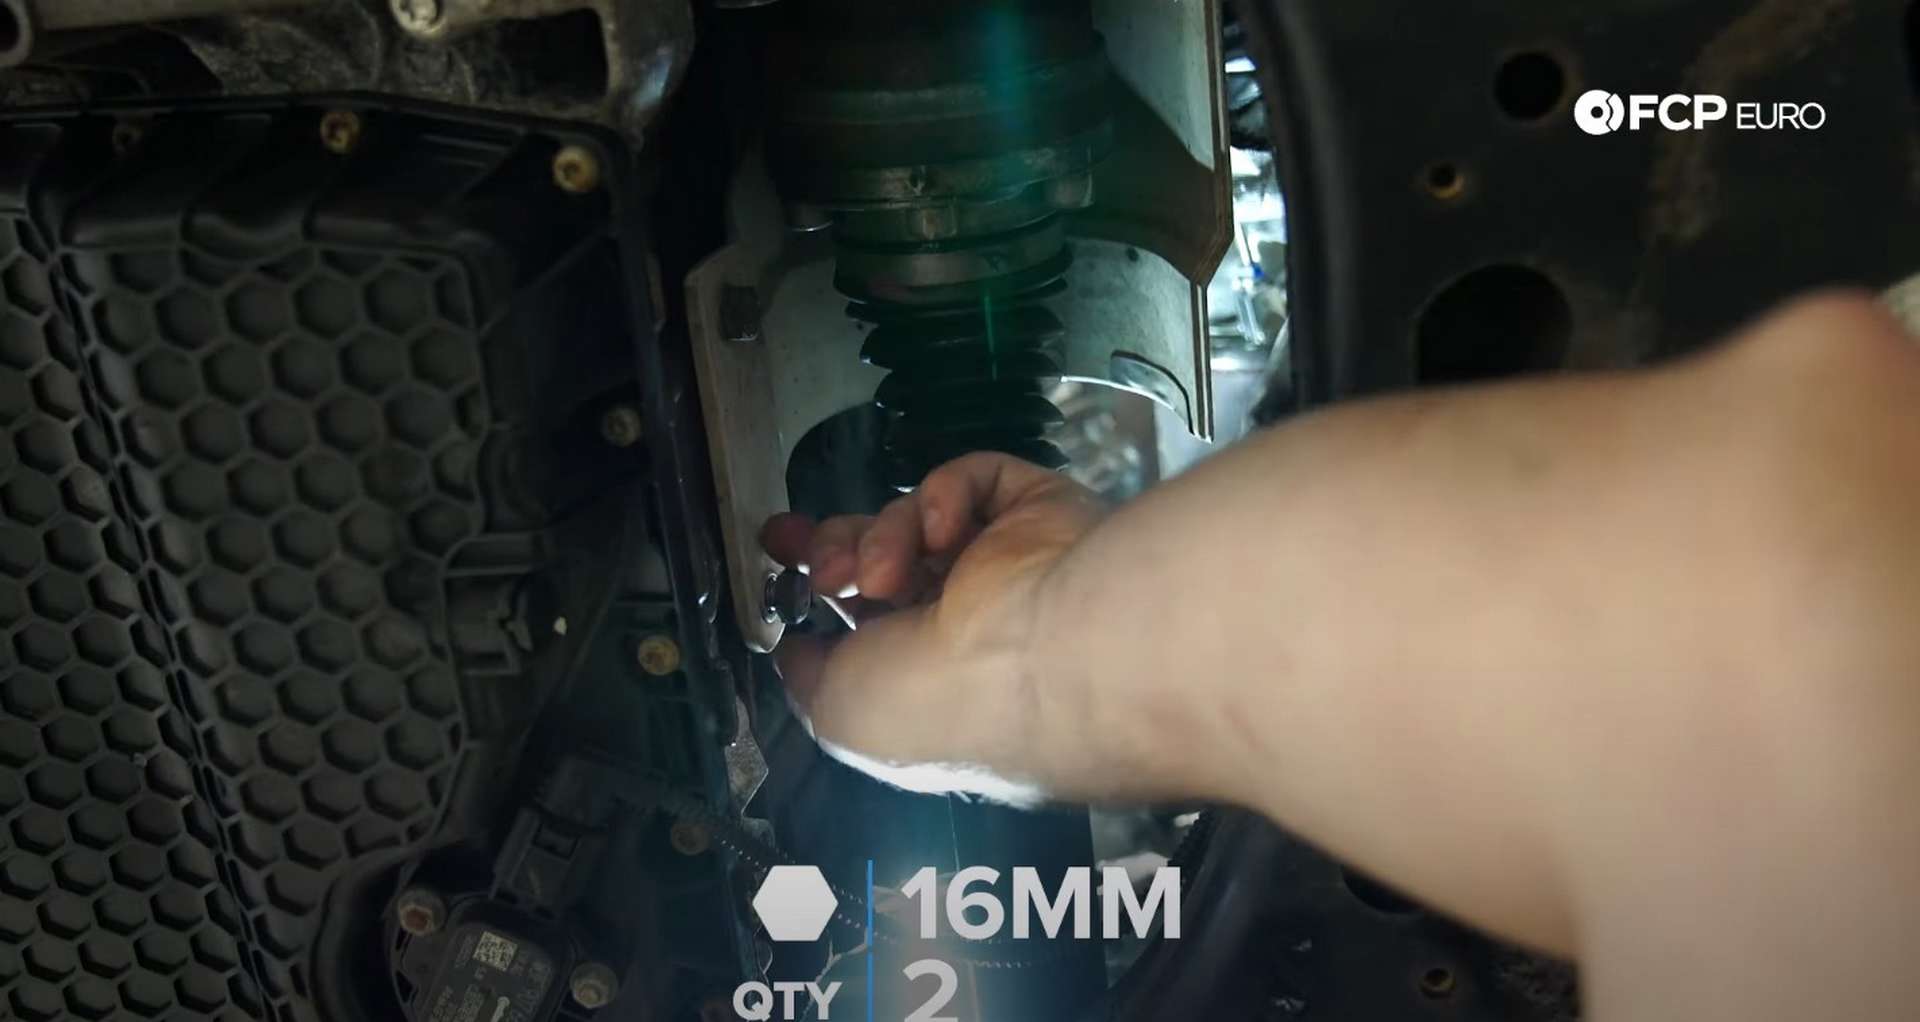
Refit the axle’s heat shield. Fit it into position and thread in the two mounting bolts. Then use a 16mm socket to drive them in.
Lastly, refit the chassis brace under the exhaust. Thread in the bolts by hand before using a 13mm socket to tighten them.
Step 10: Check your handiwork
While the car is still on jack-stands, hop in the car and start it. Let the engine run for 10-15 seconds and then shut it off. Check for any coolant or oil leaks from the turbo. If none are present, start it again and let it get up to operating temperature.
Shut it off once it has run up to temperature. Check the coolant level and add as necessary. Then, refit the splash shield and the engine cover. Use a T25 Torx bit socket to tighten the splash shield’s eight fasteners.
And finally, lift the car off of the jack stands and set it back onto the ground.
Volkswagen MK7 GTI Turbo Upgrade Torque Specs:
- VW Turbocharger Coolant and Oil Line Fitting Bolts = 9Nm or 6.6 ft-lbs, of torque
- VW Diverter Valve Bolts = 9Nm or 6.6 ft-lbs, of torque
- VW Turbo Muffler Bolts = 9Nm or 6.6 ft-lbs, of torque
- VW Turbocharger Exhaust Housing Bolts = 25Nm or 18.5 ft-lbs, of torque
By following the steps above, you’re on your way to owning a GTI that’ll hurt feelings and embarrass the owners of cars with twice the price tag. Now that you’re making all of that power though, you’ll need a clutch that can handle it. We can help with that too. If you’re interested in more DIYs for your Volkswagen, you can visit vw.fcpeuro.com and subscribe to our YouTube channel.