- 06/13/2018
- 4 Min Read
- By: Evan Madore
How To Inspect And Replace A Door Latch On A MK5 Volkswagen GTI

If you own a high-mileage MK5 GTI, there's a good chance you will need to replace a door latch at some point. Your door might not lock, and the instrument cluster might not recognize the door being opened and closed. These are two common signs that your door latch mechanism needs replacing. Luckily, on the MK5 GTI it isn't a tough job for anyone to do at home. Charles (HumbleMechanic) Sanville guides us through diagnosing the issue and passes along his tips to make this job as effortless as possible.
Tools needed to replace your Door Latch:
- Torx Bit Set
- Triple Square Socket Set
- T20 Torx Driver
- Trim Removal Tool
- Flat Head Screw Driver
Parts needed to replace your Door Latch:
Steps to replace your Door Latch:
Step 1: Diagnose the Issue
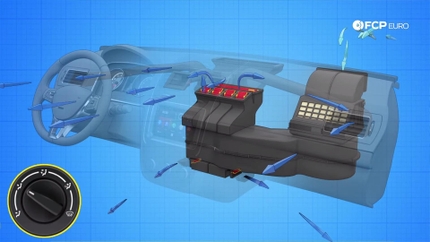
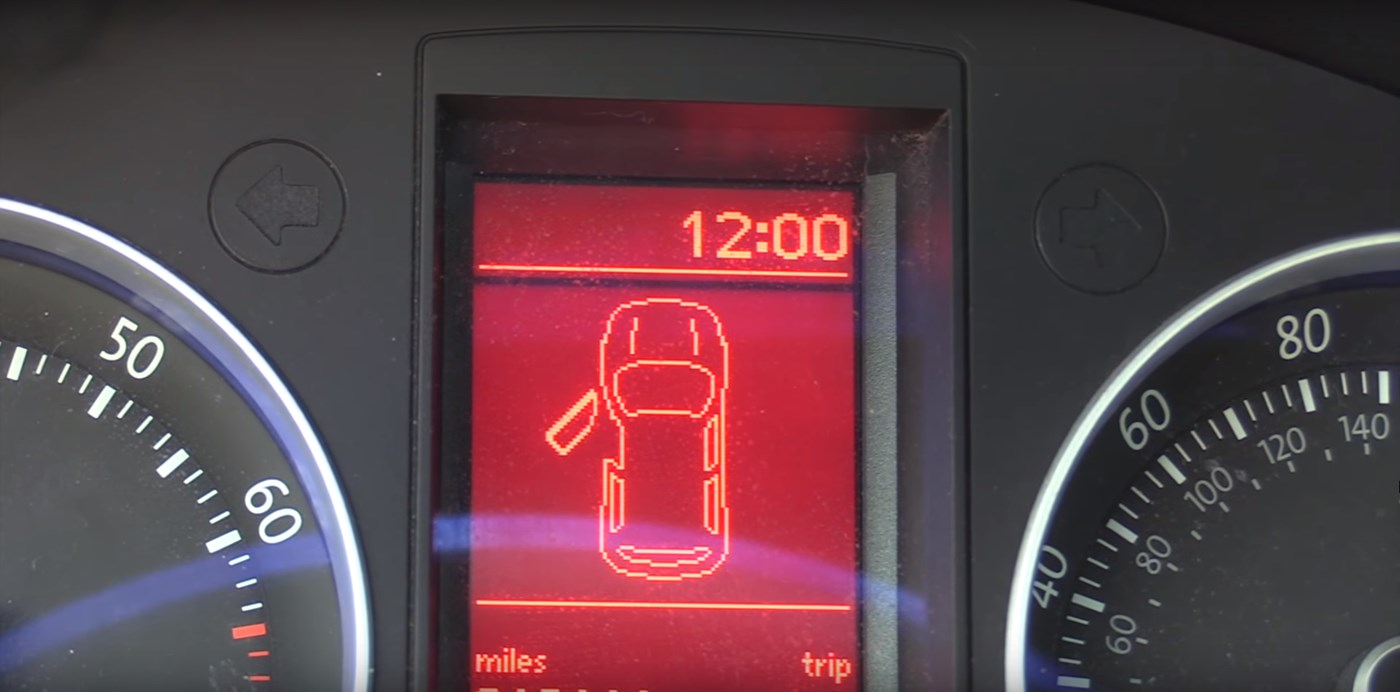
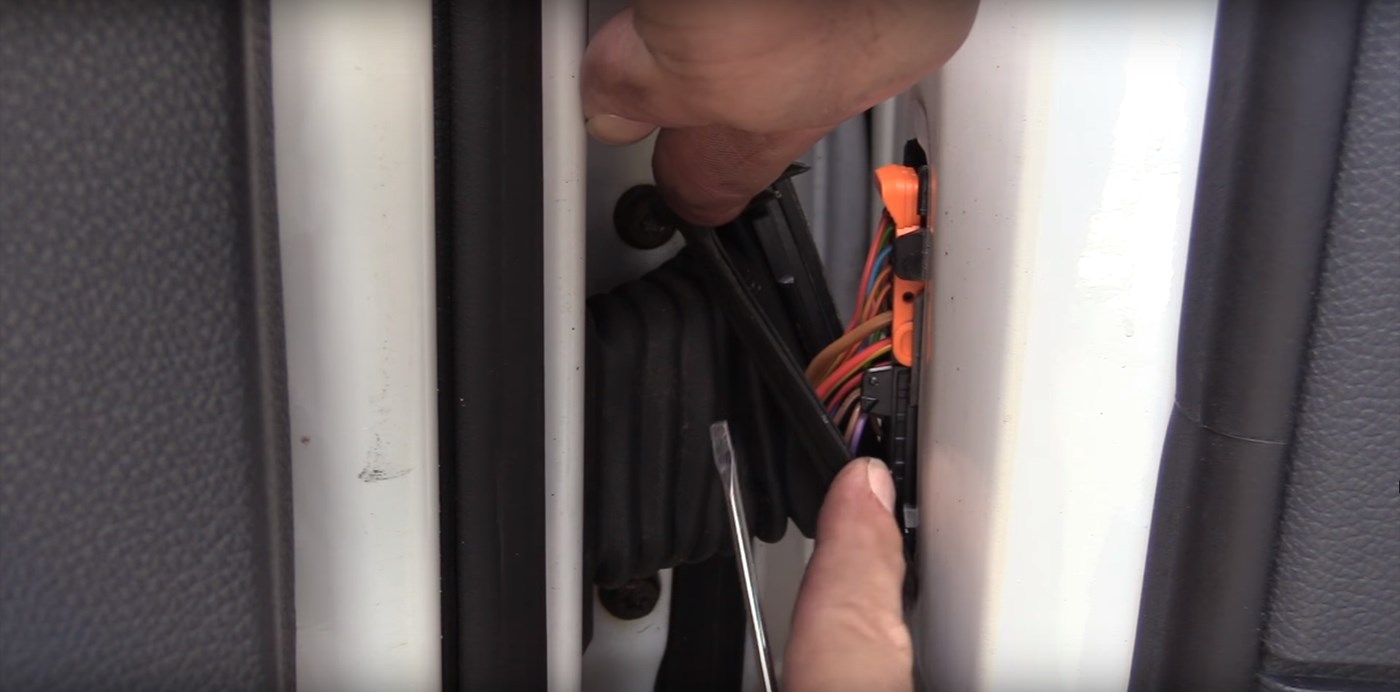
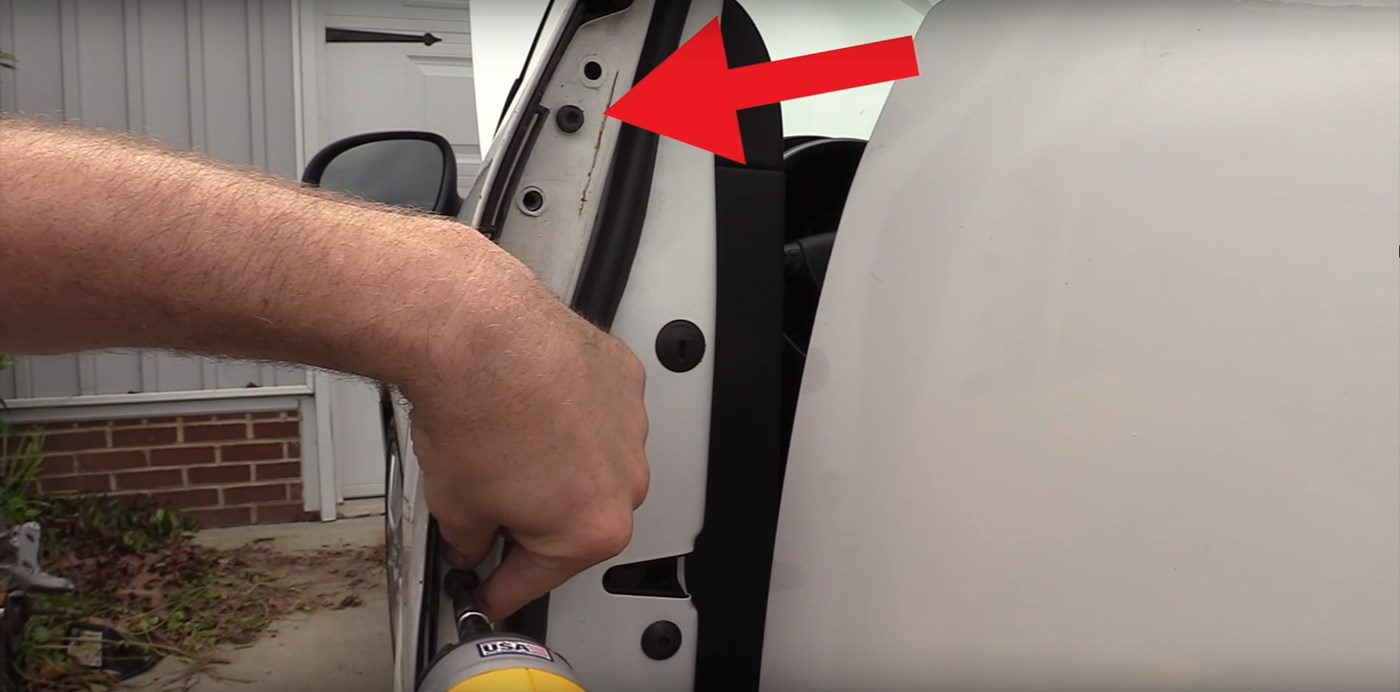
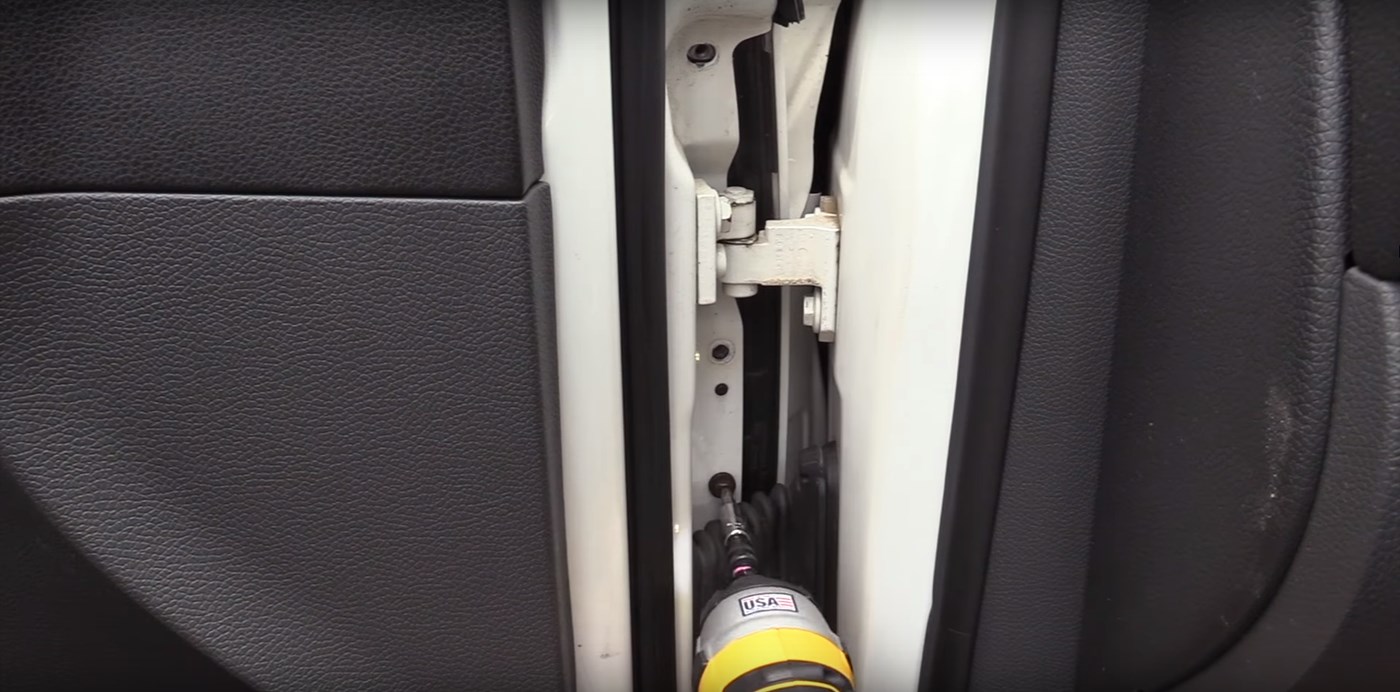
Before disassembling anything, start with simple diagnostics. First, with your doors shut, attempt to lock the doors and open them. If they open after locking, that's a good sign your lock assembly needs replacing. Another obvious sign is if your instrument cluster doesn't report the doors opening or closing. The last problem area to check is the wiring harness at the door hinges. Pulling back the rubber boot will reveal the harness. If there are any nicks or cuts in the wire, this could be the root of your issue.
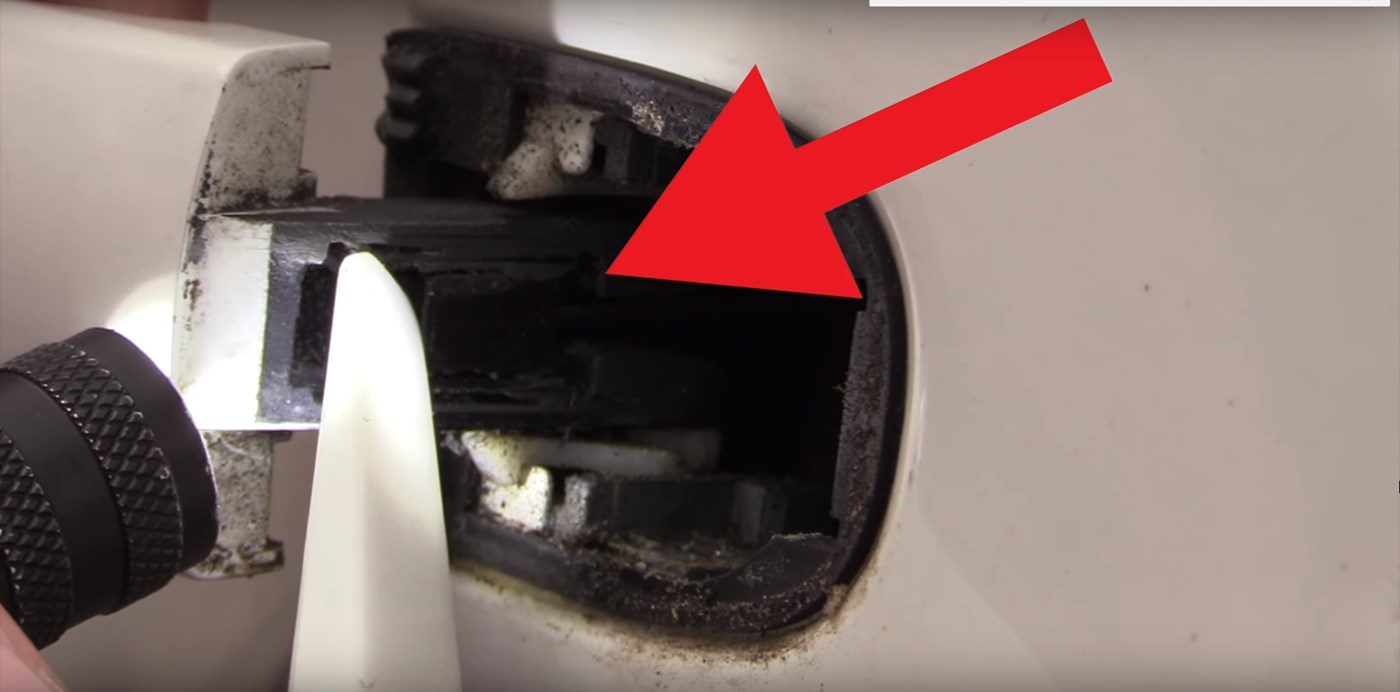
Step 2: Remove the Door Handle
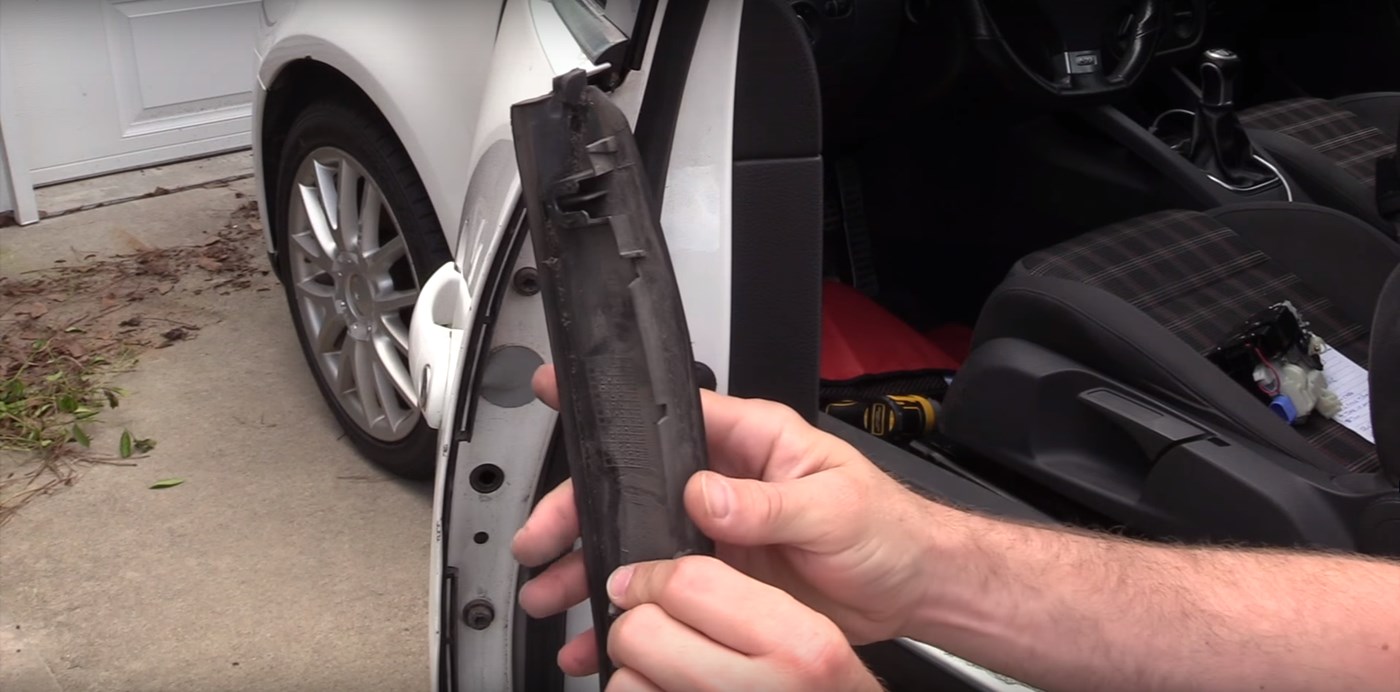
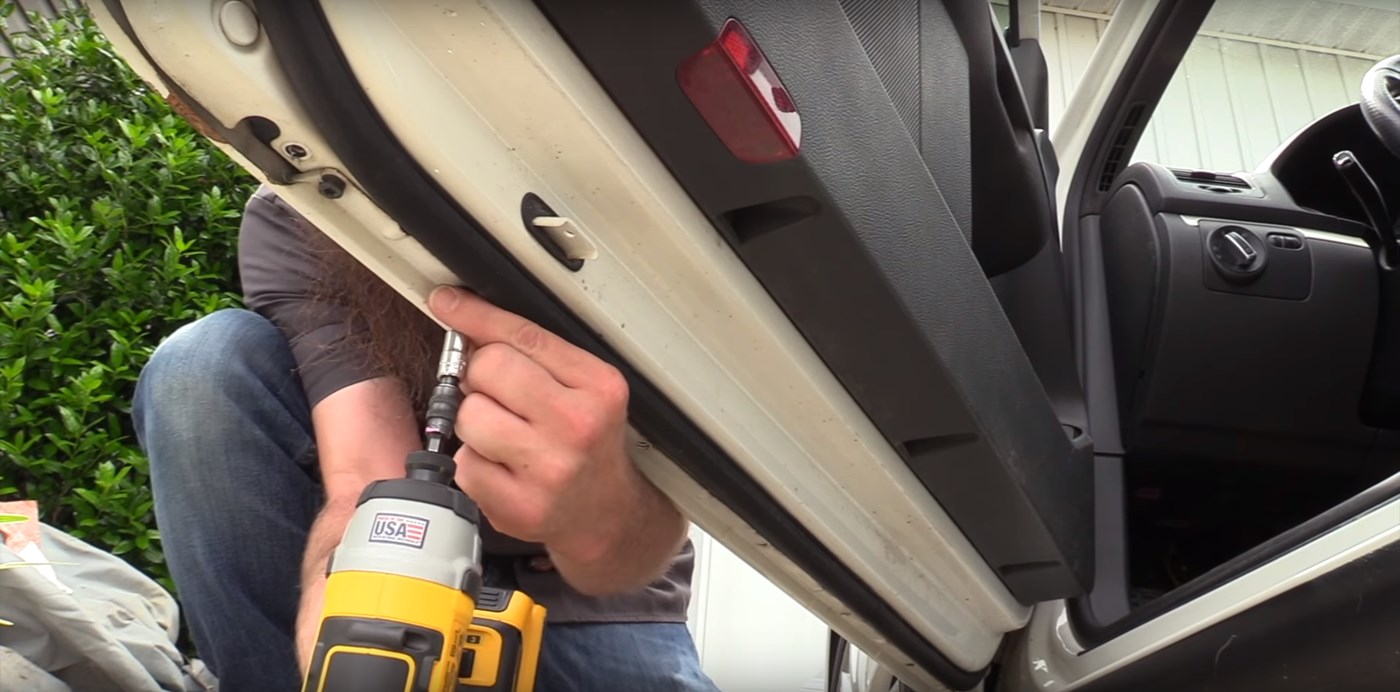
Begin by removing the outer trim piece on the inside edge of the door. Only being held in place by trim clips, use your trim removal tool to carefully pry the piece off. Do this slowly from bottom to top; there is a good chance of breaking the old brittle clips.
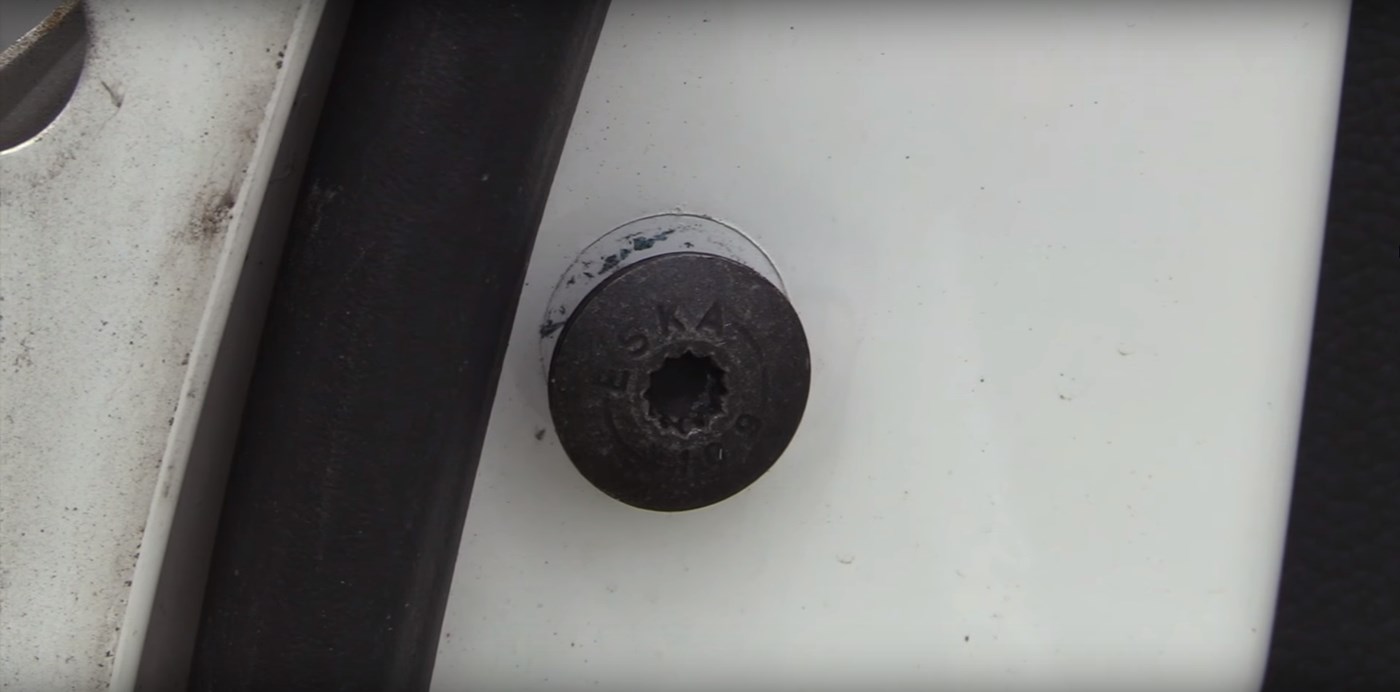
Now, you have access to the T20 Torx bolt that secures the door lock assembly inside the door. It is important to follow this step carefully. Start by making sure that the bolt is tight. If it isn't, tighten it to just snug. Then, using a reference point like the logo on your screwdriver, back this screw out twelve full turns while pulling the door handle outward. Any more than twelve turns and you risk completely disassembling the mechanism inside the door. If you do that, this job becomes much more involved and challenging.
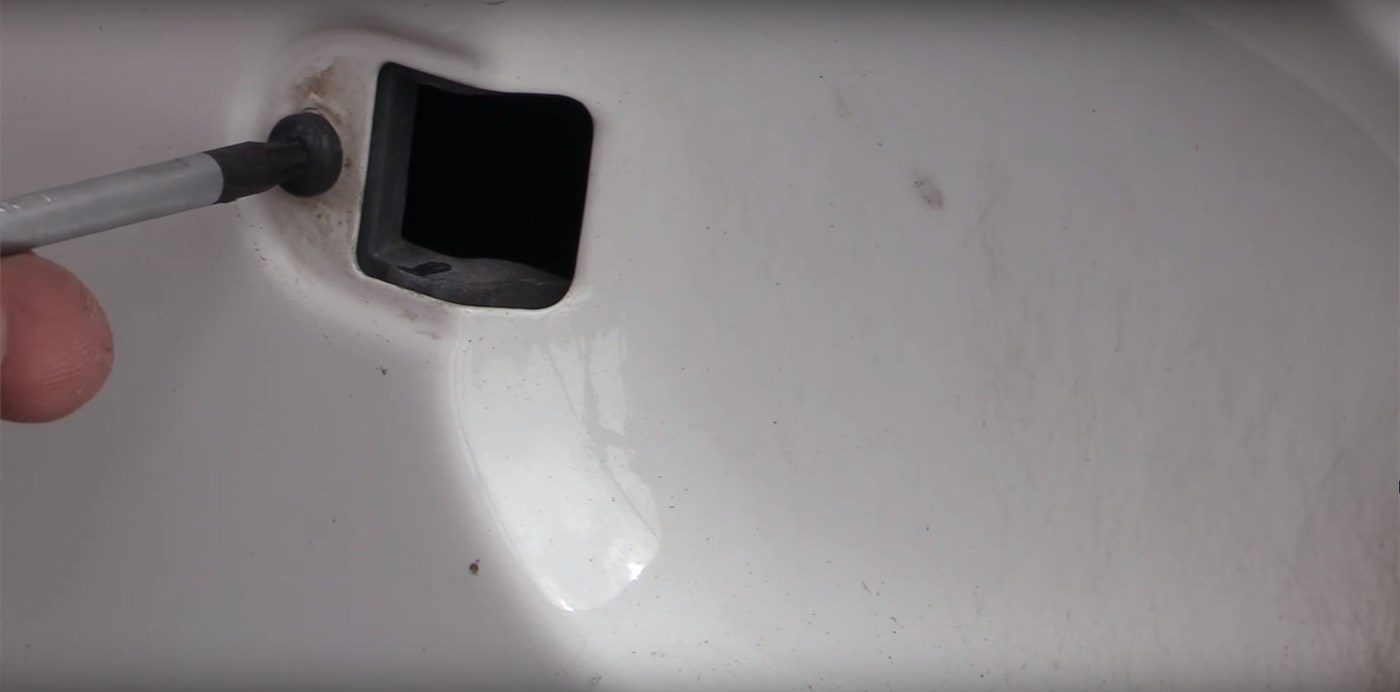
Next, you can remove the lock by pulling it straight out. After that, you have access to the clip inside the handle that releases the cable mechanism. This clip simply pops off using a trim removal tool. Once this is removed, you can remove the handle completely by pulling toward the rear of the car and swinging it forward. The video below demonstrates this motion more accurately than can be conveyed with words and photos.
The last step is to remove the single T20 Torx bolt that is concealed behind the handle.

Step 3: Removing the Door Skin
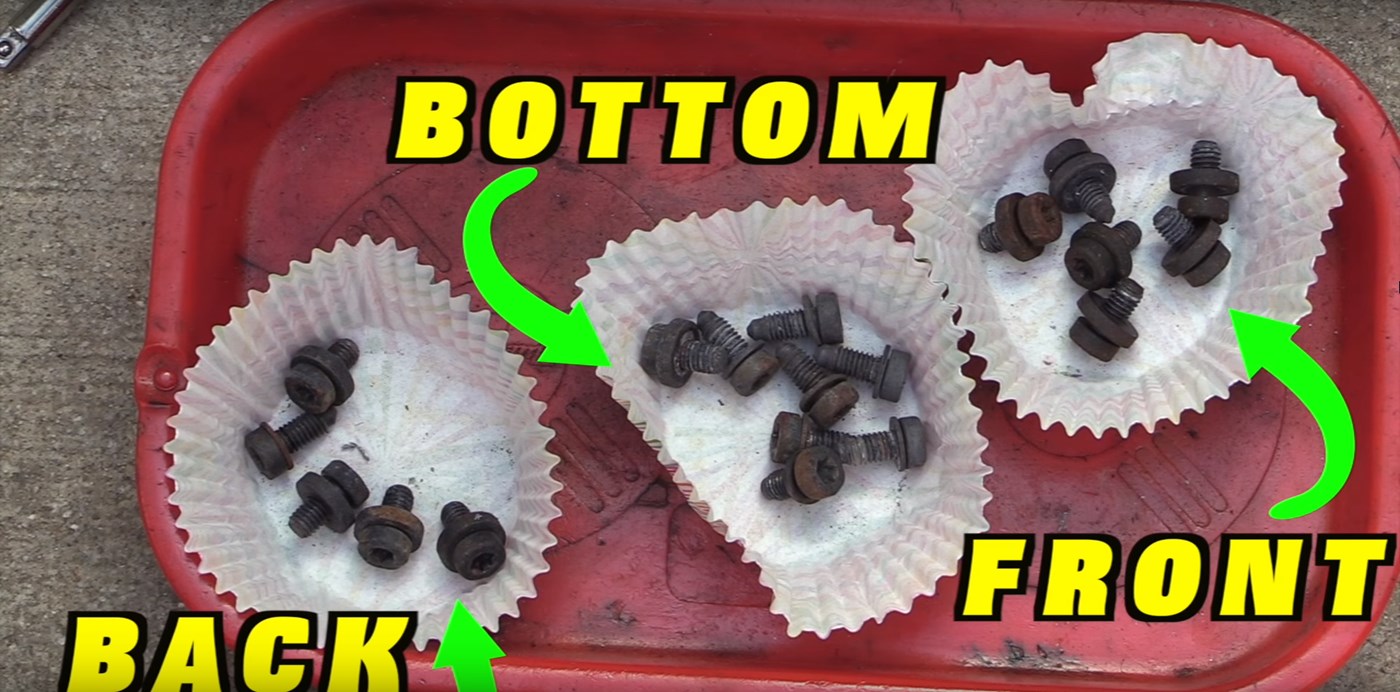
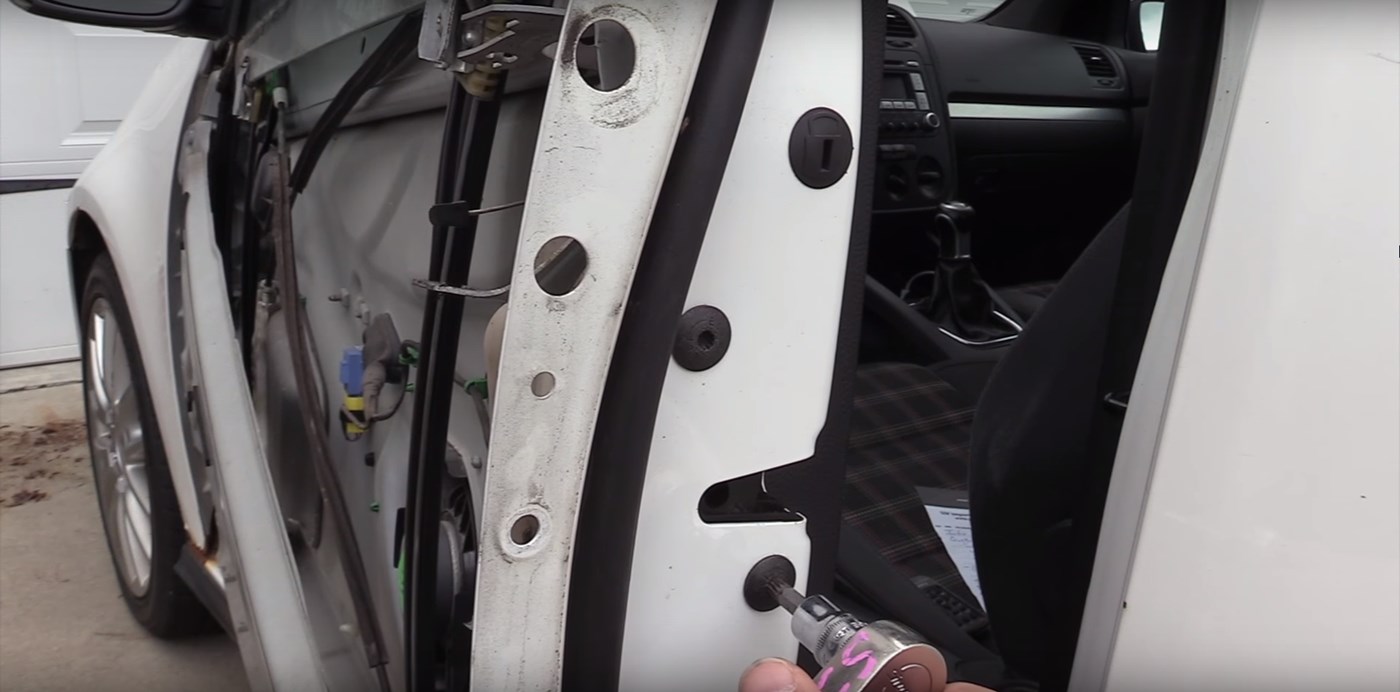
With the handle removed, you can now remove the door skin. This step isn't difficult but does require organization. The door skin is held in place by three different types of screws. Replacing these screws on the wrong side of the door can result in dimpling of the door skin.
Start by removing the T30 Torx bolts toward the rear of the door. Leave the topmost bolt in place to hold the door skin while you remove the rest of the bolts. Next, remove the bottom and then the front most bolts. Once all of those are out, you can remove the last bolt while holding onto the outer door skin. It helps to have a safe place to rest the door skin prior to removing it.

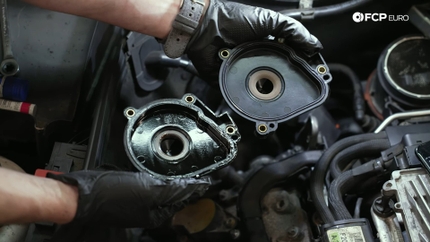
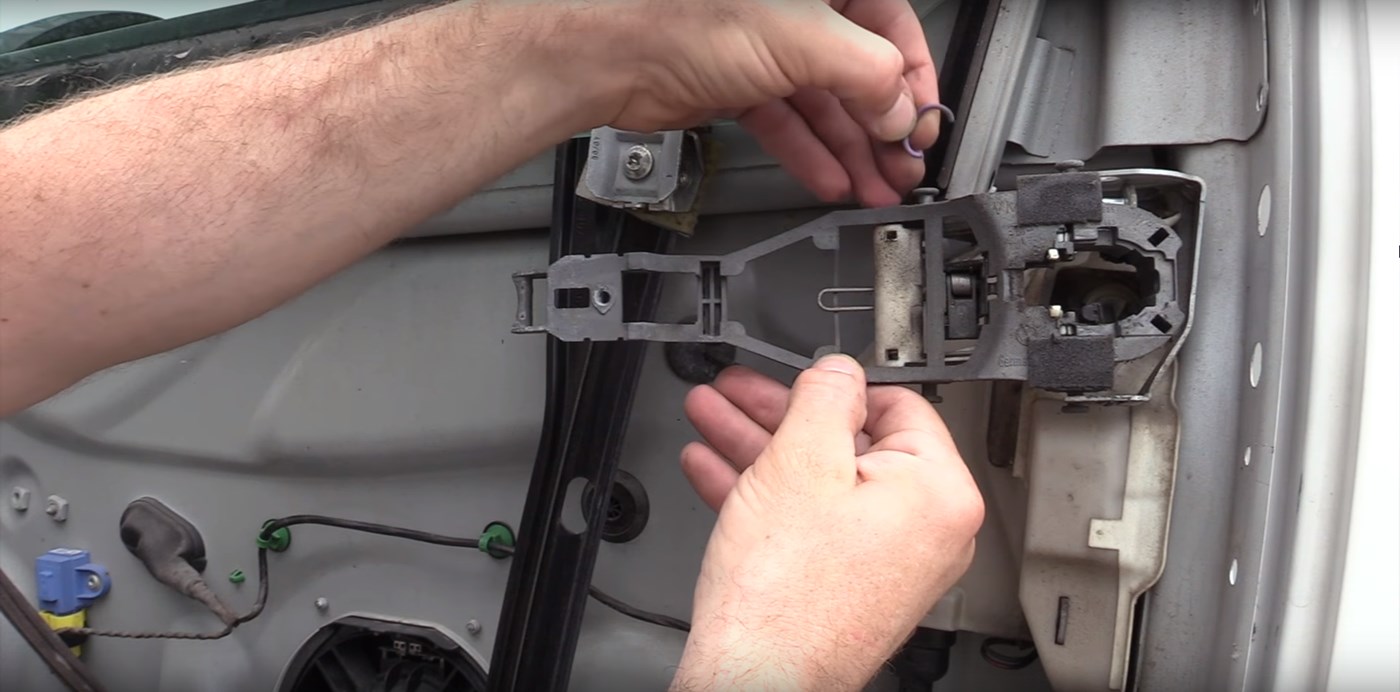
Step 4: Remove Door Latch Carrier
With the door skin off, you now have access to the door latch carrier. This piece is only held in place by a small rubber o-ring that acts like a rubber band. Once you remove the o-ring, the carrier should pull right off.
Step 5: Remove Door Latch Assembly
The door latch is held in place by two Triple Square bolts. These bolts have shallow heads, so make sure your Triple Square bit is fully seated before attempting removal.
Once those two bolts are removed, the latch assembly will only be held in place by the electrical connector and the cable. Unplug the connector and rotate the cable out of place.
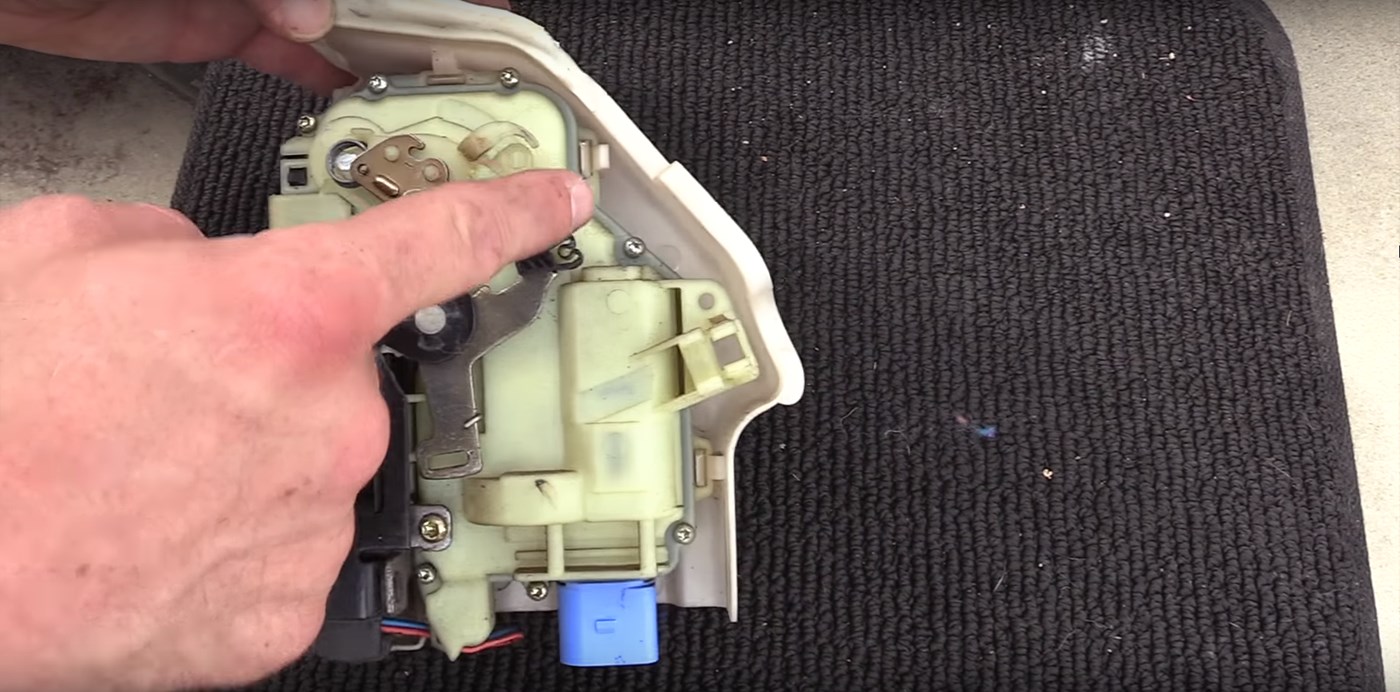
Step 6: Replace Door Latch Assembly
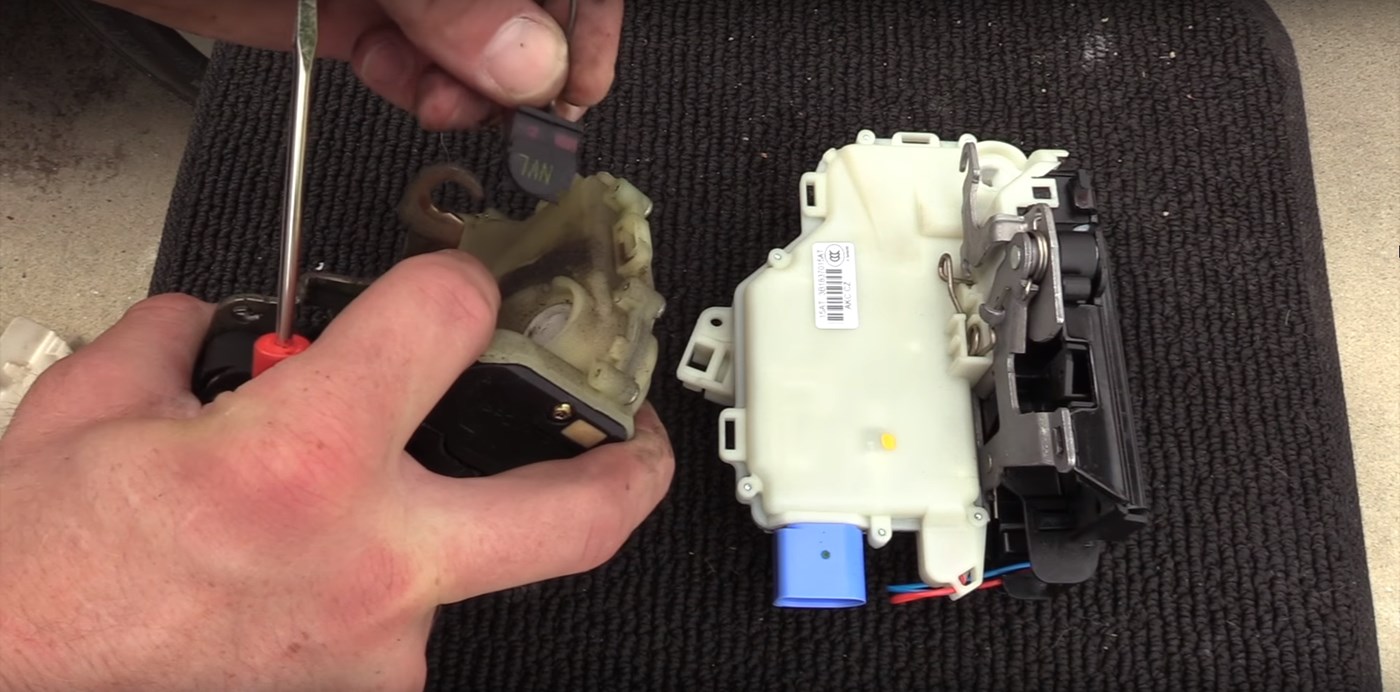
Working at the bench now, you'll be replacing your old assembly with your new one. Start by removing the plastic cover from the latch assembly. This is held in place by three plastic tabs. Just twist the cover away while pushing the tabs outward and it should pop off.
Next, remove the cable from the old assembly and transfer it to the new assembly. To remove this cable, pull slightly while rotating ninety degrees. Do the exact opposite to put the cable onto the new assembly.
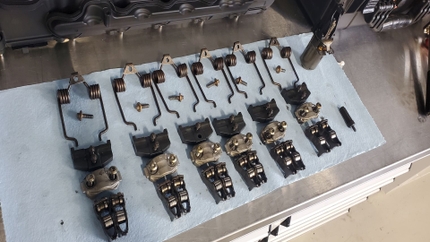
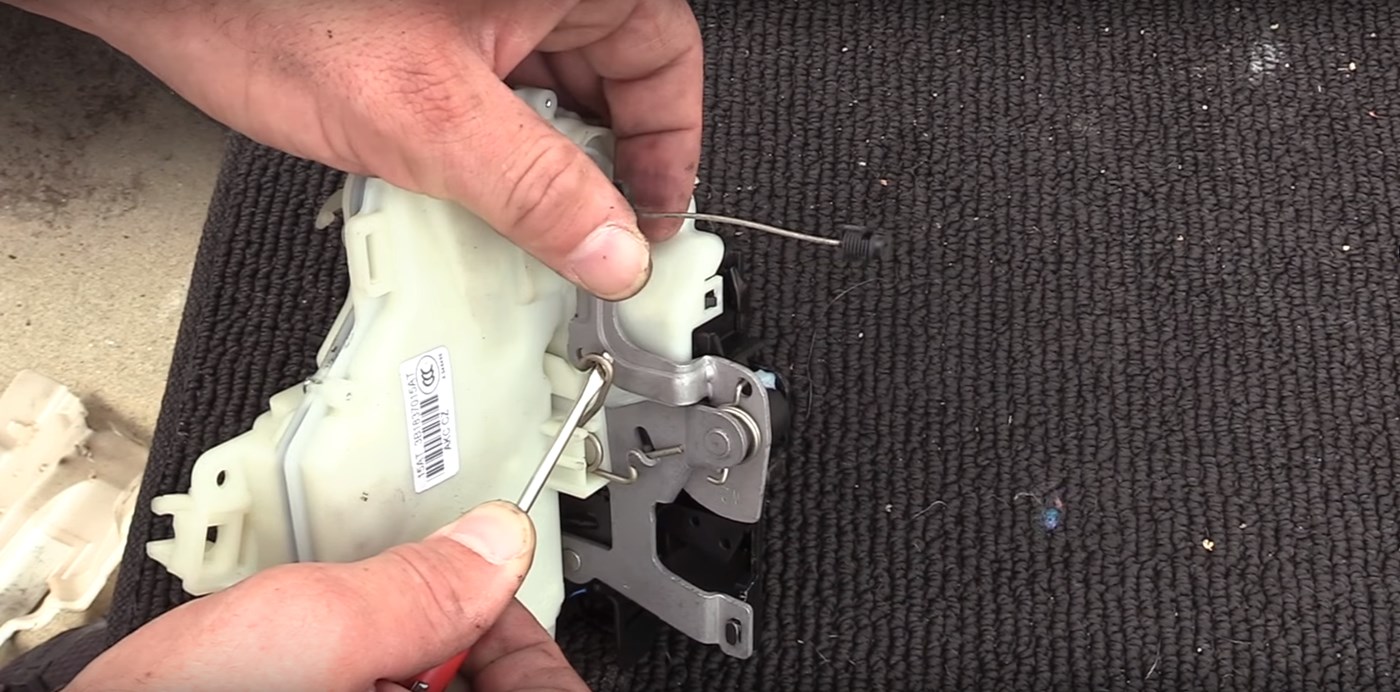
The last step before replacing the plastic cover on the assembly is to preload the cable tension. The spring clips into the small hook built into the door latch. This is done simply by bending the spring into place using a flat head screwdriver.
Step 7: Reassembly!
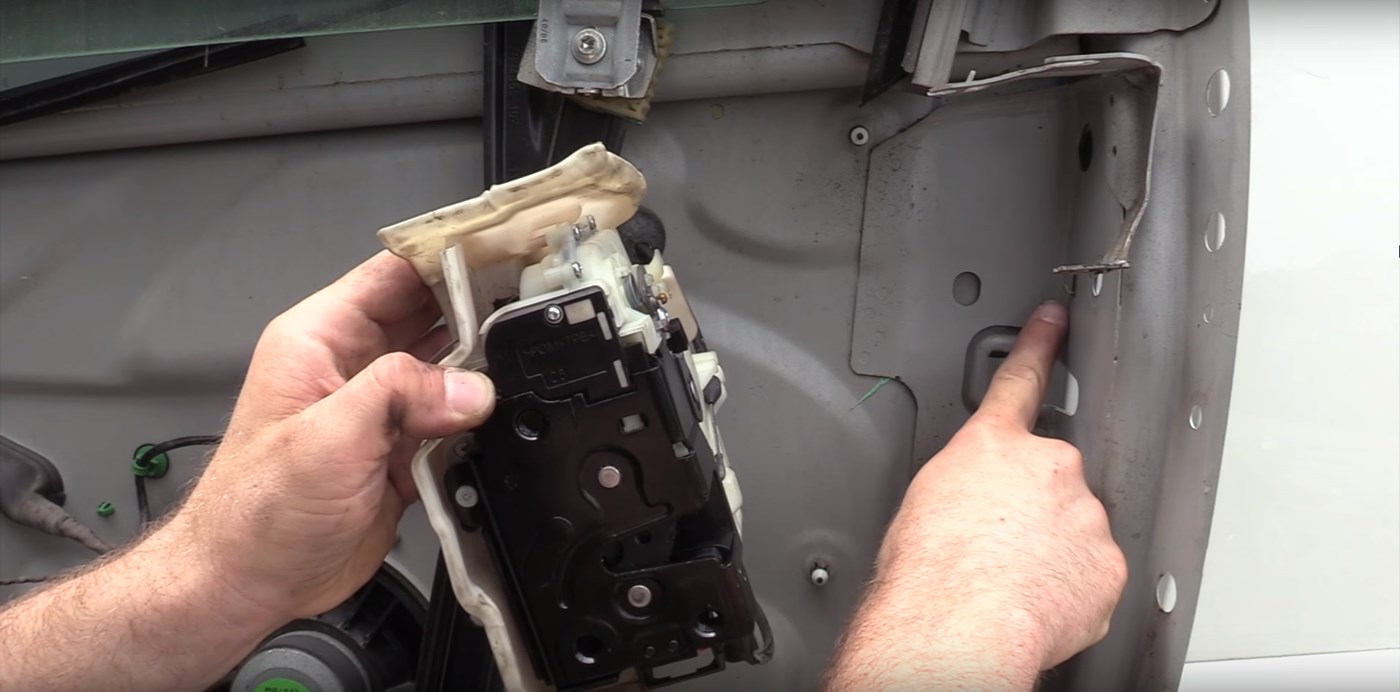
The reassembly process is, for the most part, the reverse of above. There are two aspects of reassembly that you need to note. First, when reinstalling the assembly, there is a hole in the assembly that matches up with a hook inside the door. This holds the assembly in place and acts as an alignment aid.
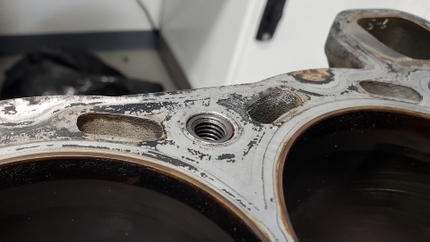
The second thing to note is very important for the overall alignment of the door skin. Most of the bolts have play in them to allow tweaking the alignment. Note the "witness marks" where the bolt heads rode against the metal. If you make sure all the bolt heads are perfectly aligned to these witness marks, the door should go back together exactly as it was before taking anything apart.
Now that everything is back together, test to make sure it's working before closing your door. Once you know it's working, you can finally celebrate knowing that your doors actually lock now. If for any reason your latch fails again in the future, know that you're covered by our Lifetime Replacement Guarantee.
Be sure to check the video below on HumbleMechanic's YouTube page, and don't forget to subscribe to get all new videos pushed right to your inbox.