- 04/17/2015
- 2 Min Read
- By: Tim Wong
How to Install a Crankshaft Position Sensor (RWD Volvo)

A crank position sensor has a very important task: to ensure that the engine computer knows where your engine is positioned in its cycle. This will allow the computer to properly time the ignition. If your crank position sensor isn’t working properly, your spark timing might be off and cause your engine to run rough. In the worst case where your crank position sensor fails, your engine may not even be able to start. Luckily, for most RWD Volvo owners, these sensors are pretty durable, lasting many miles before it dies. As my car has just rolled over 400k kilometers, I have begun to replace key sensors before they leave me stranded. In terms of important sensors, I would say this one ranks near the top.
Parts needed:
Volvo Crankshaft Position Sensor (240 244 245 740 940) - Bougicord 271949
Step 1: Remove the mounting bolt. If you sneak a peek from the passenger side, just behind the distributor cap you’ll be able to spot the sensor. Using a 10mm socket, a flexible joint, and an extension bar, you can reach the bolt holding down the sensor. It should not be a difficult task to remove, but you’ll have to visualize where the bolt is as you will not be able to see the sensor with your hand down there. The sensor is mounted vertically, with the mounting flange pointing towards the rear of the car.
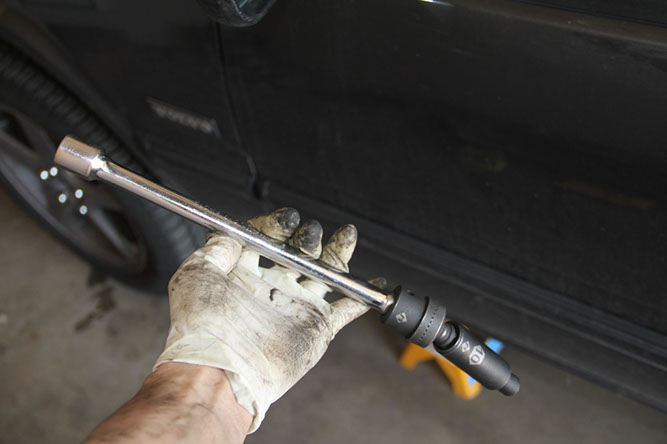
Socket and extensions to remove 10mm retaining bolt
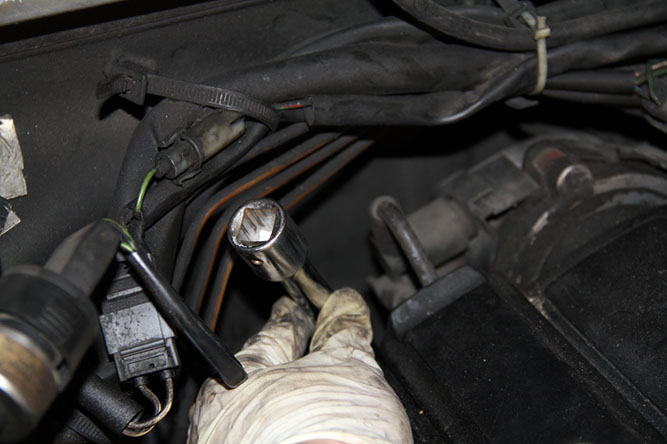
Socket Extension to remove retaining bolt
Step 2: Unplug the sensor. The connector is a three-pin that uses a locking spring to keep it in place. The plug will be located near the engine oil dipstick. Simply unplug it and remove the sensor.
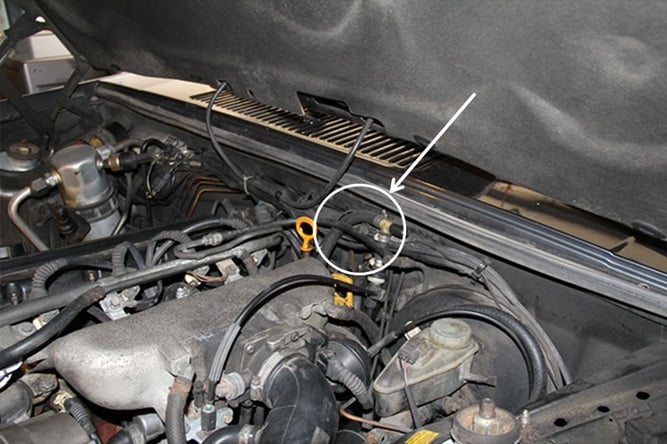
Location of crank sensor connector
Step 3: Reinstall the sensor. Plug the new sensor in, making sure to transfer the wiring clip. Insert the sensor into the proper location, tightening the 10mm bolt. You don’t need to tighten it with too much force. Just hand tight is enough.
Start up your car, and if all went well, you’ll be happily motoring along without fear of your crank sensor giving up on you in the middle of the road.
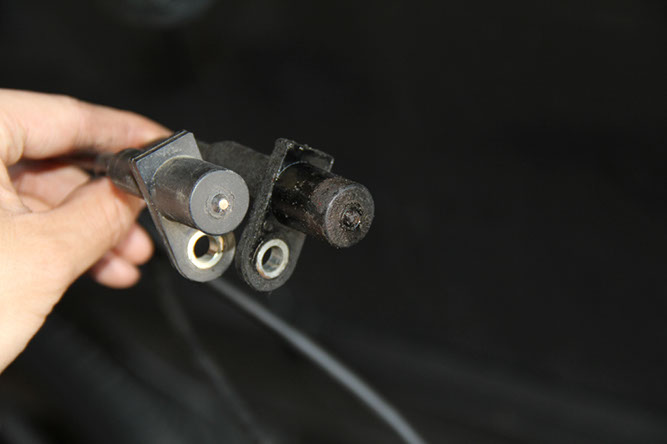
Old versus new crank sensor
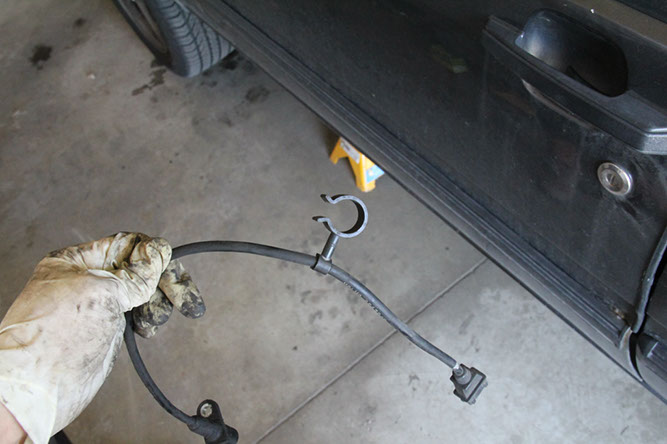
Make sure to transfer the wiring clip