- 02/02/2017
- 3 Min Read
- By: David Fresne
How to Install a Rear Sway Bar on a B6/B7 Audi A4

Due to the AWD design of the B6/B7, the front of the engine needs to be positioned in front of the front axle longitudinally. With the weight of the engine positioned over the front axle, this causes a phenomenon known as “understeer”. In order to combat understeer, a stiffer rear sway bar can be used.
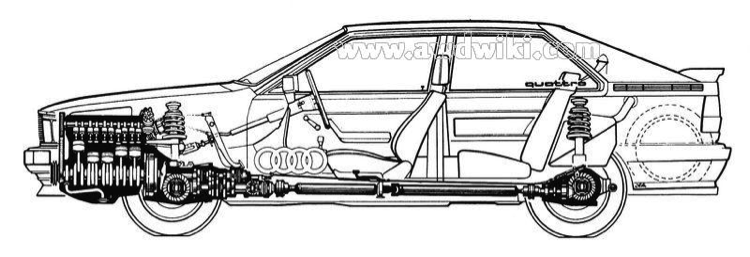
With the weight of the engine positioned over the front axle, this causes a phenomenon known as “understeer”. The opposite of this is referred to as “oversteer”. These handling characteristics were eloquently explained by Richard Hammond of Top Gear:
In order to combat understeer, a stiffer rear sway bar can be used. This will create more oversteer. I picked up an 034 Motorsport Rear Sway Bar (RSB). What's nice about this sway bar is that it is designed to be used in conjunction with the stock front sway bar. If we were to increase the stiffness of the front bar alone, that would further increase the understeer. Other aftermarket sway bars typically come in a set of two, one for the front and one for the rear, this increases the overall cost. The installation of the rear sway bar is the same, no matter what brand you choose to go with, it only slightly differs in the sway bar brackets that are included with the 034 Motorsport RSB.
Removal
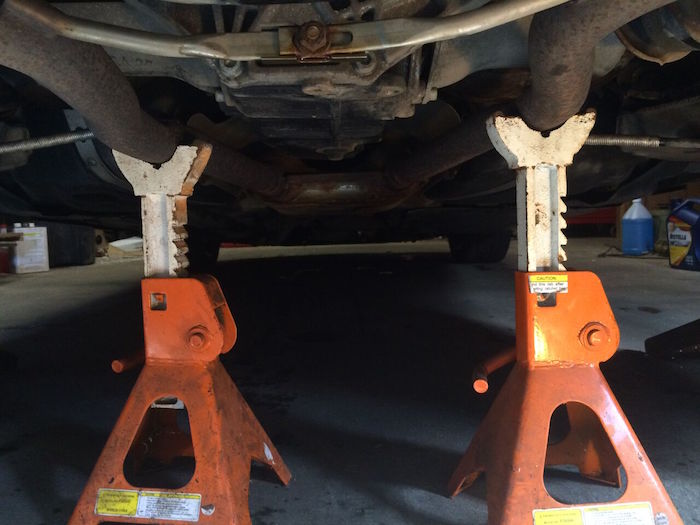
It's a good idea to have the rear suspension loaded while you replace the sway bar, so I chose to back the car up onto a set of ramps.
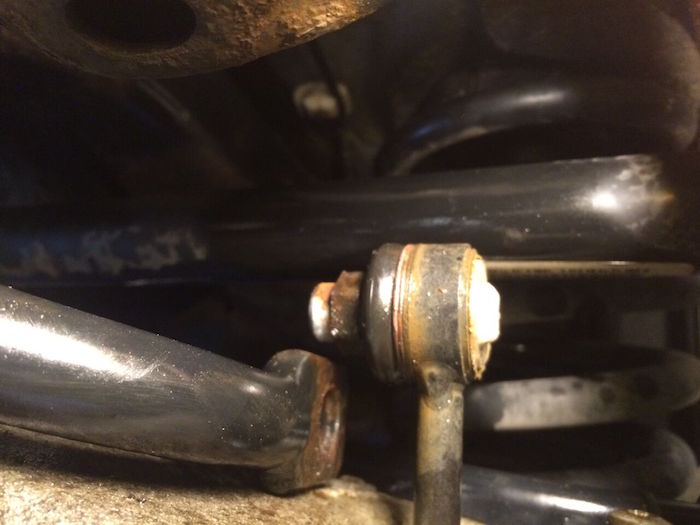
Next, you will want to loosen the brackets that hold the sway bar to the rear subframe.
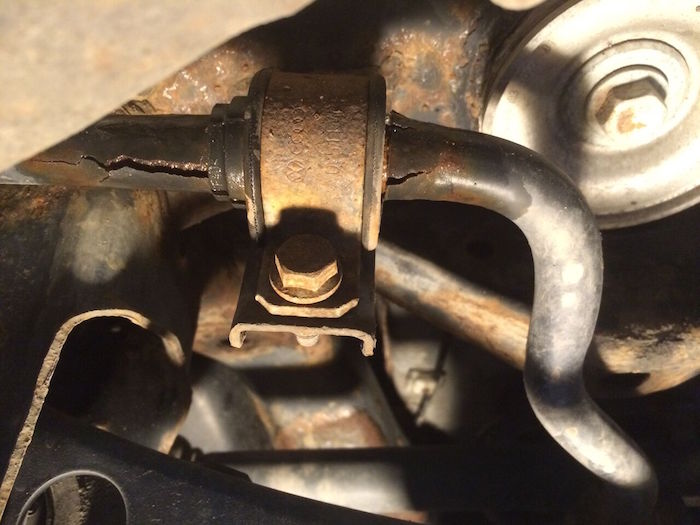
It is a good idea to spray these bolts with some penetrating fluid. There is a bolt on the other side of the bracket, you can't see it in this picture. After you have let the penetrating fluid soak in for a few minutes (if you chose to use it), remove the fasteners for the brackets.
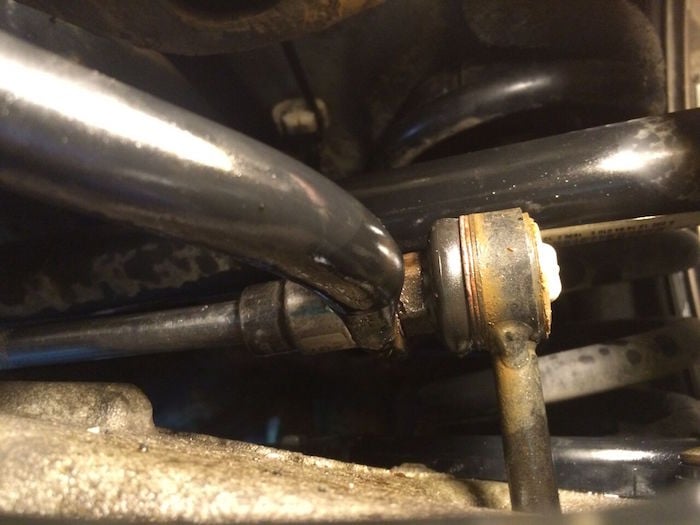
Remove the fasteners that hold the end link to the sway bar. You can use a long extension with a wobble end in order to get to the bolt. If the other end of the end link starts to spin, you will need an open end wrench to hold it in place.
In my case, I was able to remove the bolt without the other end spinning. Remove the bolts for the two end links, one on each side.
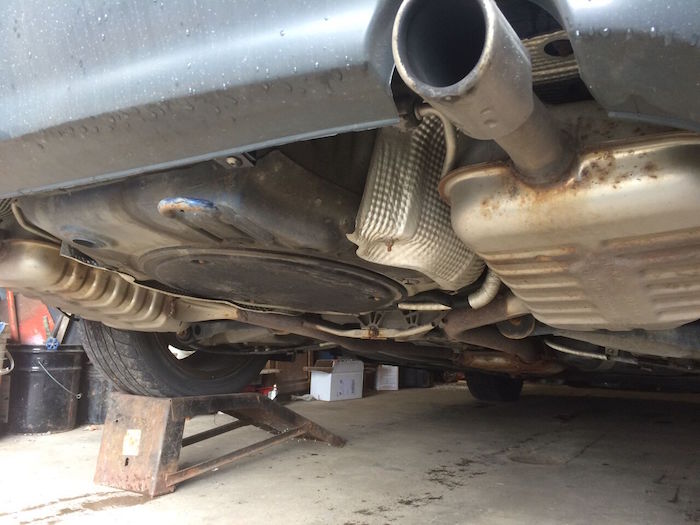
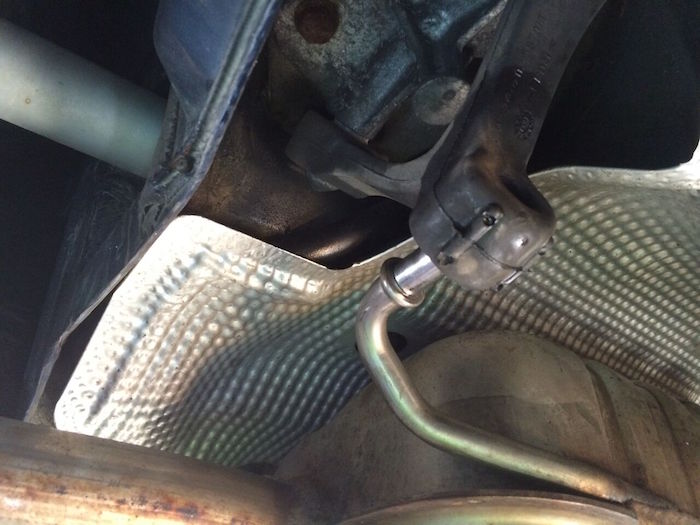
Now that all the fasteners holding the sway bar to the car are removed, try maneuvering the sway bar out right now. However, after fumbling under the car trying to get the sway bar out, I chose to take the rear mufflers out of their hangers to give myself more room. A quick squirt of silicone spray will help make removing the hanger from the rubber mount much easier.
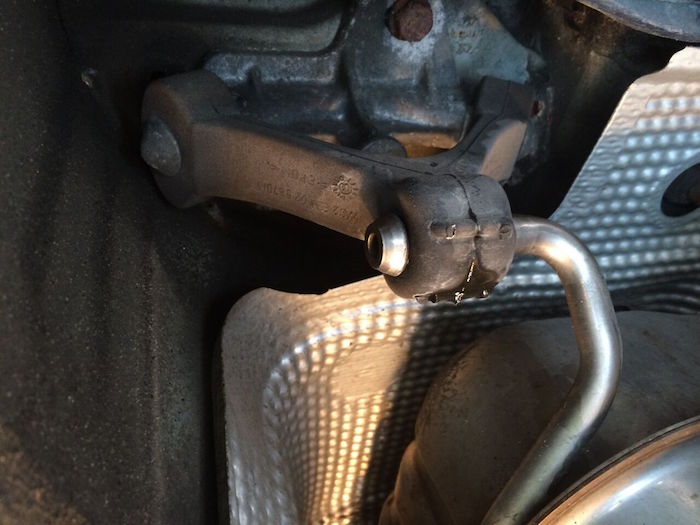
I was able to just hold the rubber mount in one hand and then push the muffler away with the other and the hanger came out. However, you may need to use a pry bar or large screwdriver to pry the hanger away from the rubber mount.
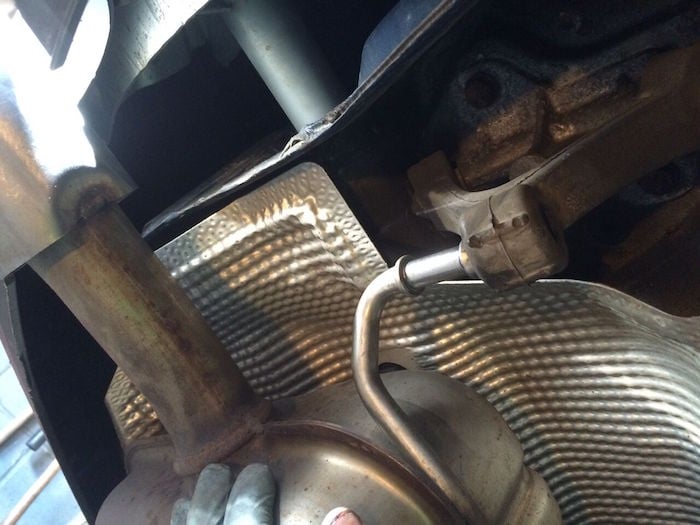
It is a good idea to use some jackstands or something similar to support the exhaust.
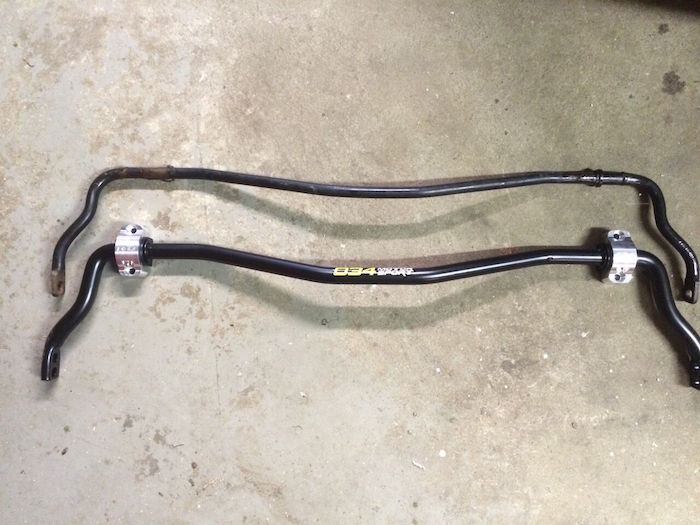
Here is a comparison of the two sway bars, you can see how much thicker the 034 RSB is compared to the stock one. A non factory sport suspension car would see an even greater difference.
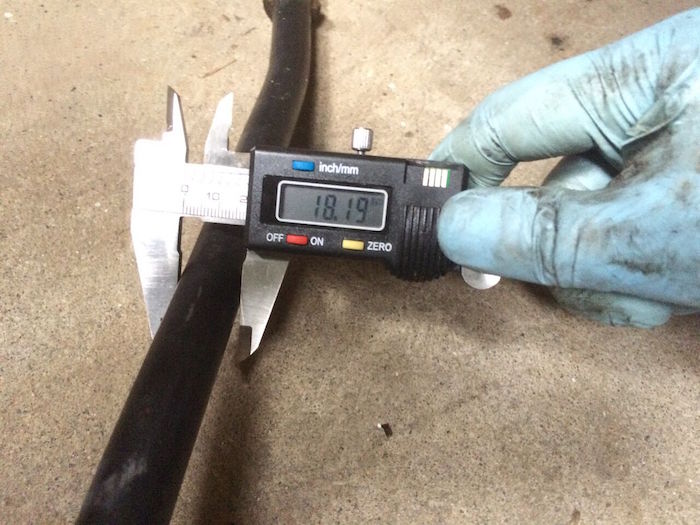
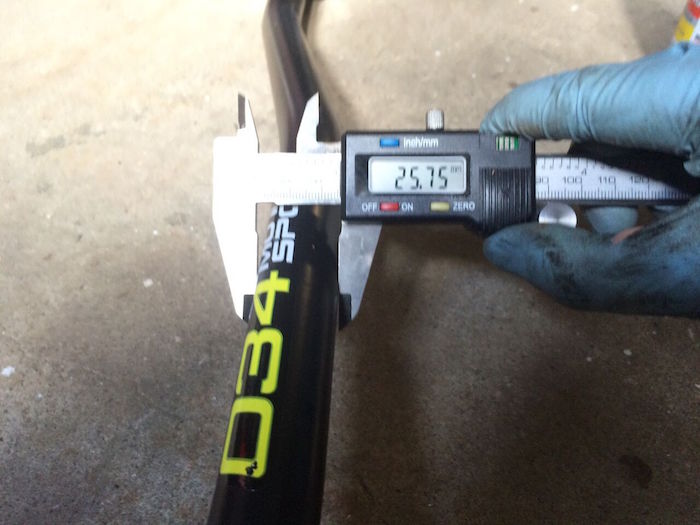
Being the person I am, comparing side by side wasn't enough for me. So, I decided to measure the diameters of the two bars. The reading on the caliper in the second picture may be hard to read, but from these measurements, the 034 RSB has roughly a 40% increase in diameter.
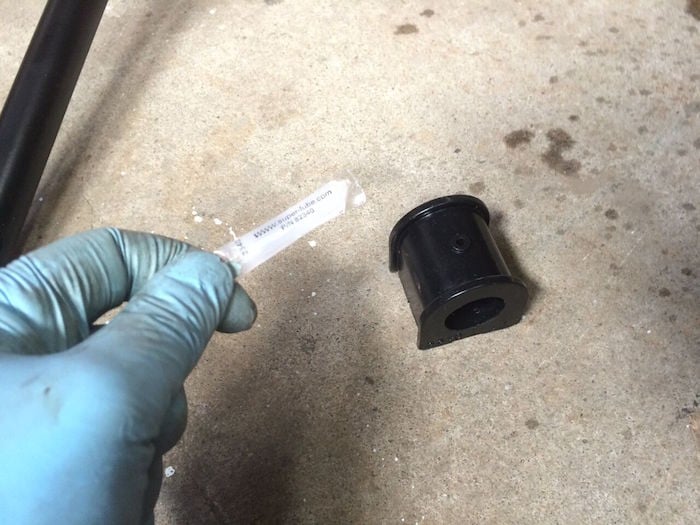
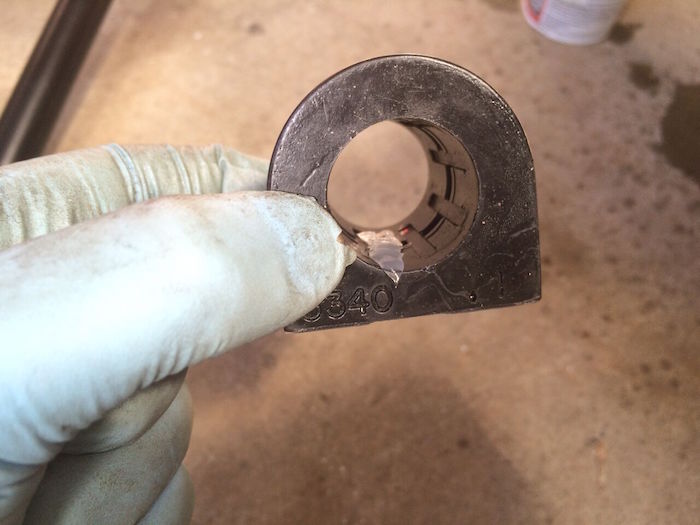
The 034 Motorsports RSB comes with new bushings and a small packet of lubricant. Spread a small amount on the inside of each bushing with your finger as so:
Slip the two bushings onto the sway bar. The RSB has a stop on it to keep the bushing from slipping. You want the bushings on the outer sides, refer to the earlier picture that compares the two sway bars to see what I mean.
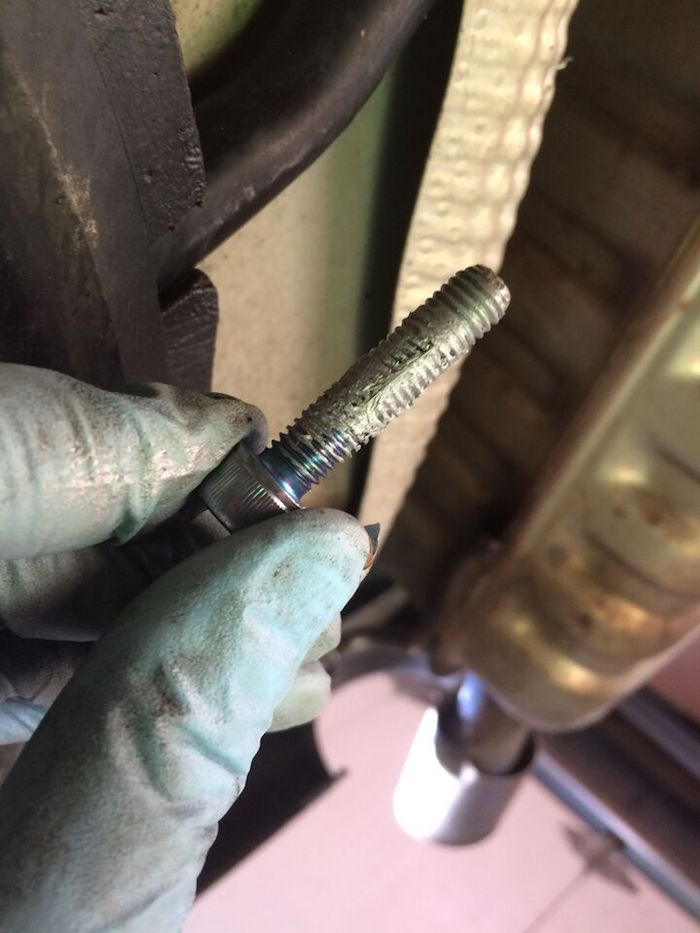
Since the brackets are different from the stock ones, you need to use the supplied bolts. I chose to use anti-seize on them so they are easier to remove in the future.
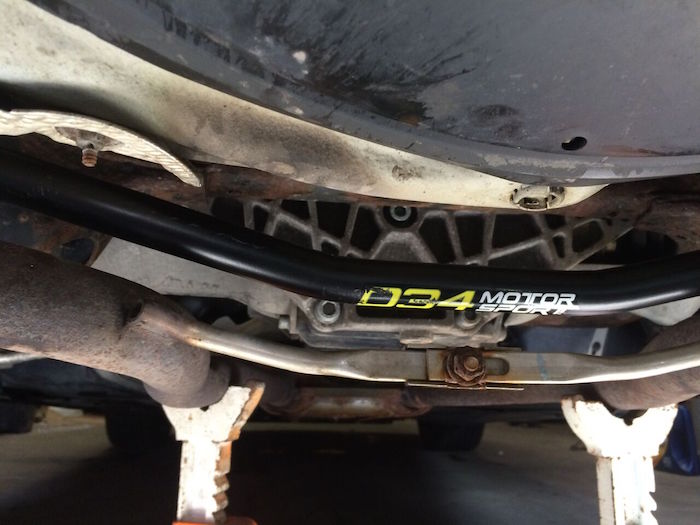
Once you have the new RSB into position, bolt the brackets onto the subframe.
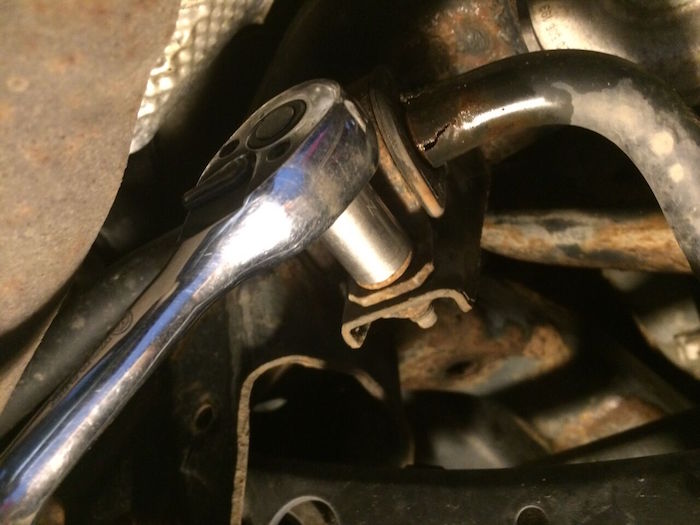
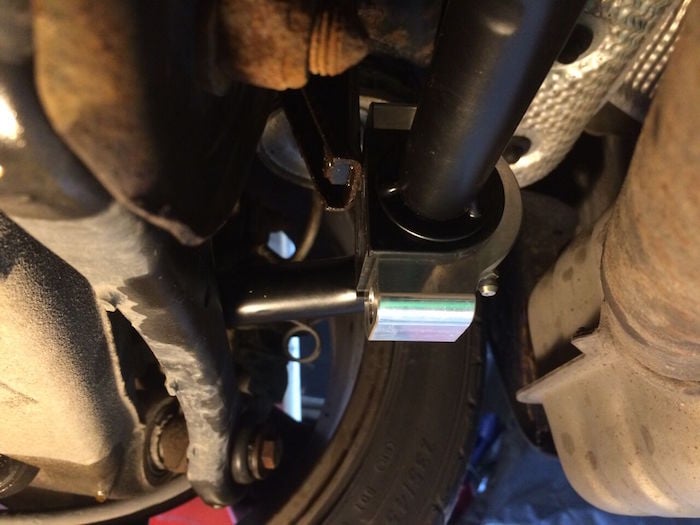
This is unique to the 034 RSB, but the end with the small grease fitting needs to be oriented pointing down. You will also need to remove the grease fitting before you bolt the bracket down.
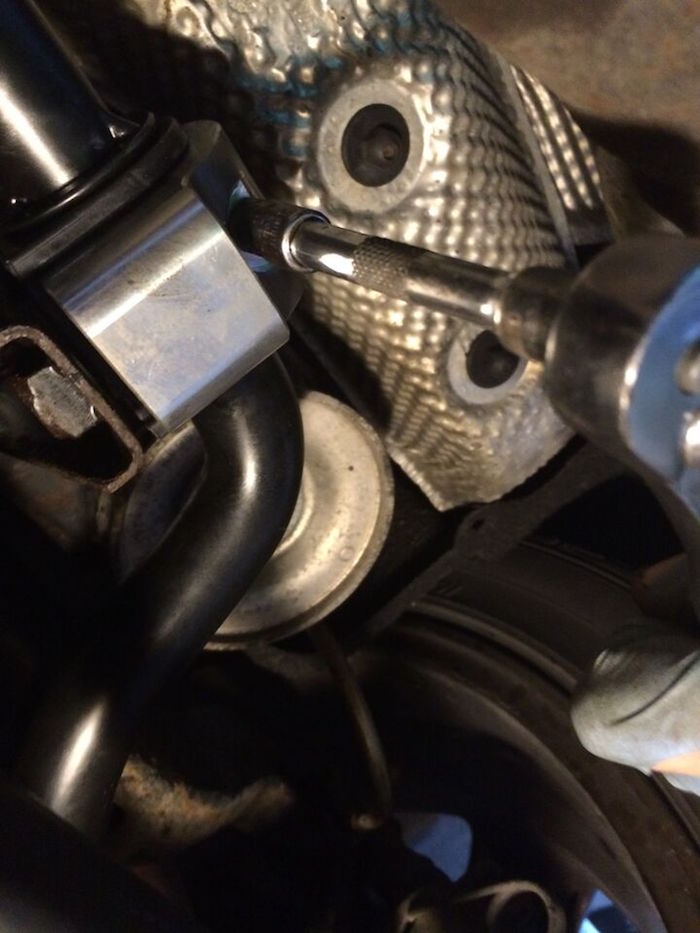
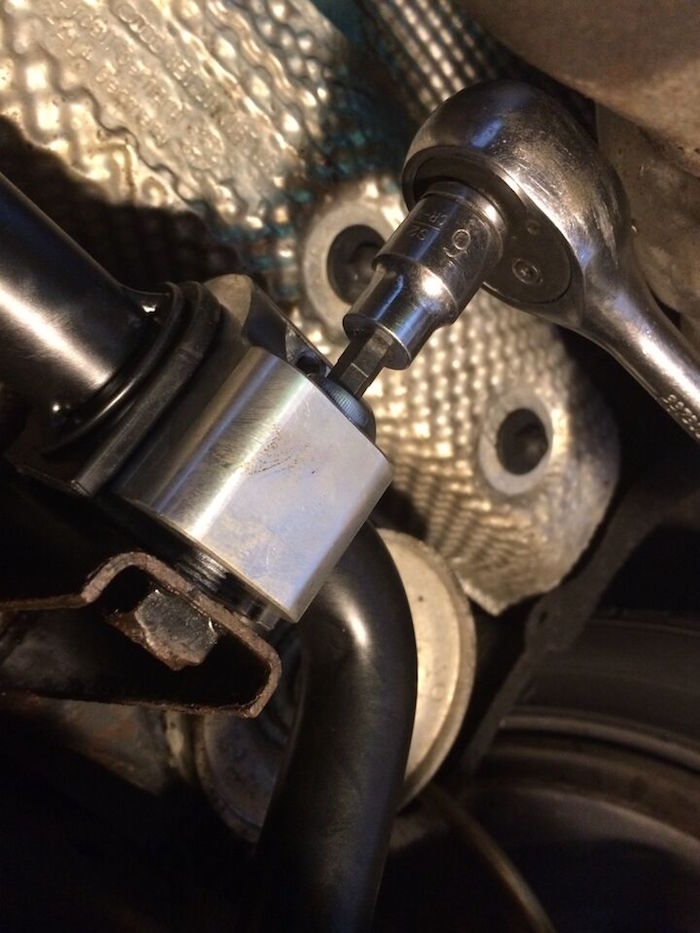
I used a small 1/4" ratchet and 8mm socket with an extension to remove the grease fitting.
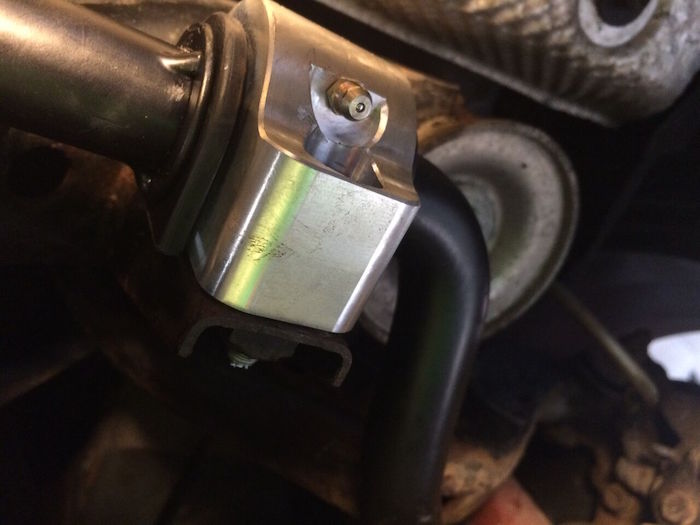
Now, bolt down the brackets:
Once you tighten the bolts all the way down, you can reinstall the grease fitting.
Next thing is to reinstall the fasteners for the end links on each side.

One thing that I would recommend is to use Loctite or threadlocker on the bolts for the end links. I had an issue where a bolt fell out a few weeks after I installed the RSB.
All that is left to do is to put the exhaust hangers back in their rubber mounts.
Now go enjoy your new sway bar and take your car for a drive!
Shop 034 Motorsports Rear Sway Bar