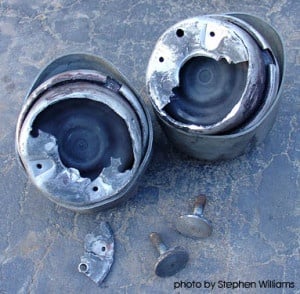
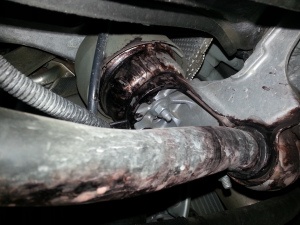
A common failure point in the VW/Audi family are the engine mounts. In order to reduce NVH (noise, vibration, and harshness) transmitted into the cabin, the engine mounts are filled with a damping fluid as opposed to being made completely out of rubber. This makes for a more comfortable cabin, however this hampers performance and it typically doesn't take very long for the fluid to leak. Once the fluid has leaked out, it makes for an even softer engine mount which allows excess engine movement. This then places more stress on the flex joint(s) in the exhaust and causes them to crack and leak.
You can either replace them with OE style mounts which still have the damping fluid inside or you can upgrade to a stiffer more solid mount. I chose to upgrade.
I went with 034 Motorsports Street Density Motor Mounts for my Audi. They improve on the OE design in several ways, first off they do not utilize a damping fluid (so there's nothing to leak out). Second, they use a higher durometer rubber which is roughly 10% stiffer than stock, however since they are no voids in the mounts, overall it is 25% stiffer than stock. Third, instead of using an aluminum base, they are made of steel which results in a much more durable mount. Even though these mounts are stiffer, they still only slightly increase NVH while greatly reducing engine movement.
So, let's get started!
I will be installing these on my 1.8T, which means there is a bit more room to access the engine mounts than on a V6 (3.0, 3.2) or V8 (4.2). However, the instructions will still apply.
First, jack up the car and support it with stands.
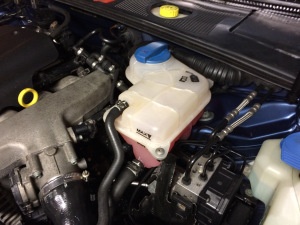
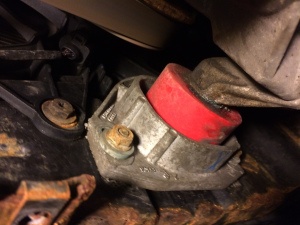
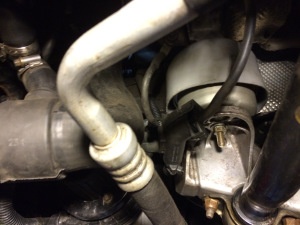
Unbolt the coolant overflow bottle and swing it out of the way. Make sure to disconnect the coolant level sensor underneath as well.
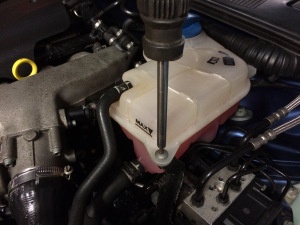
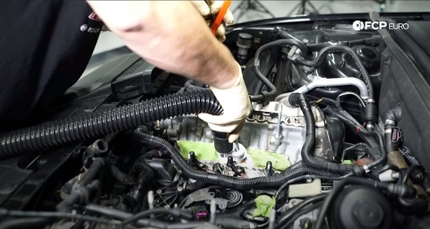
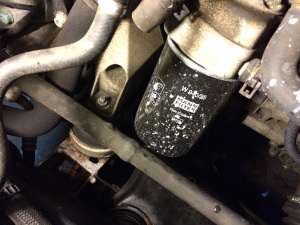
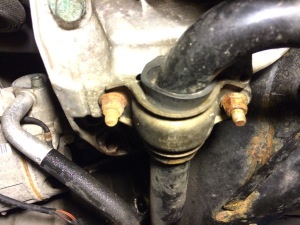
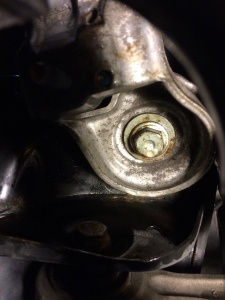
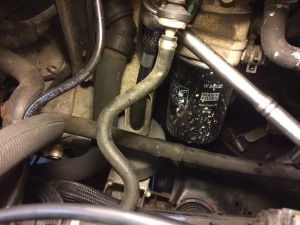
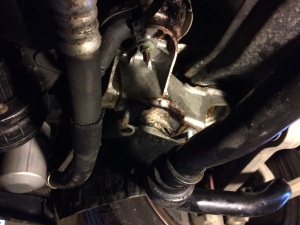
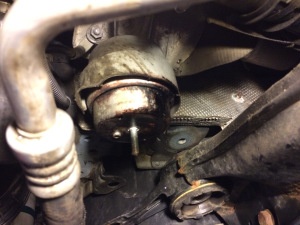
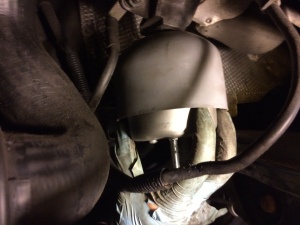
The top nut securing the engine mount is to the left of the oil filter. Use a short extension to get some clearance and remove the fastener.
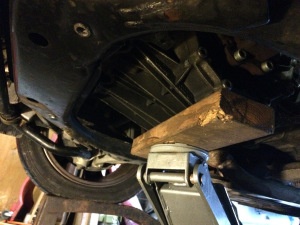
Make sure that you have the engine supported. I chose to support it from transmission using a 2x4.
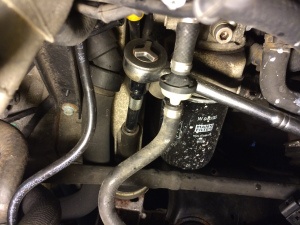
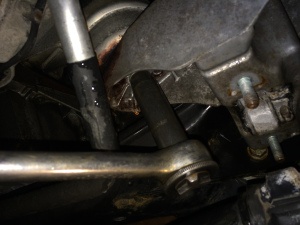
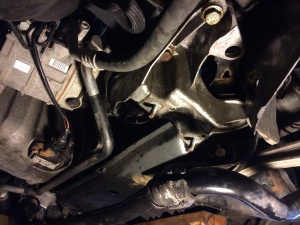
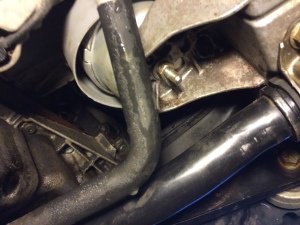
If your sway bar brackets bolts are a little crusty like mine, I hit them with a little penetrating oil first.
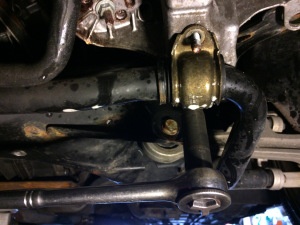
Undo the two fasteners for each bracket. There are two brackets.
Let the sway bar hang, you do not need to remove it completely.
I will be starting with the driver's side engine mount first since it is slightly easier.
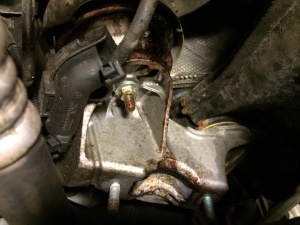
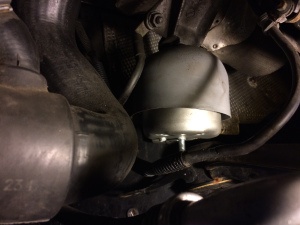
Remove the bottom fastener for the engine mount.
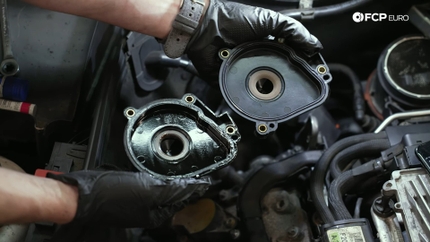
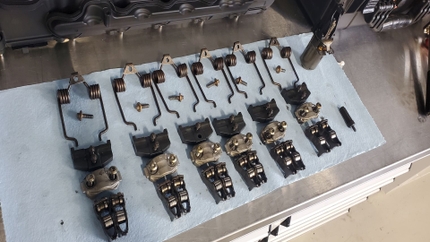
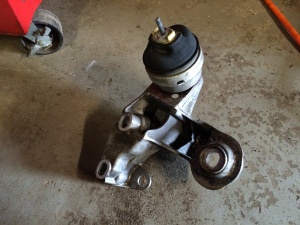
Since the engine is supported, remove the three bolts for the engine mount bracket. Then, just pull the whole assembly together.
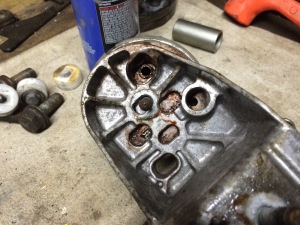
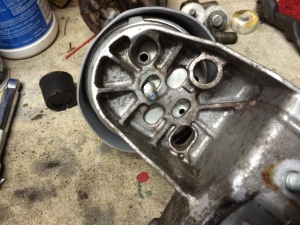
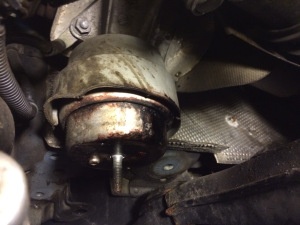
Engine mount and bracket.
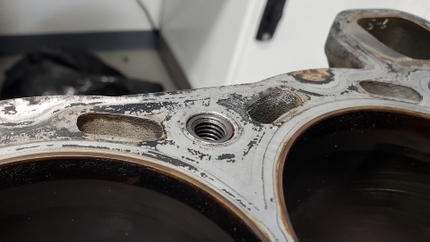
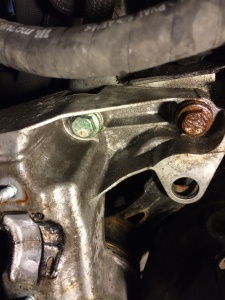
Take note of the alignment nub on the bottom of the engine mount. Make sure that your new one is installed in the same manner.
The 034Motorsport mounts come with new covers; it is up to you if you wish to use them. My old engine mount only had one on the passenger side mount, but not the driver's. Your mileage may vary. I chose to use the covers on both sides.

After putting the engine mount bracket in place, tighten the three bolts. Make sure that it lines up as it did before. They will spots on the bracket where the bolts were and you can use those as a reference.
Tighten the top nut to the required torque specification. The 034 mounts call for 18 ft-lbs. Leave the bottom nut finger tight for now.
Let's move on to the other side!
The passenger side is the same as the other for the most part, except the cable for the starter cable is in the way and the top nut is a little more difficult to access.
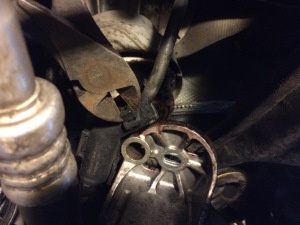
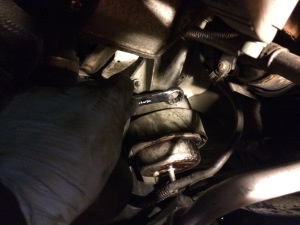
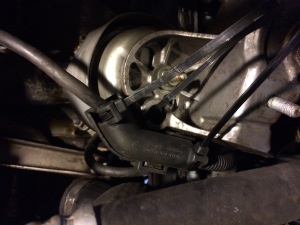
Take note of the plastic bracket that is holding the starter cable. Cut the zip ties with a pair of side cutters. Then undo the clips with a screwdriver. Then the top section will come out and you can move the cable to the side.
Remove the engine mount bracket as we did on the other side. I didn't remove the top nut, so the engine mount is still in place.
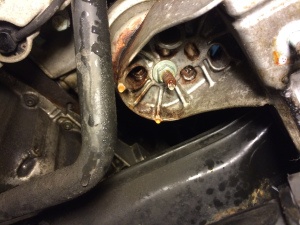
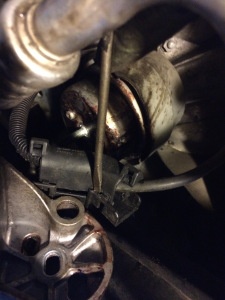
Take a stubby wrench or a small 1/4" ratchet and remove the top fastener. You will have to do this by feel and make sure your wrench or socket is fully seated.
Put the new engine mount in place. If you hold the nut in place, you can spin the engine mount by hand and save yourself some time instead of trying to run down the nut with a wrench in that cramped area.
Just make sure that the alignment nub is in the right position. It will be the same as the other side as shown in the earlier picture.
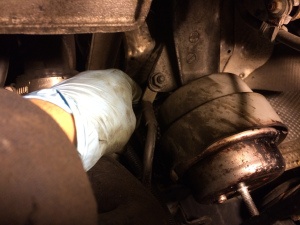
Install the engine mount bracket and tighten the three bolts that hold it in place. Reinstall the plastic cover and use zip ties to hold the cable.
Tighten the nuts for the sway bar brackets.
Remember earlier when I said to leave the bottom engine mount nut finger tight? That is so we can make sure the engine mounts settle.
Put the car on ramps so that the suspension is loaded.
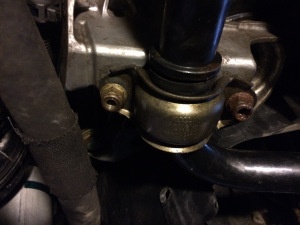
Loosen the three nuts for the snub mount cage. Put the transmission in neutral with the parking brake on and rev the engine to 3k RPM or so a few times and then tighten the snub mount nuts, and the two bottom engine mounts.
Letting the engine mounts settle prevents any unnecessary NVH being transmitted into the cabin. Now go drive your car and enjoy the locked down drivetrain!