- 02/02/2017
- 1 Min Read
- By: Gerry Tseng
How to Repair Stripped Threads on Your Car's Fasteners

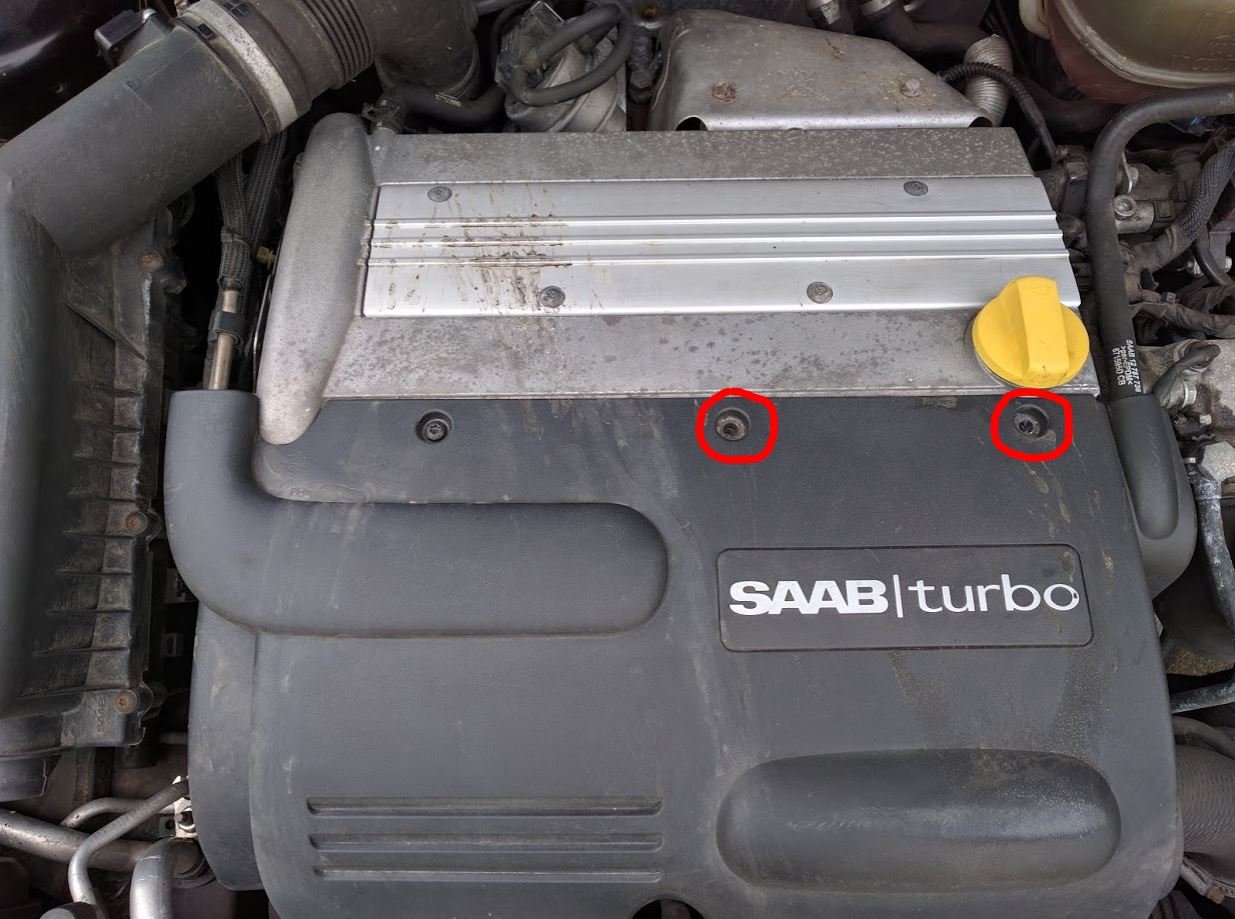
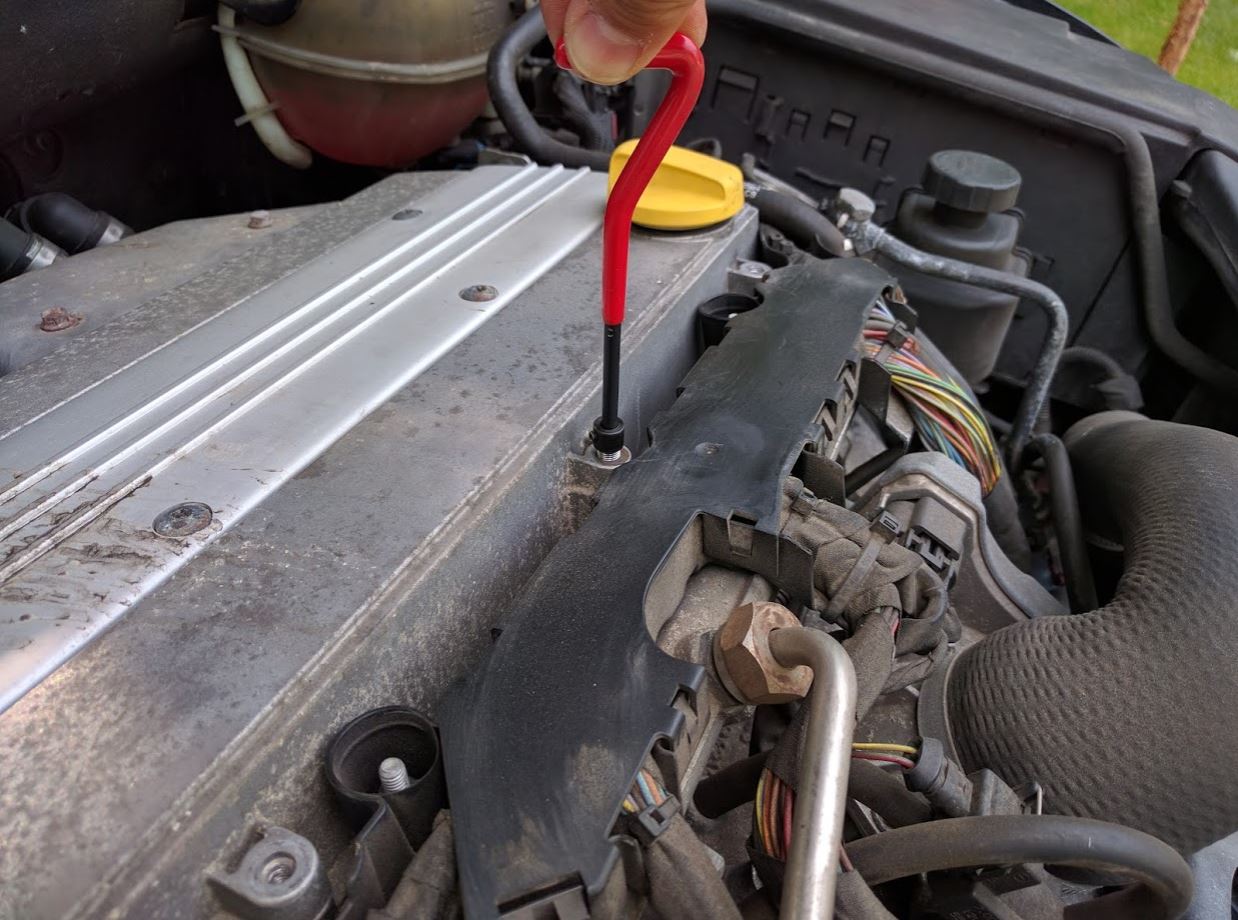
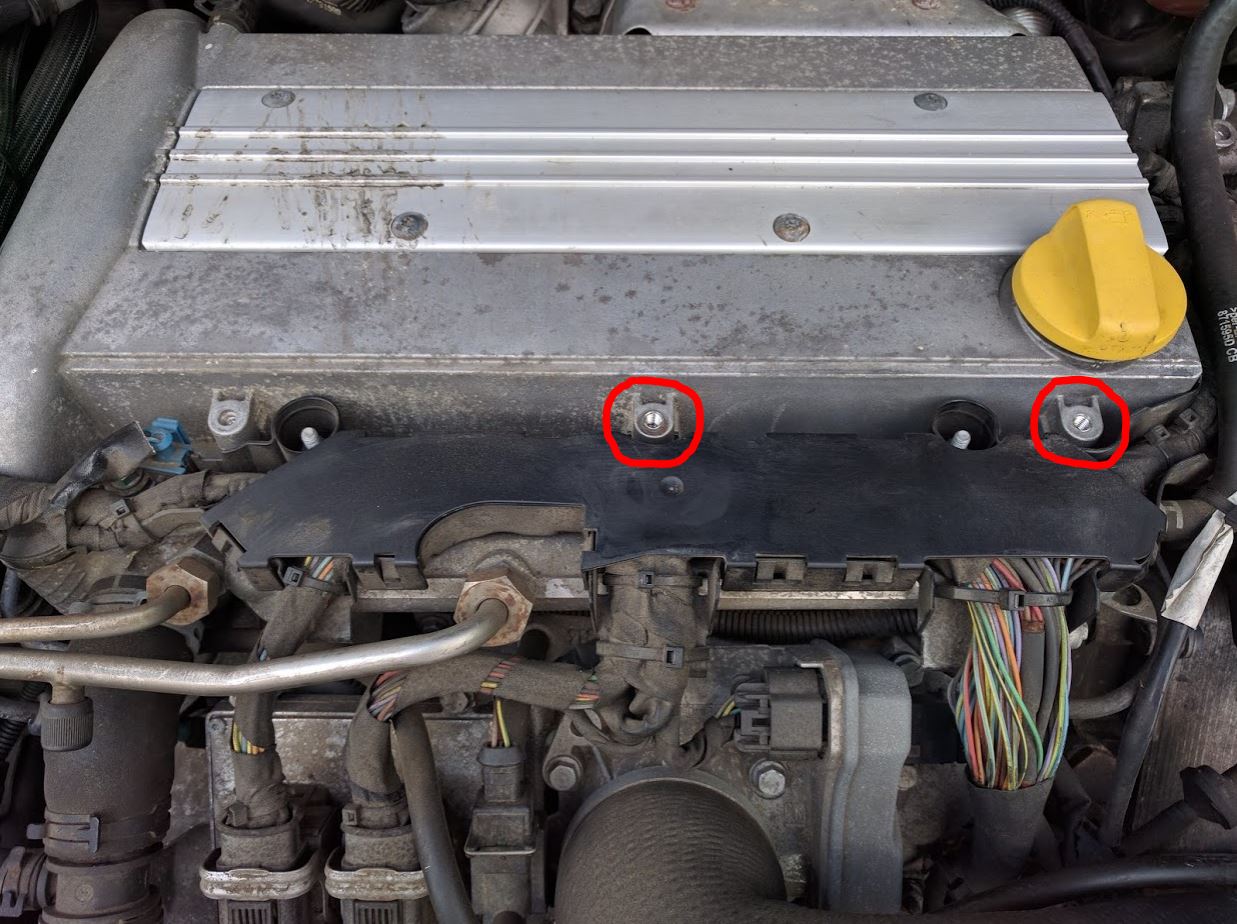
I recently found 2 of the 3 engine cover bolts to have stripped out threads on a 2004 Saab 9-3 Arc. The bolts no longer would bite and just kept spinning indefinitely. The bolts were fine but the threads inside the holes were damaged.
One popular option to repair stripped threads is to use Heli-Coil thread inserts, which is the basis of this DIY. There is another system called TIME-SERT but it’s pricier and I don’t own that yet to be able to write about it.
Tools you’ll need:

• Heli-Coil repair kitM
• Power drill
• Tap handle (I used one from a tap and die set)
• Hex key set (to adjust the install tool’s adjustable ring)
• compressed air, brake spray cleaner or a vacuum (I used a vacuum hose)
• T-27 torx bit + driver (to remove+install the engine cover bolts)
• hammer (might be needed)
• pick (might be needed)
• rag (if you use cutting oil)
• about 15-30min of free time
Ready to repair some stripped threads?
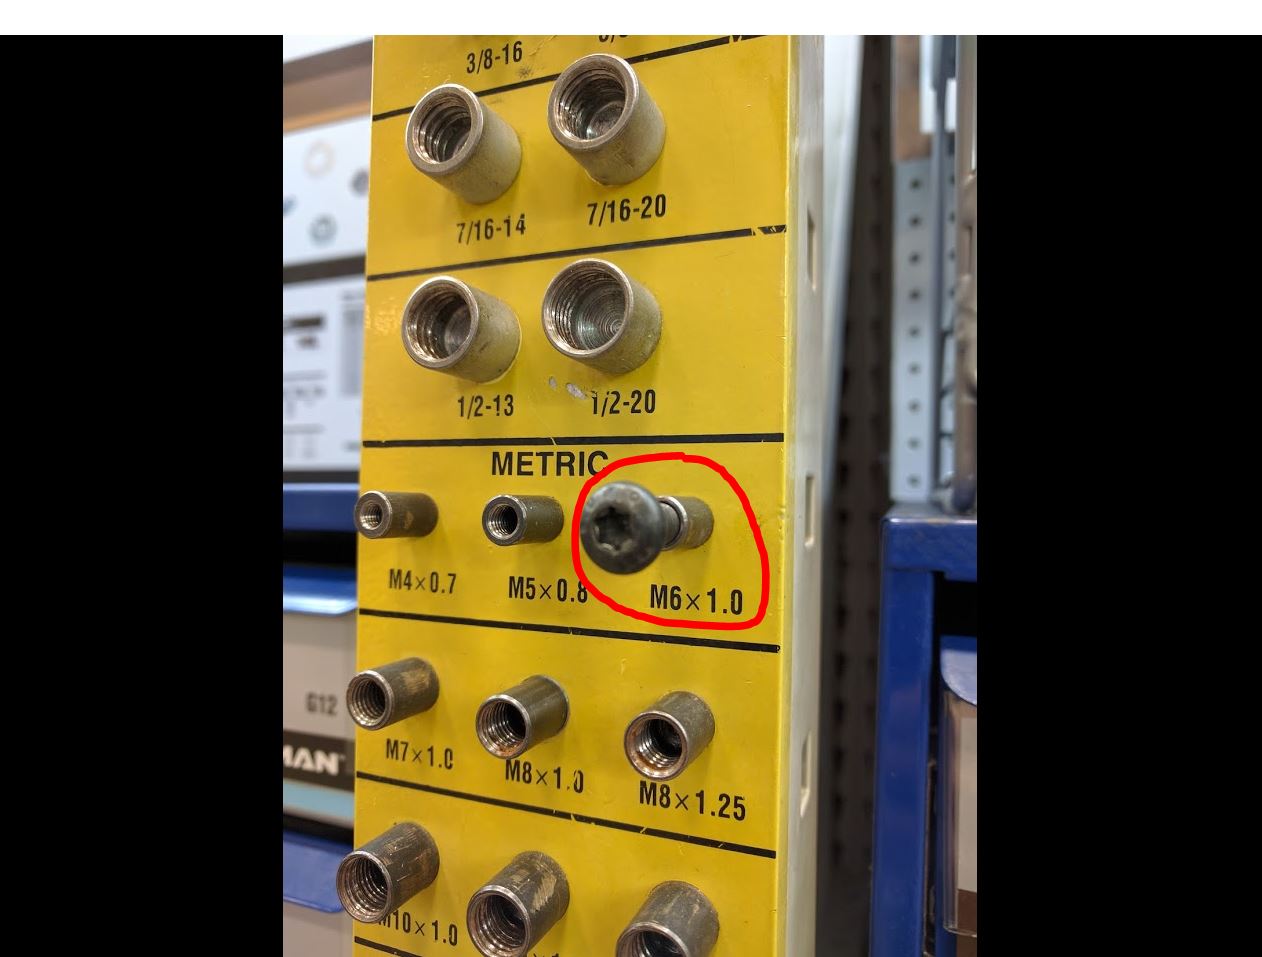
Identify the thread size:
See if your local home improvement store has a thread checker to identify the thread size. The engine cover bolts matched up to the thread checker’s M6 x 1.0 threads so I selected the matching M6 x 1.0 drill bit, tap, thread insert, install tool + tang break tool from the Heli-Coil repair kit.
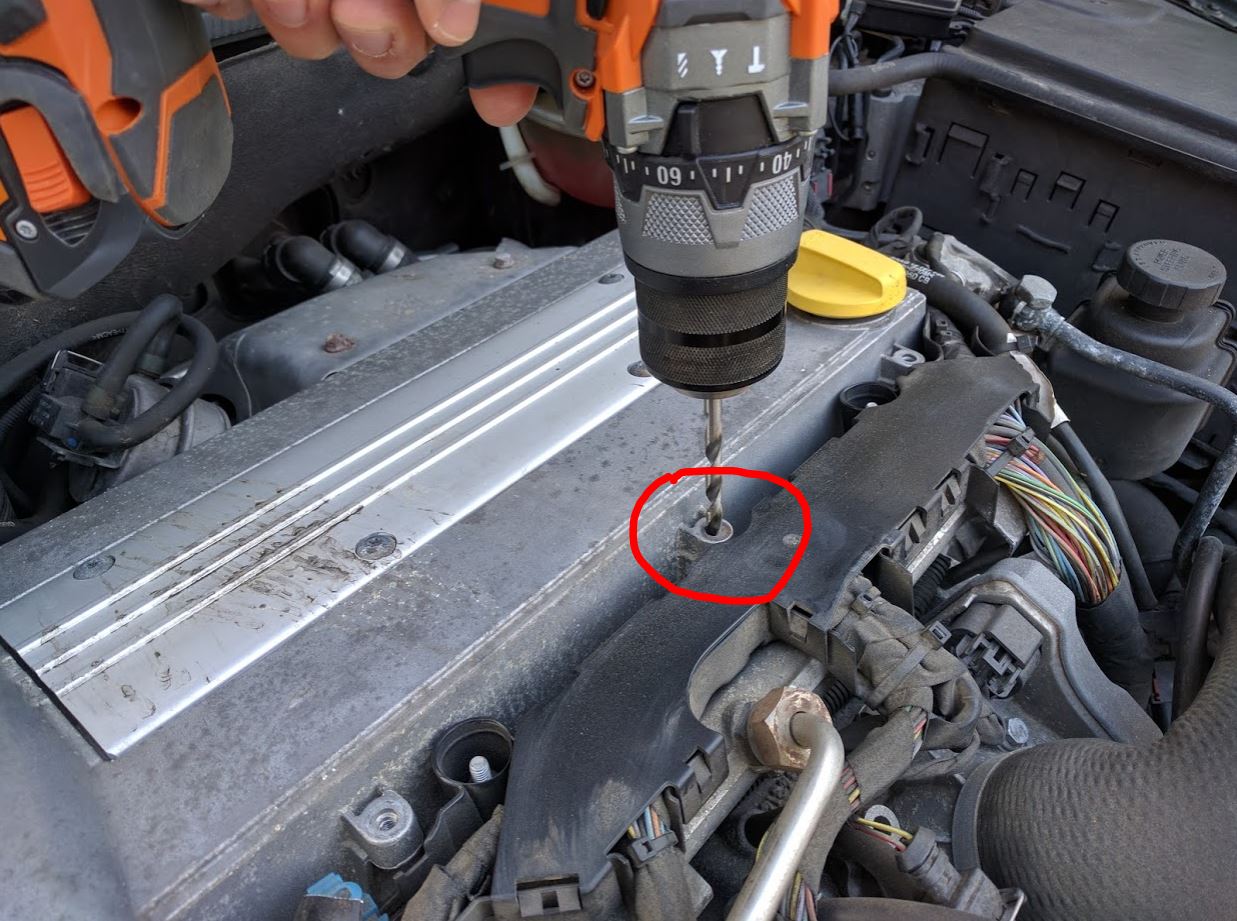
Drill out old damaged threads:
Square up with the hole and carefully clear out the damaged thread with the repair kit’s drill bit. This essentially enlarges the hole and the old threads come out as metal shavings. When you’re done, try getting all the shaved material out by blowing out the hole with compressed air or some brake spray cleaner, or try vacuuming it out.
Tap the new larger hole:
Once the hole is clear of metal shavings, use the special V-COIL-Tap from the Heli-Coil repair kit for cutting the holding thread into the cleared hole. Square up with the hole and use cutting oil if possible on the tap’s threads (I used a light coat of motor oil). When you’re done, try clearing out any shaved metal that may be in the hole.

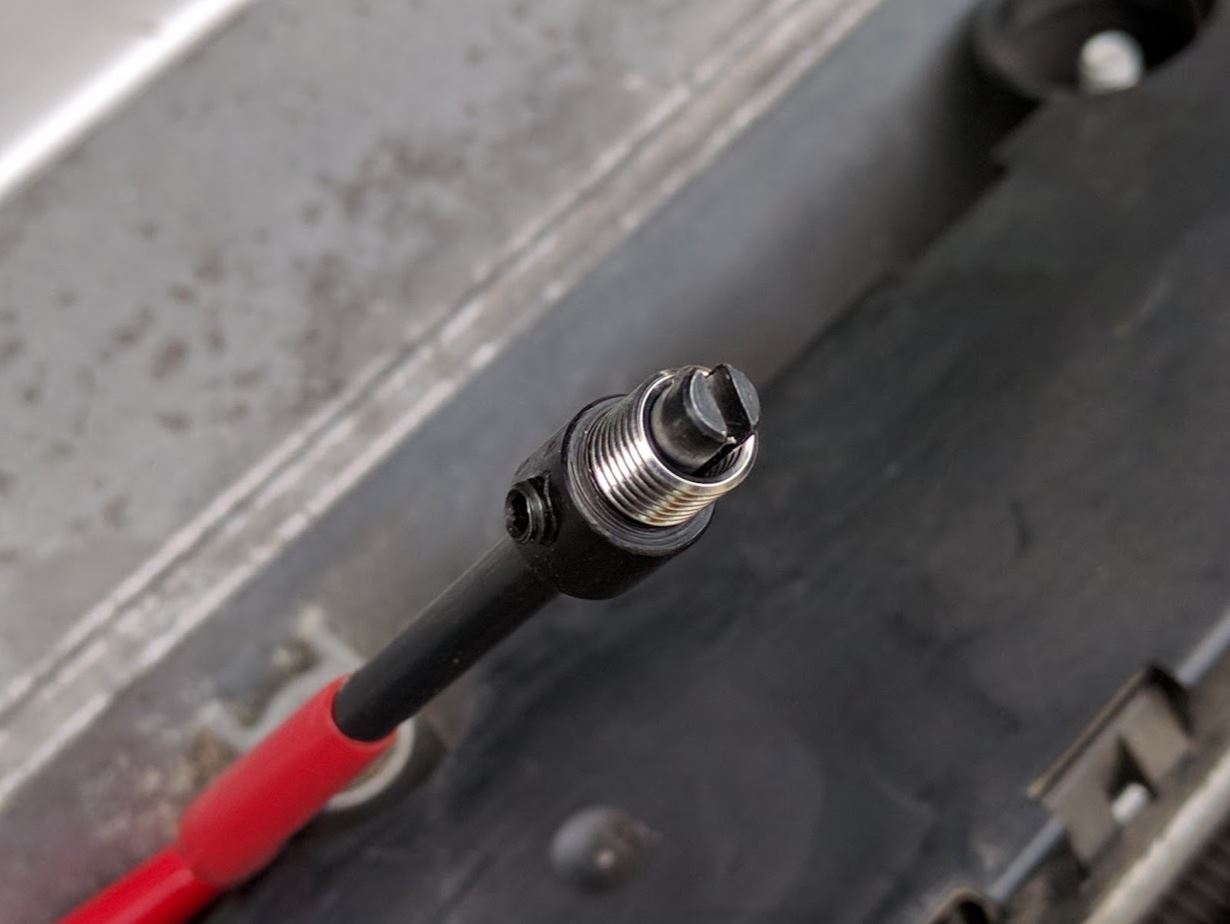
Install new Heli-Coil thread insert:
Place the insert on the installation tool and position the adjustable ring so that the insert tang is centered in the tang slot close to the end of the shaft.
Wind the insert in with a light downward pressure…
...until it is half a turn below the surface. Don’t put too much pressure against the thread insert as the tang could break prematurely.

Tang removal:
Lift out the installation tool and use the tang break tool to remove the tang. Pushing it in should do it: it’ll snap off. You may need a hammer and/or a pick to remove the tang in case it doesn’t easily snap off (one of my thread inserts needed extra help to remove the tang). I didn’t need to try removing the tang that broke off with air pressure or a vacuum since the hole is a pass-through where the broken tang just falls through to the side of the engine.

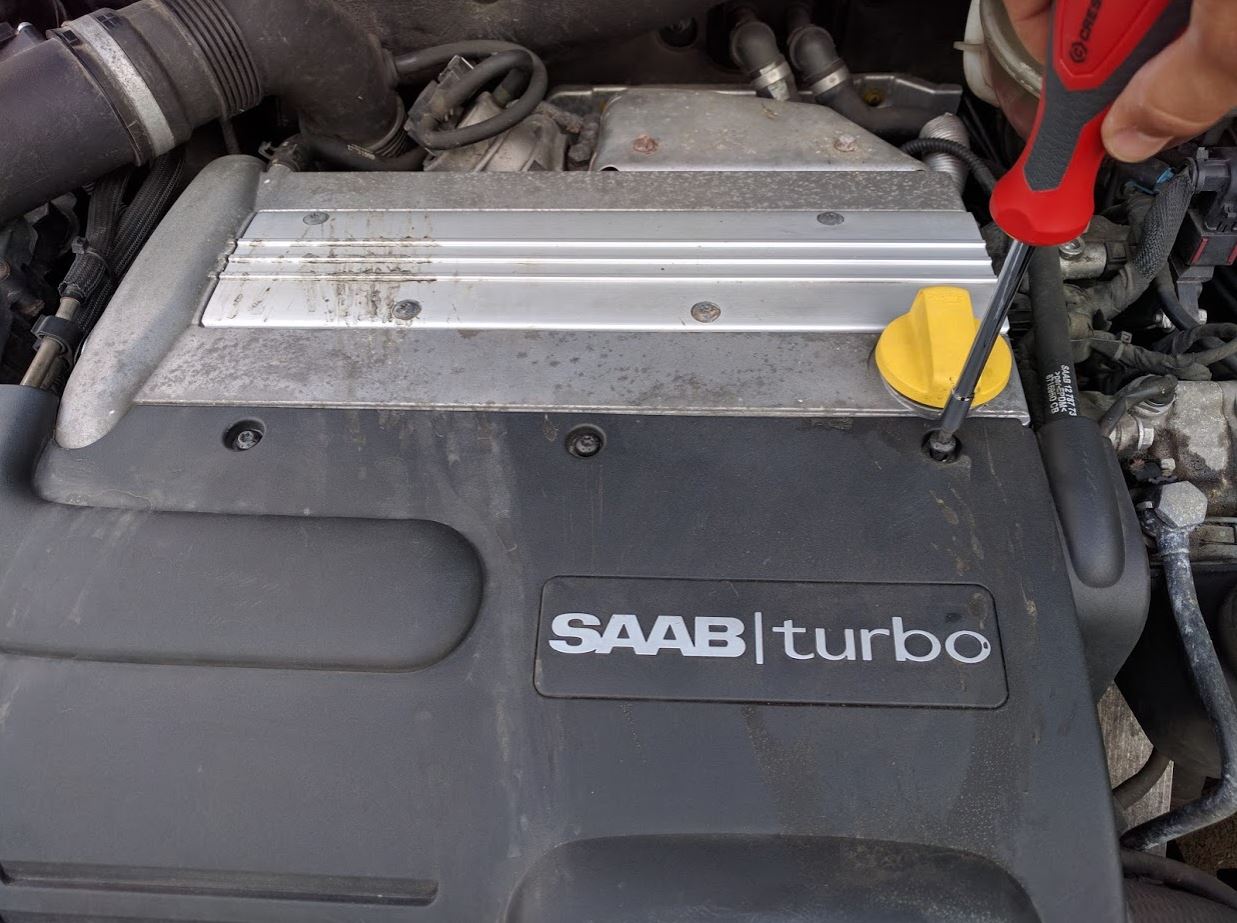
Reinstall the bolts:
Admire your new threads…
...then reinstall the cover and bolts.
The new thread should be now be stronger than the original one. Now the bolts will bite into threads once again!