- 07/05/2019
- 3 Min Read
- By: Kyle Bascombe
How To Replace The Brake Booster On A Volvo P3 (S60, X60, V70, & More)

If it's time to replace the brake booster on your Volvo P3, the signs and symptoms are fairly apparent. If your brake pedal is extremely hard while having little to no stopping ability, that's a good sign your brake booster is on its way out.
One of the first things to do if you feel your brake booster is on the way out on your Volvo P3 is to make sure your brake vacuum pump is operating properly. Without healthy vacuum, the brake booster can't provide power assistance as it's supposed to.
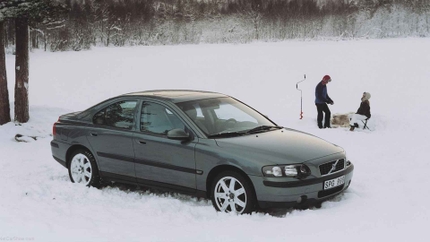
This job applies to all Volvo P3 cars, which includes:
- 2011-current Volvo S60 (134)
- 2007-current Volvo S80 (124)
- 2014-current Volvo V60 (155)
- 2008-current Volvo V70 (135)
- 2010-current Volvo XC60 (156)
- 2008-current Volvo XC70 (136)
Tools needed to complete this repair:
- Socket Set
- Wrench Set
- Long ratchet
- Short ratchet
- Brake Fluid Catch Container
- Pressure/Vacuum Brake Bleeder
- Fluid Transfer Pump
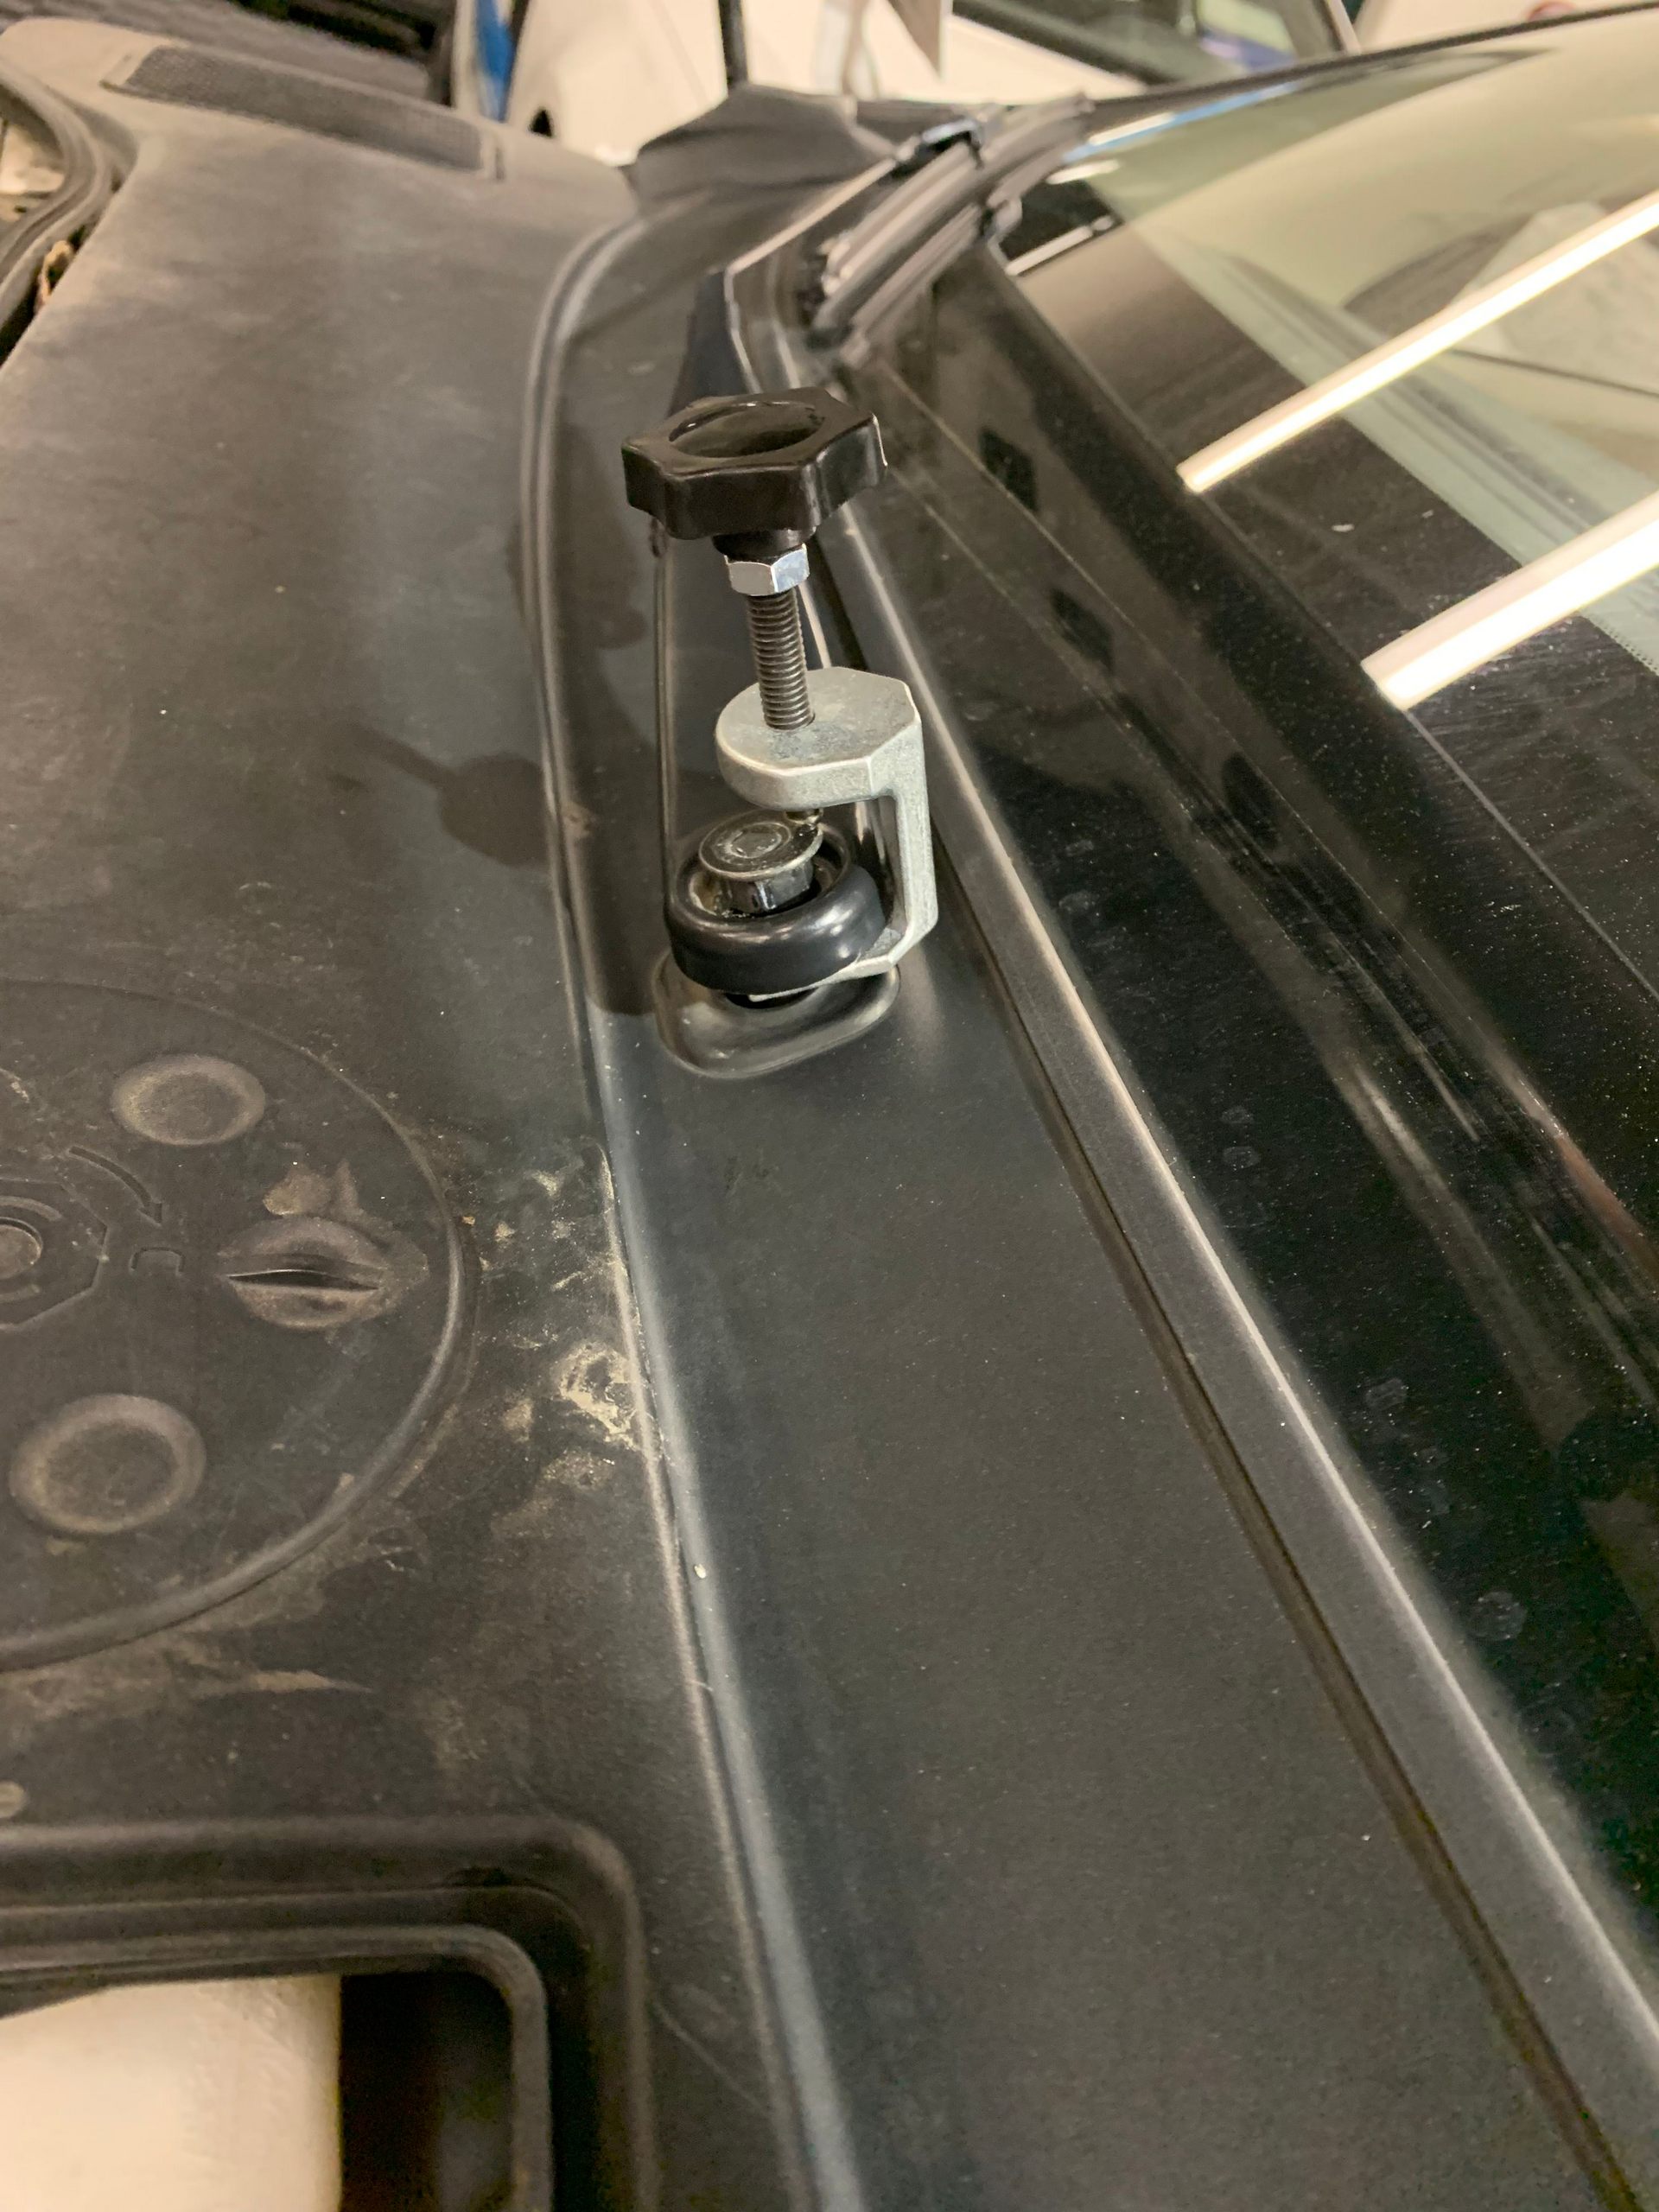
- Windshield Wiper Arm Puller
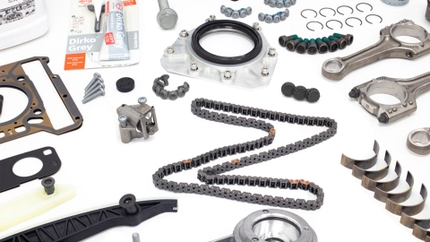
Parts needed to complete this repair:
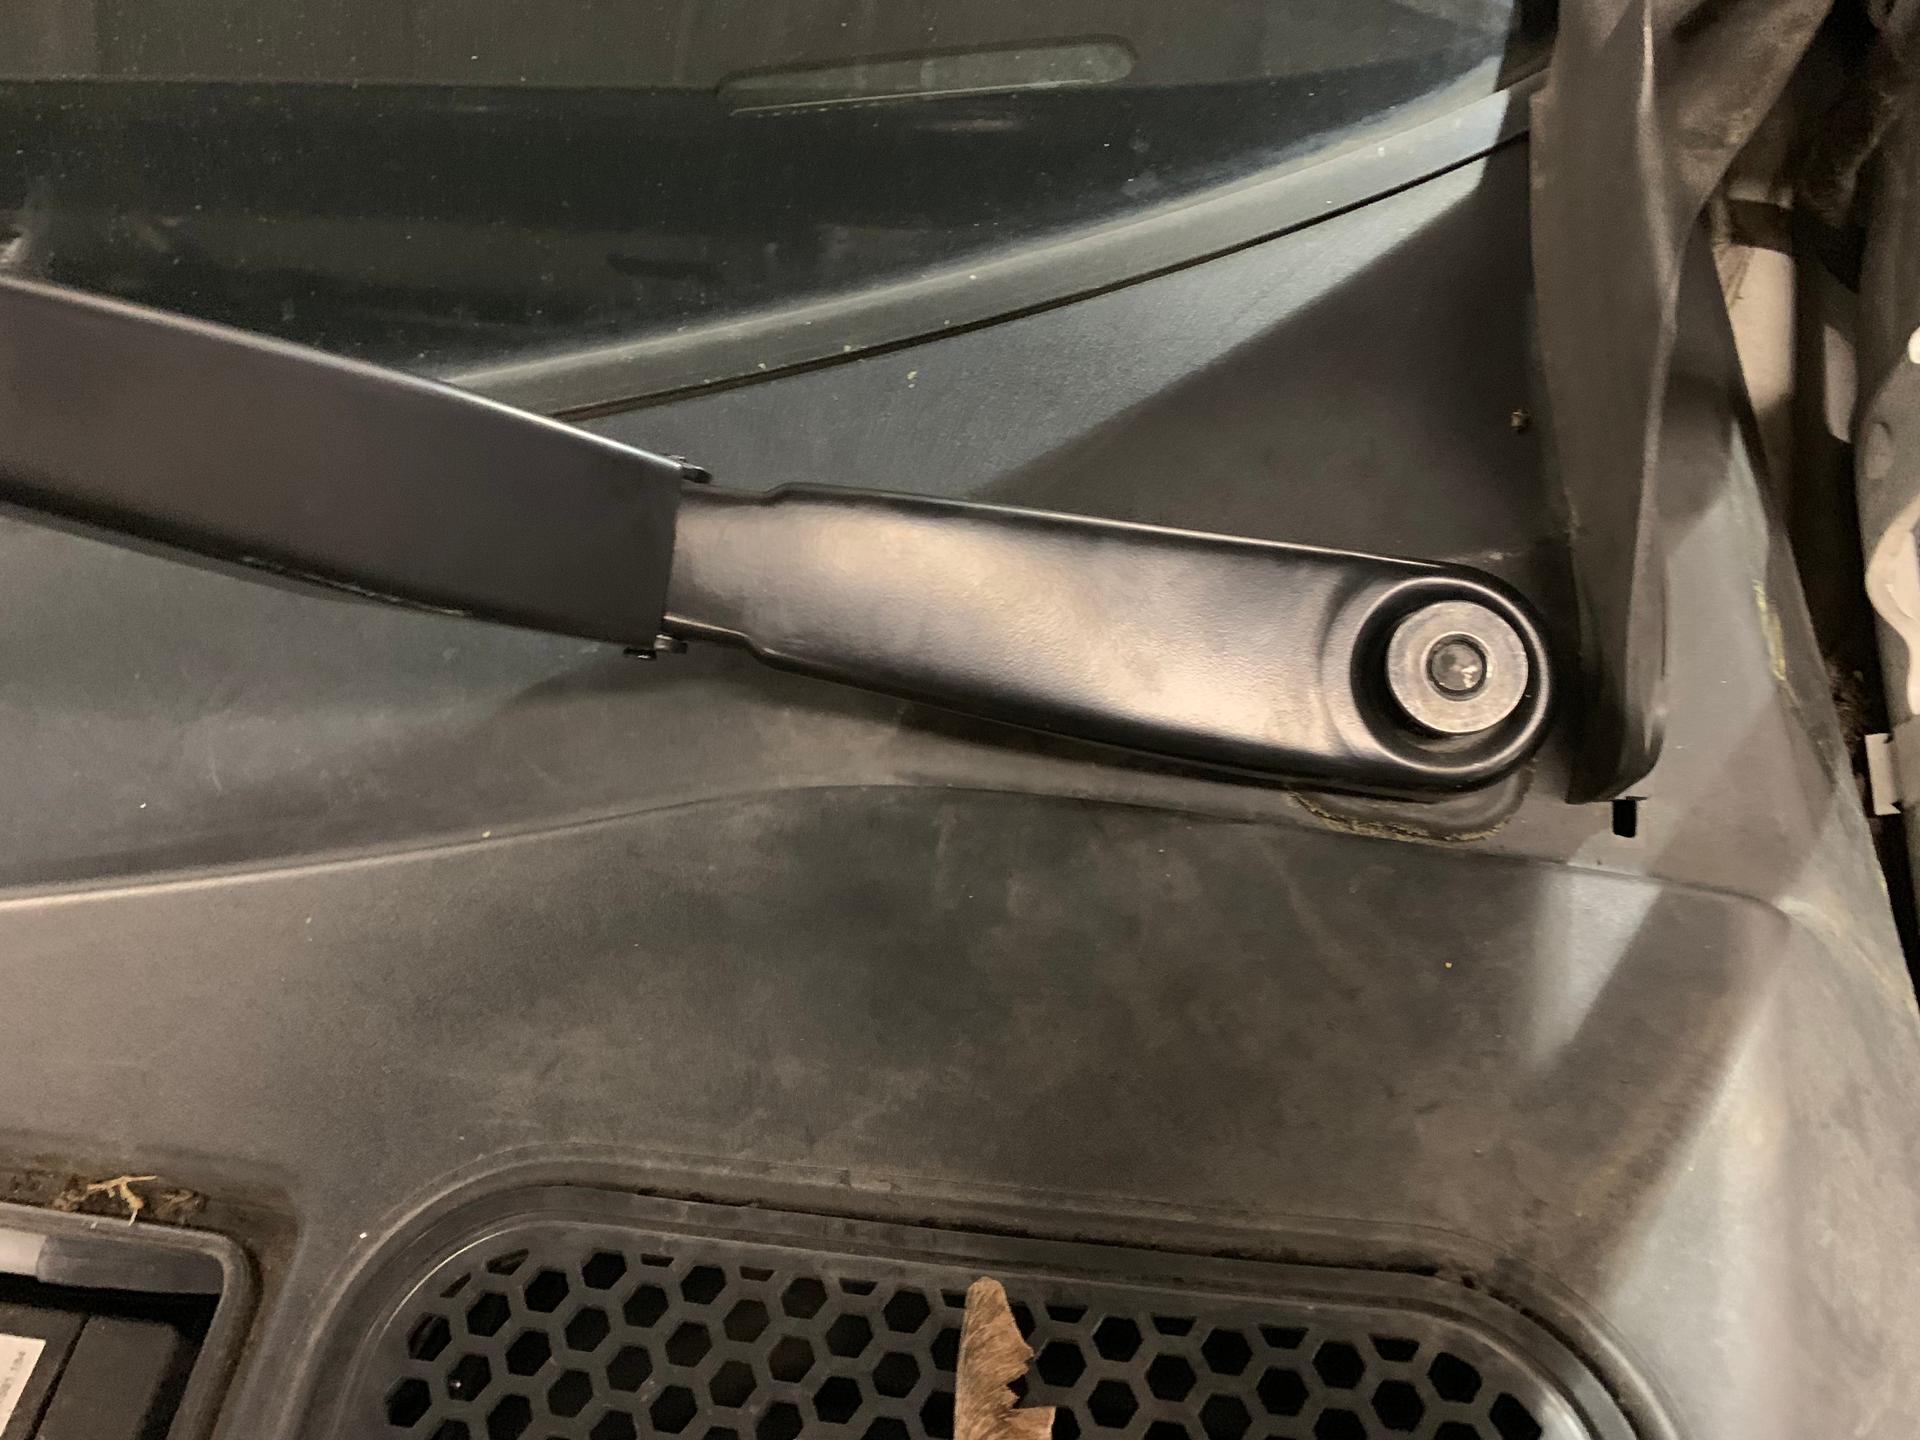
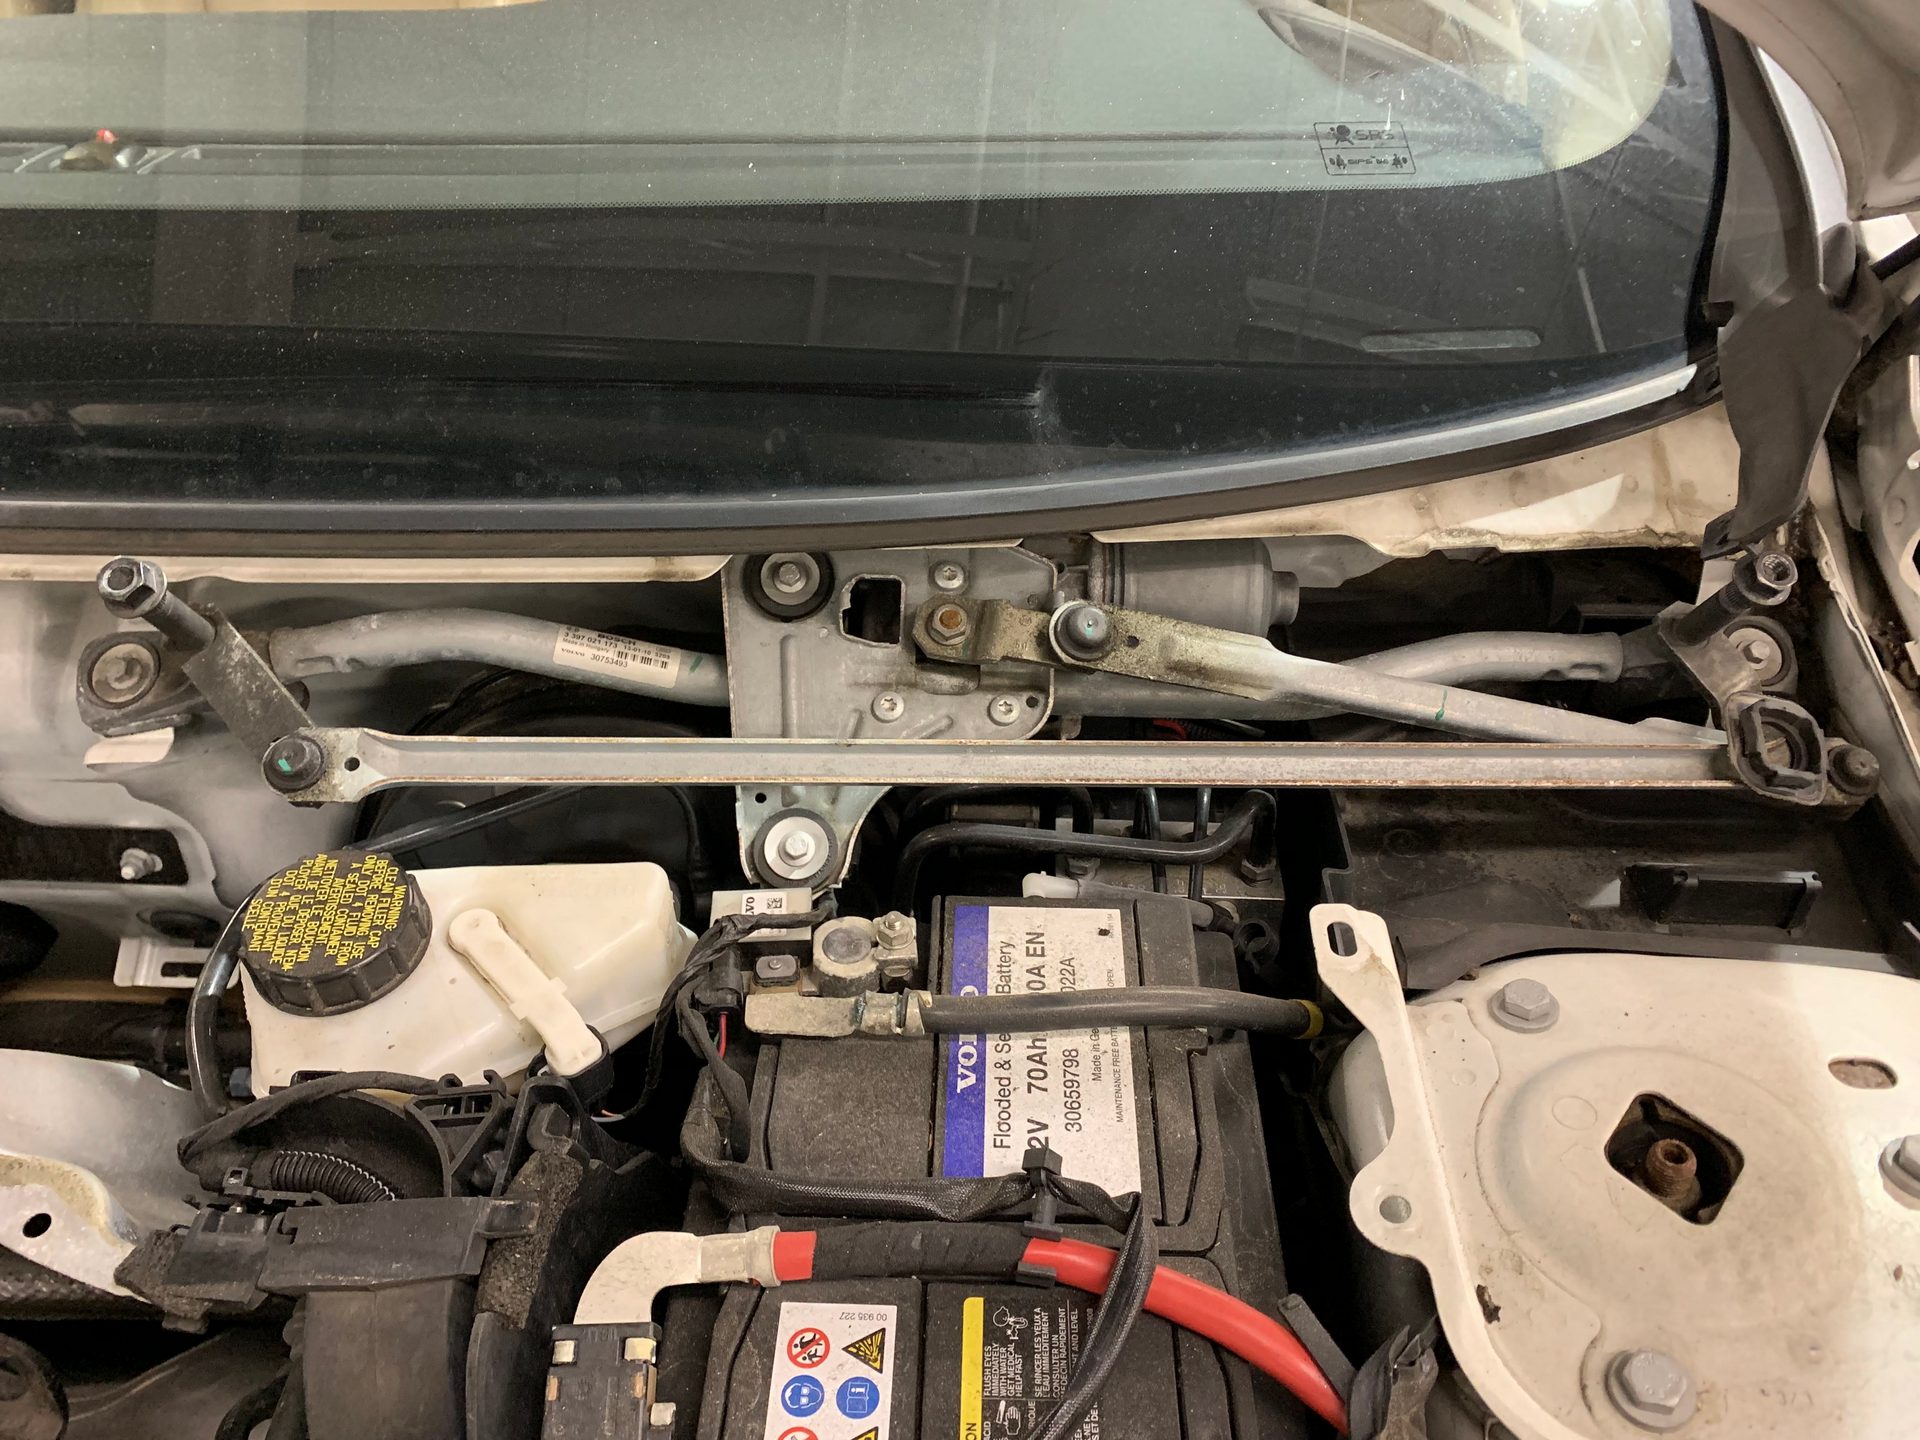
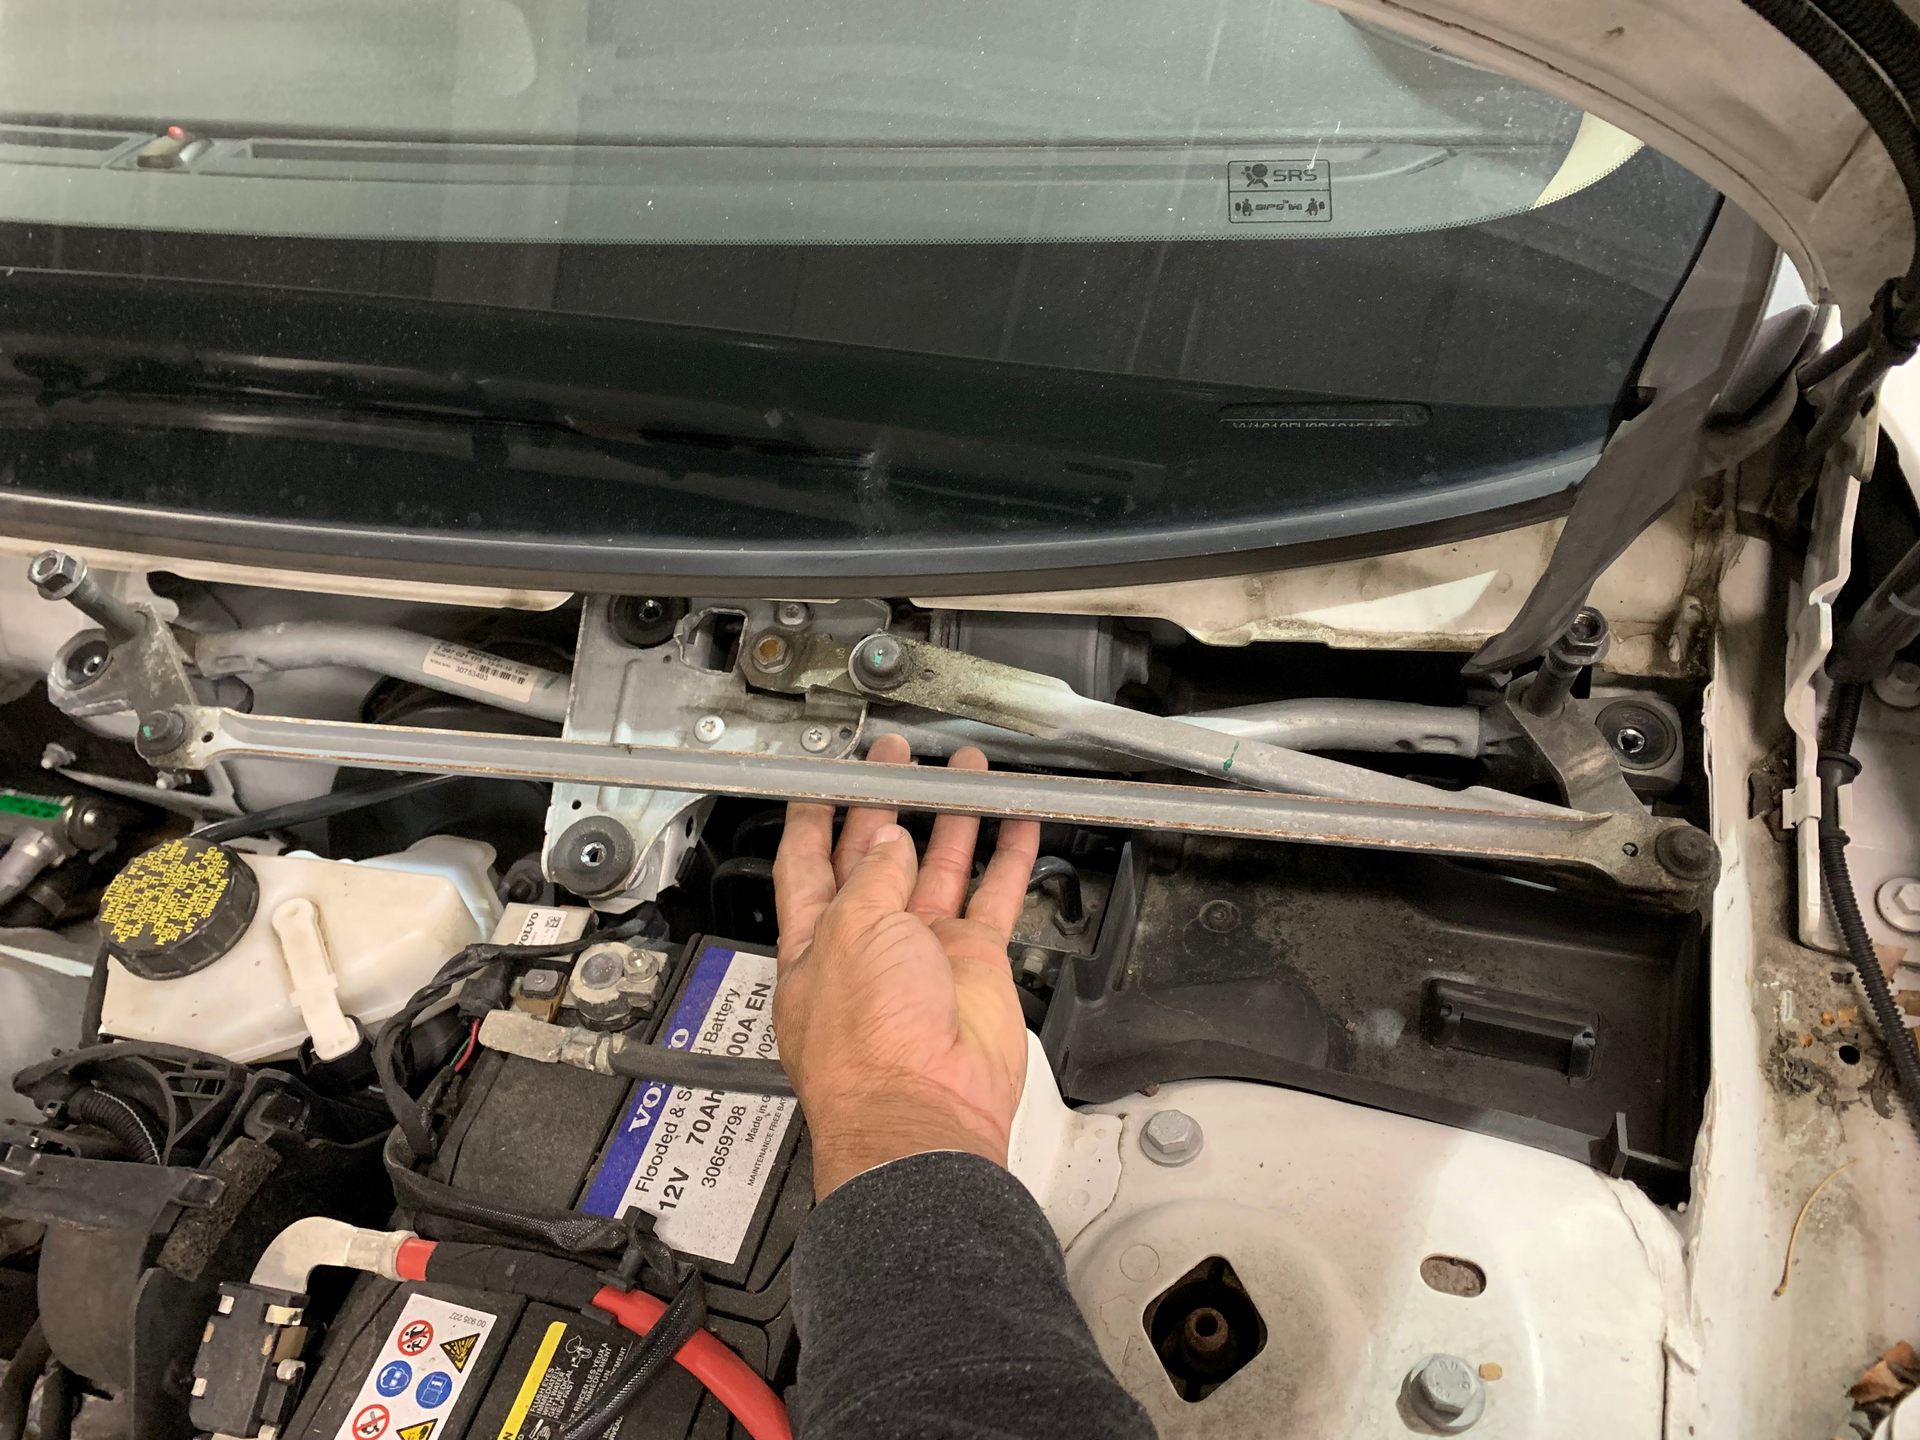
Step 1: Remove Wiper Arm Assembly
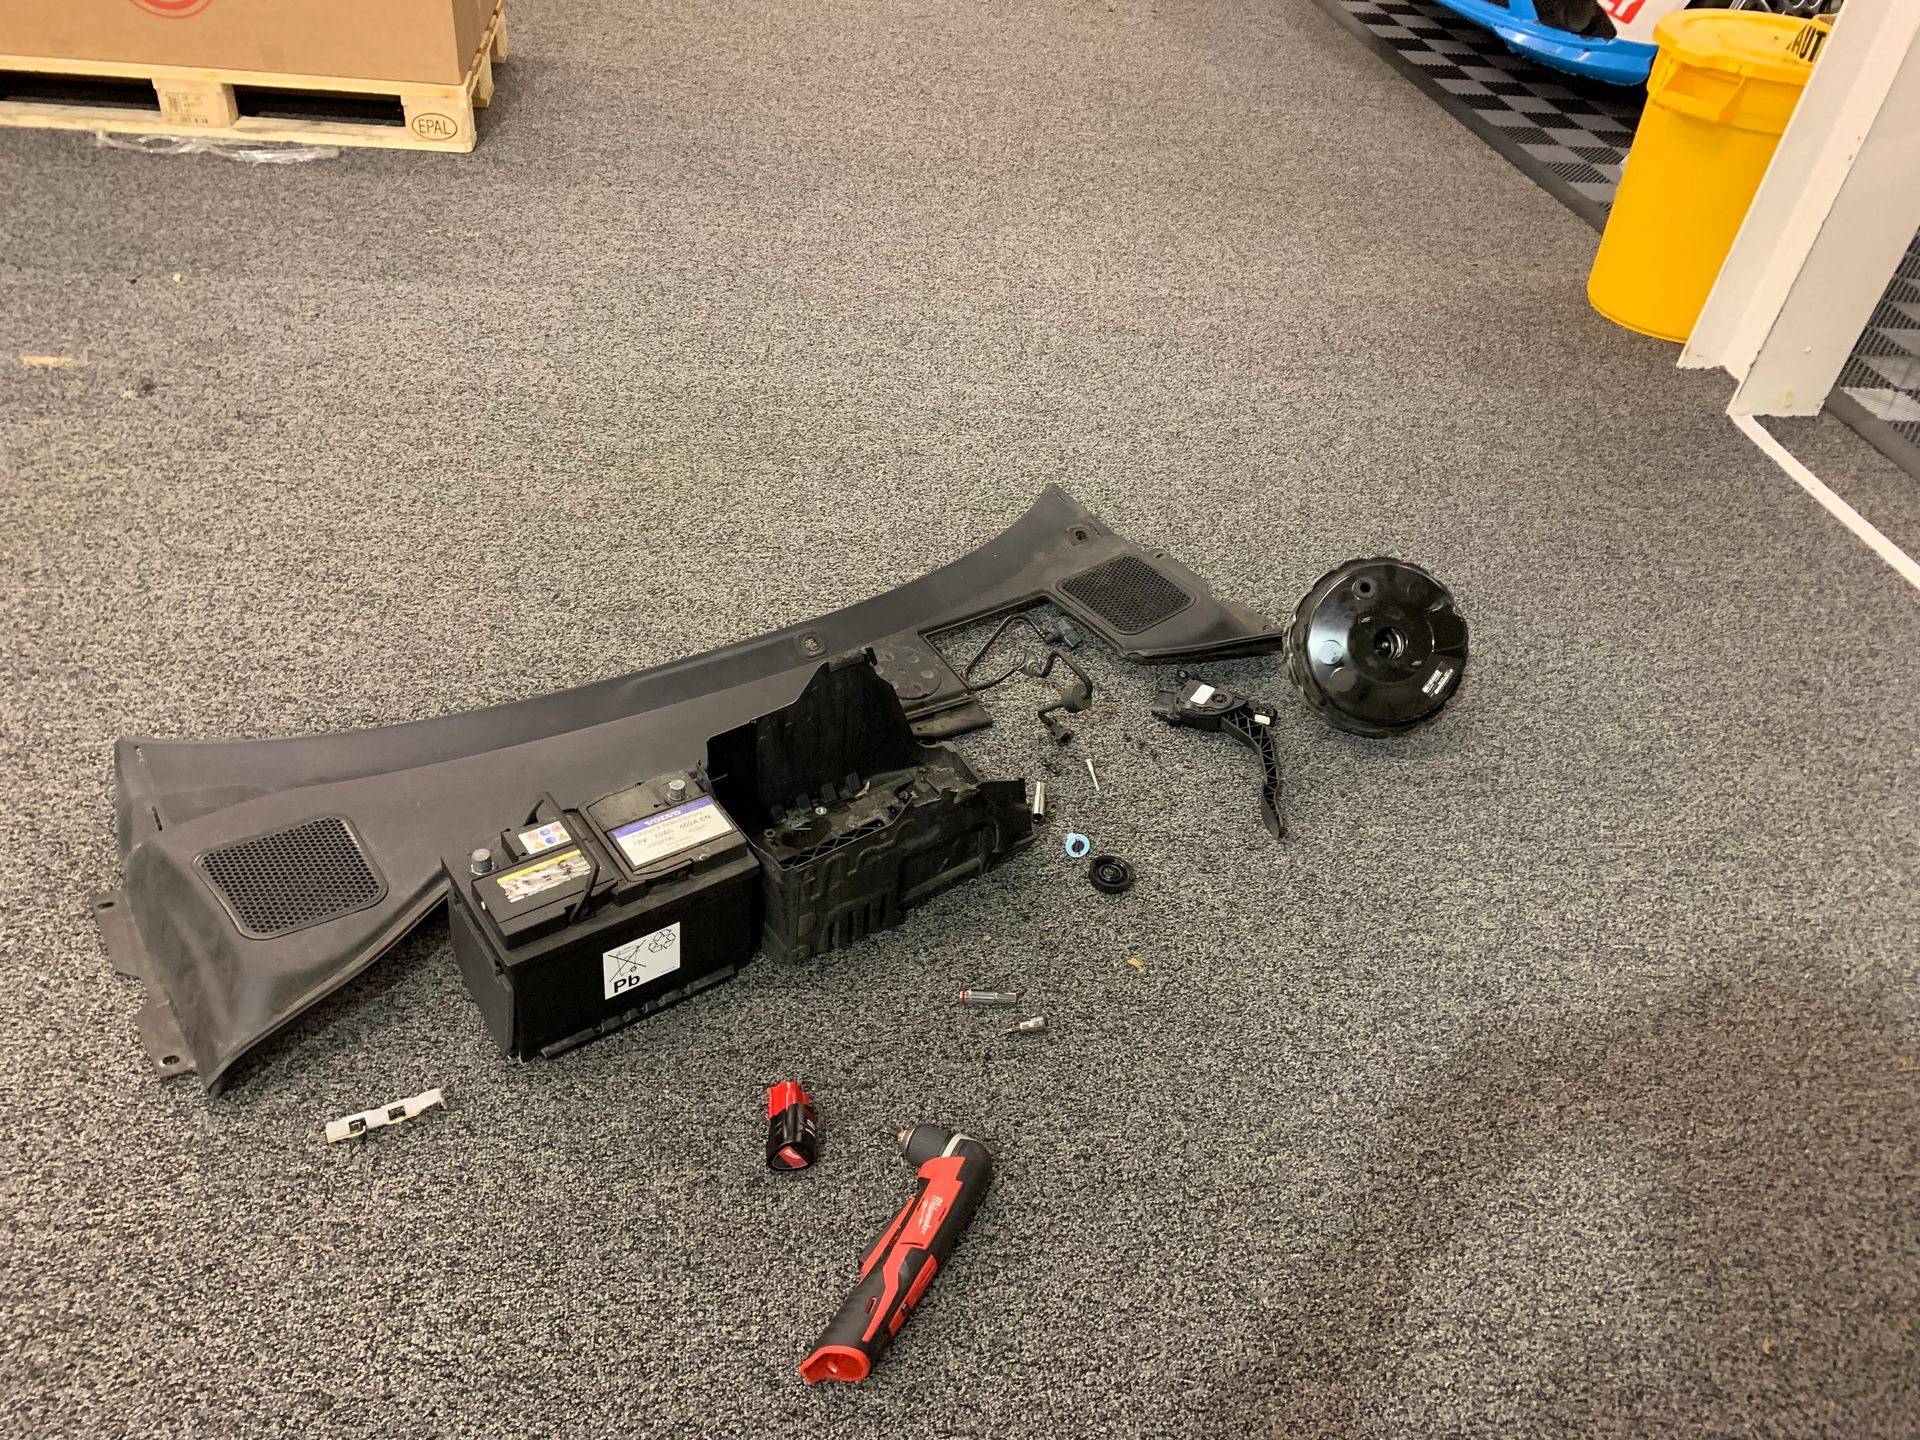
Start by marking the resting position of the windshield wiper arms and then removing them; they are secured by a single nut. After removing the nut, use your windshield wiper arm puller to press the wiper arm off the shaft. To prevent damage to the threads on the shaft, I typically remove the nut, flip it over, and thread it back onto the shaft before using the wiper arm press.
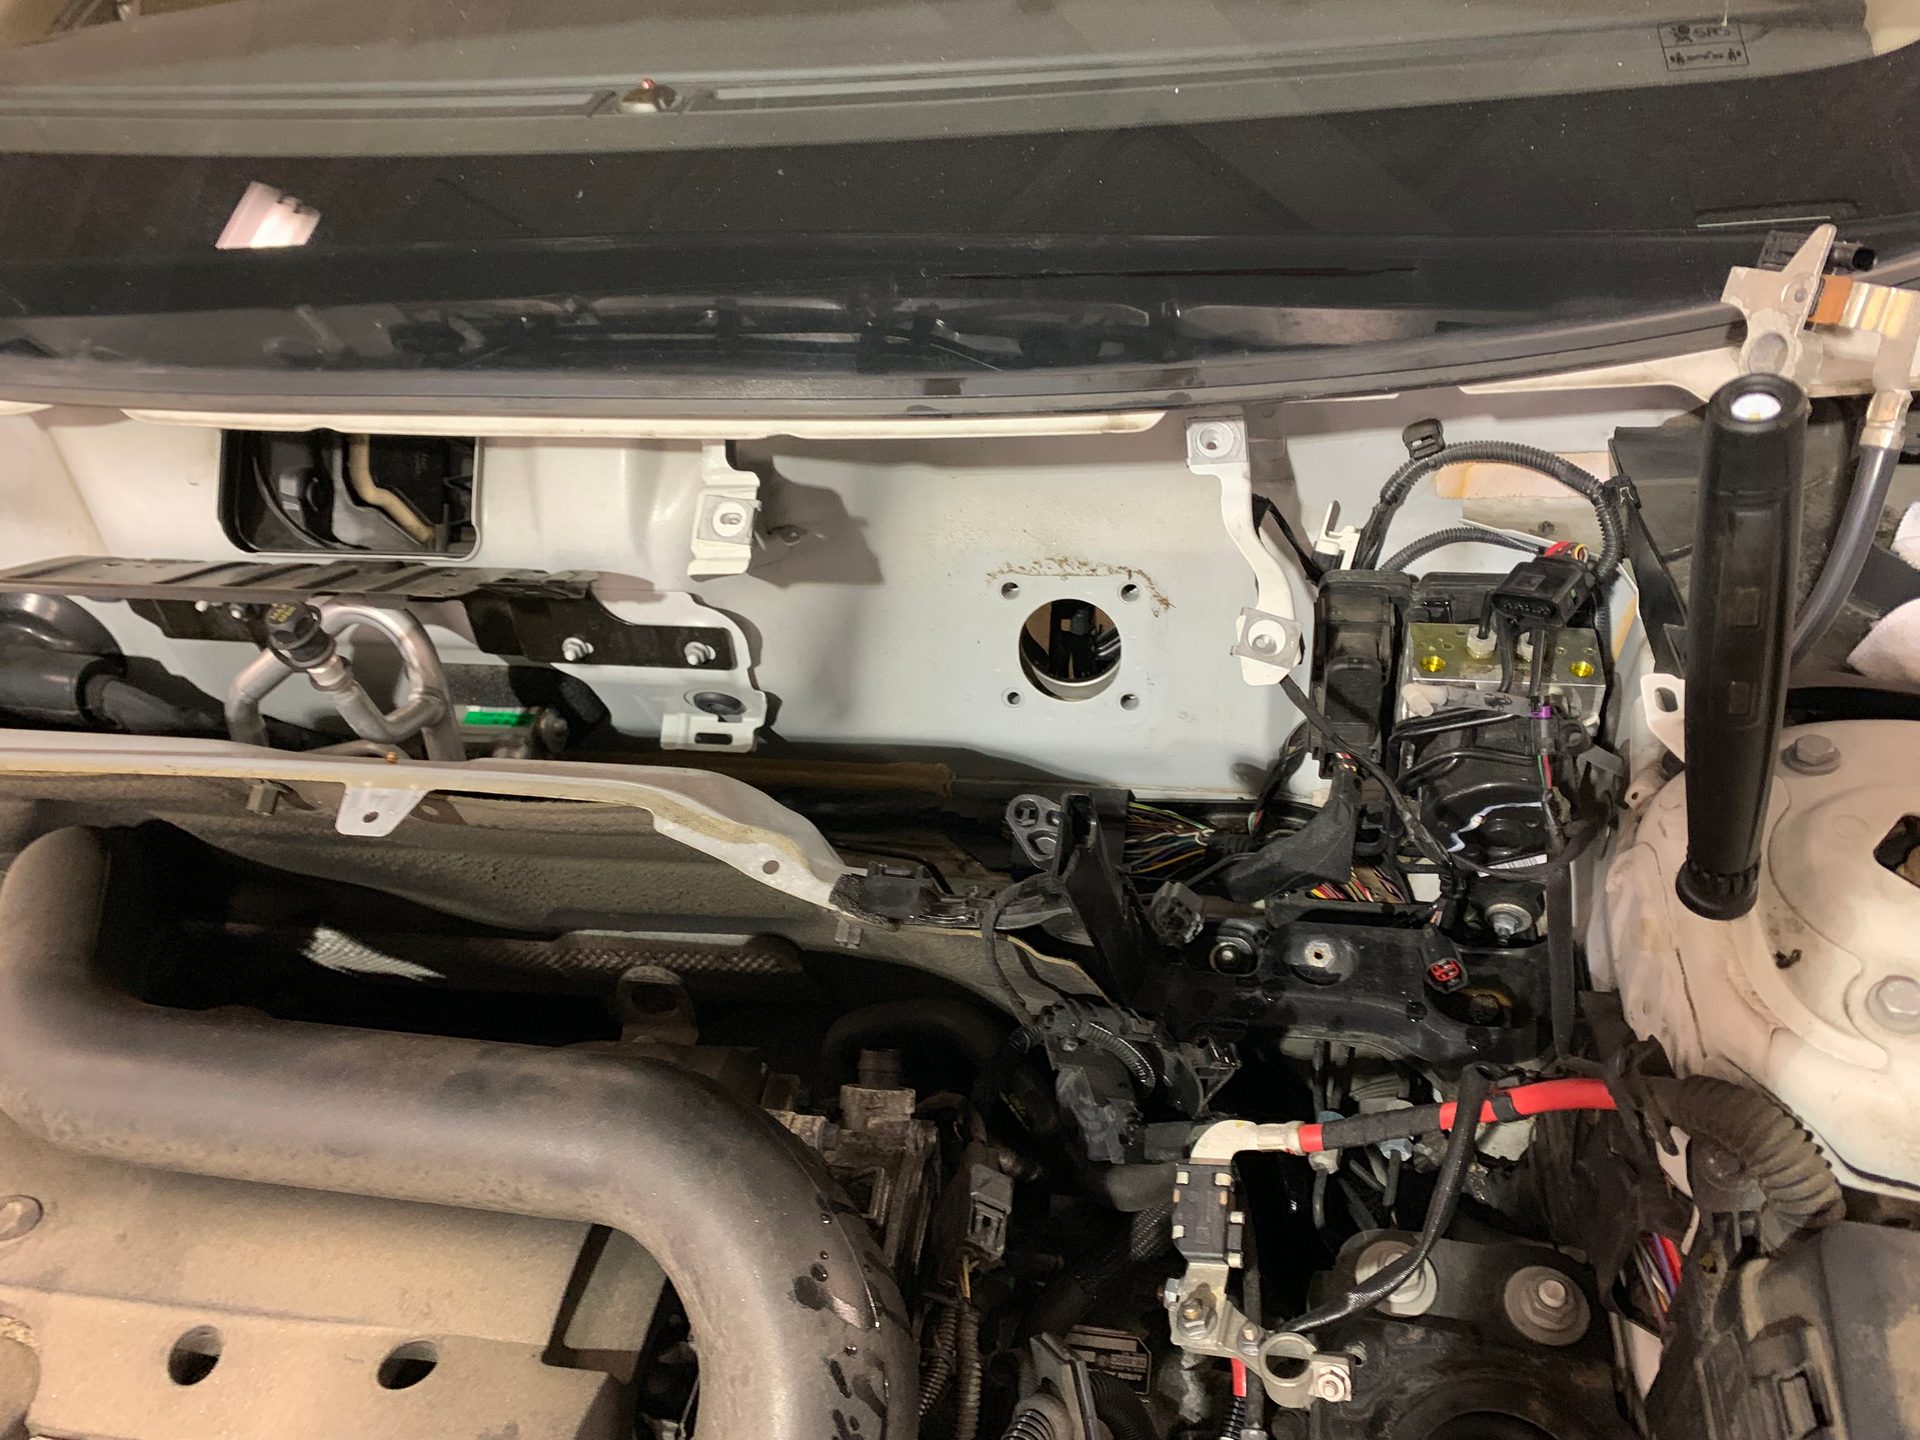
With the arms removed, you can remove the windshield cowl that's held in place by plastic clips surrounding the perimeter.

Remove the wiper arm linkage which is held in place with four bolts, then disconnect the electrical connector from the wiper motor prior to removing the assembly.
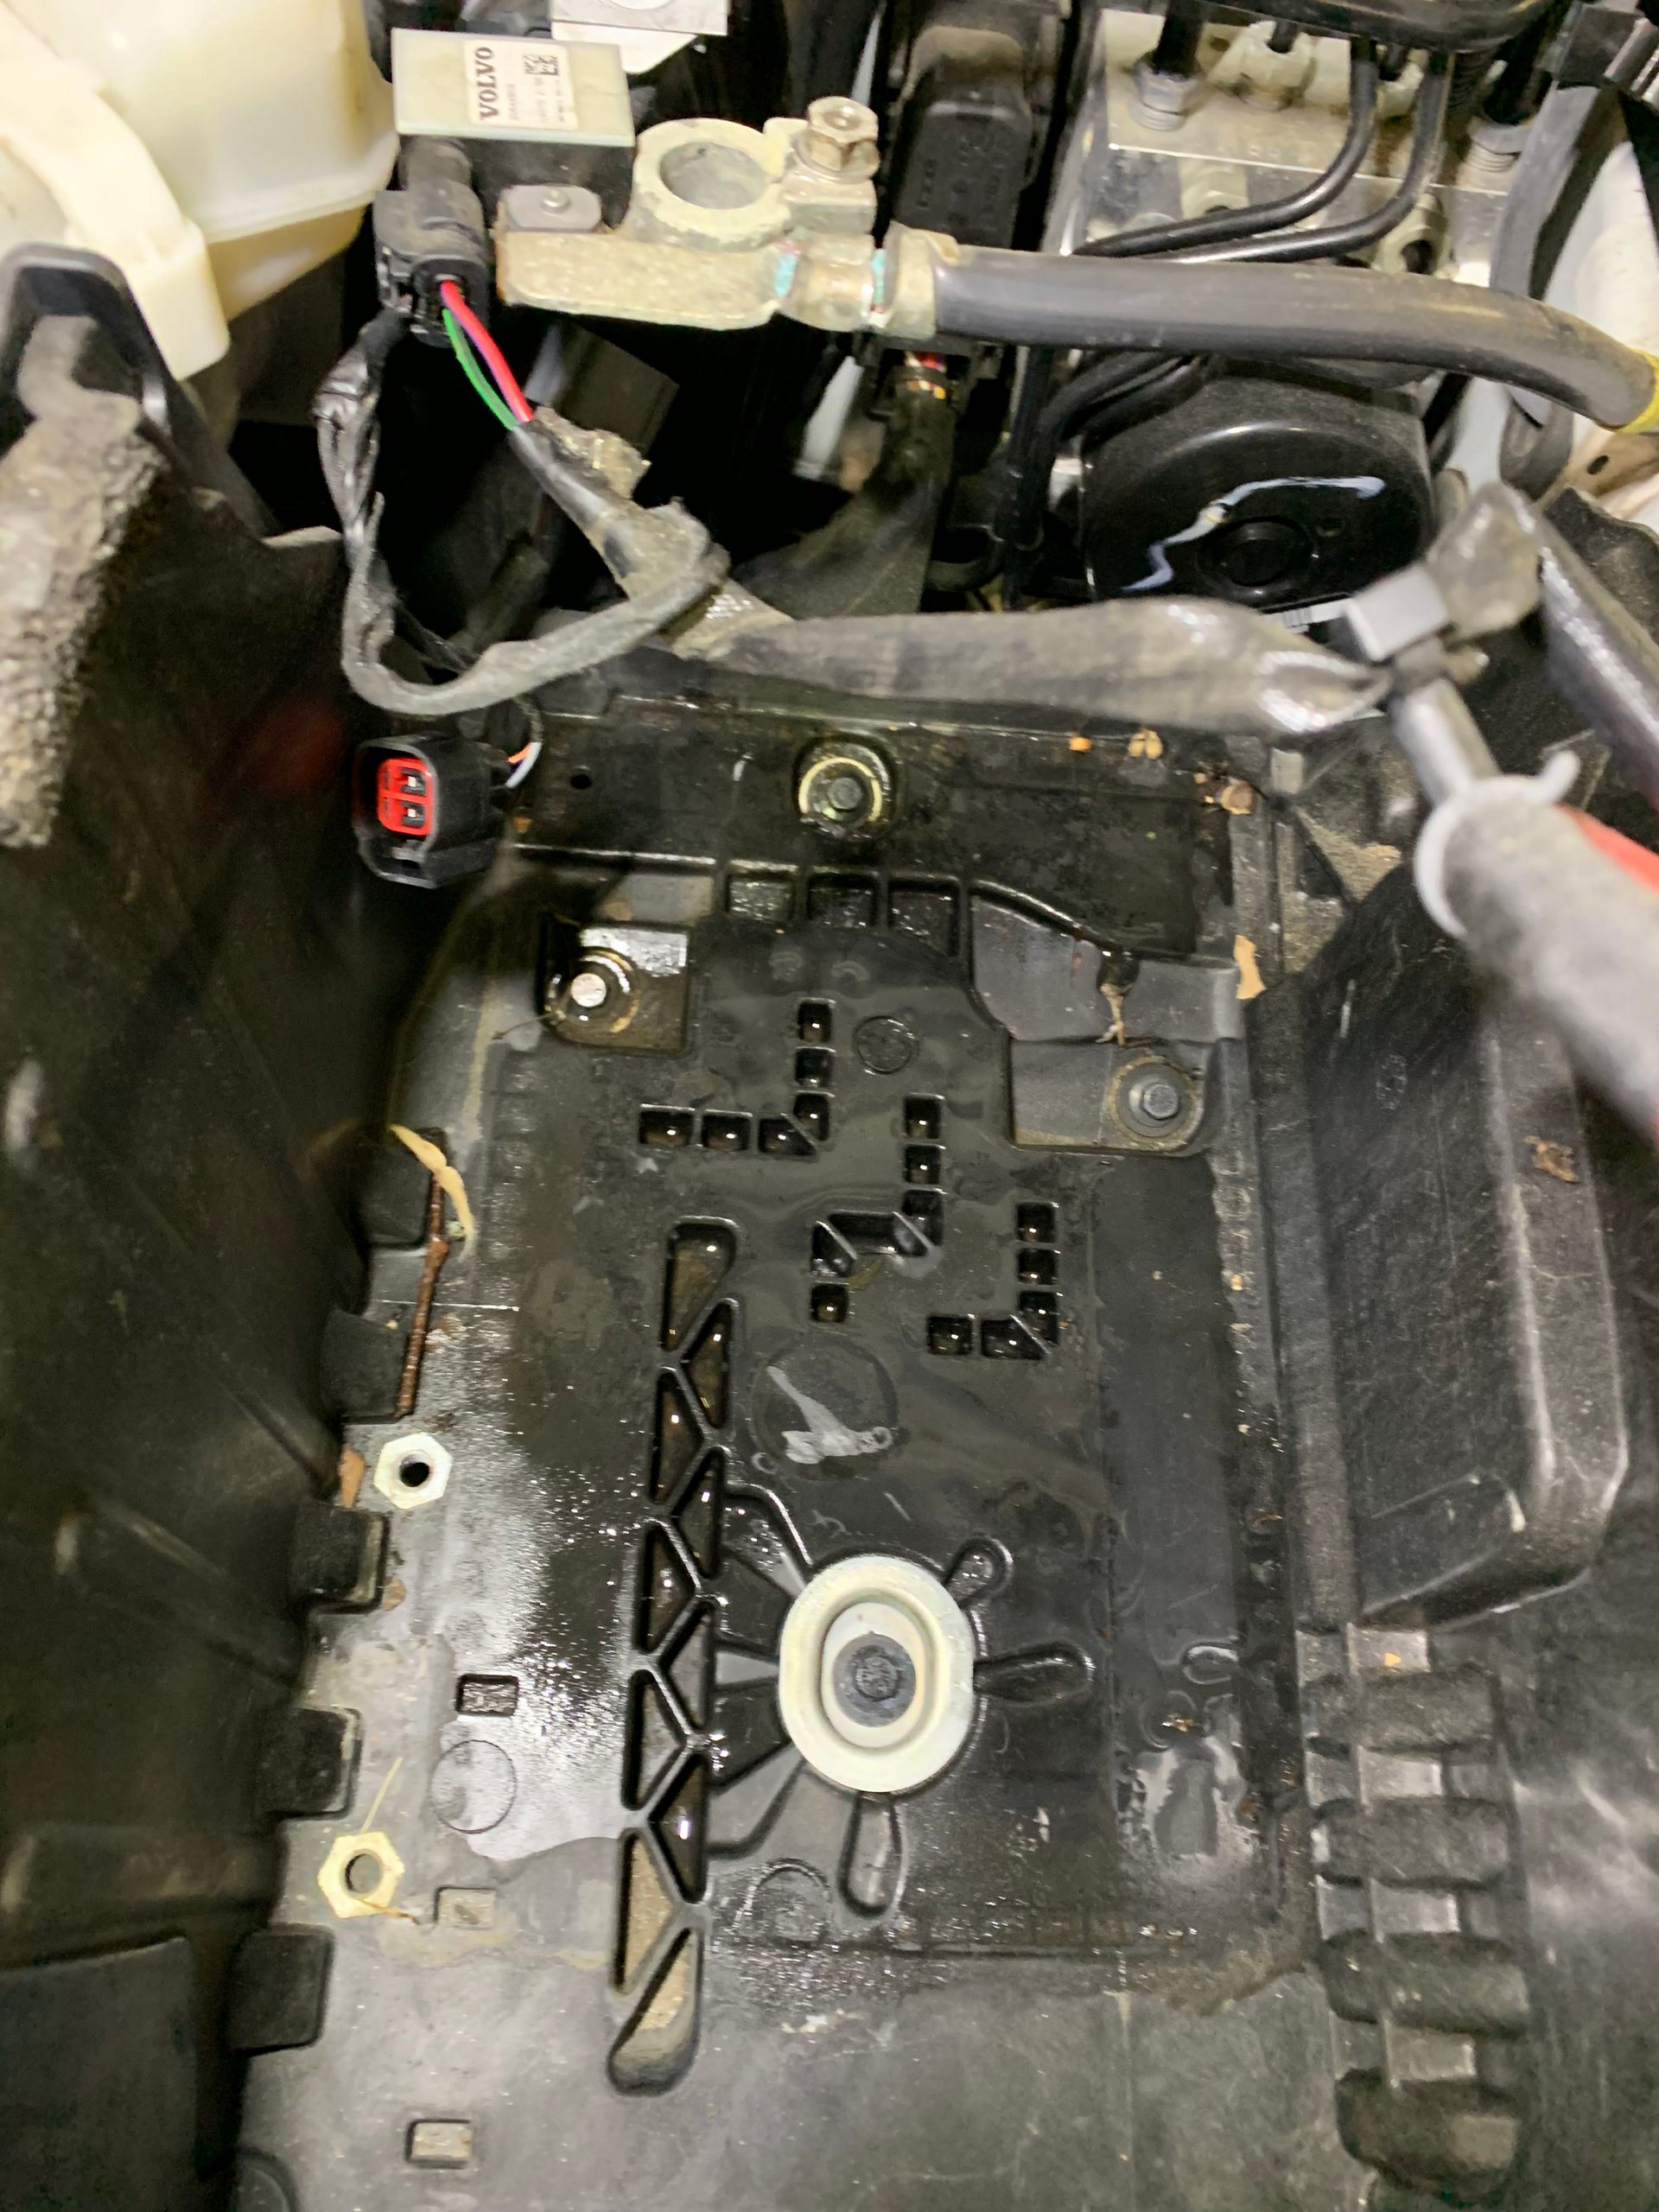
Step 2: Remove Battery and Battery Tray
This next step is one of the easiest. Disconnect the battery and remove the two bolts holding the battery tray in place. It should be free and be able to come right out.
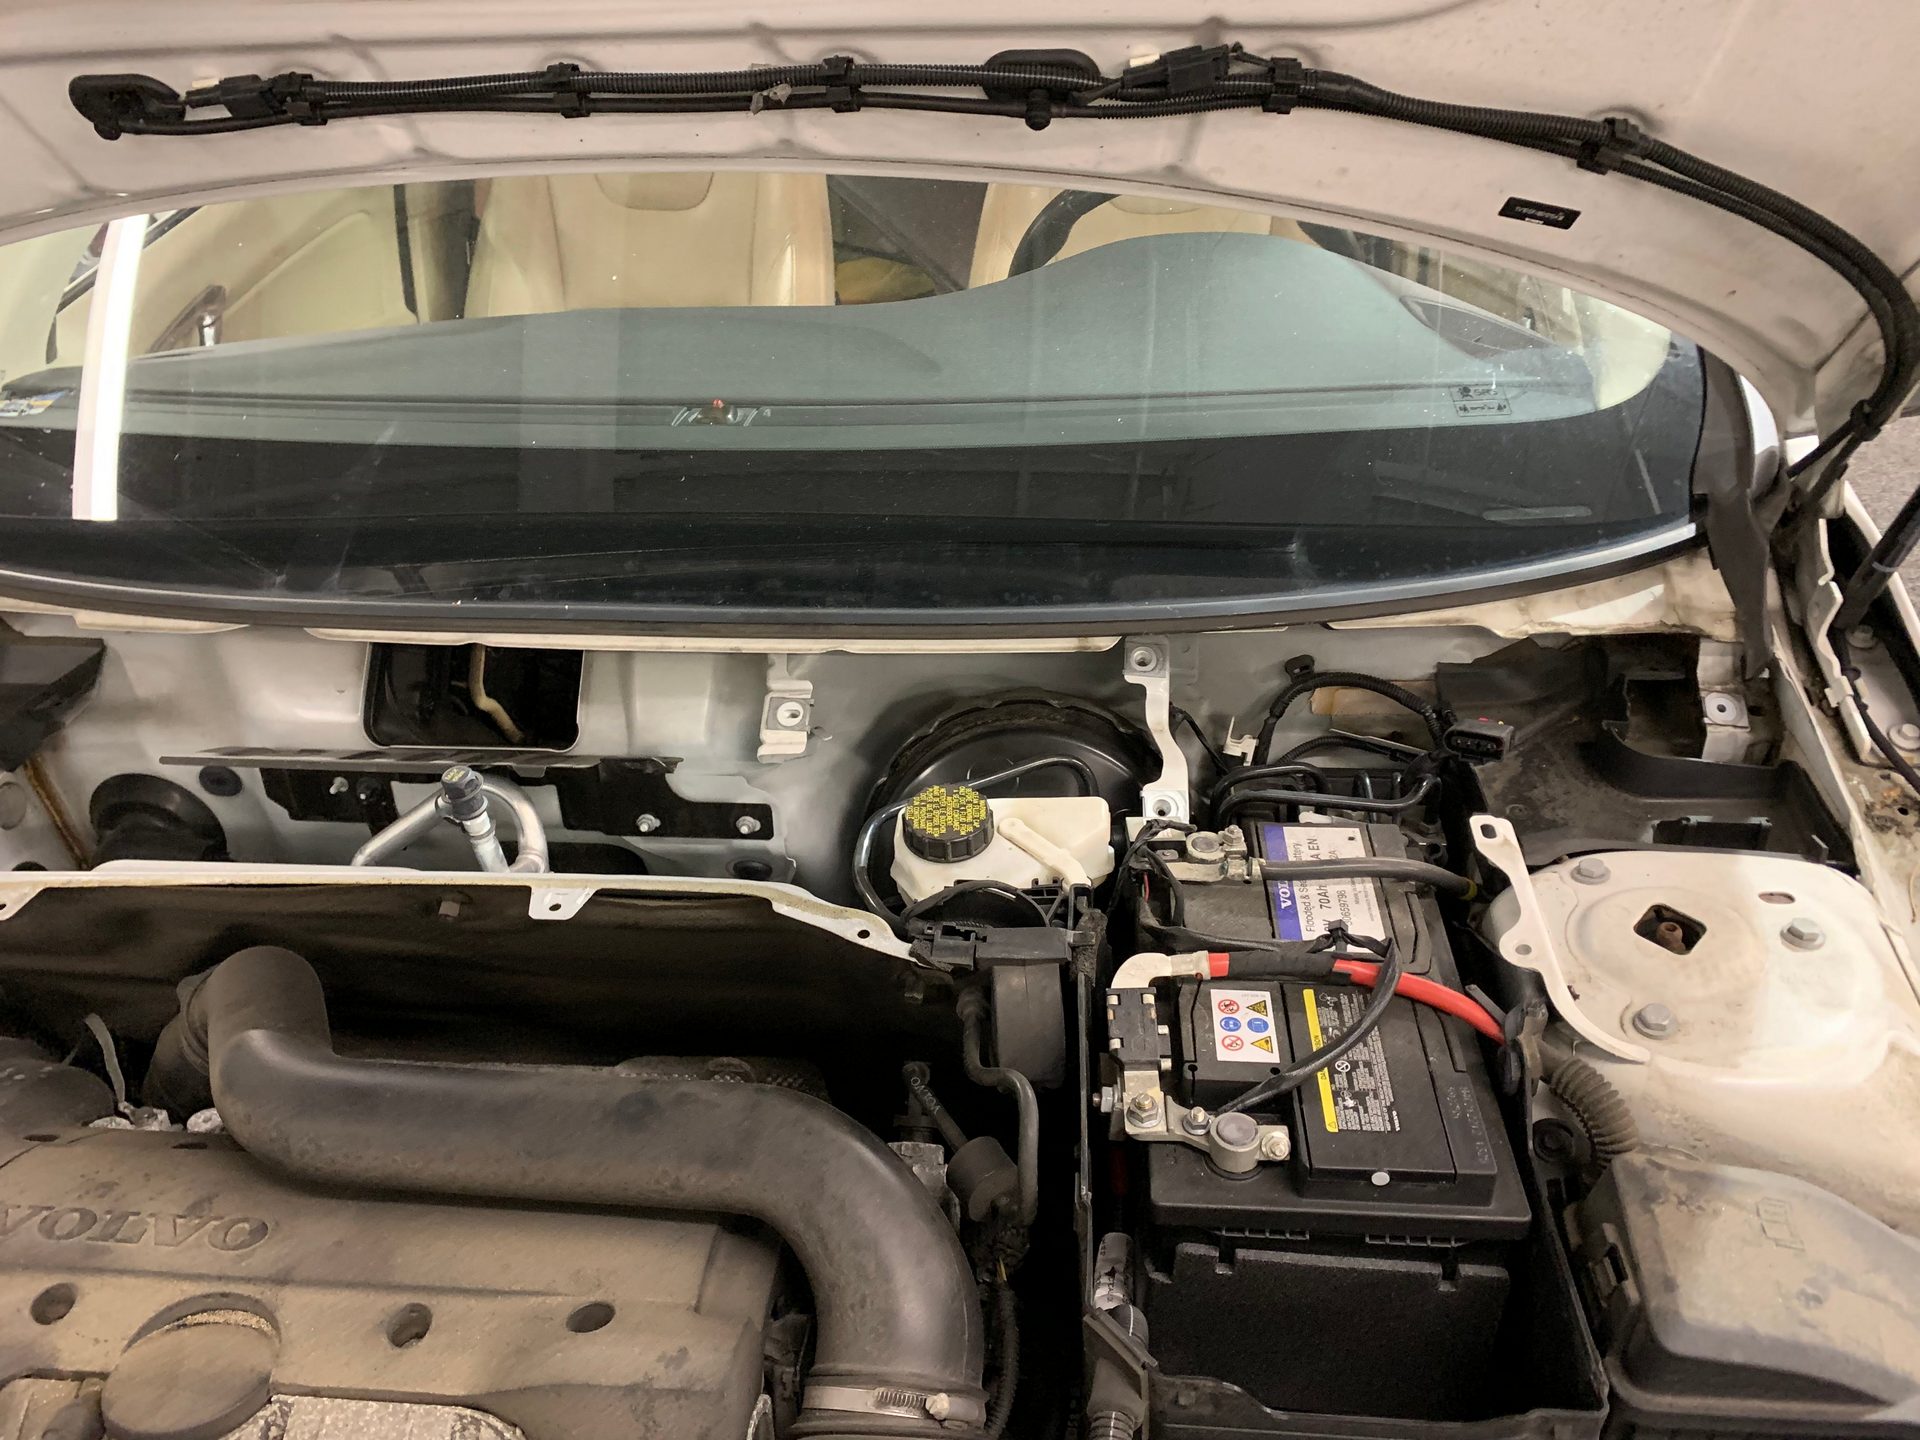
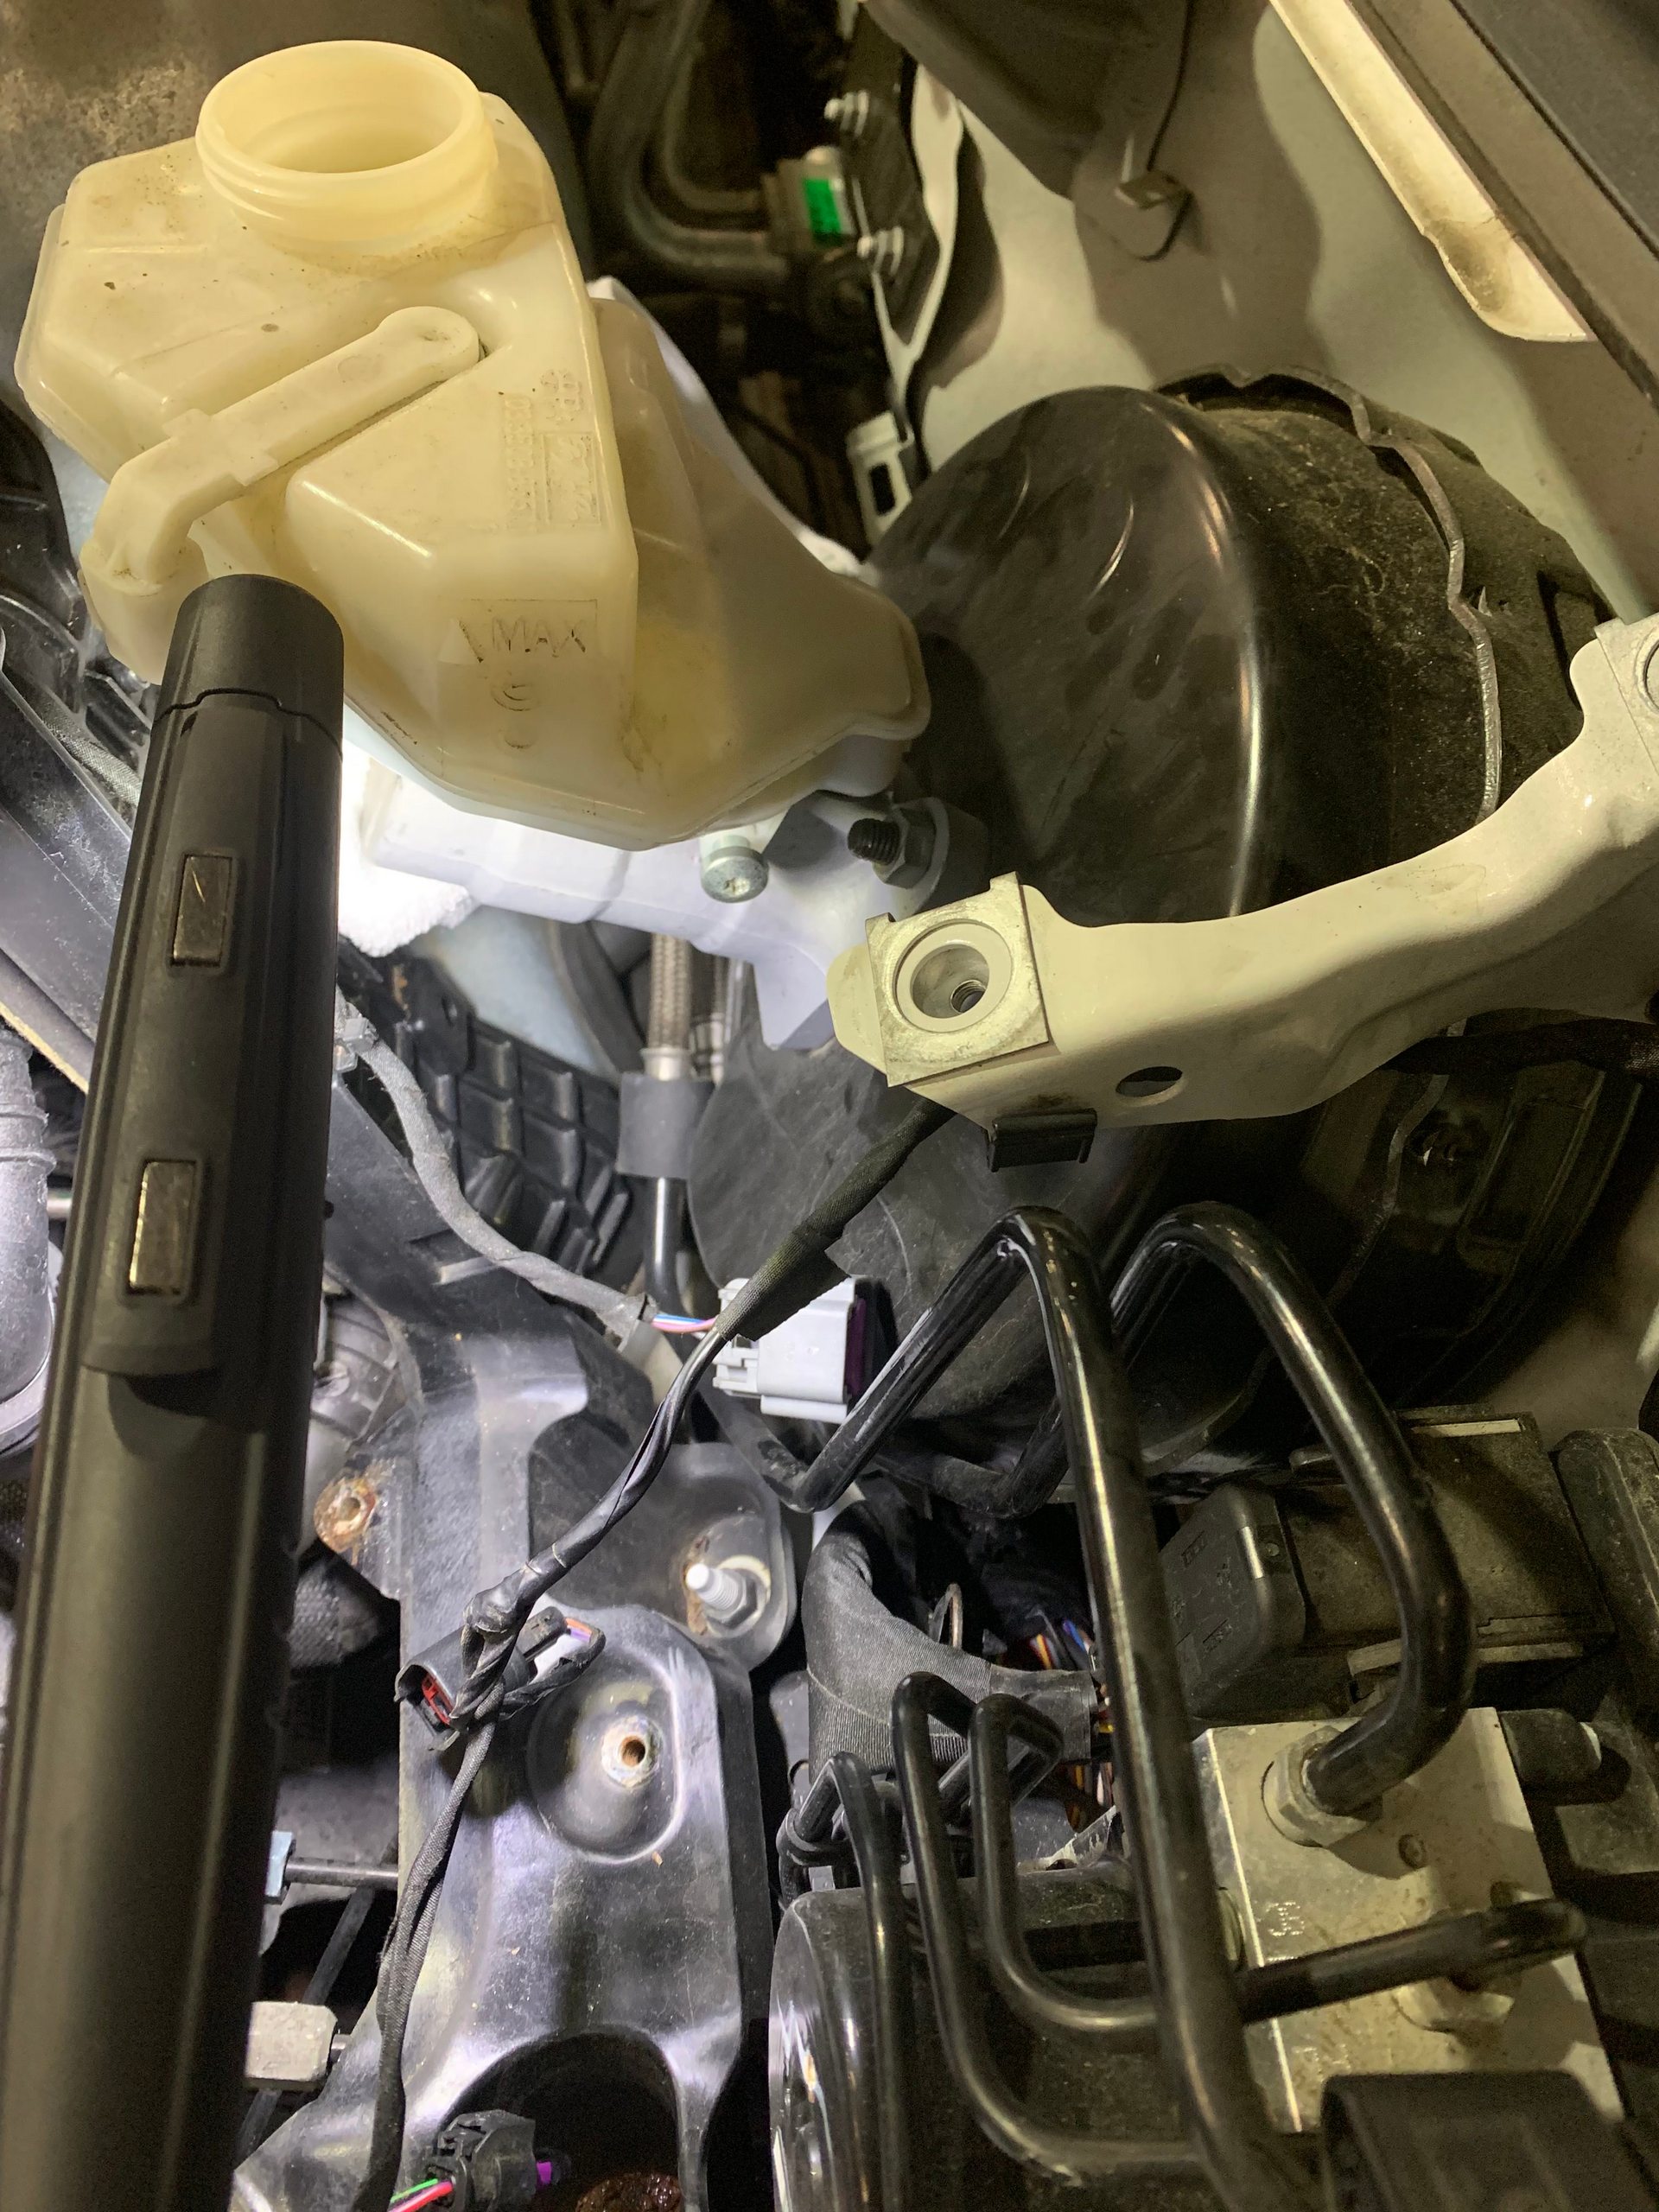
Step 3: Suction Out Brake Fluid and Remove Reservoir
Suction the brake fluid out of the master cylinder reservoir. After it's empty, there's a single fastener holding the reservoir in place; remove this and lift the reservoir off the grommets.
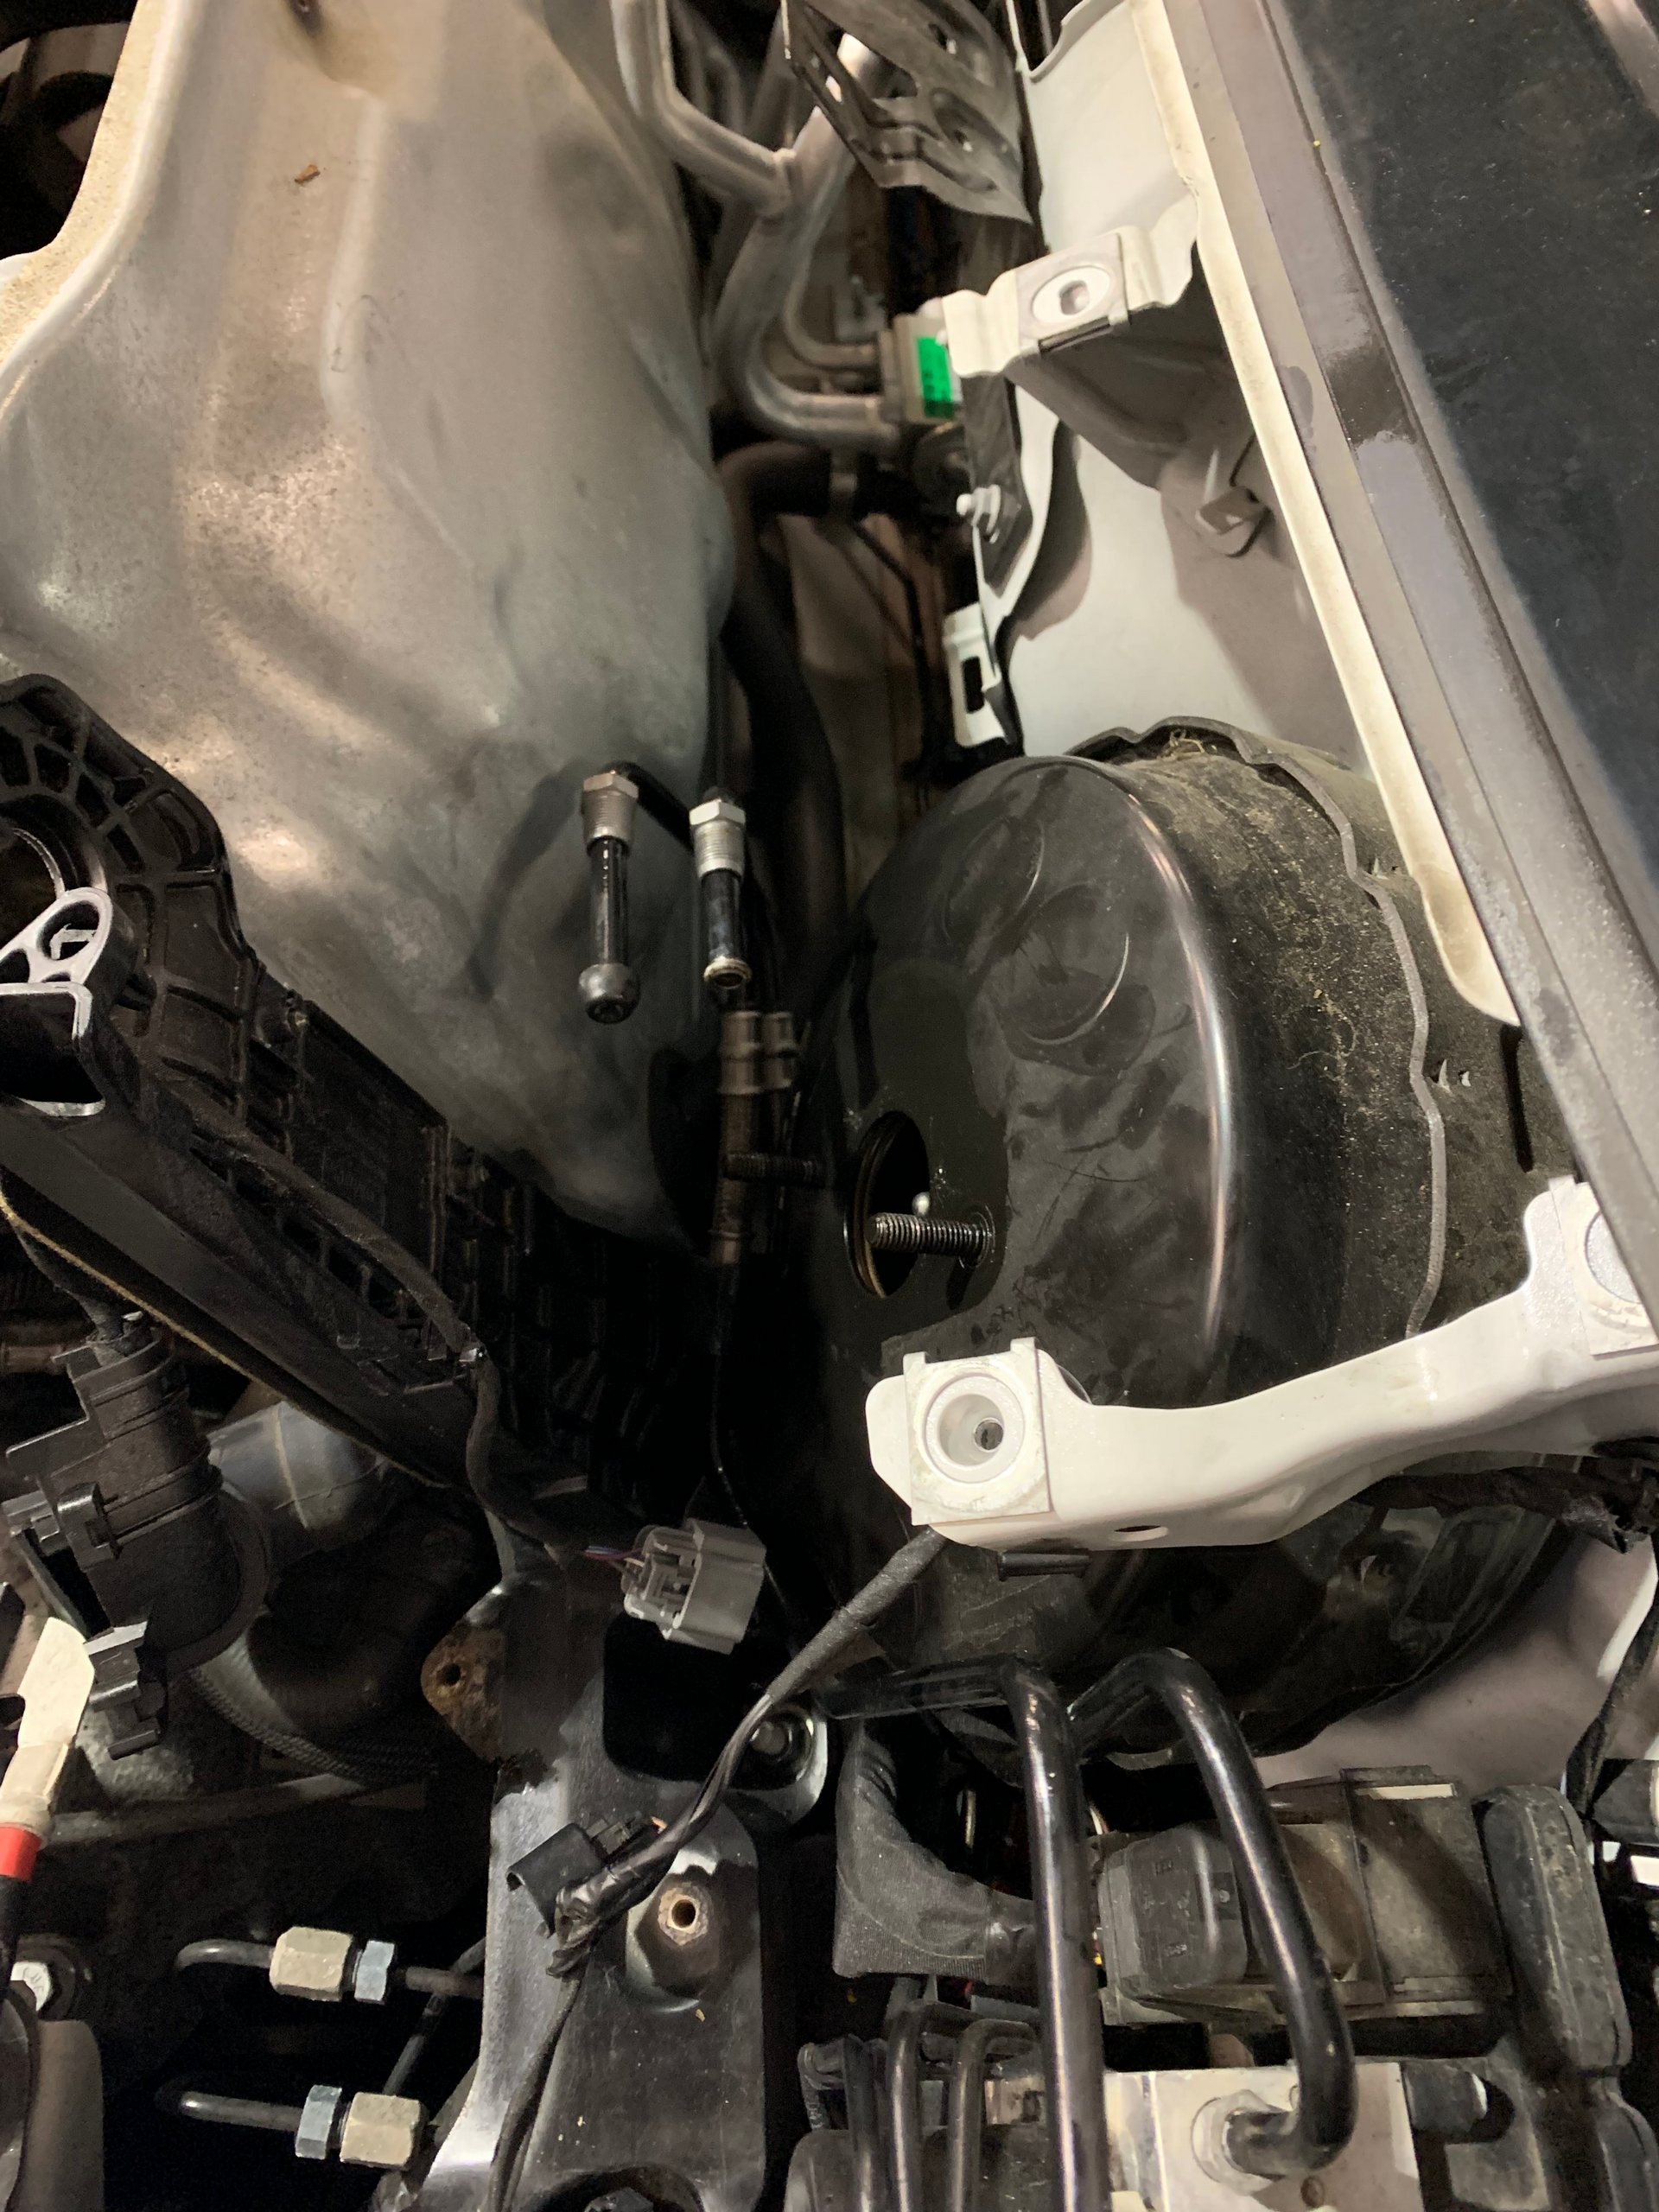
Disconnect the brake lines from the master cylinder and remove the two nuts that hold the master to the booster. Brake bleeder nipple caps can be used to caps the hard lines and prevent fluid leaks.
CAUTION: Brake fluid is extremely caustic and will easily eat through paint and the vehicle body. It is also a skin irritant, so be sure to wear gloves.
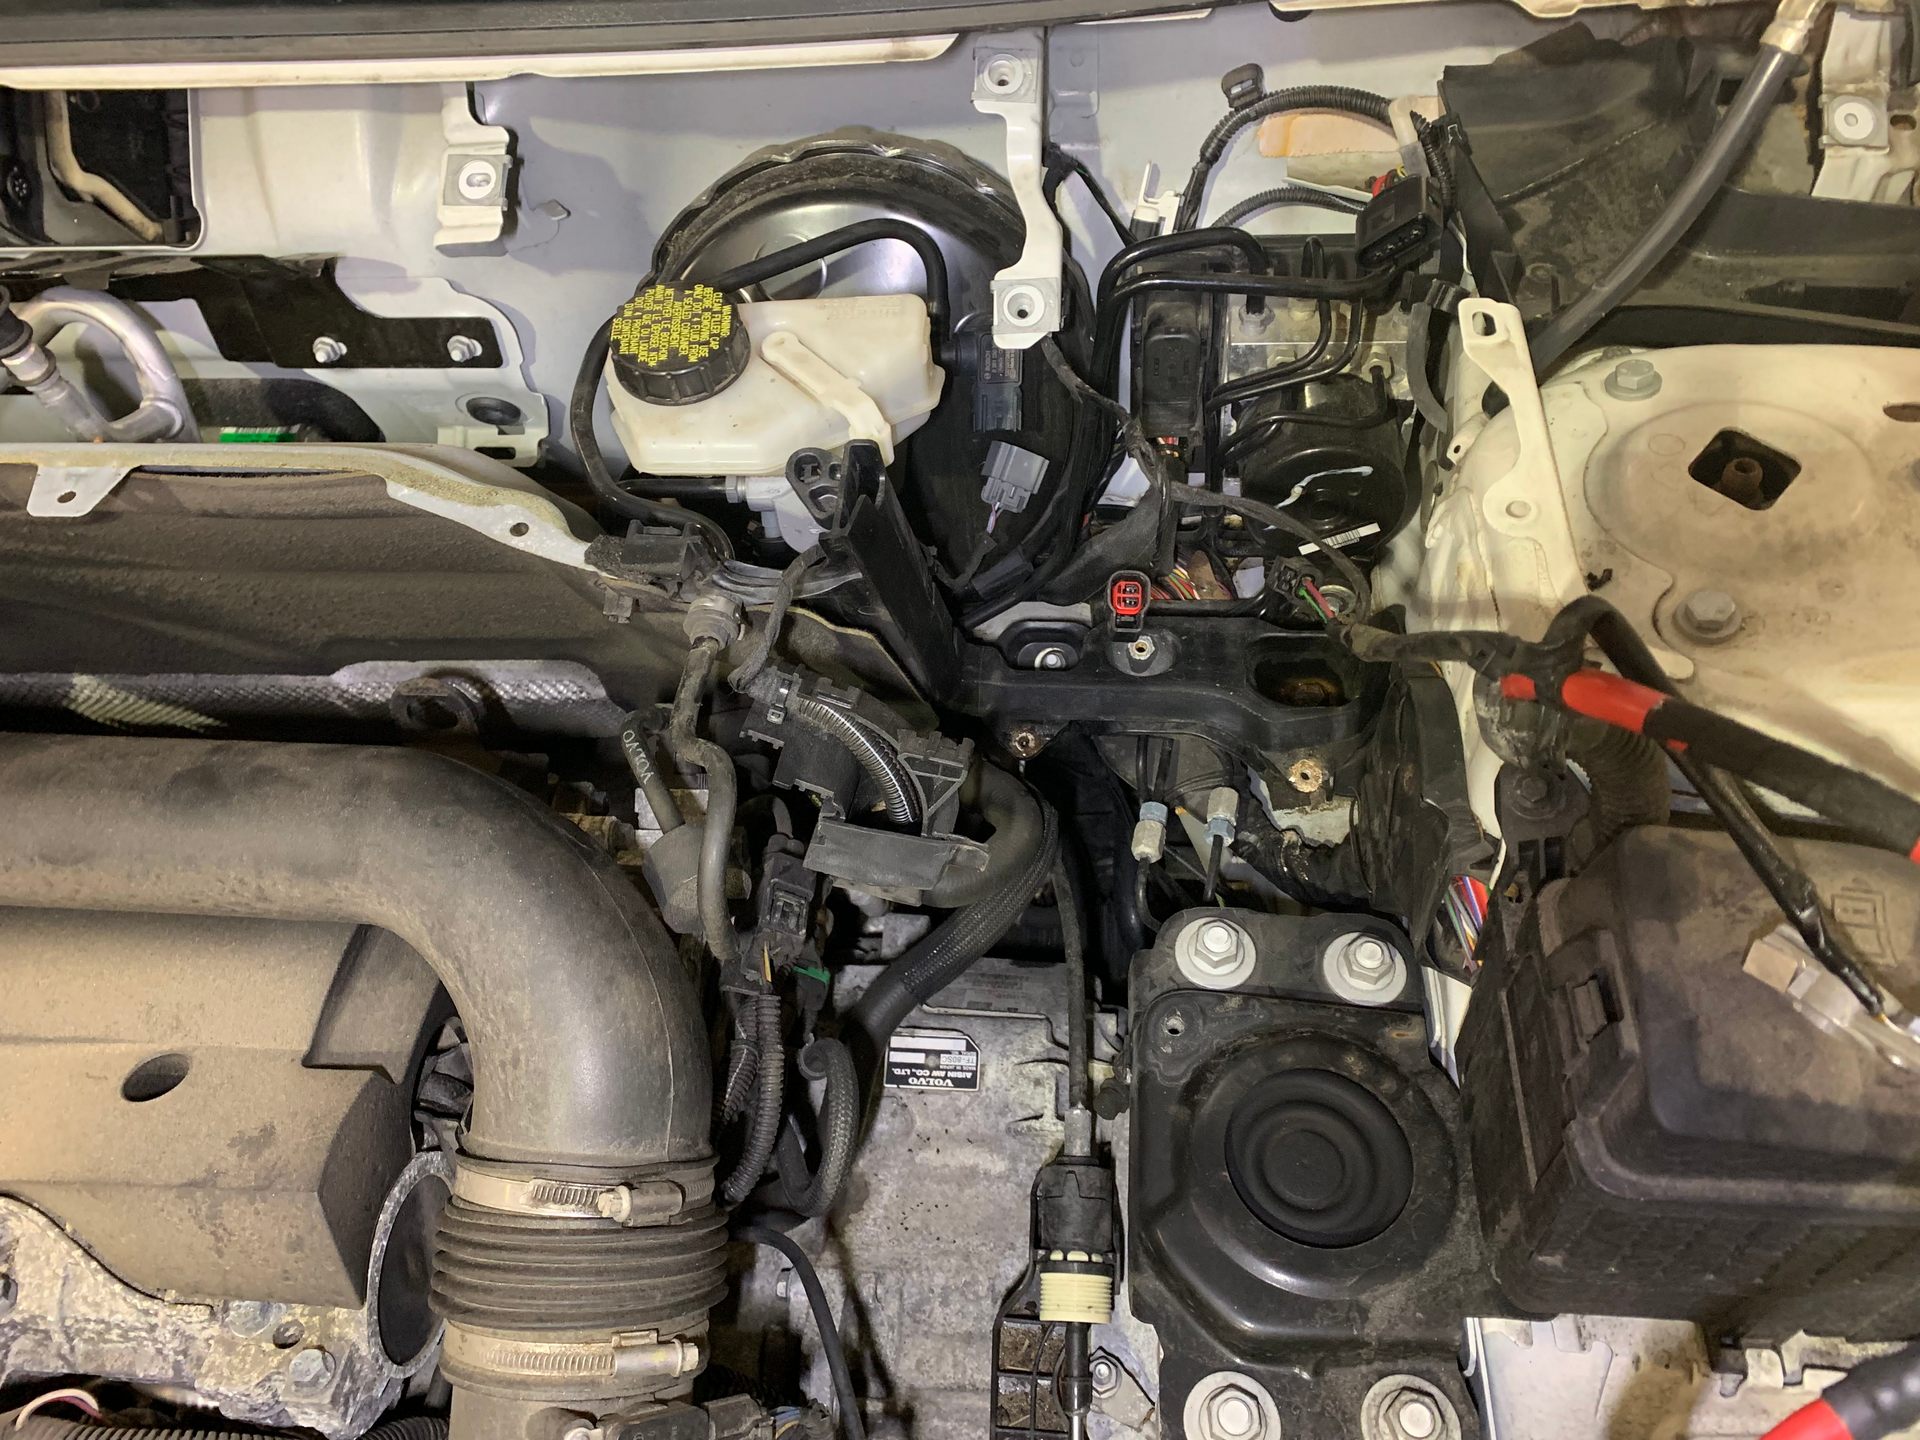
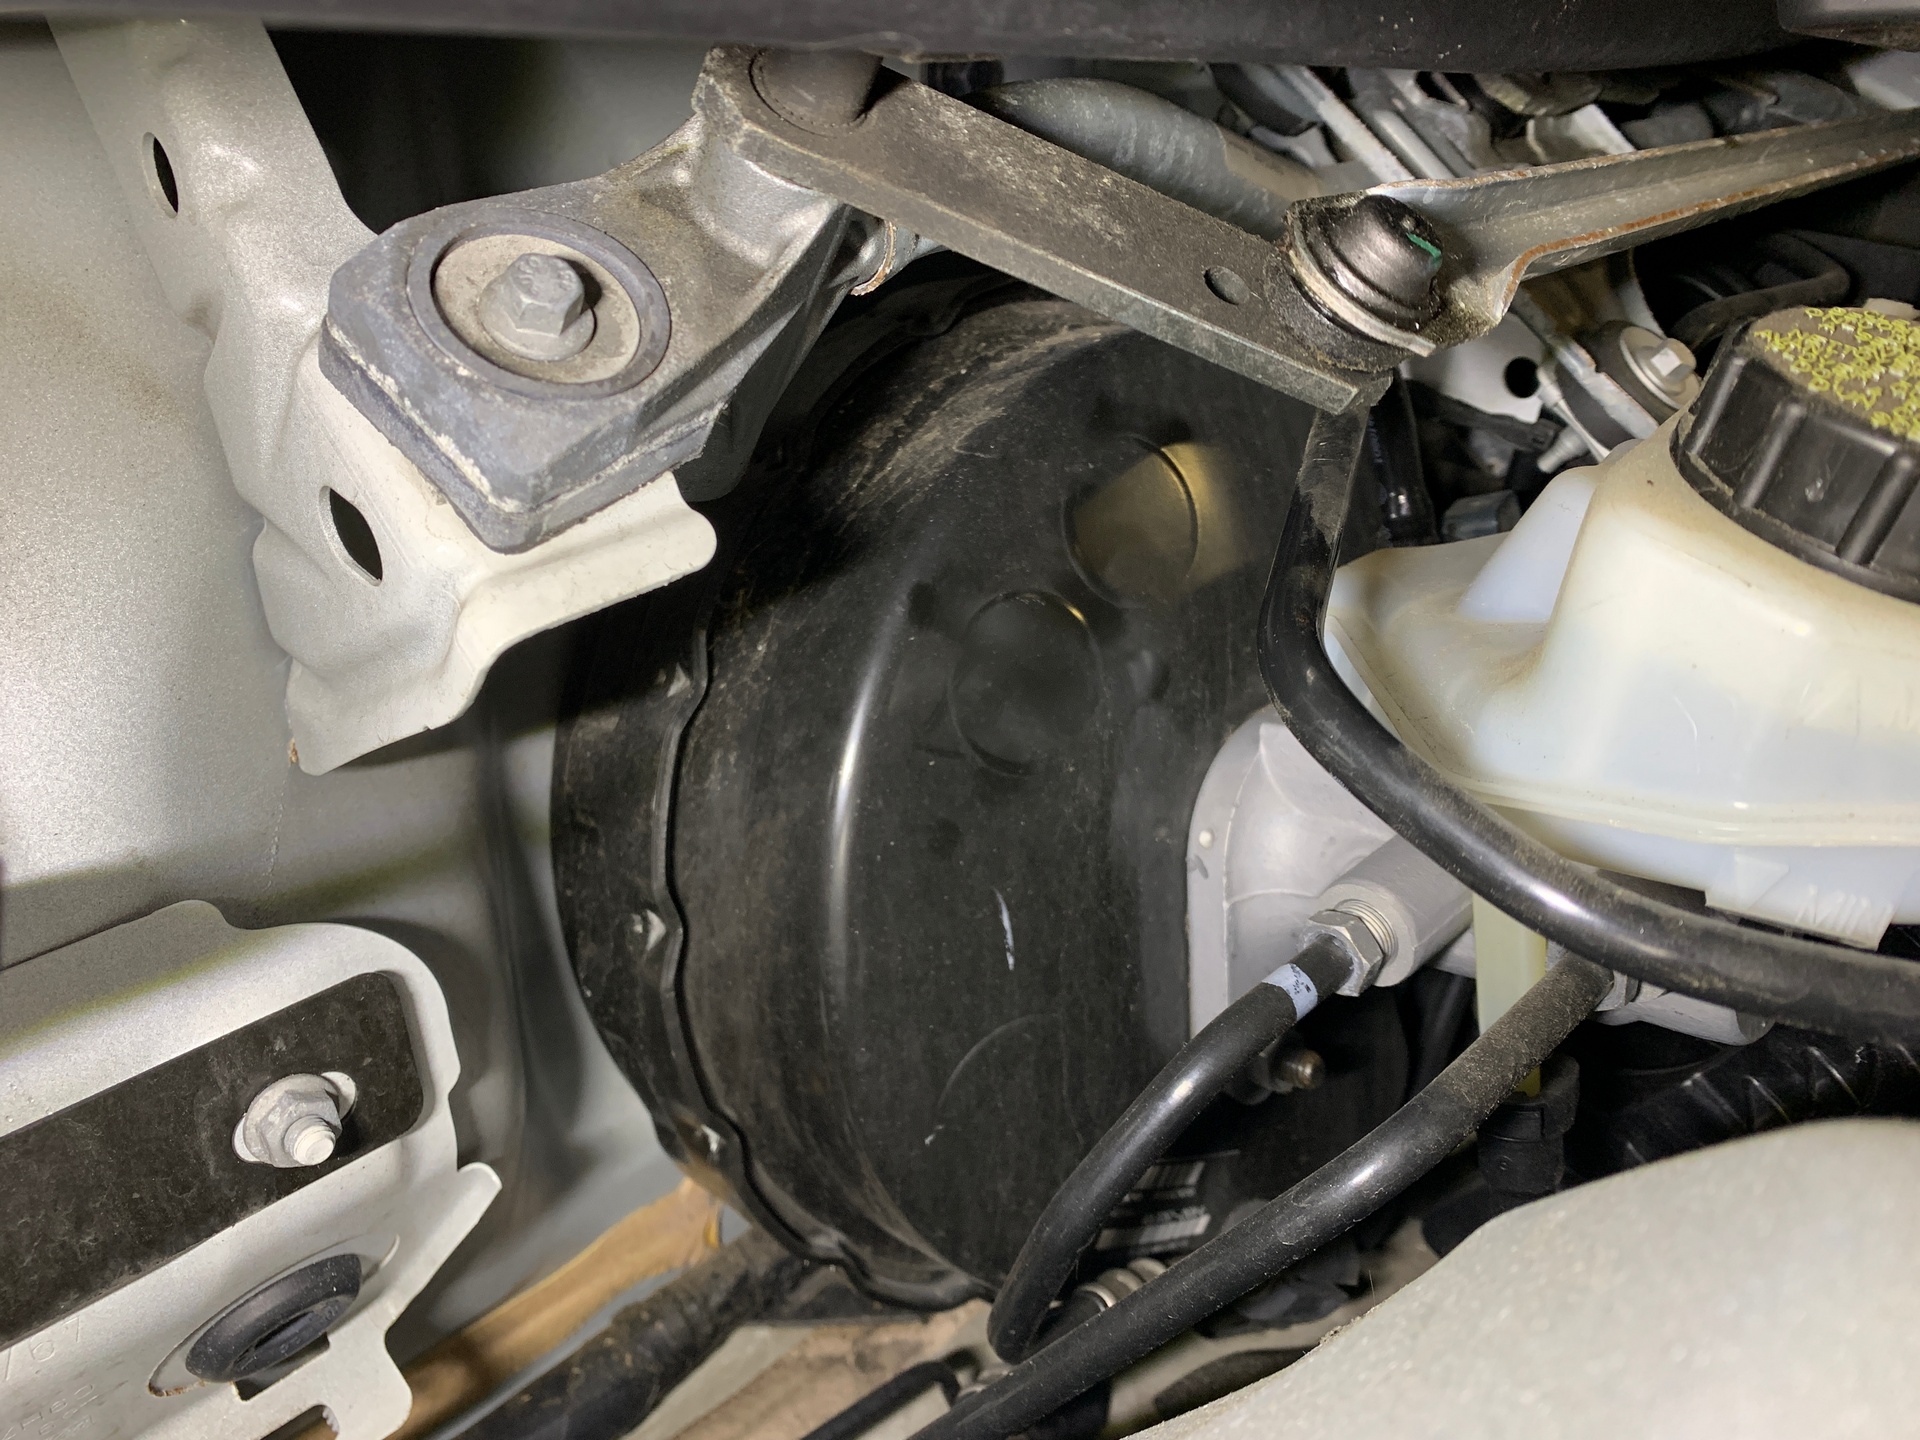
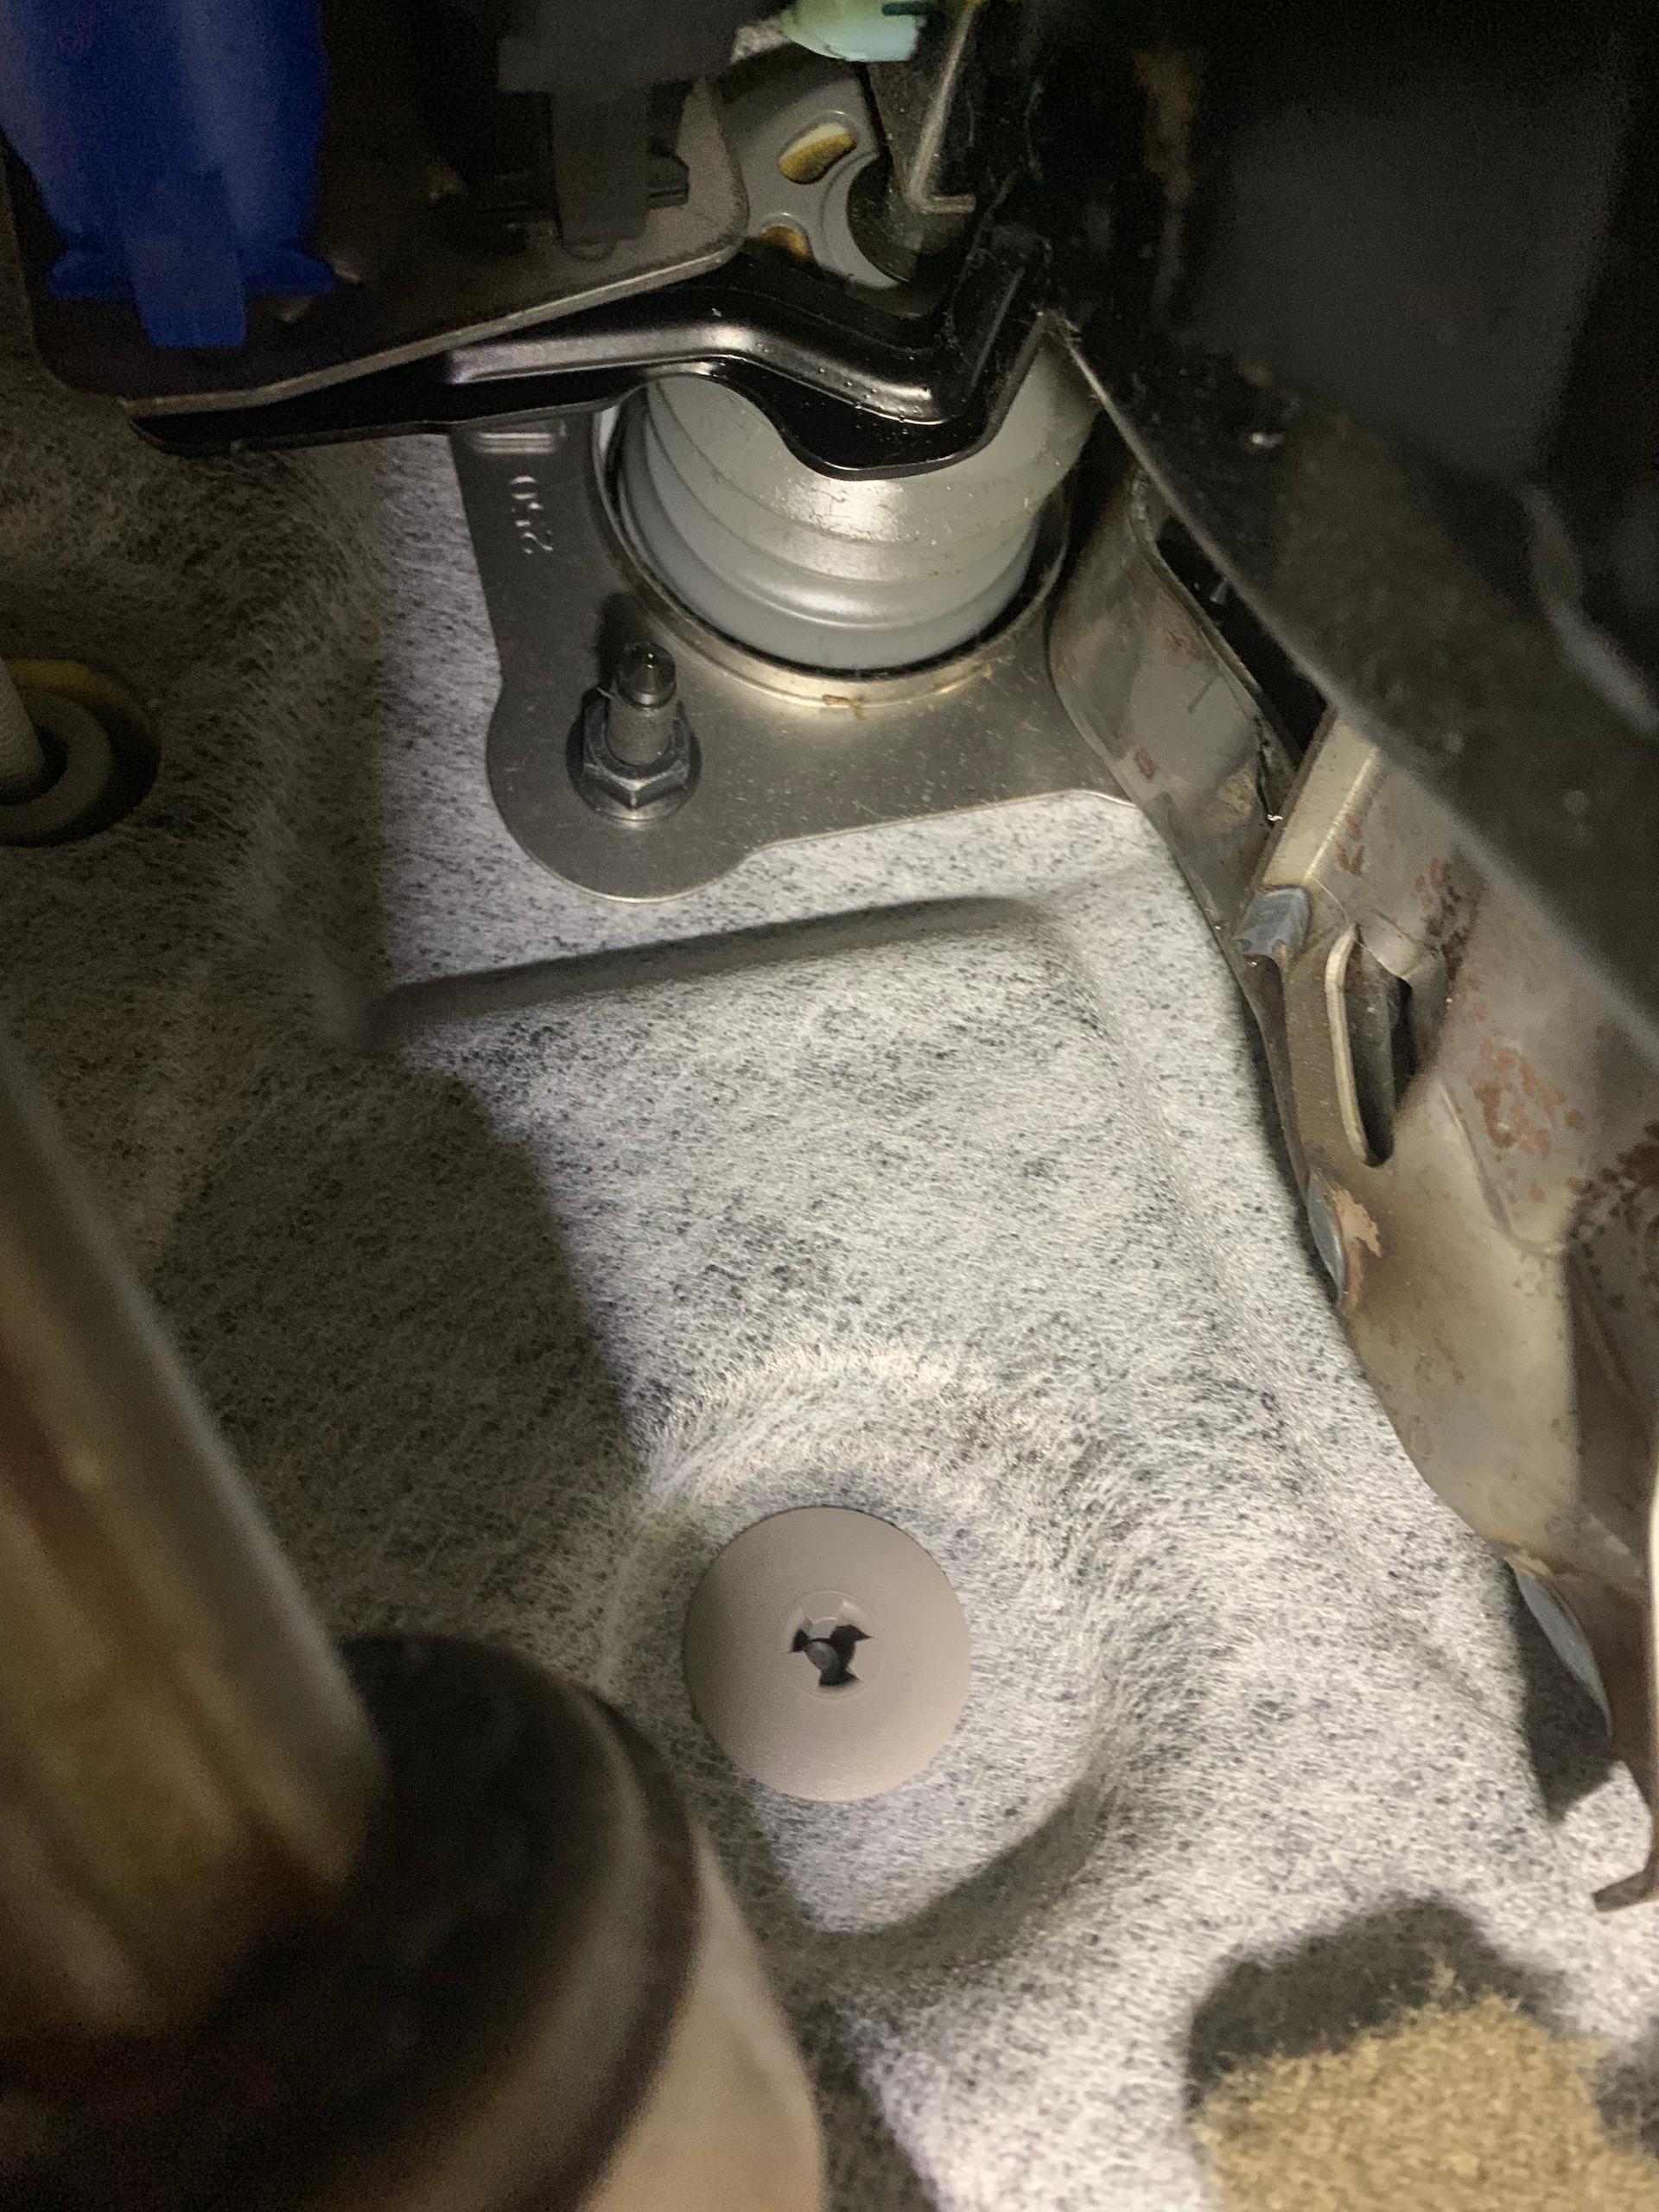
Step 4: Remove Pedals and Brake Booster
Remove the gas pedal which is held in place with three nuts. There's also an electrical connector for the position sensor on the throttle that will need to be disconnected. Disconnect the brake pedal pin at the brake booster shaft and unthread the four nuts holding the booster in.
Step 5: Remove Brake Booster
You can now remove the booster from the vehicle.
The new brake booster will contain a replacement brake master cylinder seal and retention nuts. Make sure to use them!
Step 6: Reinstall New Brake Booster
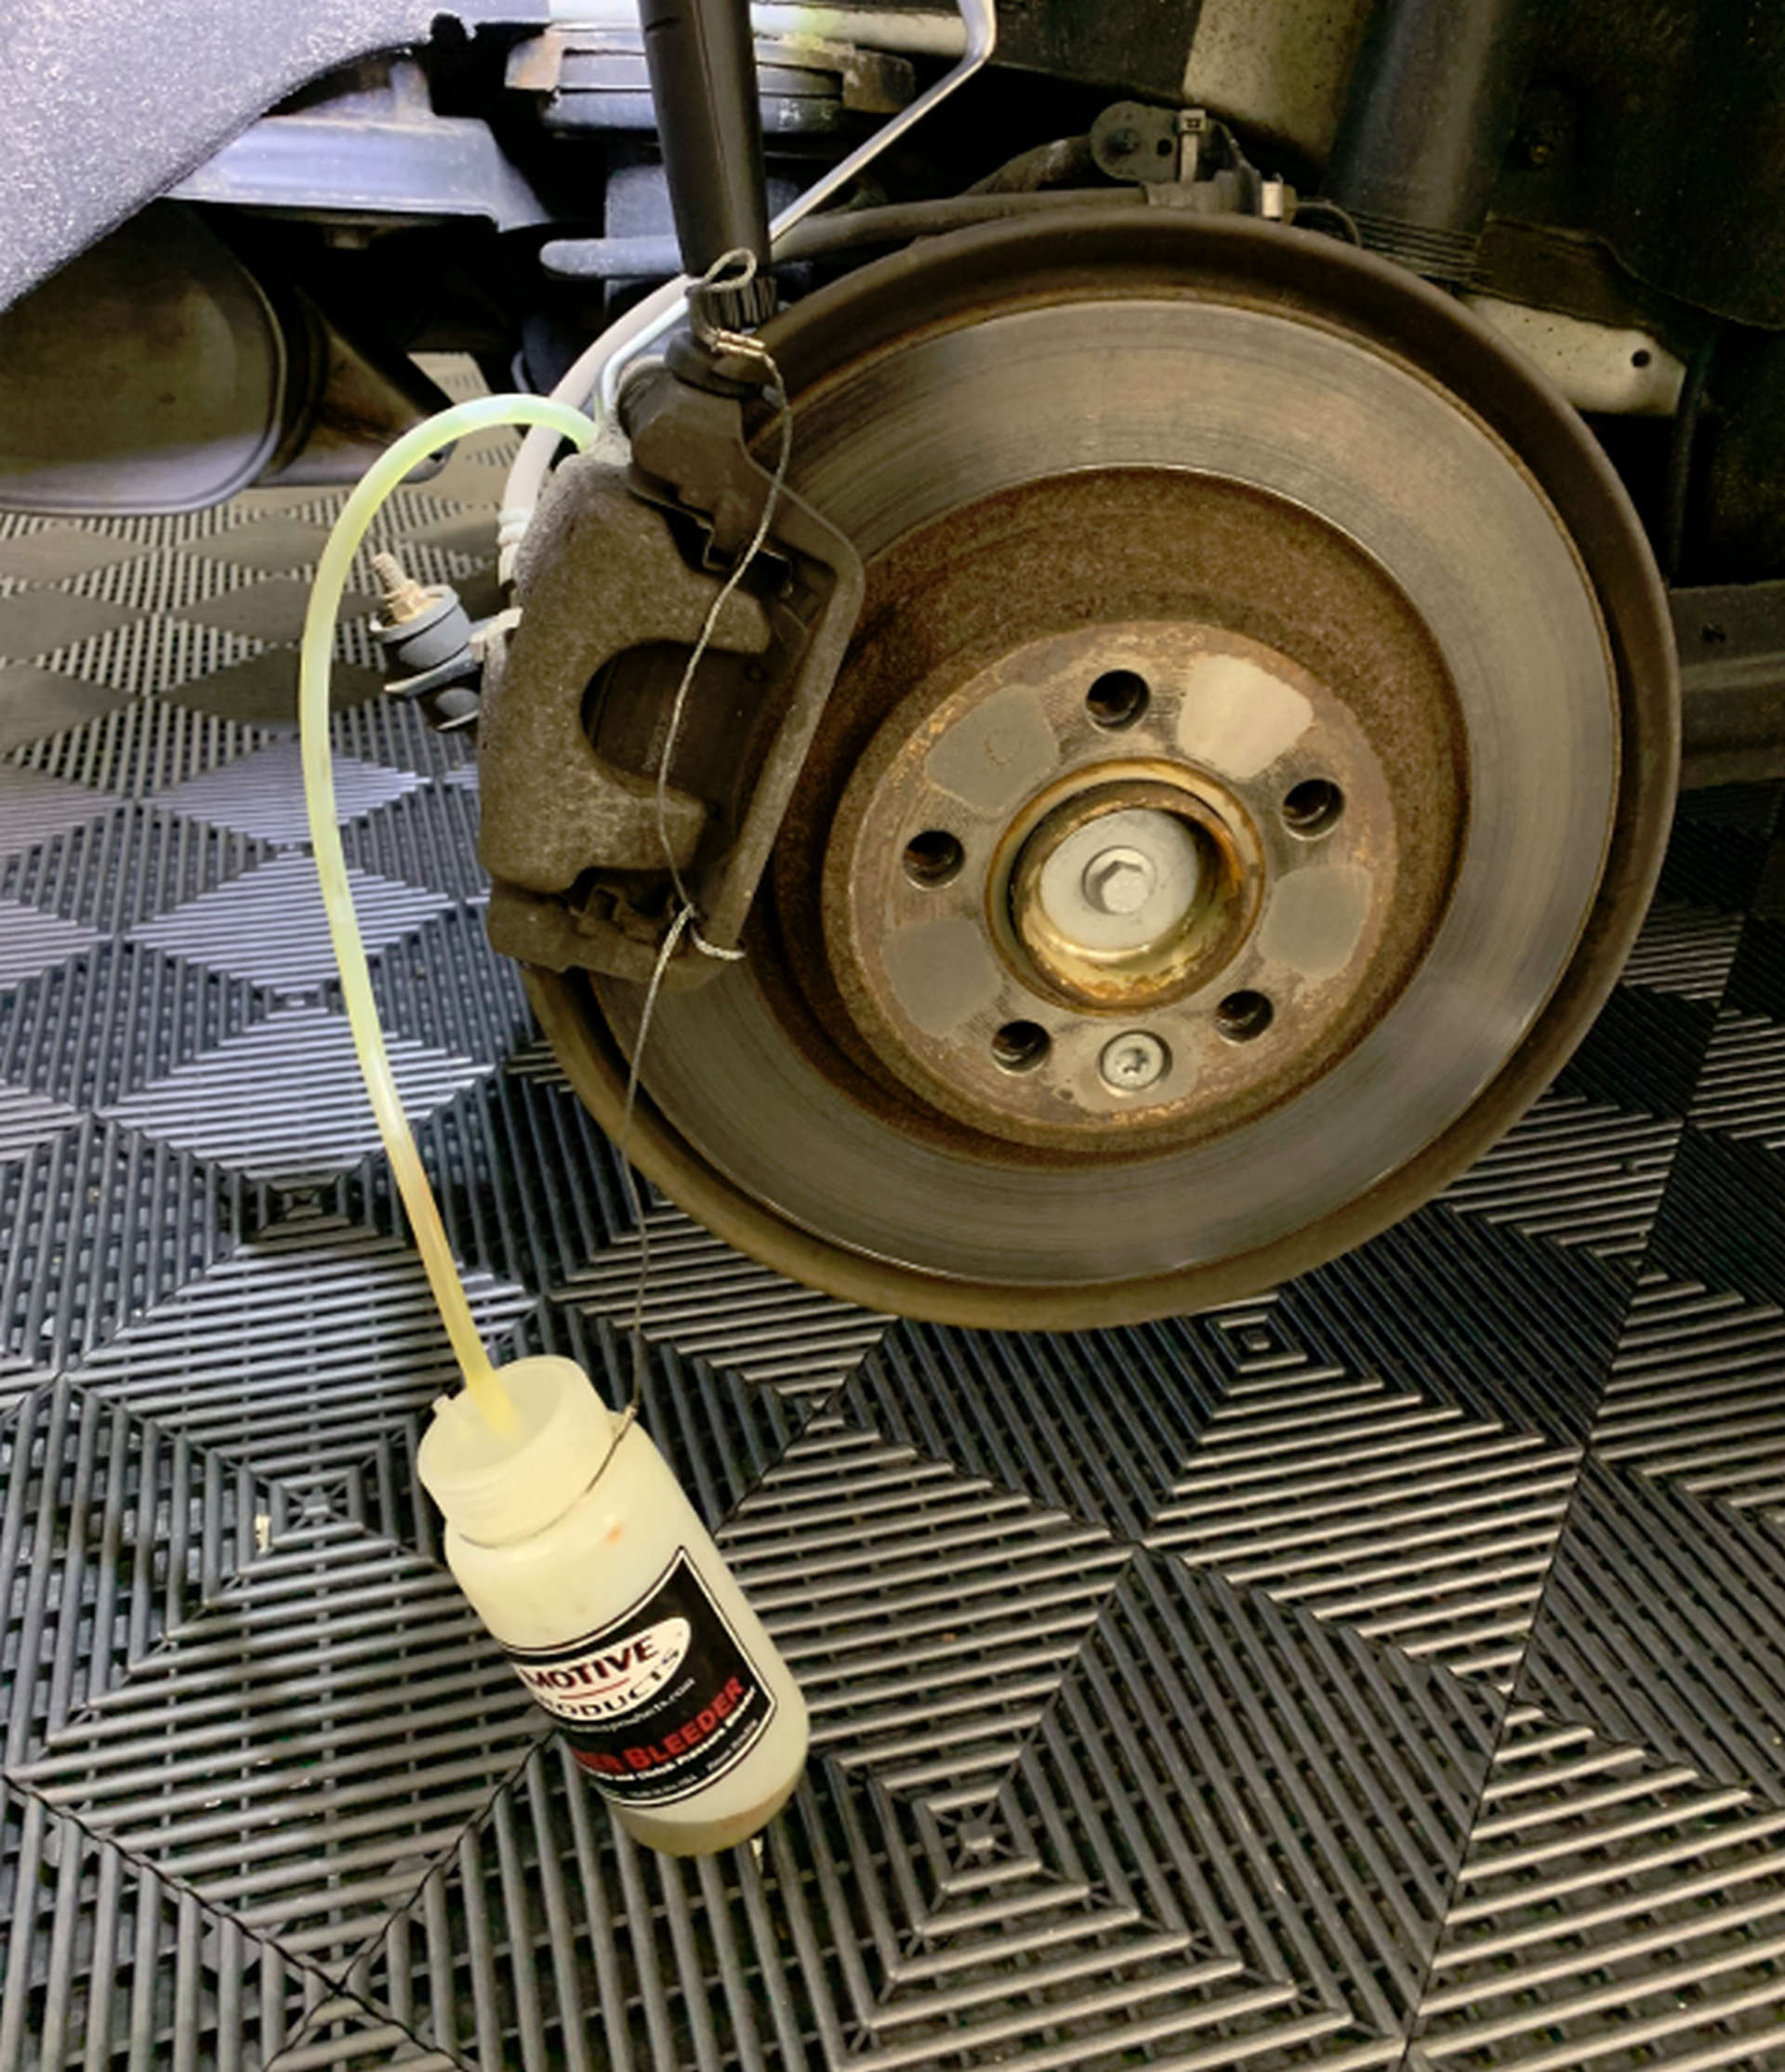
Reinstallation is quite literally the reverse of removal. It's vitally important to bleed the entire brake system after installation. The bleed sequence on P3 Volvo’s is:
- Rear Left
- Rear Right
- Front Right
- Front Left
This is the opposite of many manufacturers so be sure to bleed using that sequence. If you are having difficulty removing trapped pockets when pressure bleeding, we recommend following up with a vacuum bleed using a Mityvac or similar.
And that's it! You've just successfully replaced your Volvo P3 brake booster. You can now drive with confidence knowing that your car will stop as it did the day it left the factory.
If you found this DIY helpful, you can follow the rest of my projects by checking back here or by subscribing to our YouTube channel. As always, if you have any questions or comments, leave them in the comments below.