- 11/09/2020
- 7 Min Read
- By: Christian Schaefer
How To Replace The Fuel Level Sender & Fuel Pump On A Mercedes C230 (W203 & W209)

The functionality of the fuel system inside your Mercedes is critical to how it performs daily. The improper amount of fuel to the engine can cause it to run too lean or too rich, with both scenarios causing problems in the engine. Without knowing how much fuel you have in your tank is annoying at the least, and any evaporative emissions code caused by the fuel system will cause the car to fail an inspection. Staying on top of any fuel system repairs is critical to your ownership.As it is with most cars that are a decade or so old, replacing components on top of the fuel tank can be done in your driveway. Replacing the fuel pump or any part of the fuel level sending assembly can be done with a few hand tools. The biggest necessity in this job is to have a well-ventilated area. The fuel tank will be open, and harmful fuel vapors will be present.
Mercedes models and years applicable:
- 2006-2007 Mercedes C230
- PZEV models only
- 2006-2007 Mercedes C280
- PZEV models only
The fuel level sending unit listed below and demonstrated in this video only fits the vehicles listed above. However, this DIY is relevant to anyone with a W203 C350 as well as most W209 models.
Symptoms of a bad fuel level sender on a Mercedes W203:
- Evaporative emission codes
- A smell of gasoline inside the car
- Fuel level reading incorrectly
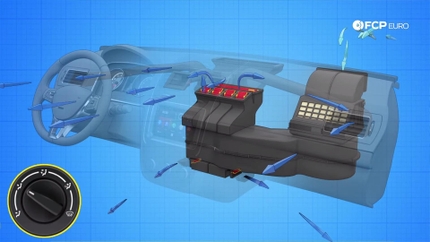
The fuel level assembly is mounted into the fuel tank’s top to read the fuel present and house the required sensors to read the fuel tank’s pressure. Evap emission codes can be tricky to pin down but, depending on the code, will point you in the gas tank’s direction. If you’re lucky, a fuel smell will exist inside the cabin. If you can smell the gasoline inside of the car, the chances are that something has cracked around the top of the fuel tank. Combined with the evap emission codes, the fuel smell should point you to the top of the fuel tank.
An incorrectly reading fuel level gauge can also point you in the direction of the fuel level sending unit. There are more possible causes for incorrect reading, but the sending unit is where you should start. Ethanol in our current fuel will corrode metals in the fuel tank. Anyone of the electrical connections or the level sending arm can become compromised from the possible corrosion.
How much will it cost to replace the fuel level sender in a Mercedes W203?
The W203 Mercedes C-class is almost two decades old now. Fuel vapor is especially tough on the plastic components it touches, causing them to become brittle. We recommend replacing all of the plastic components around the fuel level sender to avoid cracking issues.
It will cost around $365 to purchase all of the components listed below. That includes a new lock ring for the level sending unit and the new seals and clamps. While you’re performing this DIY, you’ll access the fuel pump. For peace of mind, you could replace that as well.
How long will it take to replace the fuel level sender in a Mercedes W203?
The fuel pump assembly and fuel level sending unit are easily accessible under the rear seat. You may have to wrestle with some brittle plastics, but nothing major needs to be done beyond that. Seat aside an hour or two to give yourself adequate time to complete the repairs yourself.
The top of the tank may contain dirt and debris. Clean any of this off before opening the fuel tank to keep the fuel free of any contamination.
Parts required to replace the fuel level sender in a Mercedes W203:
- Mercedes Fuel Filter and Sending Unit
- Mercedes Fuel Level Seal
- Mercedes Fuel Pump O-Ring
- Mercedes Fuel Tank Lock Ring
- Mercedes Fuel Tank Lock Ring Clamp
Tools required to replace the fuel level sender in a Mercedes W203:
- CTA Fuel Tank Lock Ring Tool (optional)
- 7mm Socket
- 8mm Socket
- 10mm Socket
- 13mm Socket
- Extensions
- Ratchet Set
- Flathead Screwdriver
- Flashlight
Steps required to replace the fuel level sender in a Mercedes W203:
Step 1: Gain access to the fuel level sender
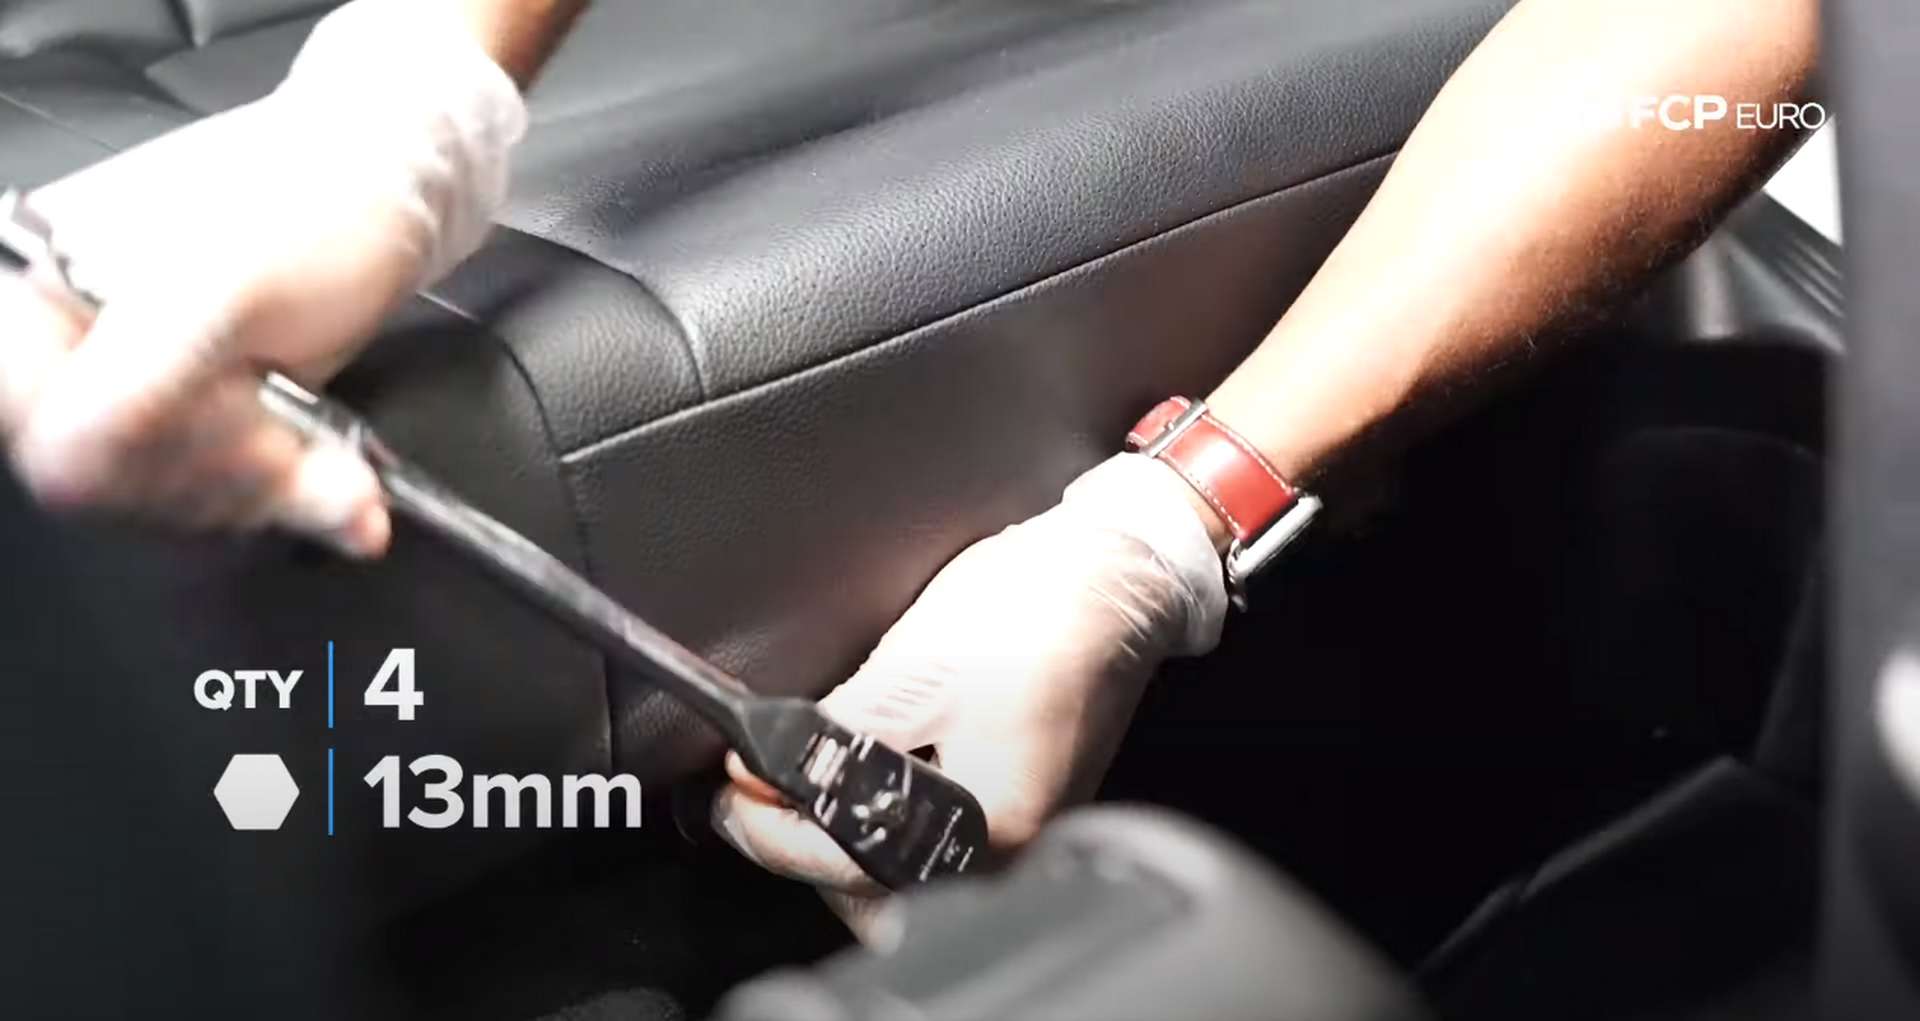
The fuel filter and level sending unit sit beneath the rear seat. First, pop the plastic covers off of the seat bottom mounting nuts. Then use a 13mm socket to remove the nuts. Pull the seat bottom away from the seat back and then out of the car.

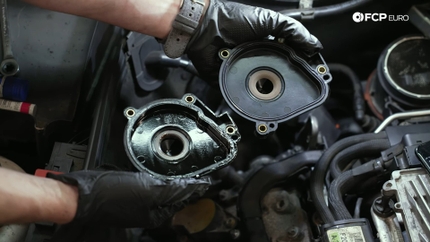
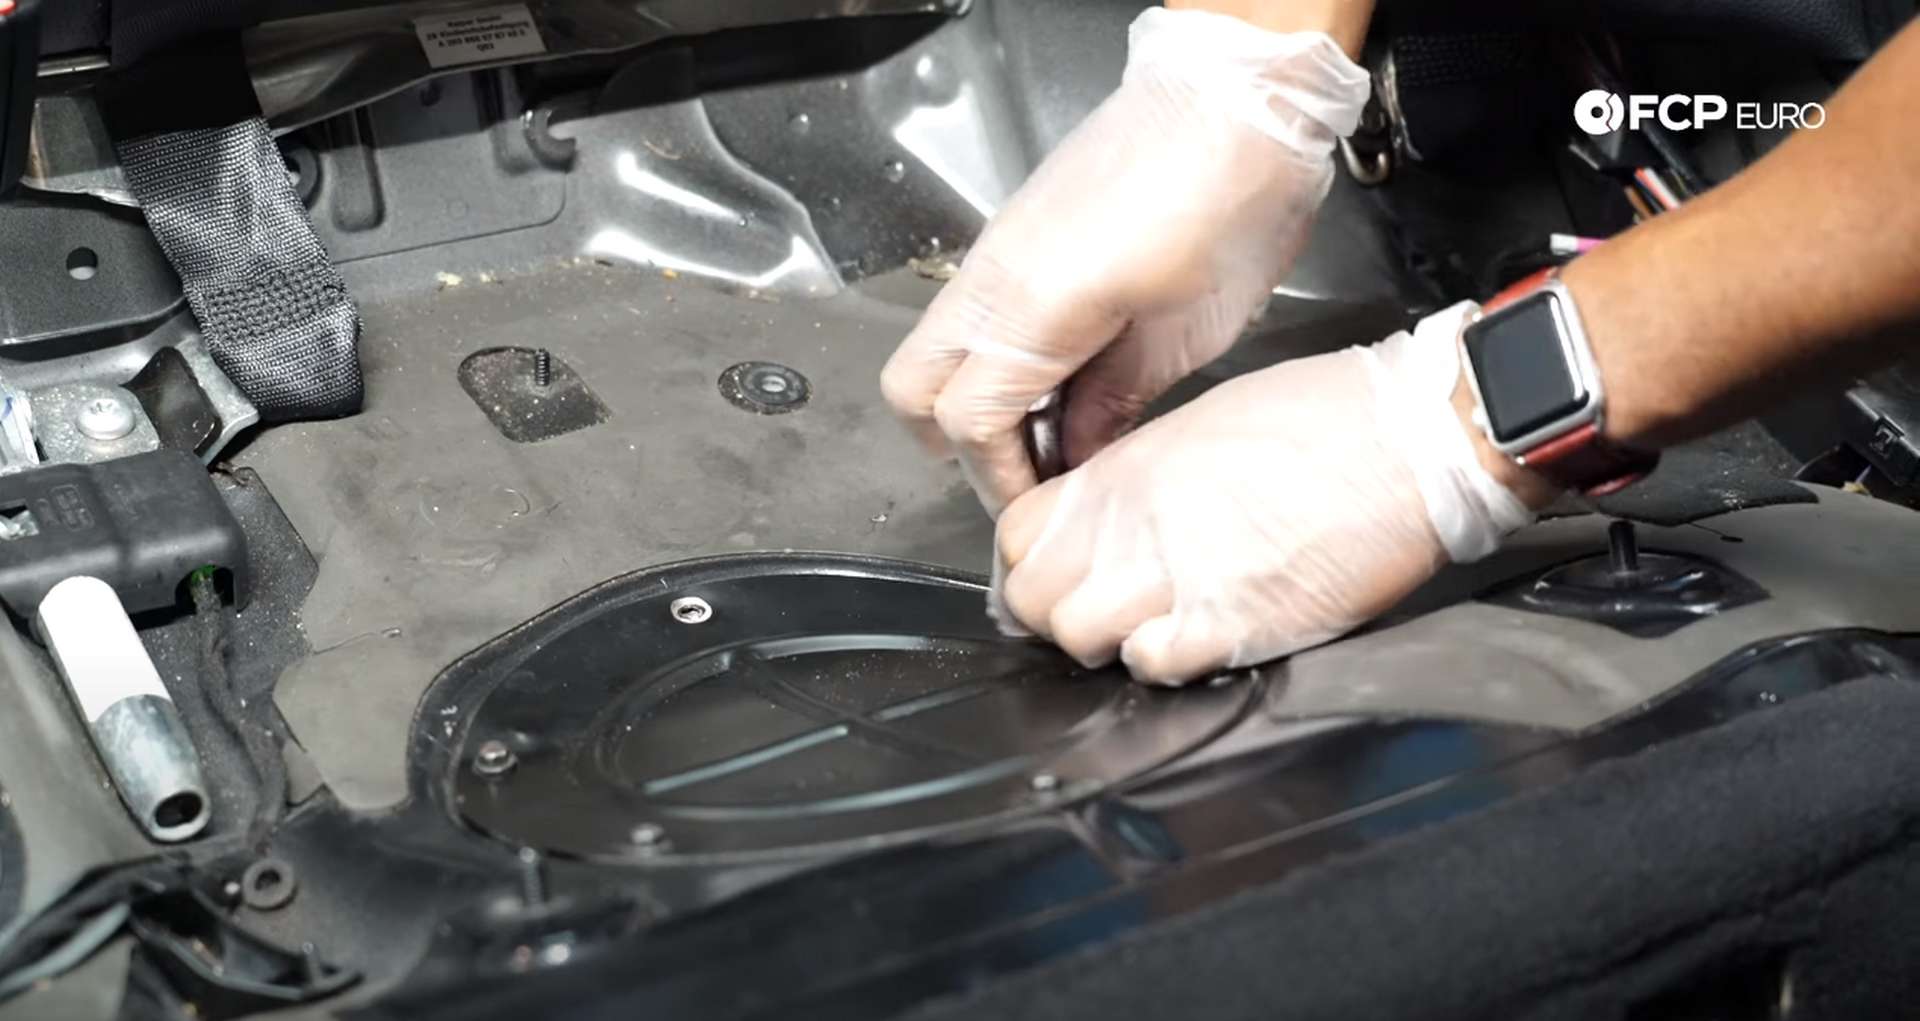
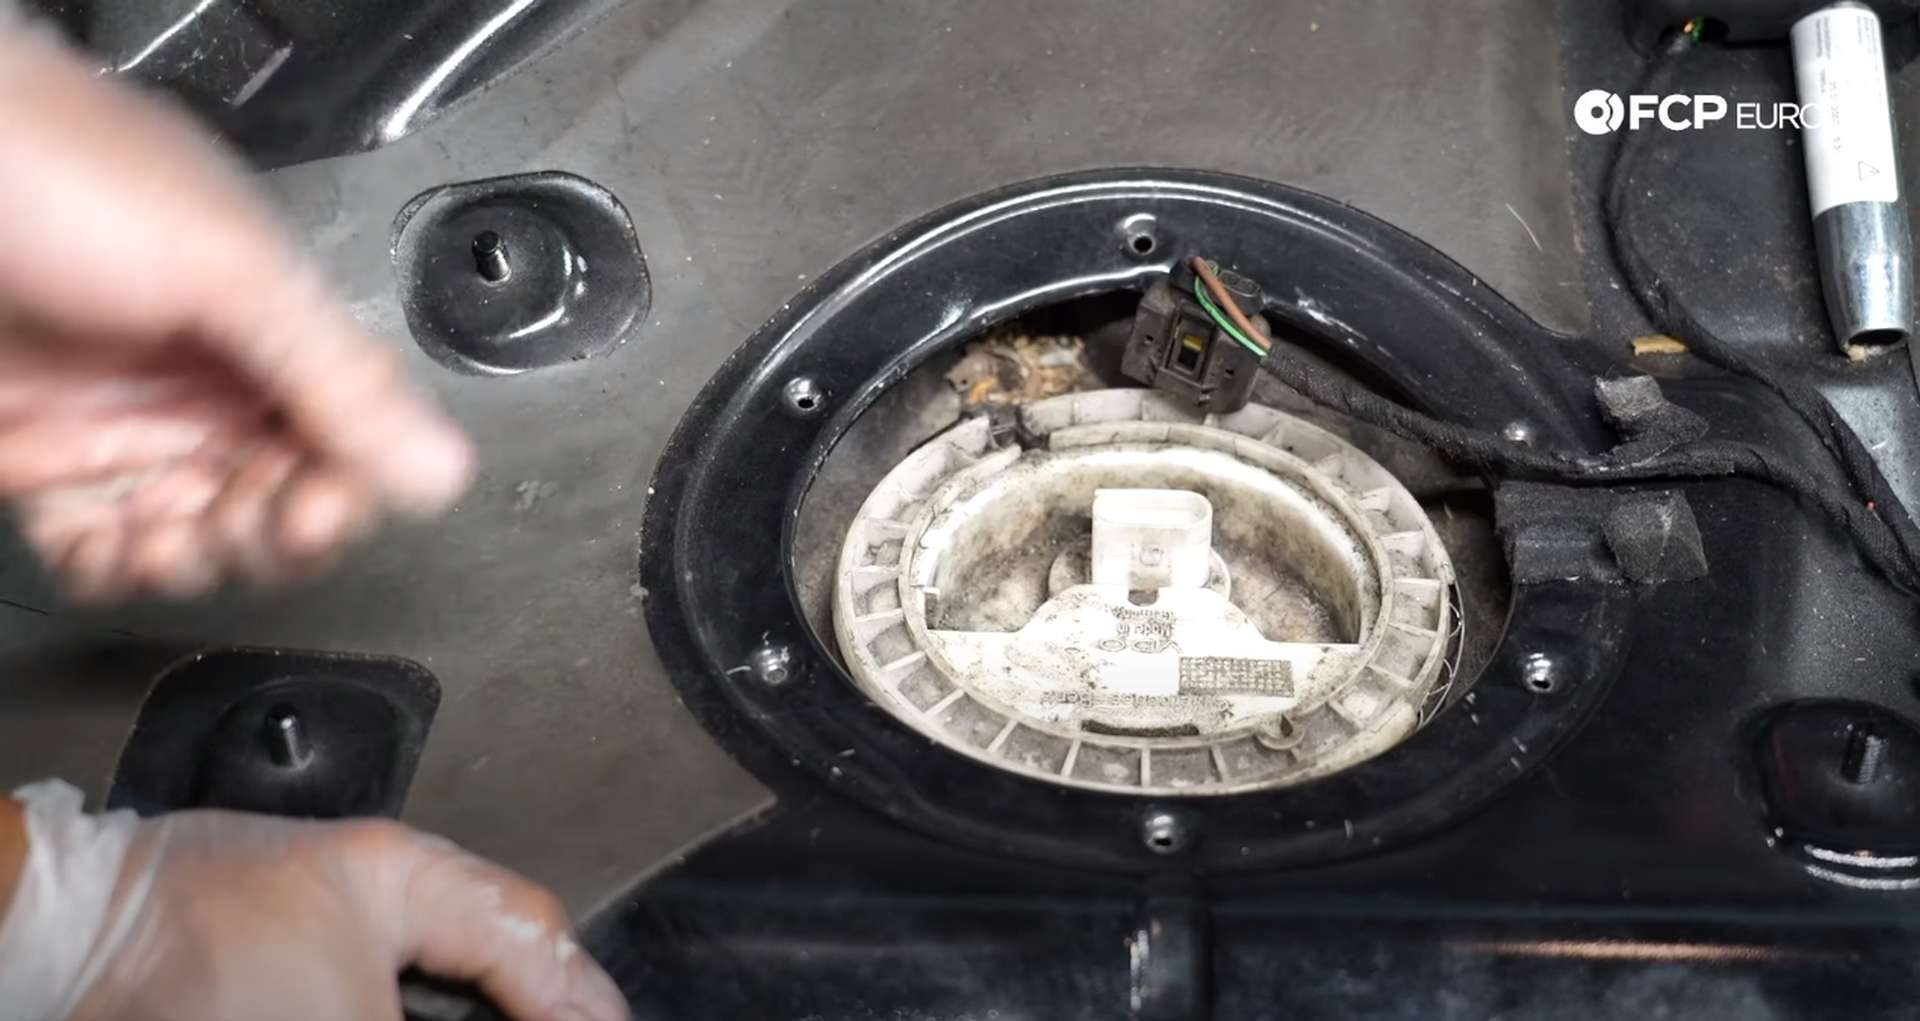
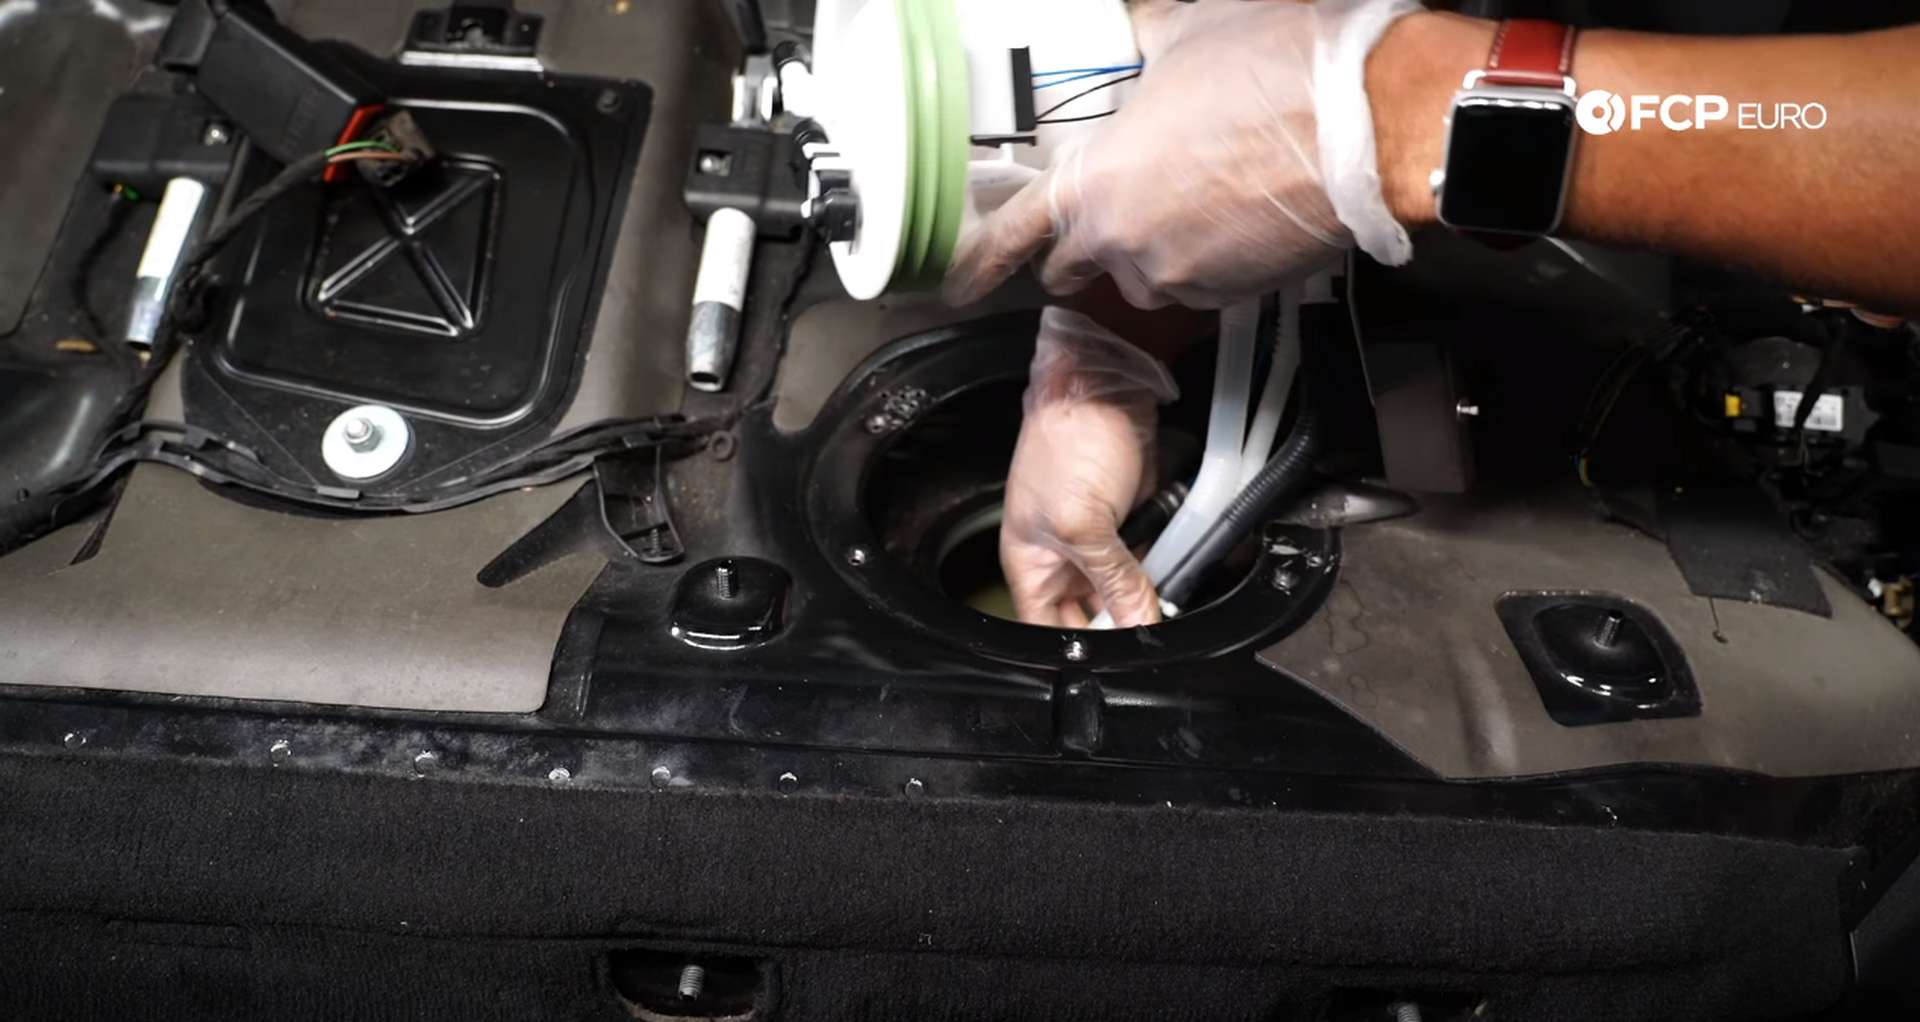
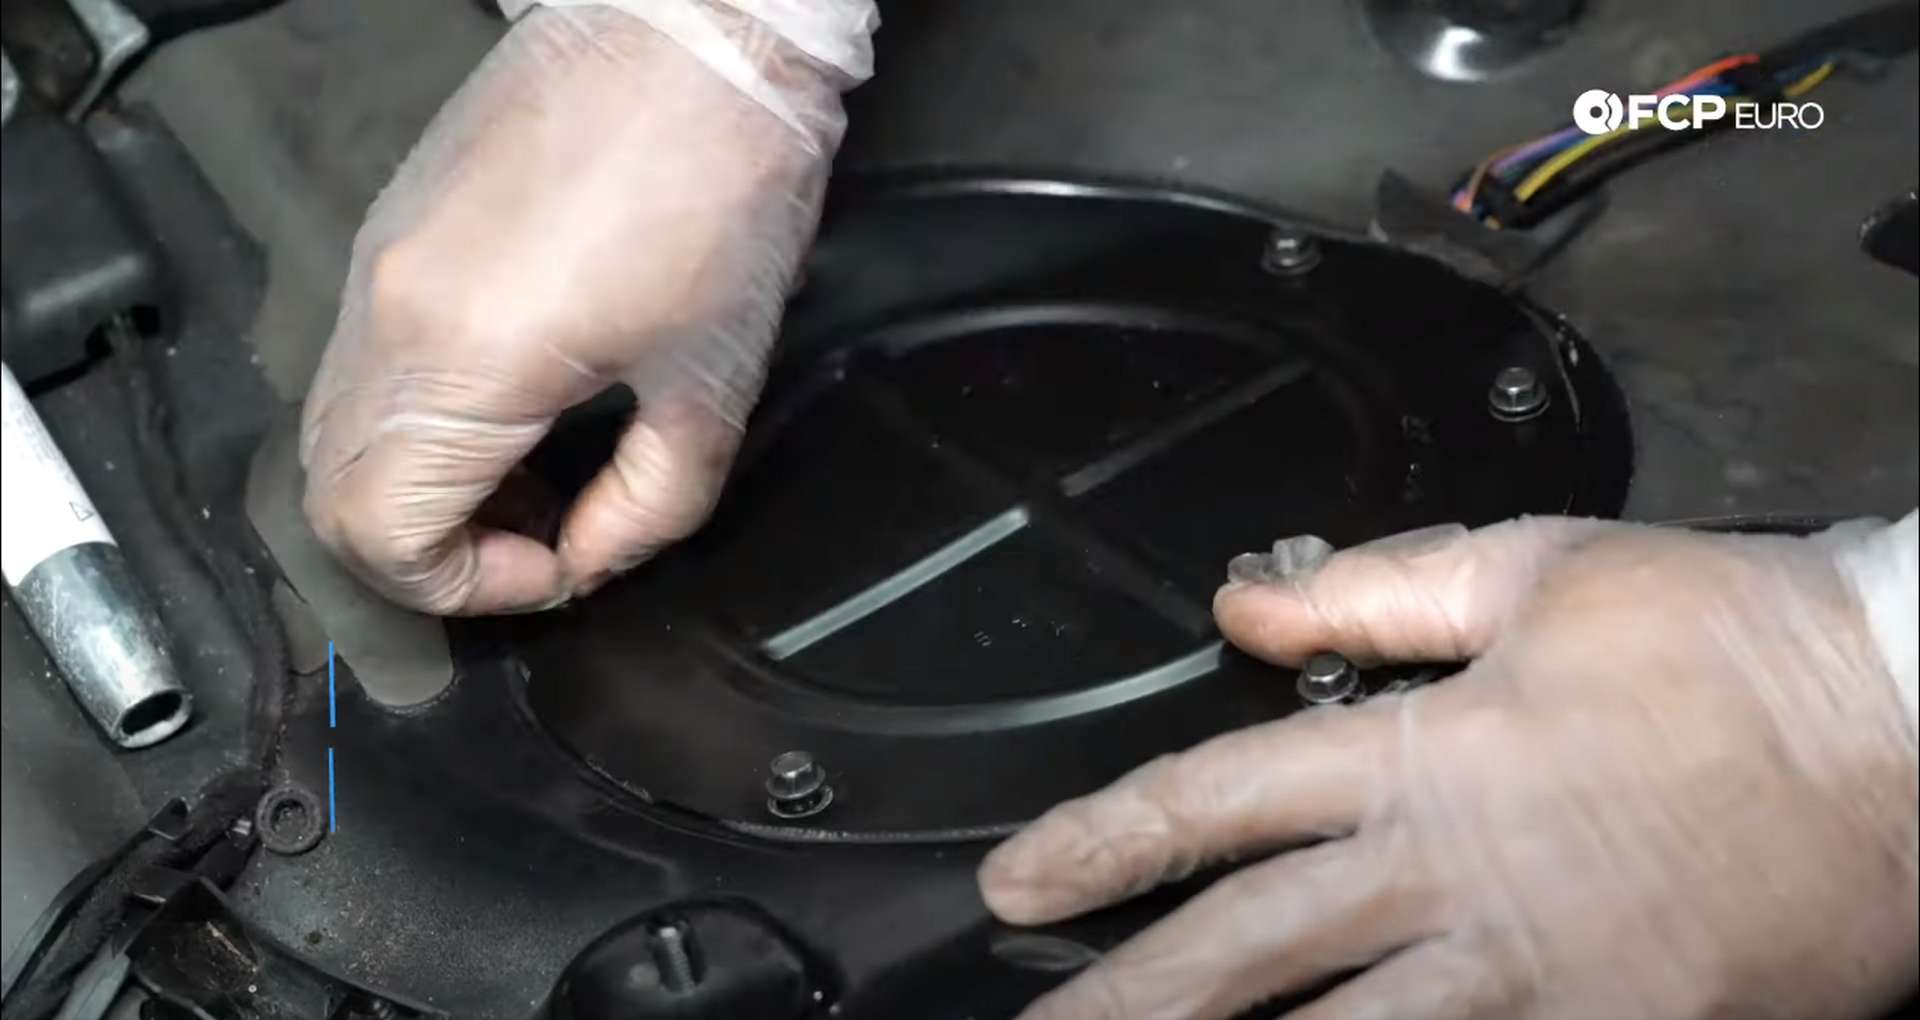
The level sending unit mounts to the tank under the black circular cover on the driver’s side of the seat base. Use an 8mm socket to remove the six cover bolts. Remove the six bolts from the tan cover adjacent to the black cover to expose the fuel pump housing.
Step 2: Remove the fuel level sending unit
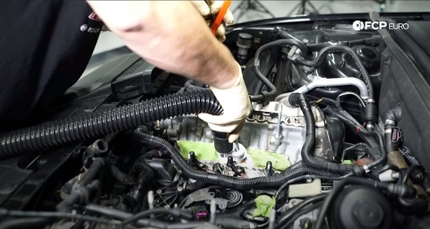
You’ll need to relieve the fuel pressure before removing anything from the tank. To do so, disconnect the electrical plug from the top of the fuel pump unit and start the car.
Let the car run until it shuts off, then head back to the sending units and unplug all connections to the level sending unit.
Then, head over to the fuel pump unit and remove the clamp from the locking ring. Use a 7mm socket to loosen the clamp enough to remove it. Use a flathead screwdriver to pry on the clamp to help remove it.
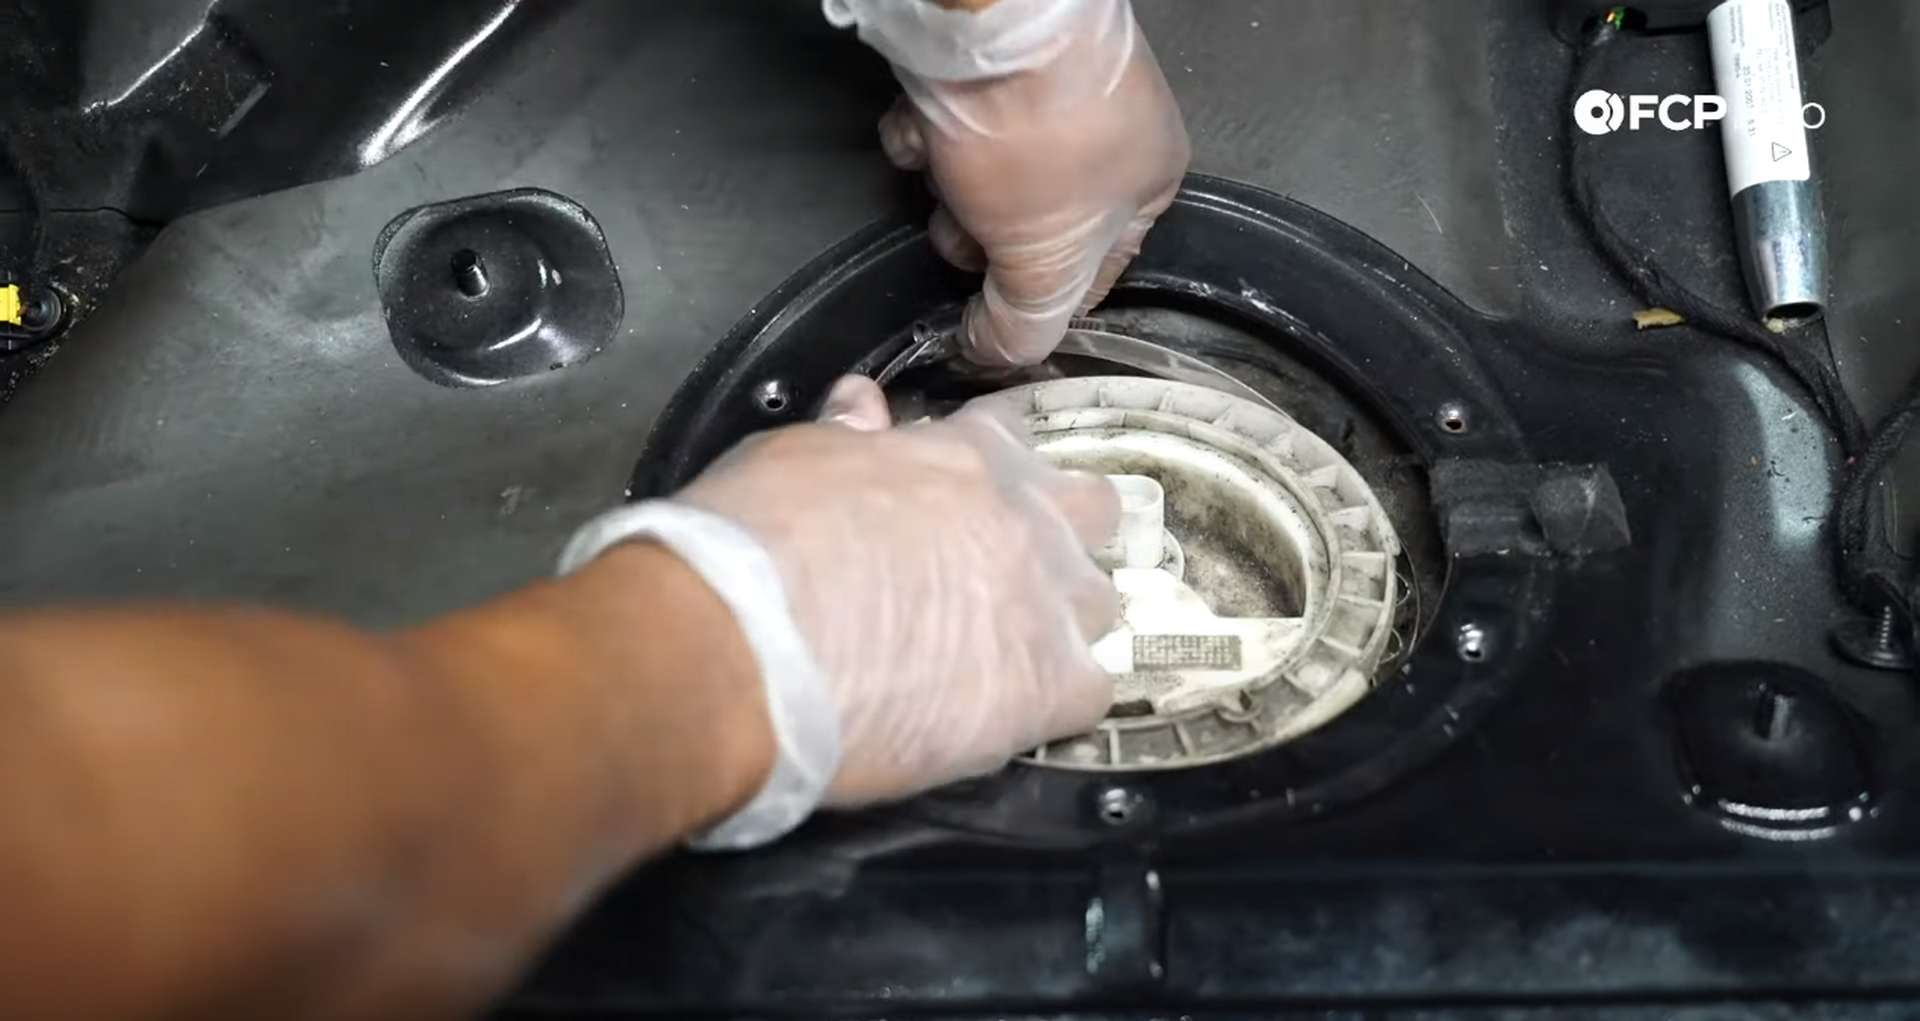
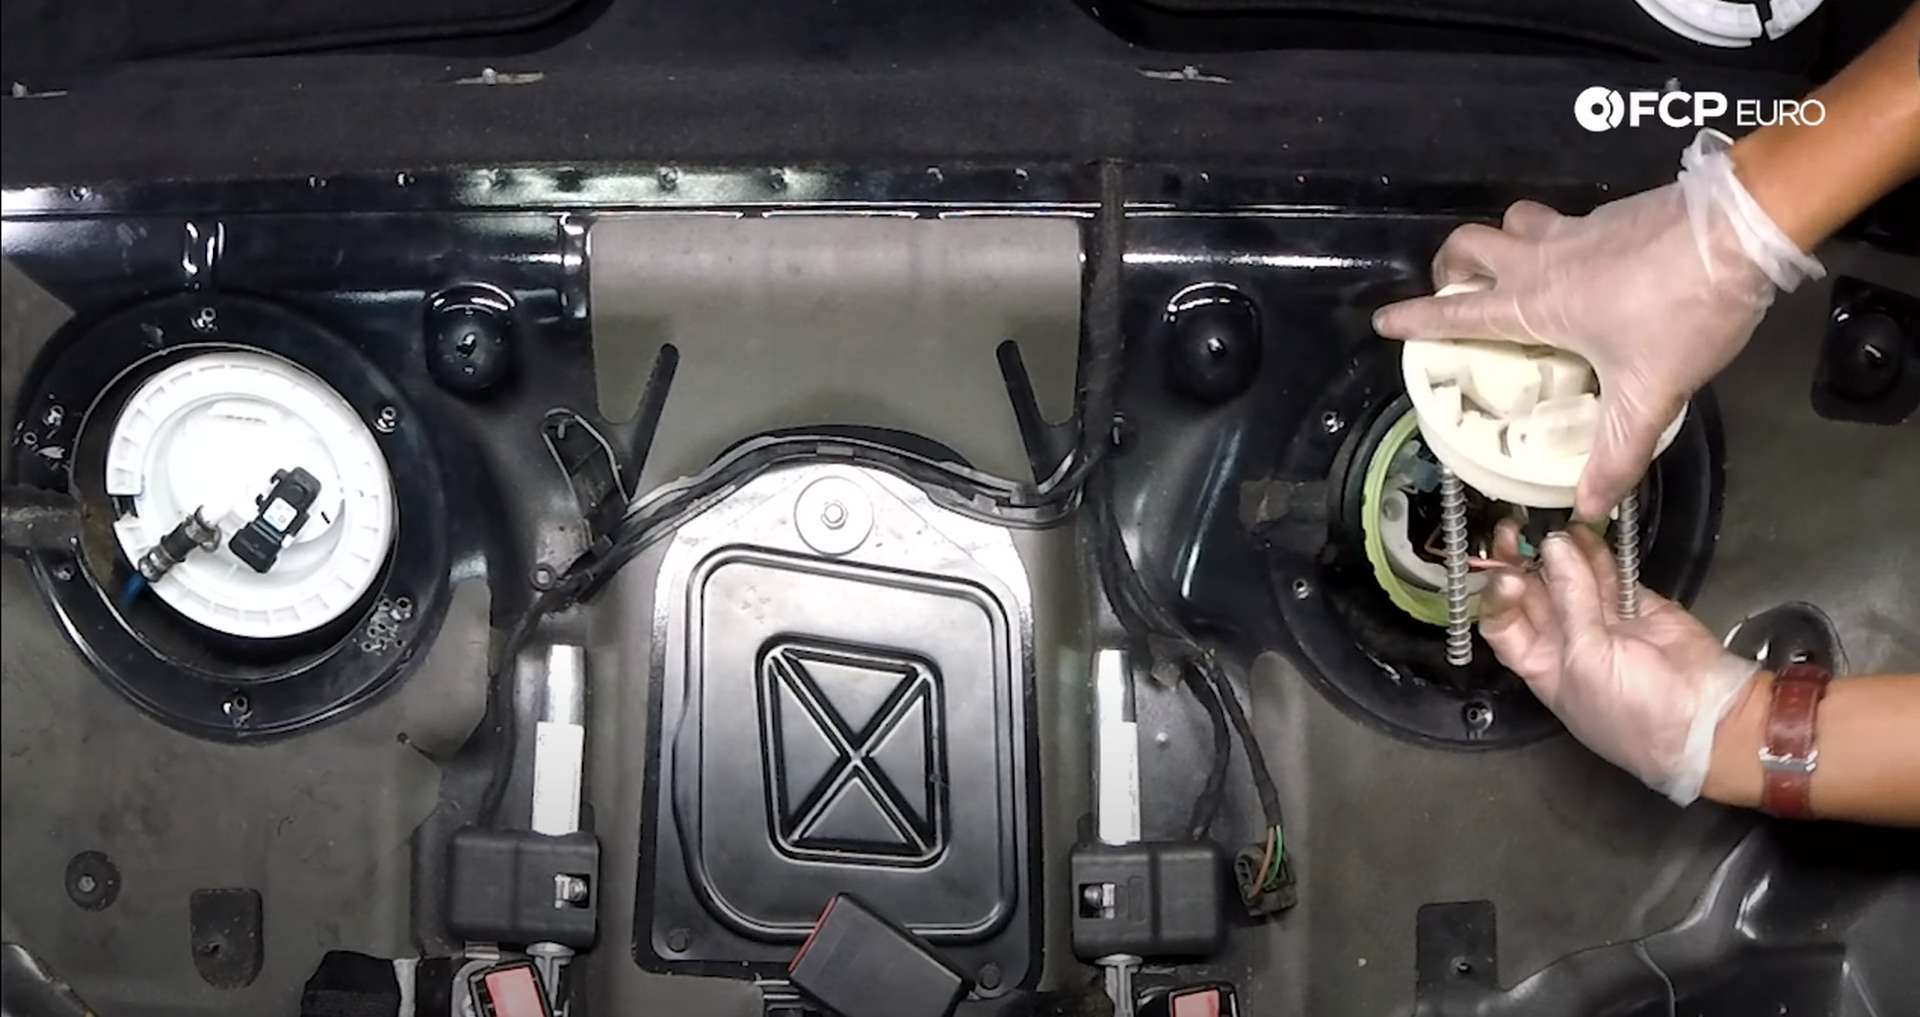
Spread the locking ring and pull it off of the fuel pump assembly. Then, pull the fuel pump assembly out of the tank, partway.
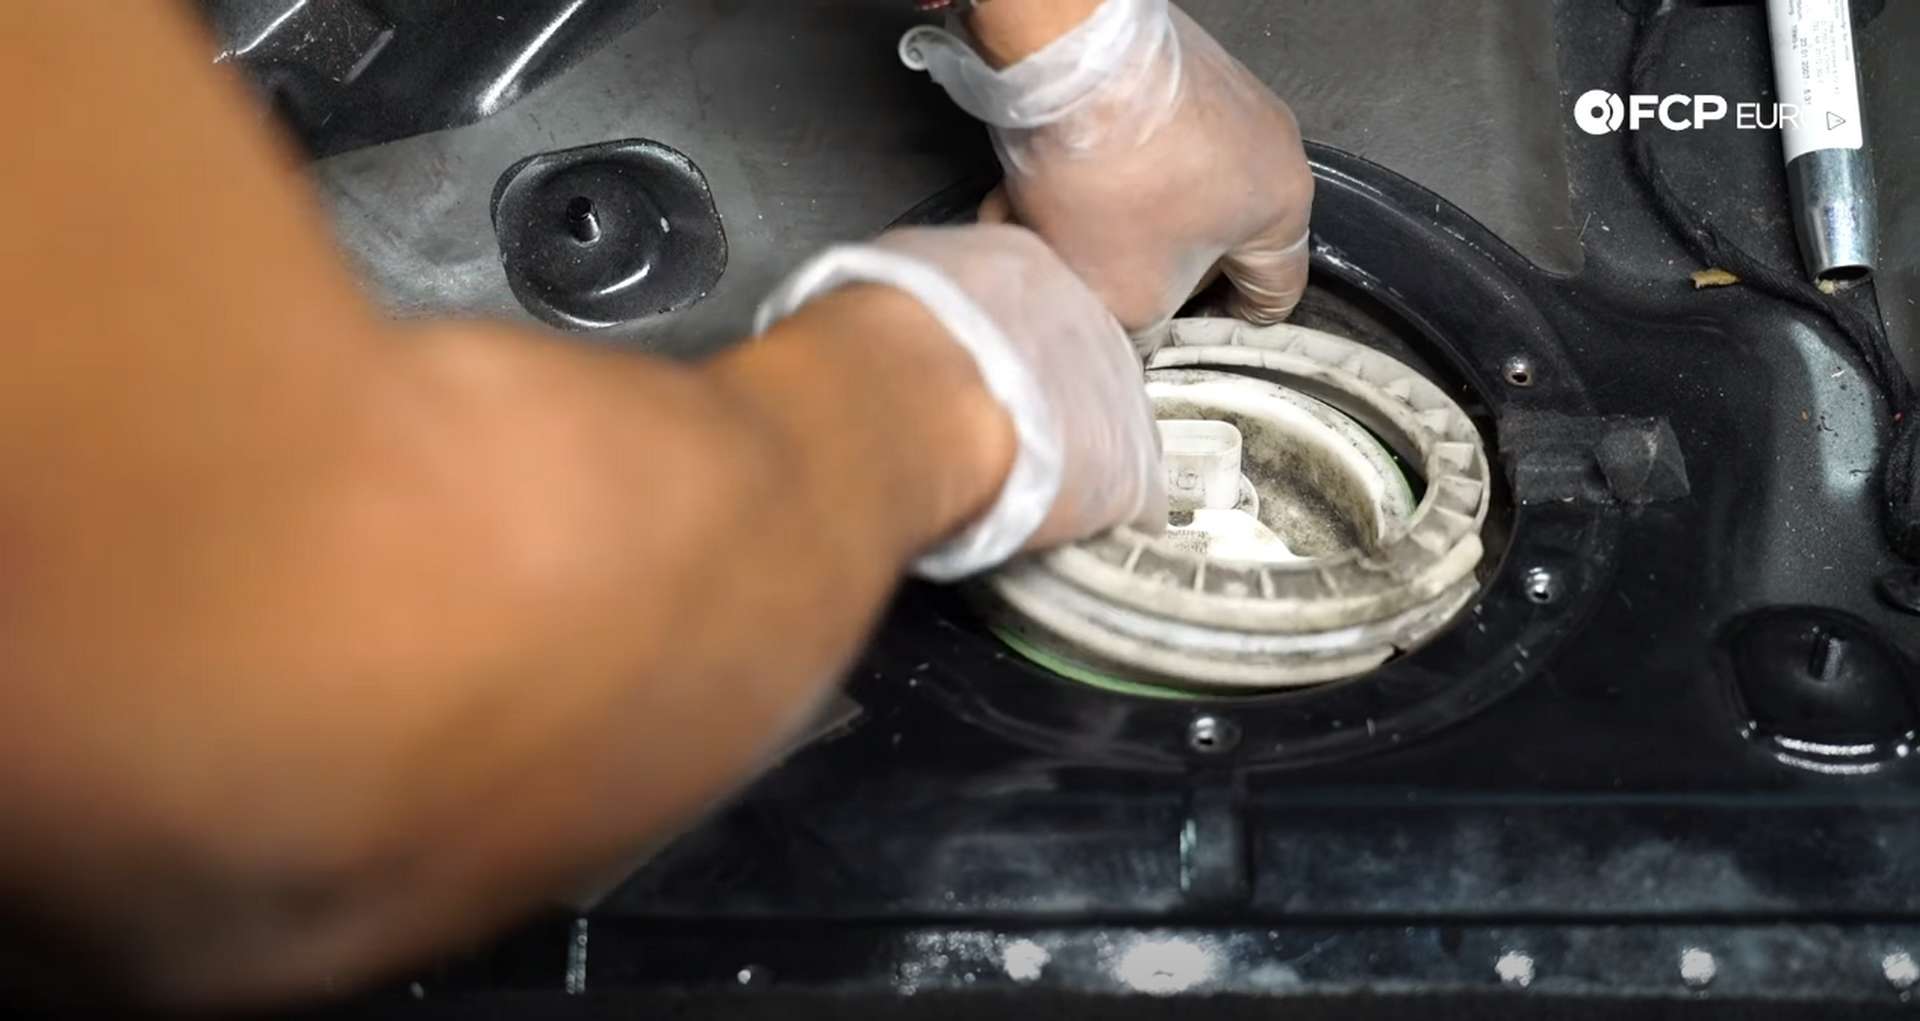

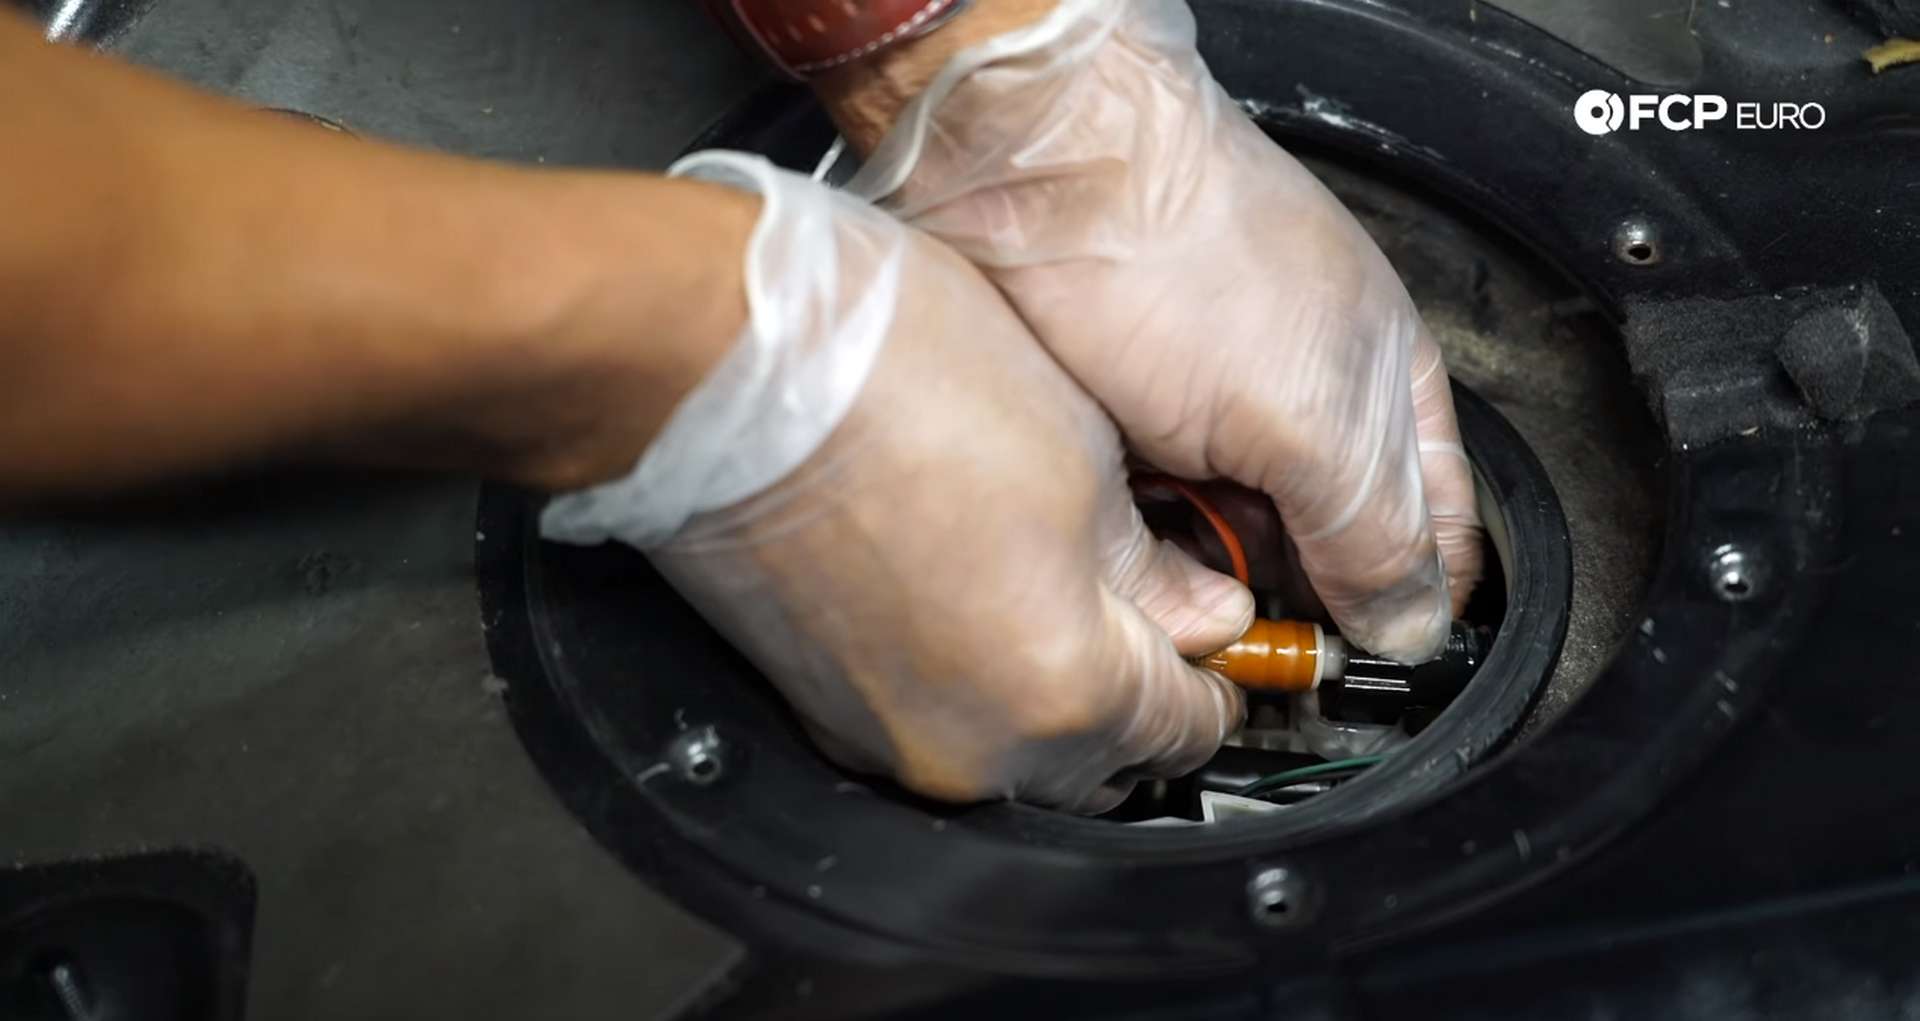
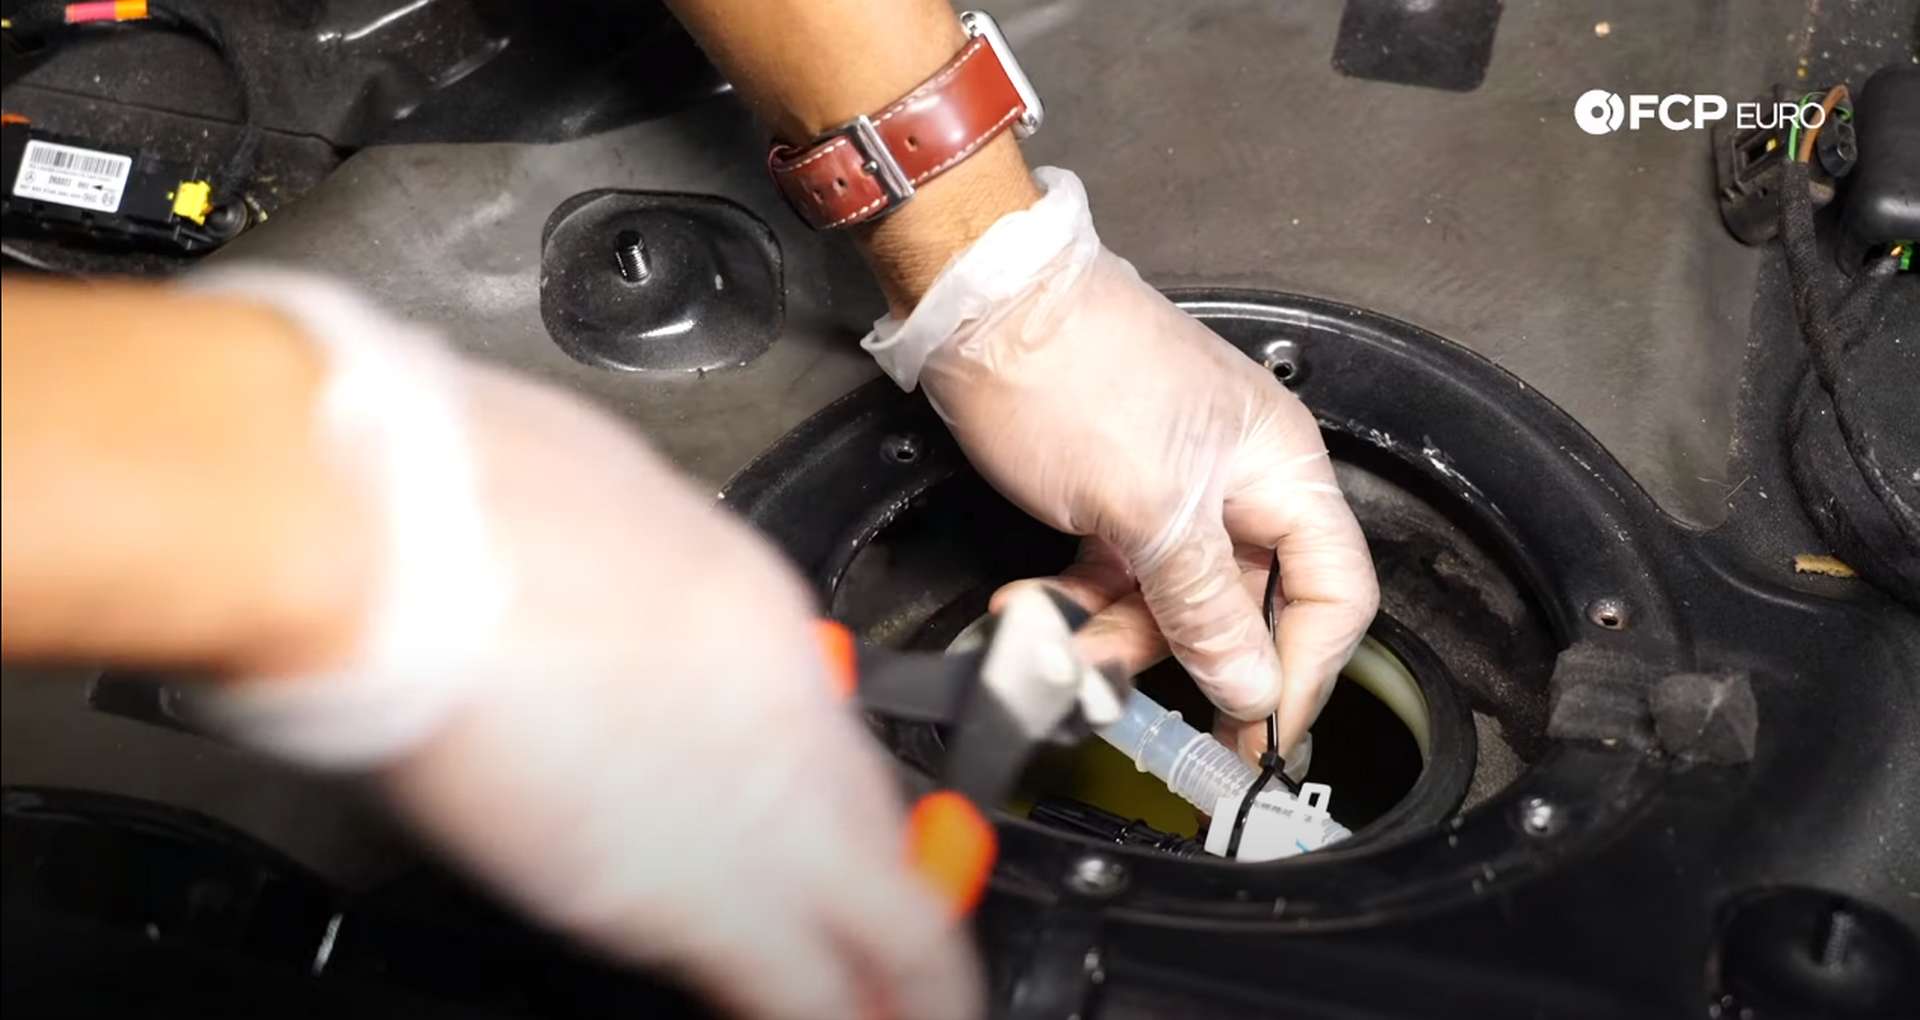
As you pull up the assembly, it’ll want to separate into two pieces. Disconnect the electrical connection from the top piece and then remove it from the tank. Next, disconnect the three hoses and the one remaining harness plug from the assembly. Two of the hoses will pull out of the assembly. Push down on the button and push the third hose towards the connection before pulling it out to disconnect it.
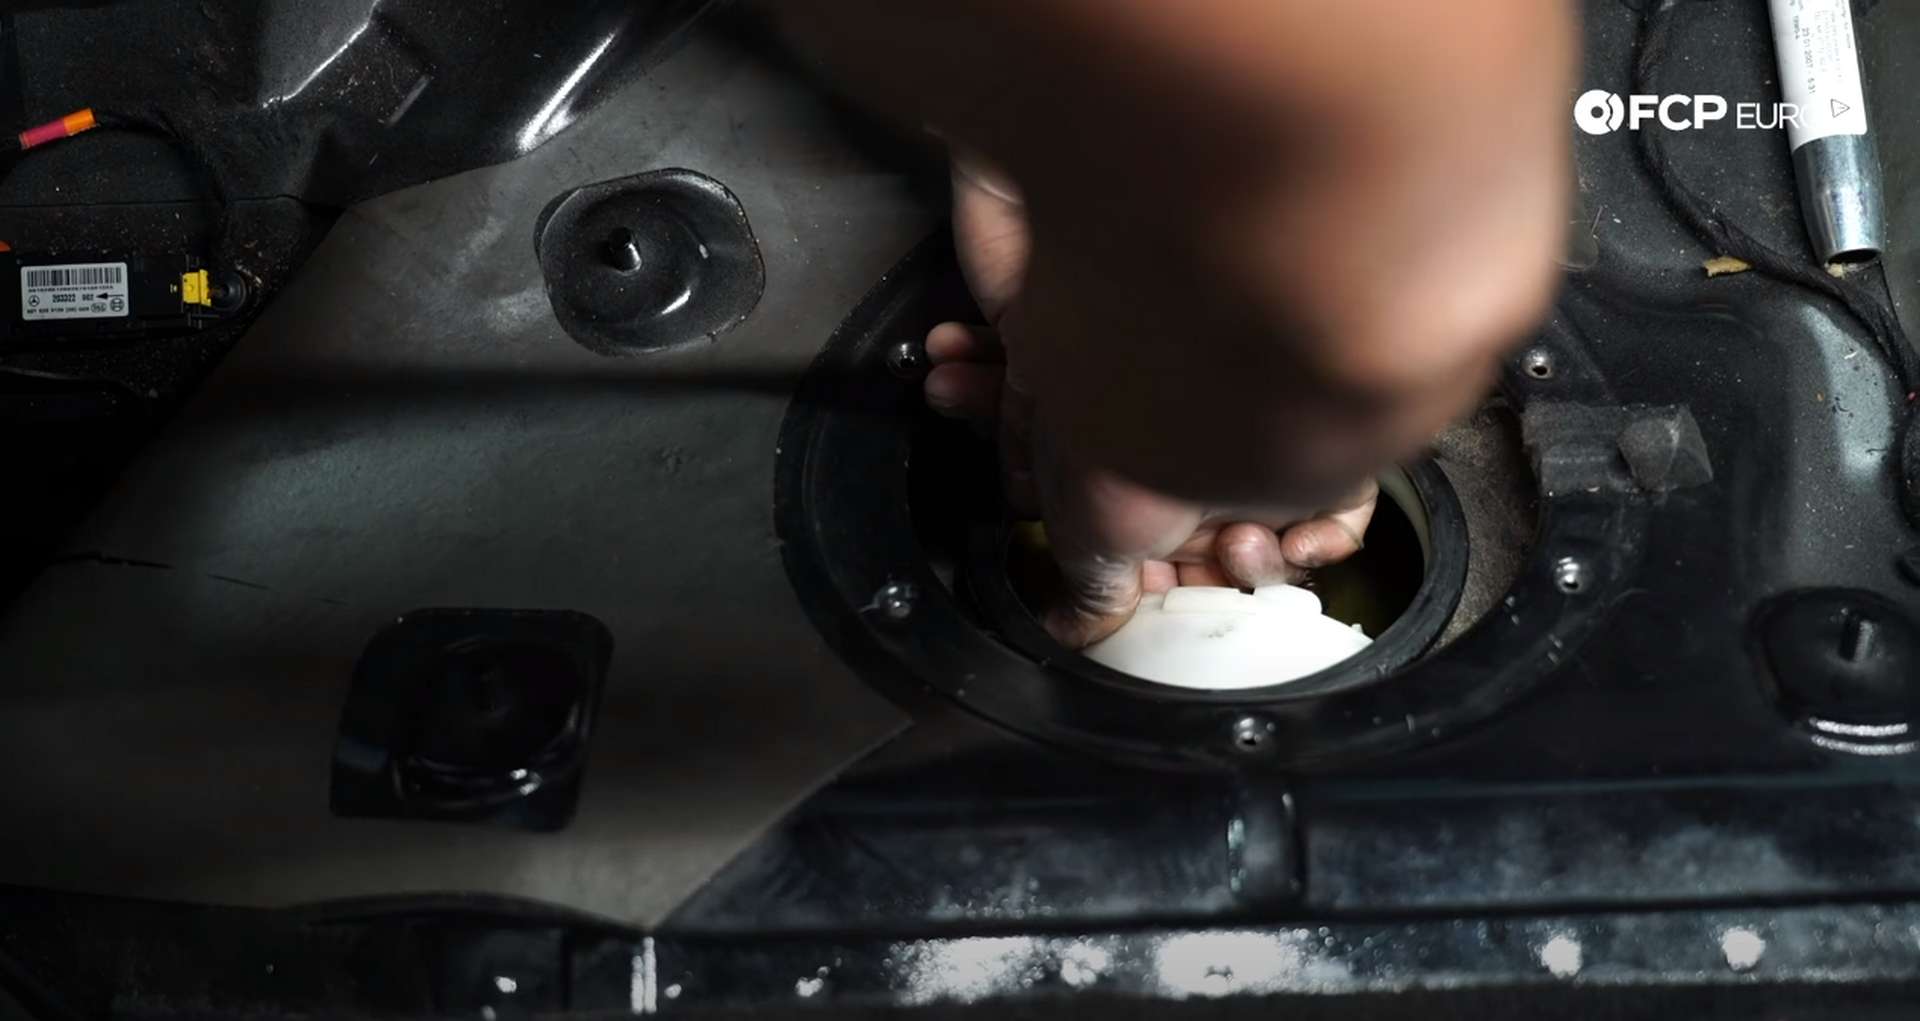
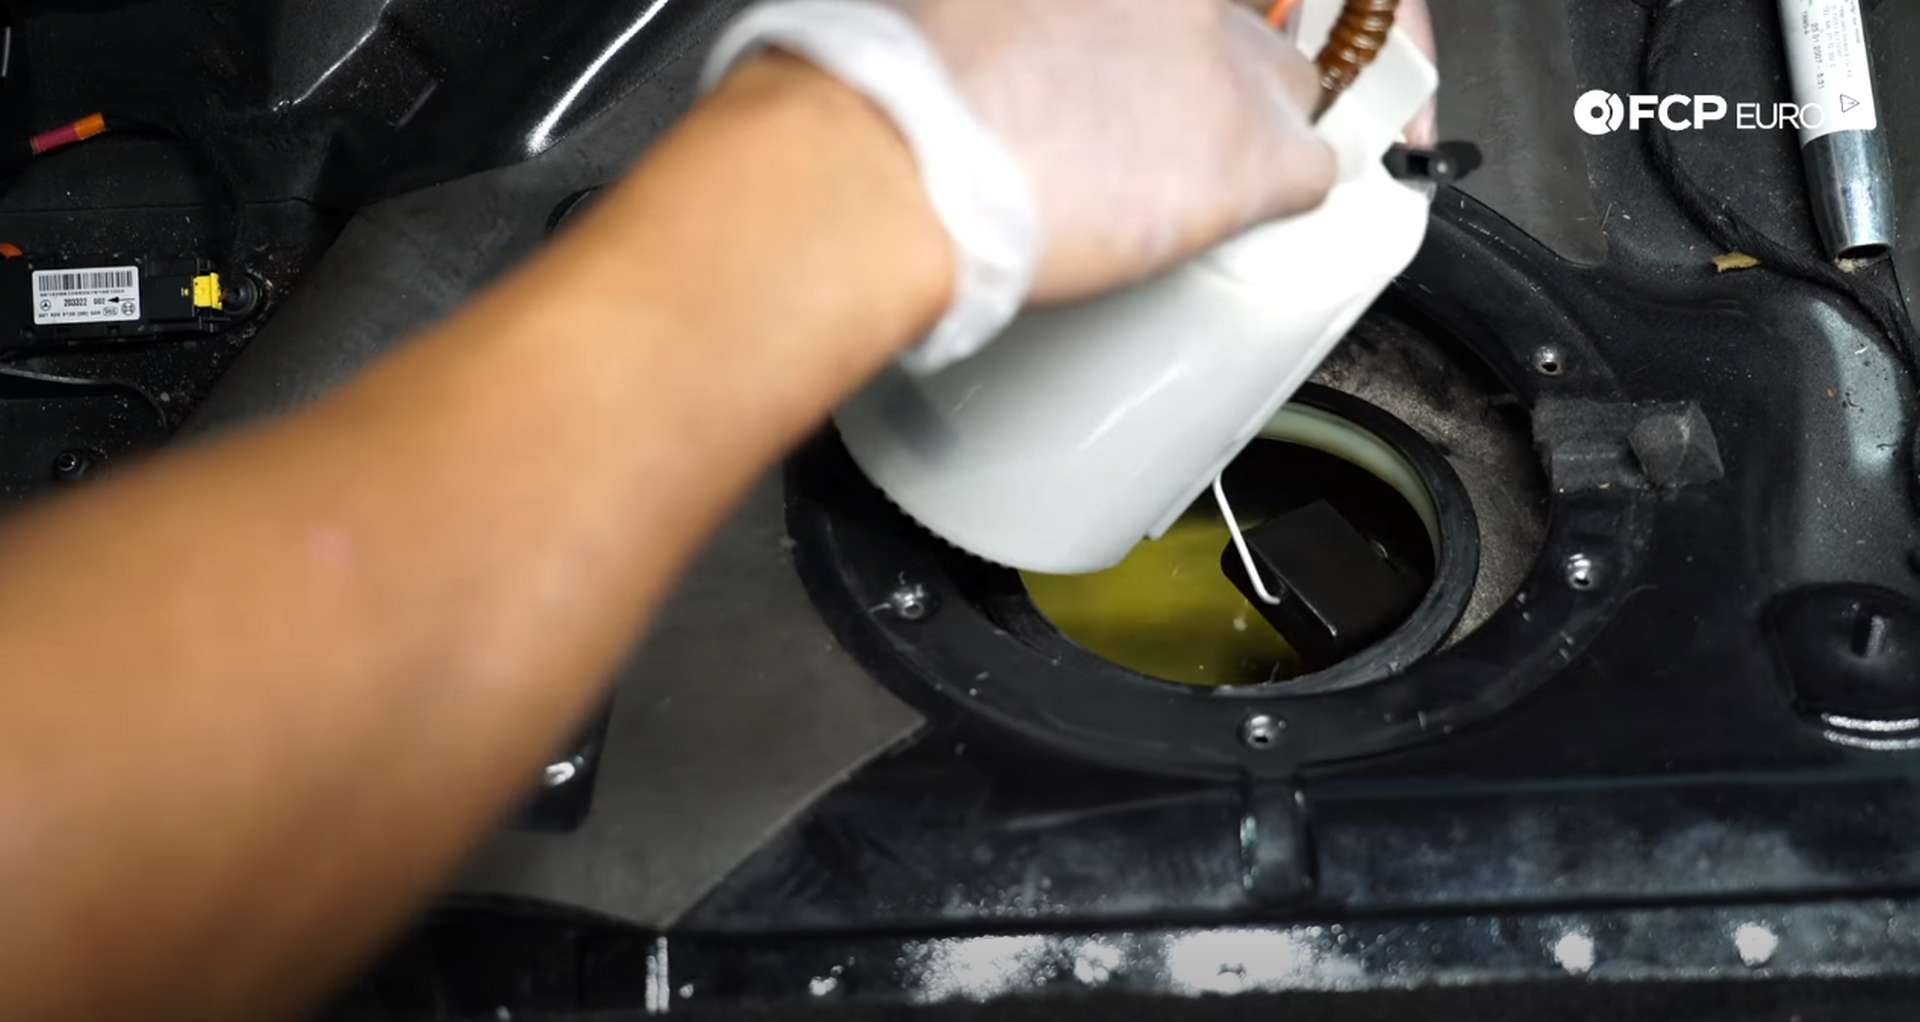
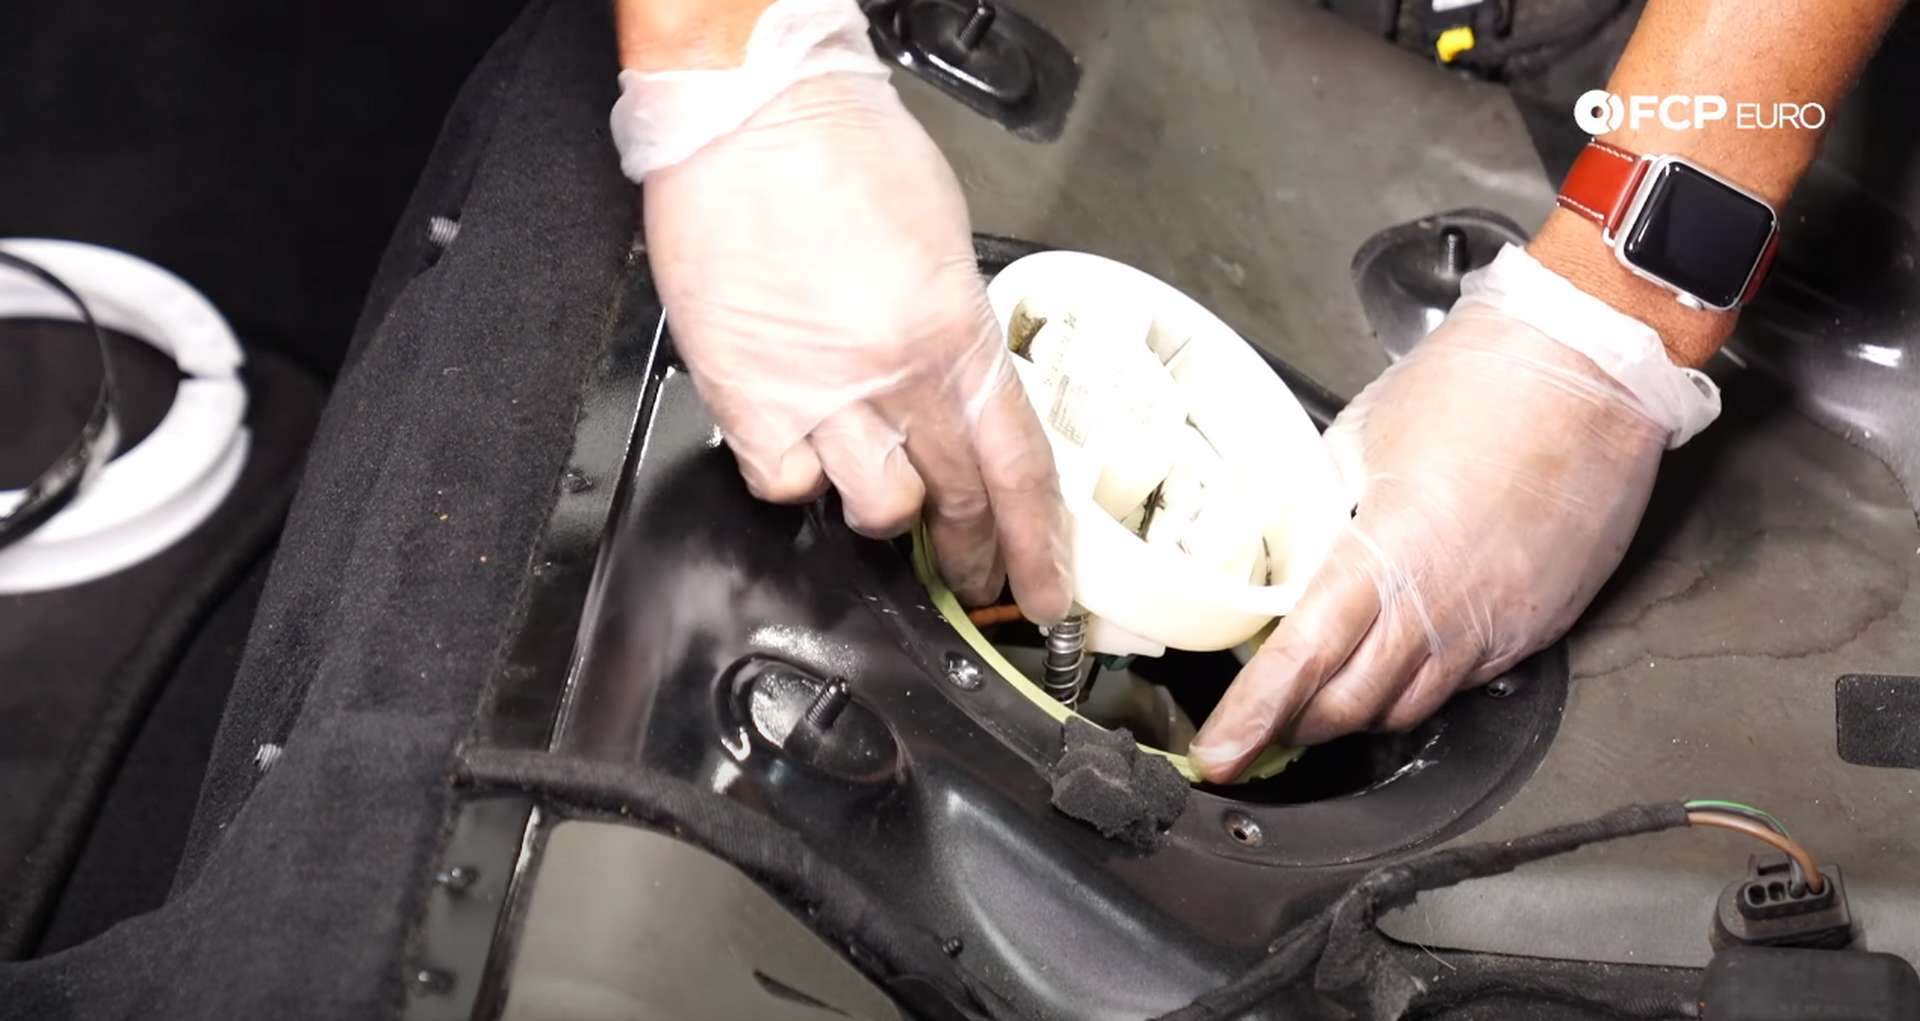
Carefully pull the assembly out of the tank. Fuel will remain in the assembly as you remove it, so do your best to pour as much out as you can before you pull it out. The assembly also has a fuel level arm on it, so be aware of that as you pull the assembly out. Have rags handy when pulling the assembly out to catch any dripping fuel.
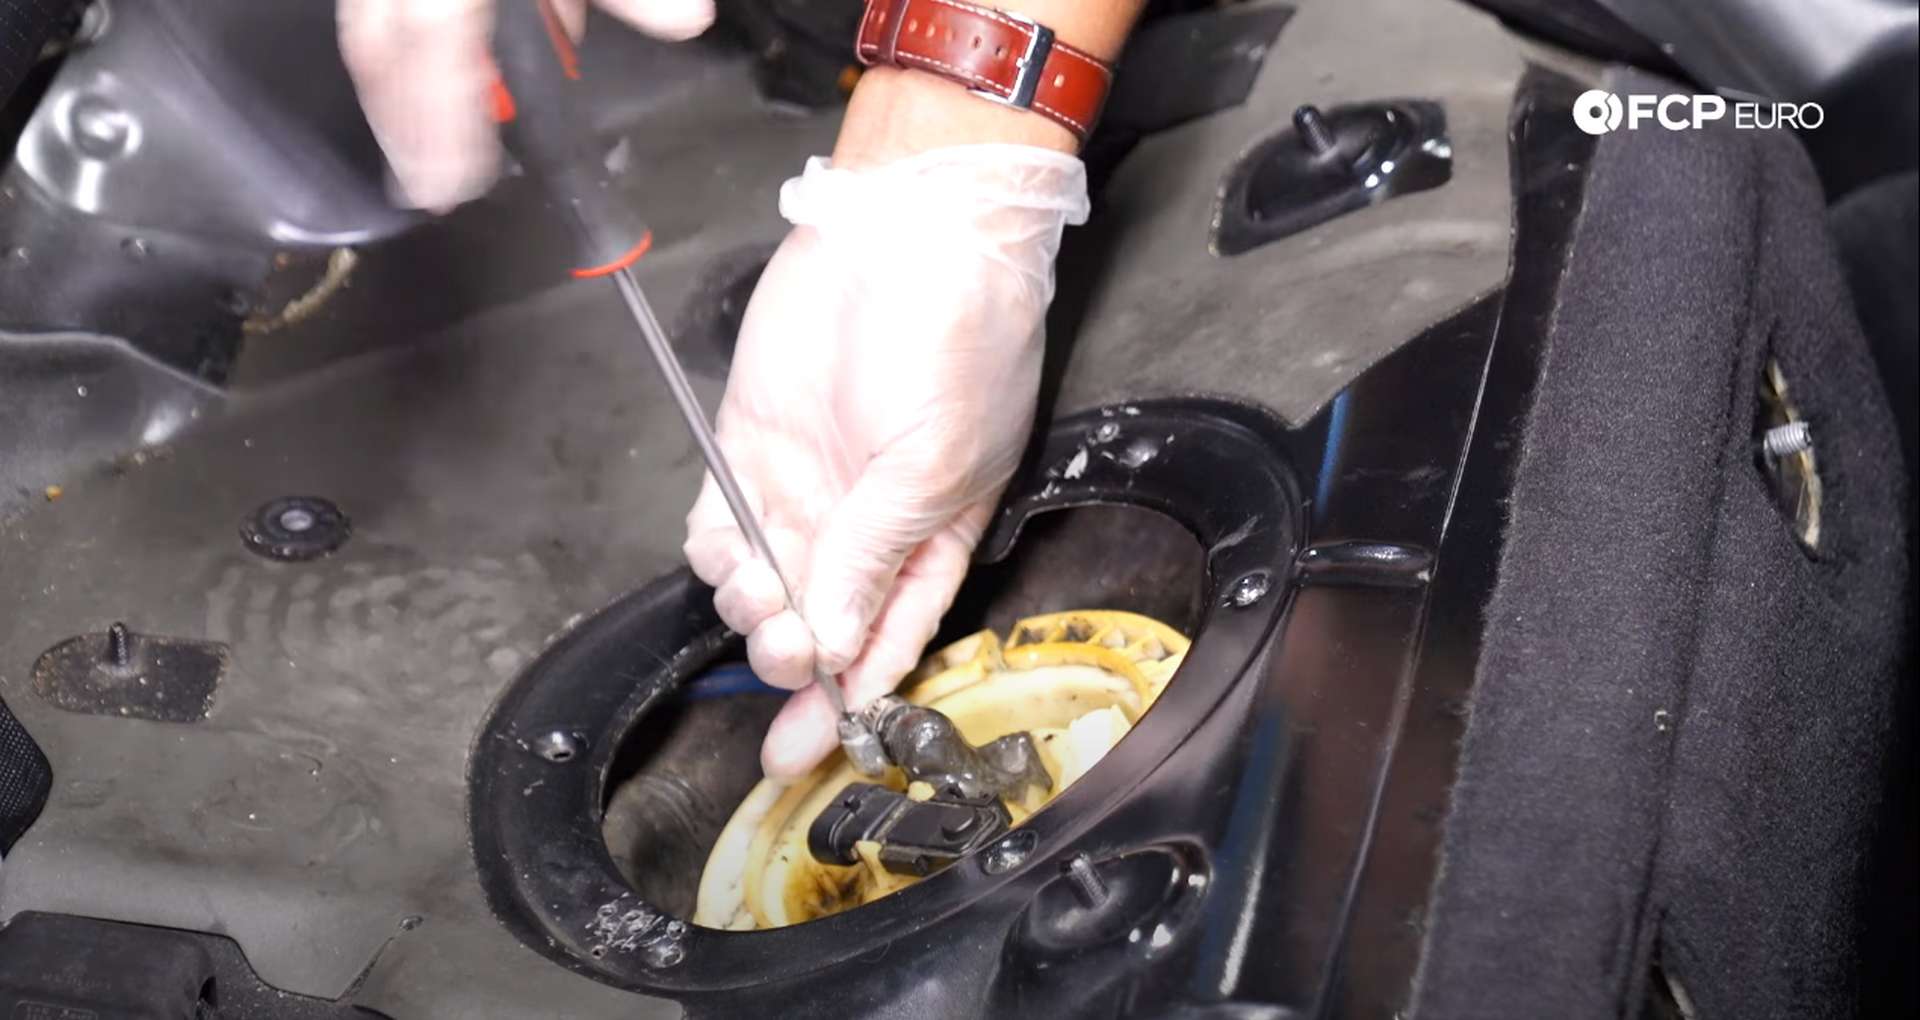
There is only a hose clamped to the top of the fuel level sending unit. Use a flathead screwdriver or 7mm socket to loosen the clamp so you can pull the hose off of the unit. Place a rag under the hose connection to catch any fuel that might spill out while removing it.
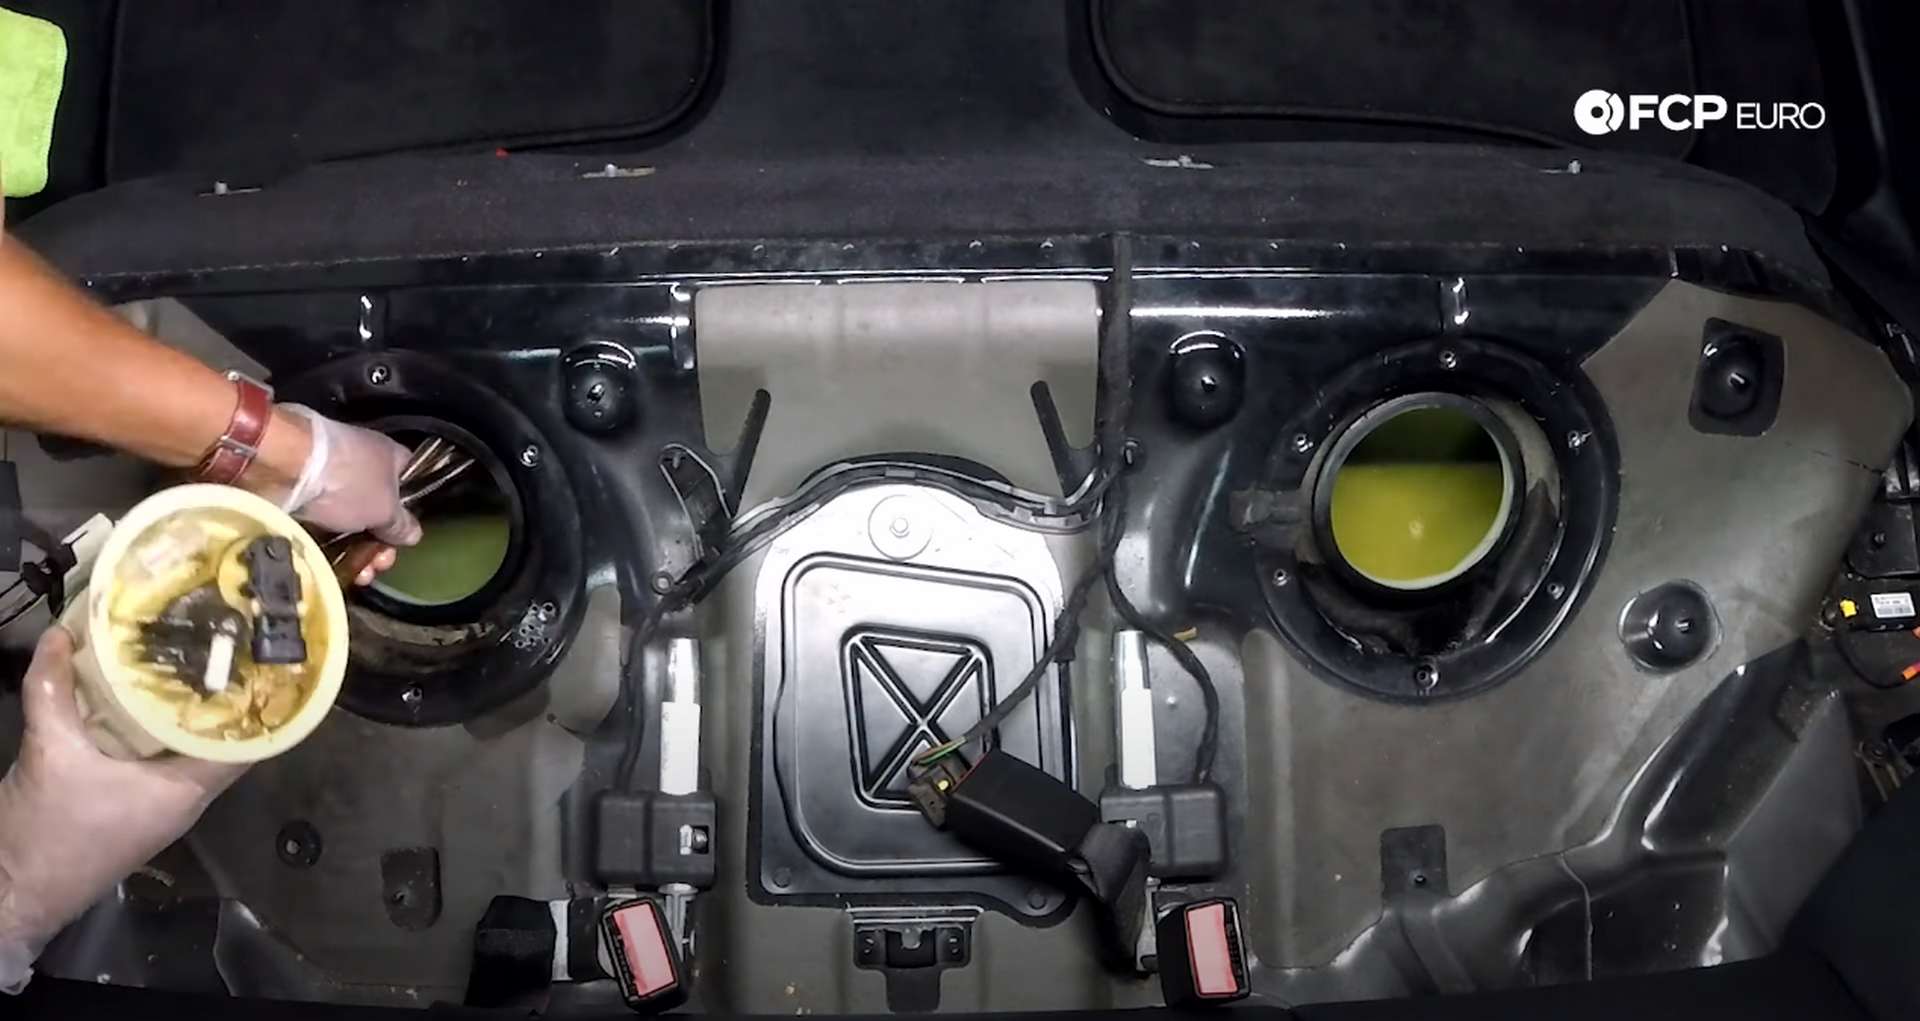
Similarly to the fuel pump assembly, use a 7mm socket to remove the lock ring’s clamp and pull the lock ring off. Then, pull the assembly and all of its hoses out of the tank.
Step 3: Install the new level sender assembly
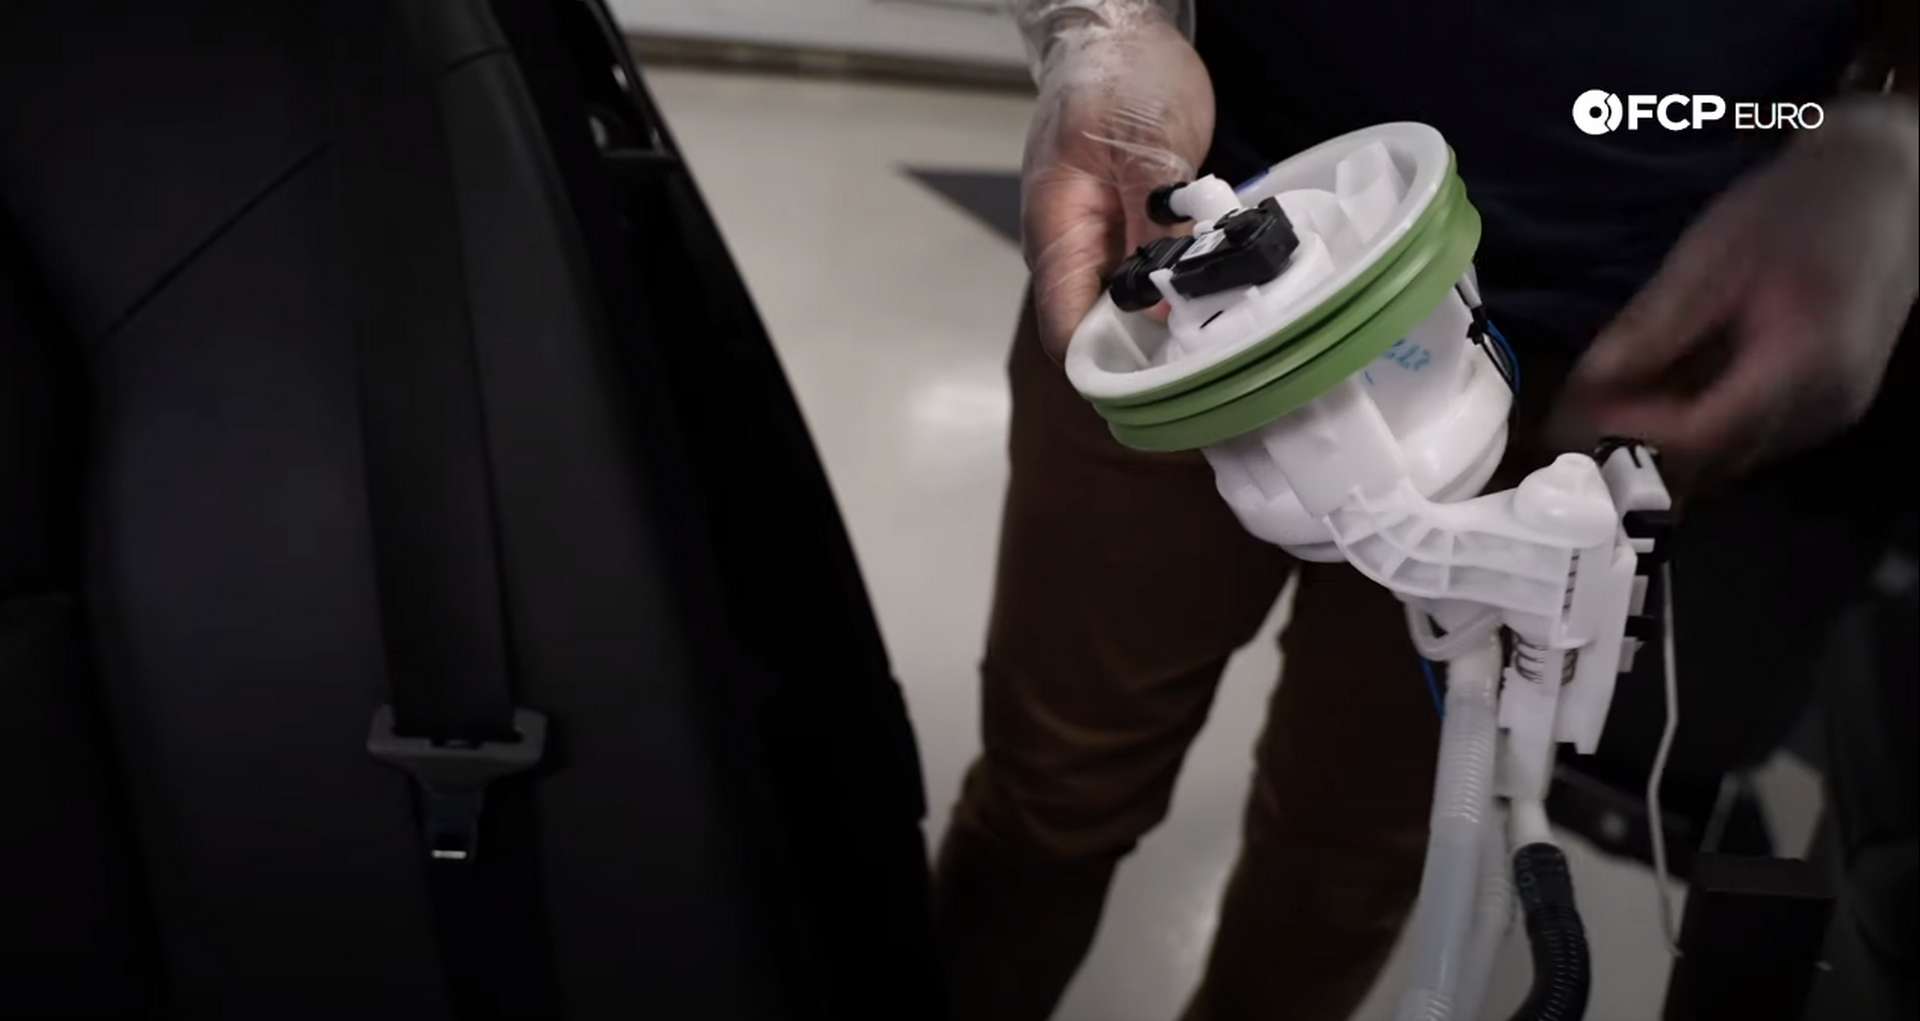
Prepare the new level sending assembly by slipping on the new seal and using zip-ties to secure the end of all of the hoses together.
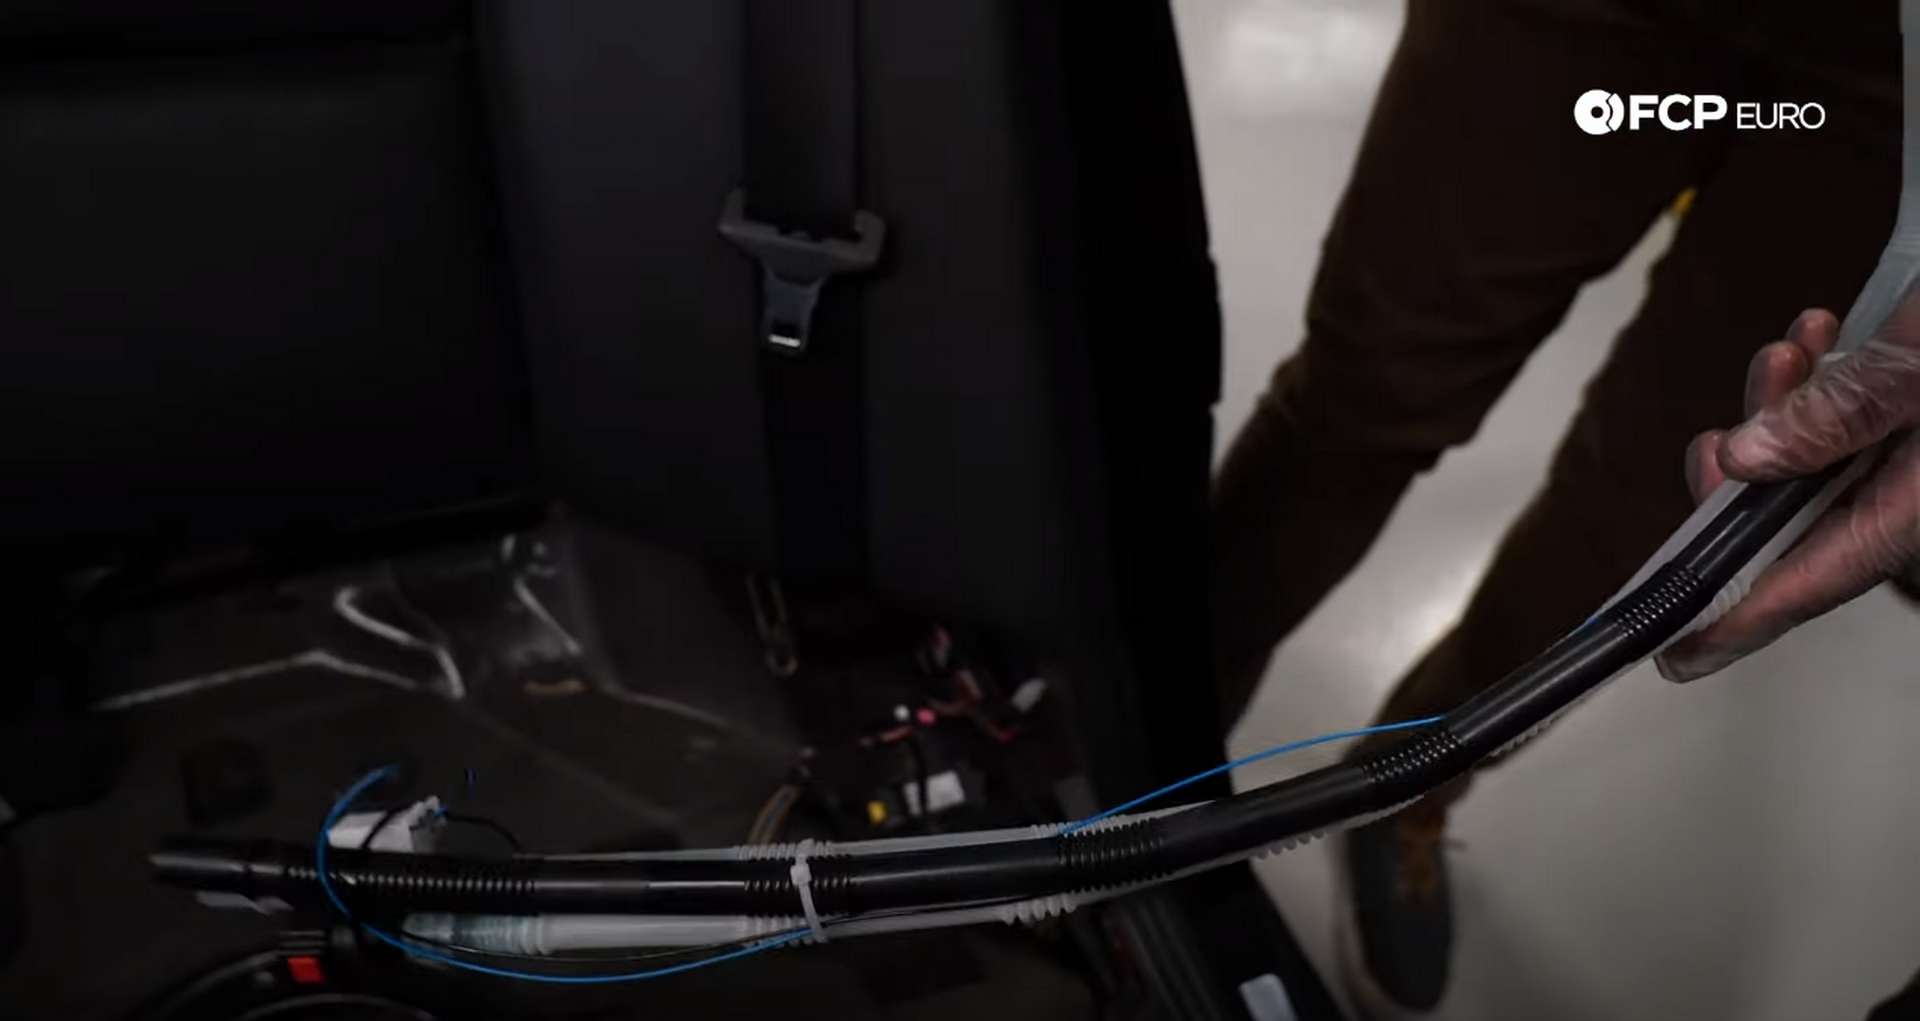
Next, install the new unit. Snake the group of hoses along the front of the tank to reach the other side of the tank. Be careful not to damage the new level sender arm as you install the new assembly.
The group of hoses from the level sending unit is the same one that connects to the fuel pump assembly. Position them how they were before removing the old level sender assembly, and then lock down the sending unit. Cut the zip-tie off of the hoses as well.
Align the hose for the level, sending assembly with the nipple on the top of the assembly. Then, press the assembly into the tank. Slip the new lock ring onto the assembly and install the clamp around it. Use a 7mm socket to tighten the clamp. Then install the hose onto the top of the level sending unit.

Next, slide the bottom half of the fuel pump assembly into the tank and attach the hoses and electrical connections from the level sending unit. Then, place the new pump seal onto the tank and install the top portion of the fuel pump assembly.
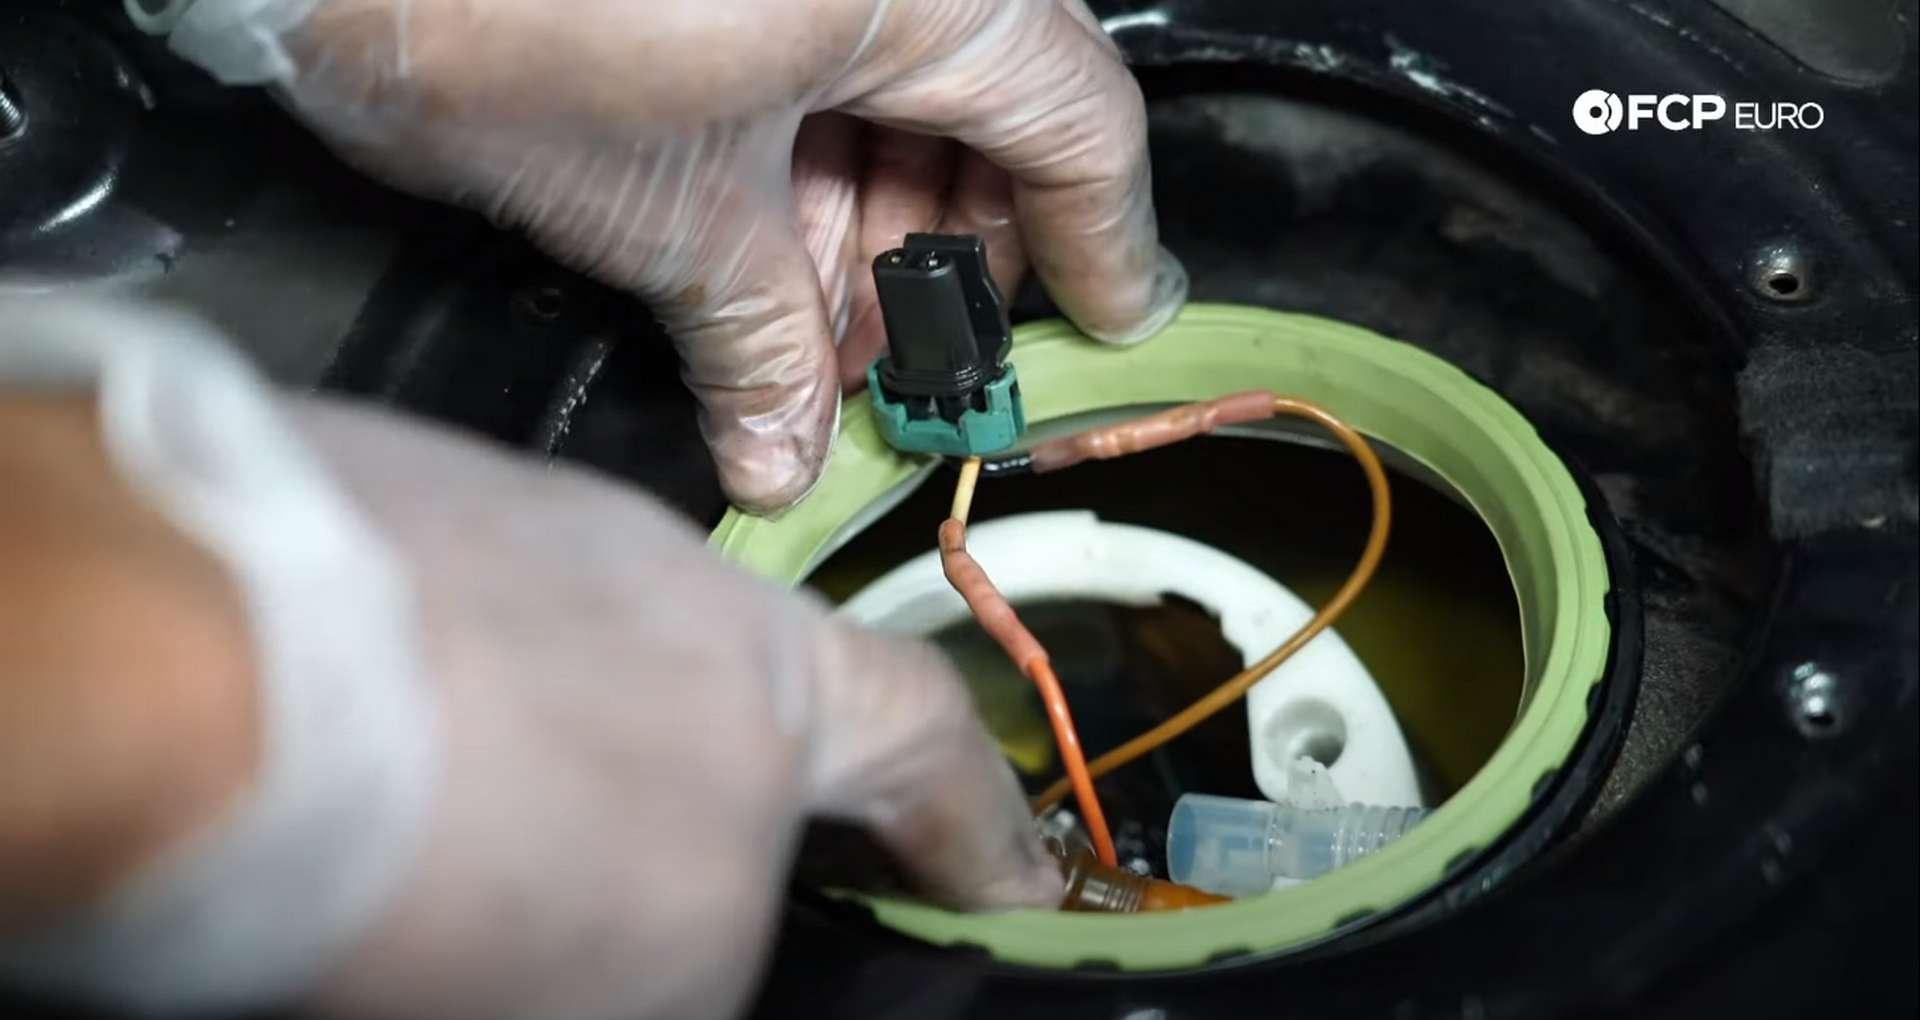
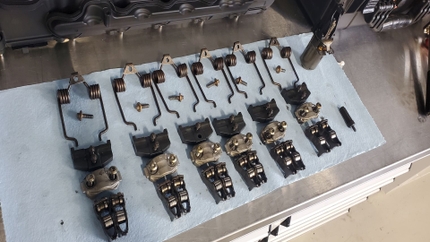
Connect the electrical connection to the top of the assembly and then place the two pins with springs into the spots in the bottom half of the assembly.
Press the top portion into the seal once the two halve of the assembly are appropriately aligned. Then install the new lock ring and clamp. Use a 7mm socket to tighten down the clamp.
Next, reconnect all of the electrical connections on the tops of both assemblies and start the car. Turn the key to the ignition on position before starting the car. Listen to hear the fuel system priming and then check for any leaks. If no leaks are present, start the car and take it for a test drive.
Step 4: Reinstall the seat
Refit the access covers over the fuel pump assembly and the fuel level sending unit. Position them so that the wires run under the raised portion of the cover.

Then thread in the six access cover bolts by hand before tightening them down with an 8mm socket.
Slide the seat into the car and align the seat belt buckles in the seat bottom slots. Then secure the seat to the chassis with its four 13mm nuts.
Just like that, your fuel system is back to full health. If you’re interested in more DIYs for your Mercedes, you can visit mercedes.fcpeuro.com and subscribe to our YouTube channel. If you have any questions or comments about this DIY, leave them in the comments section below.