- 02/02/2017
- 3 Min Read
- By: Gerry Tseng
How to Replace Struts and Strut Mounts on a Saab 9-3 (GM)

Several months ago I replaced the front struts on a 2004 Saab 9-3 Arc. The struts were shot and I skimped on replacing any of the other components as they seemed to “look” ok. For months it bugged me and after doing some research I decided to replace the strut bearings + mounts as they typically give out around the same time the struts do.
I should have replaced the strut mounts and bearings while replacing the struts so now I've got to remove and disassemble both struts all over again. Lesson learned: don't skimp on these components if you’re going to replace the struts!
Warning: It’s a good idea to have someone experienced with struts show or explain how some of the tools work. In particular, there’s a spring compressor tool that’s needed to remove the strut from the other components like the spring which need to be reassembled onto the new strut. You’ll need to be very comfortable with how to use the tool as there’s a LOT of stored energy in a compressed spring. It should come with instructions and you’ll NEED to read+understand it. If something breaks there could be a projectile that can injure you! Even I messed up once in the past and luckily didn’t get hurt when I over-compressed a spring in my early years (which resulted in one side of the compressor tool snapping off and pieces of metal flying off!). Wear safety gear like goggles, gloves and tough clothes covering your limbs as an added measure. If you’re not ready for this I suggest leaving this job to a pro.
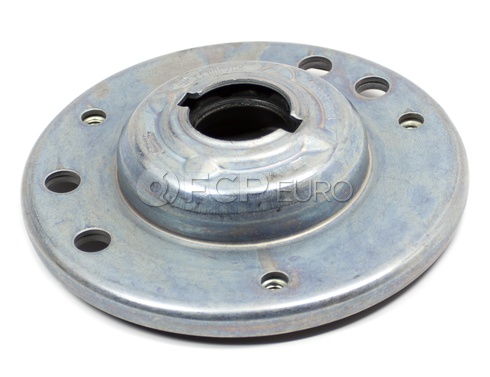
Saab Strut Mount Front (9-3) - Lemforder OEM 13188763
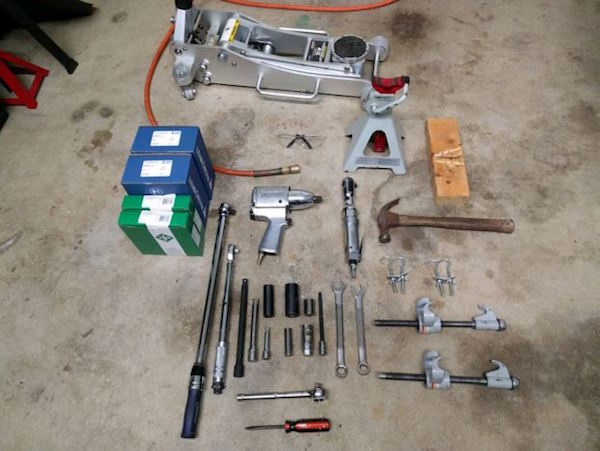
Tools you’ll need:
- New strut mounts and bearings
- Floor jack + jack stand
- Ratchets, drive extensions, sockets + wrenches
- Torque wrenches
- 7mm long reach hex bit
- 13/16” spark plug socket
- Spring compressor tool
- Air compressor, impact wrench, air ratchet (optional but recommended if you have them)
- Hammer
- Flathead screwdriver
- Wood block (optional)
Ready to replace the strut mounts and bearings?
Start by replacing one side first:
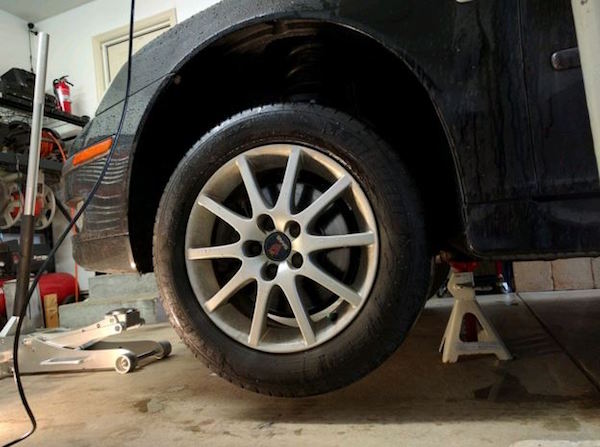
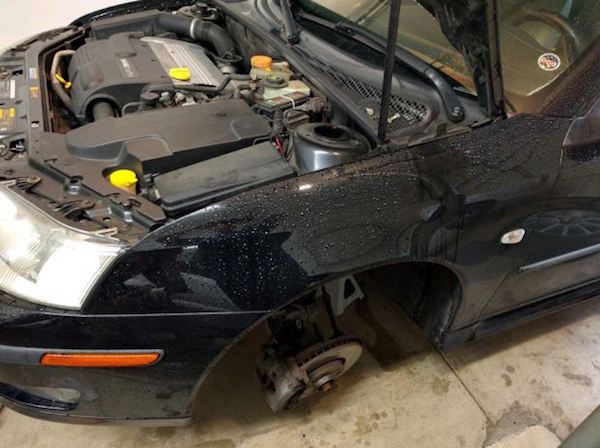
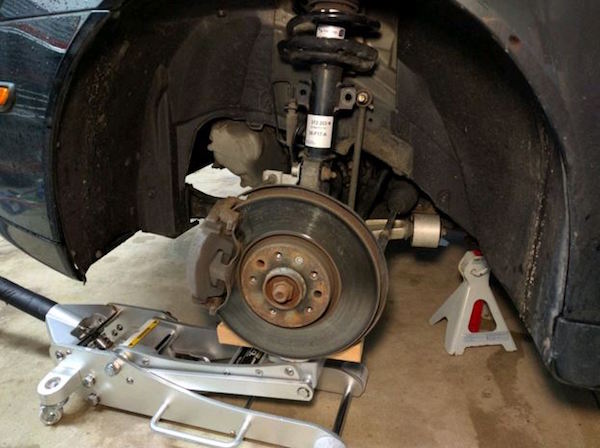
Engage the emergency hand brake, safely jack up one of the front wheels and use a jack stand to secure the lift:
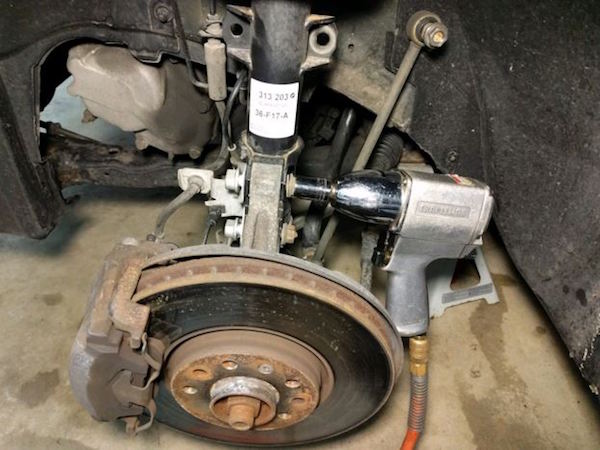
Remove the wheel using a 17mm deep socket and an impact wrench
Disconnect the sway bar link from the strut using an 18mm socket and a wrench to counter-hold the shaft. I had to remove the jack stand and use a floor jack with a wood block to lower the strut enough so that the shaft from the sway bar link wasn’t under tension in order for me to easily disconnect it.

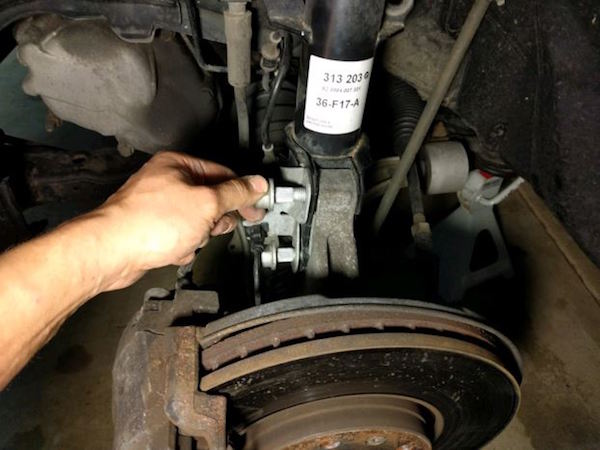
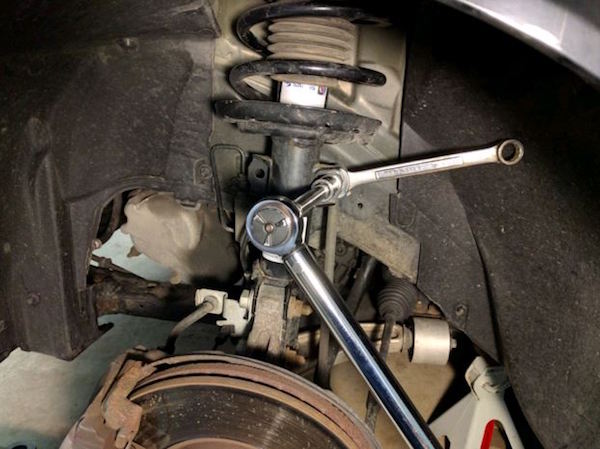
Raise the car and position the jack stand again if you did this in the previous step, then remove the nuts connecting the strut to the steering knuckle using an 18mm socket.
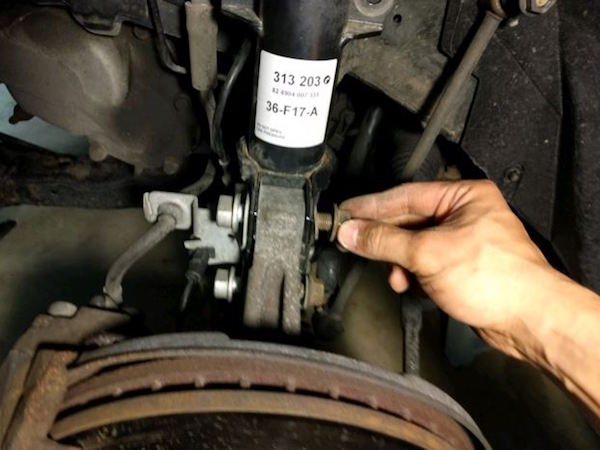
Carefully hammer out the bolts and slide them completely out:
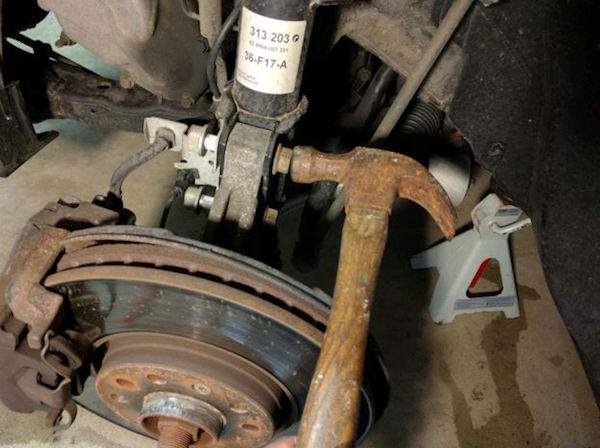
Once the bolts are removed the steering knuckle will break free from the strut:
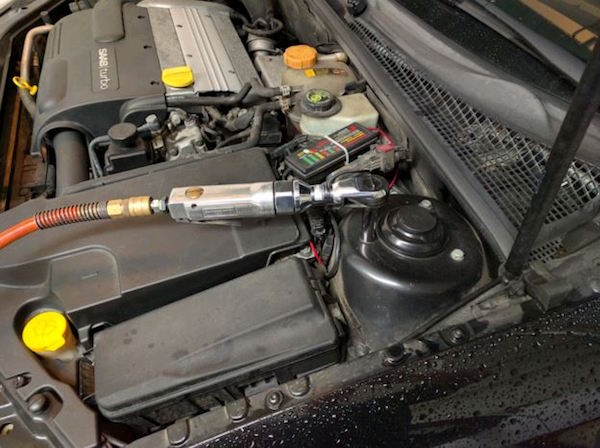
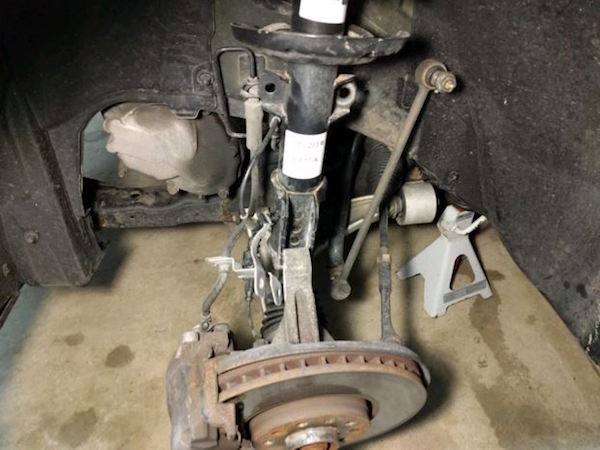
Remove the 3 bolts from the top of the strut using a ½” socket and an air ratchet. When removing the last bolt use one hand to hold the strut so that it can be lowered with control.
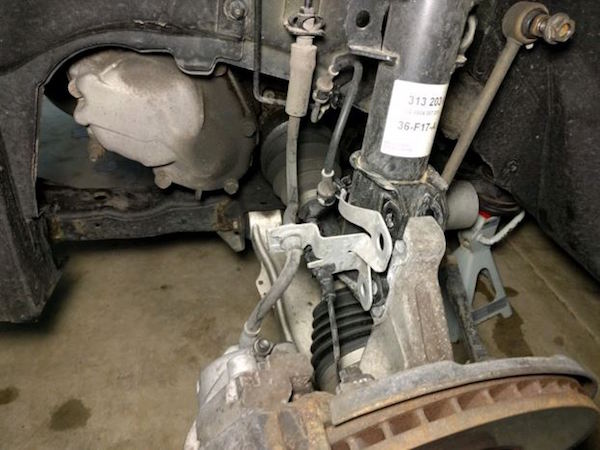
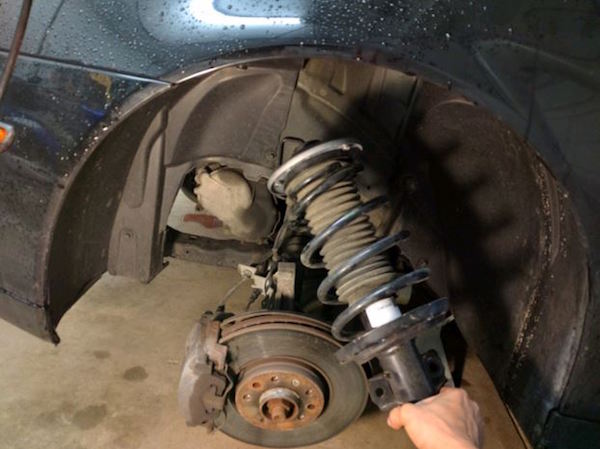
The strut will settle into the wheel well when disconnected from the top:
Grab the strut assembly and fish it out:
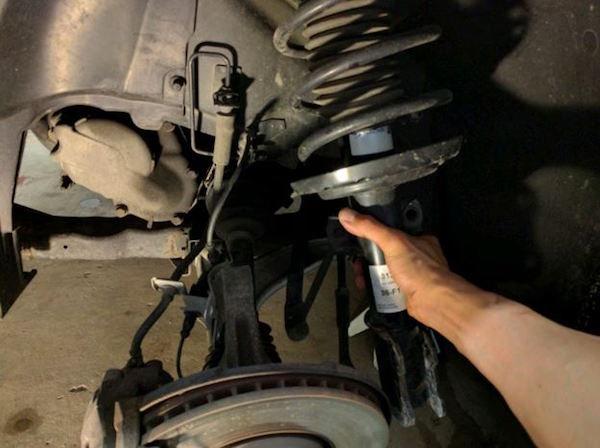
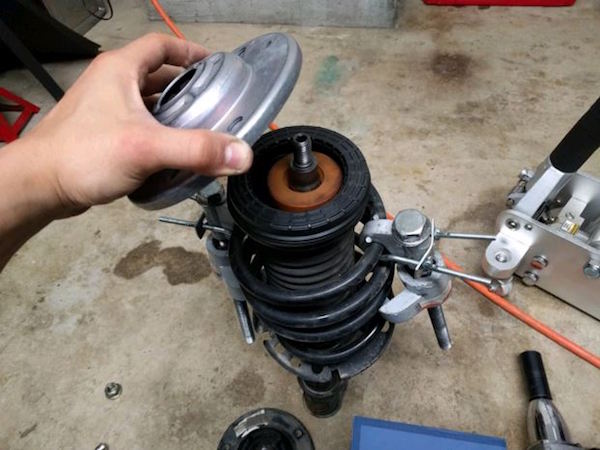
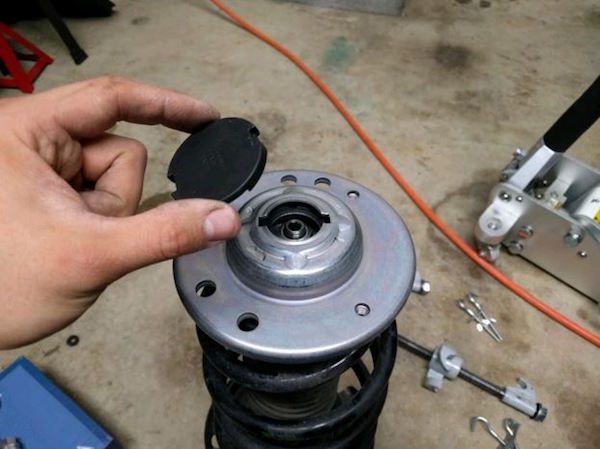
Remove the cap at the top using a flathead screwdriver:
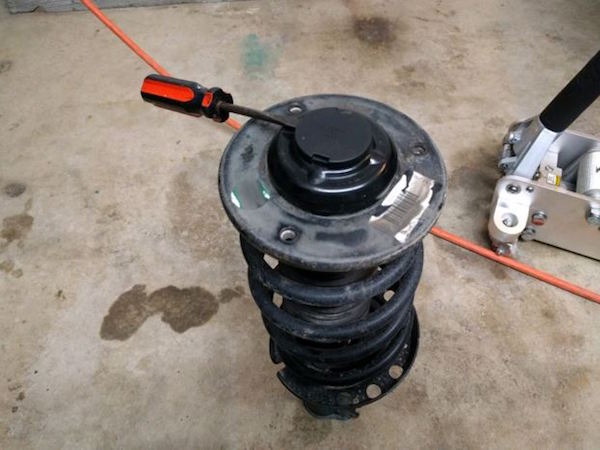
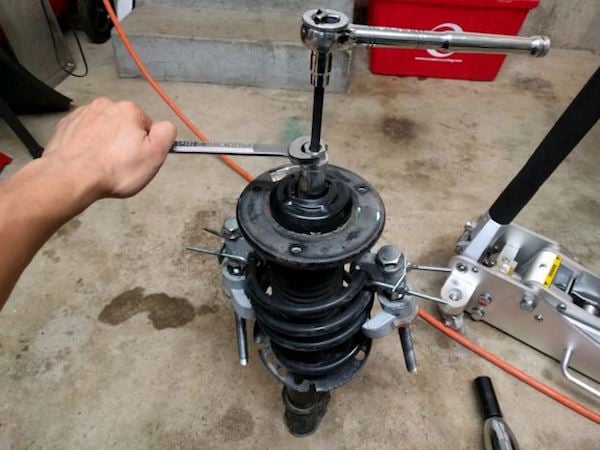
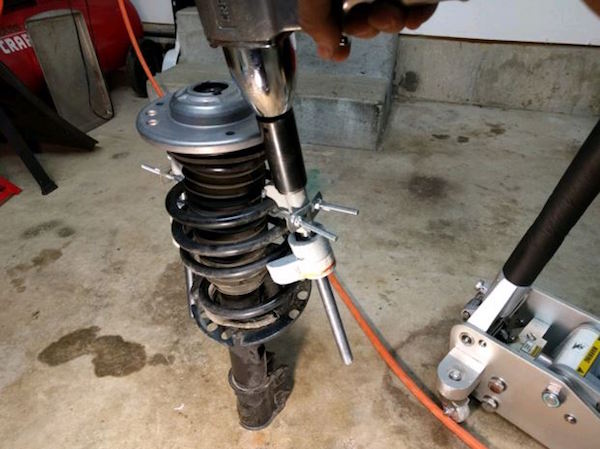
Attach the spring compressor tool:
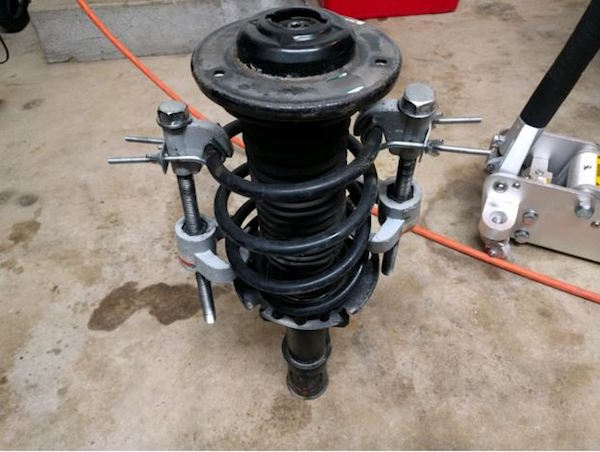
Carefully compress the spring with an impact wrench and alternate sides as you go for even compression:
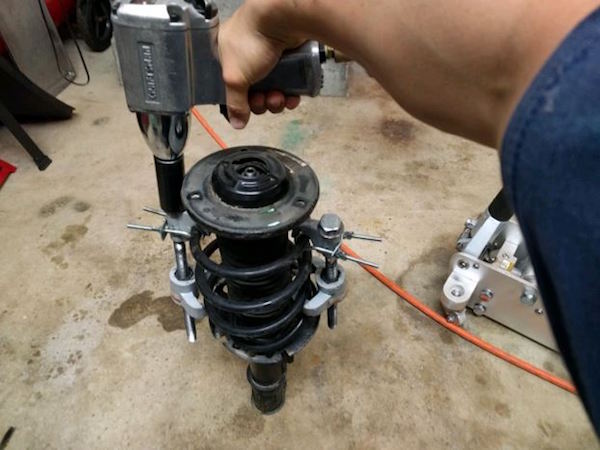
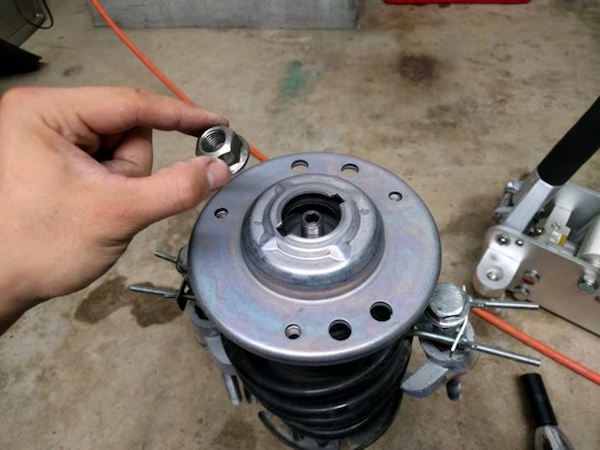
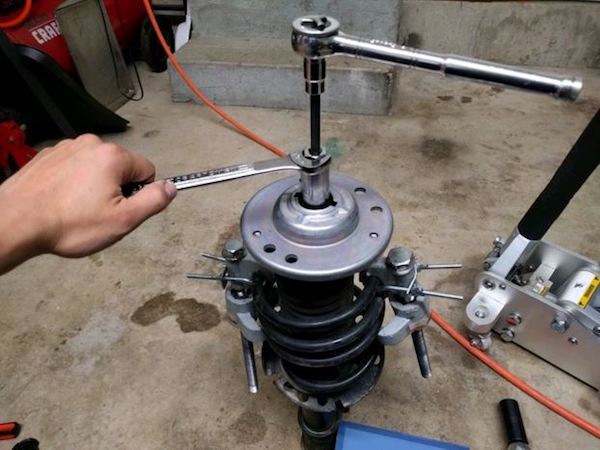
Remove the upper shaft nut using a 13/16” spark plug socket, a wrench to turn that socket and a 7mm long reach hex bit as a counter-hold to keep the shaft from rotating:
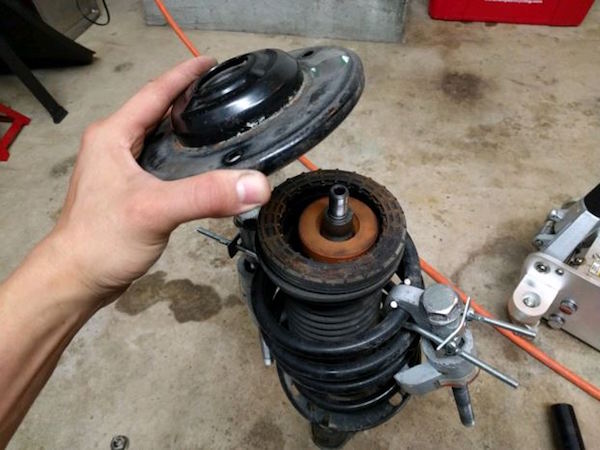
Remove the old strut mount and bearing:
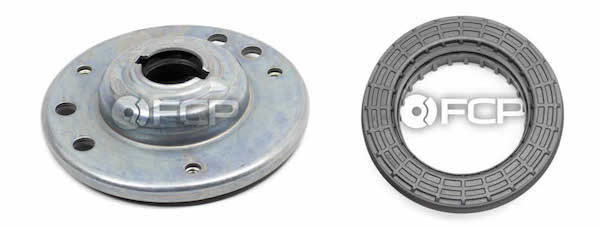
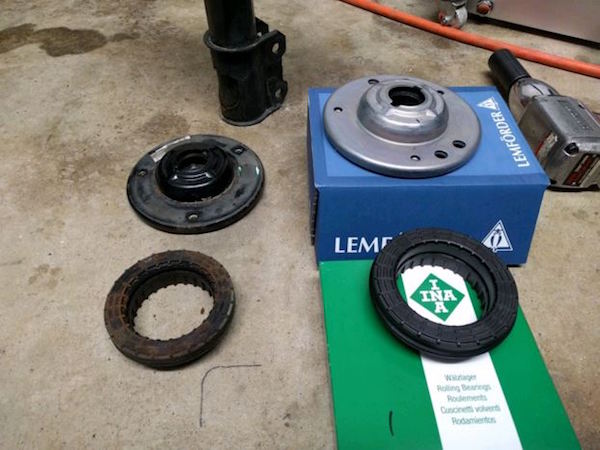
Compare the old components (left) with the new ones (right):
Reassembly!
Installation is essentially the reverse of removal.
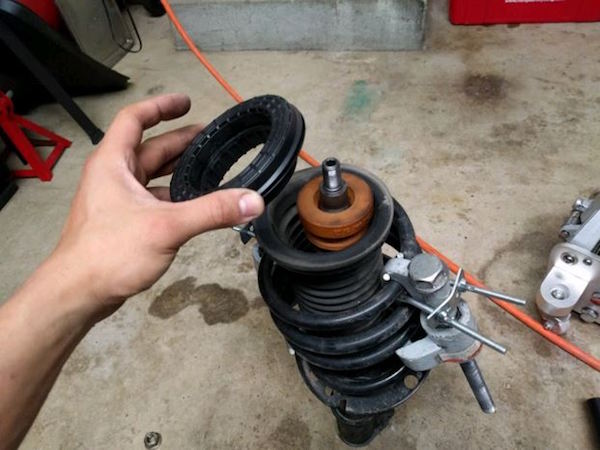
Install the new bearing:
Install the new strut mount:
Install the upper shaft nut:
Tighten the upper shaft nut. I tightened the heck out of it via brute strength as I didn’t know how to torque that down. This wasn’t an issue when I installed the strut this way a few months ago.
Remove the spring compressor tool:
Install the cap at the top:
Fish the strut back in:
While lifting the strut with one hand, install the 3 bolts at the top. Torque those bolts to 14 ft-lbs.
Massage the steering knuckle back into the strut:
Install the strut bolts through the bracket, strut and steering knuckle:
Install the nuts:
Tighten the nuts down and torque to 59 ft-lb + 135 degrees of rotation (I did the best I could on this spec). You may want to hammer the bolts back in a bit to keep them from spinning while tightening the nuts.
Align the strut with the sway bar link:
Install the nut and tighten the sway bar link to 47 ft-lb using a wrench as a counter-hold:
Install the wheel and hand tighten the bolts.
Remove the jack stand, lower the car and torque the wheel bolts to 80 ft-lb.
Repeat the above steps for the other side. By doing one side at a time you’re ensuring that the sway bar links remain under load when reinstalling them back onto the strut during reassembly.
Always replace the strut mounts + bearings at the same time the struts are being replaced so you don’t end up doing this job twice like I did.
Shop Saab 9-3 Strut Mount Front