- 06/10/2020
- 5 Min Read
- By: Christian Schaefer
How To Replace The Coolant Inlet Flange On A BMW X3, X5, 328i & More (N20, N52, N54, N26, & N55 Engines)

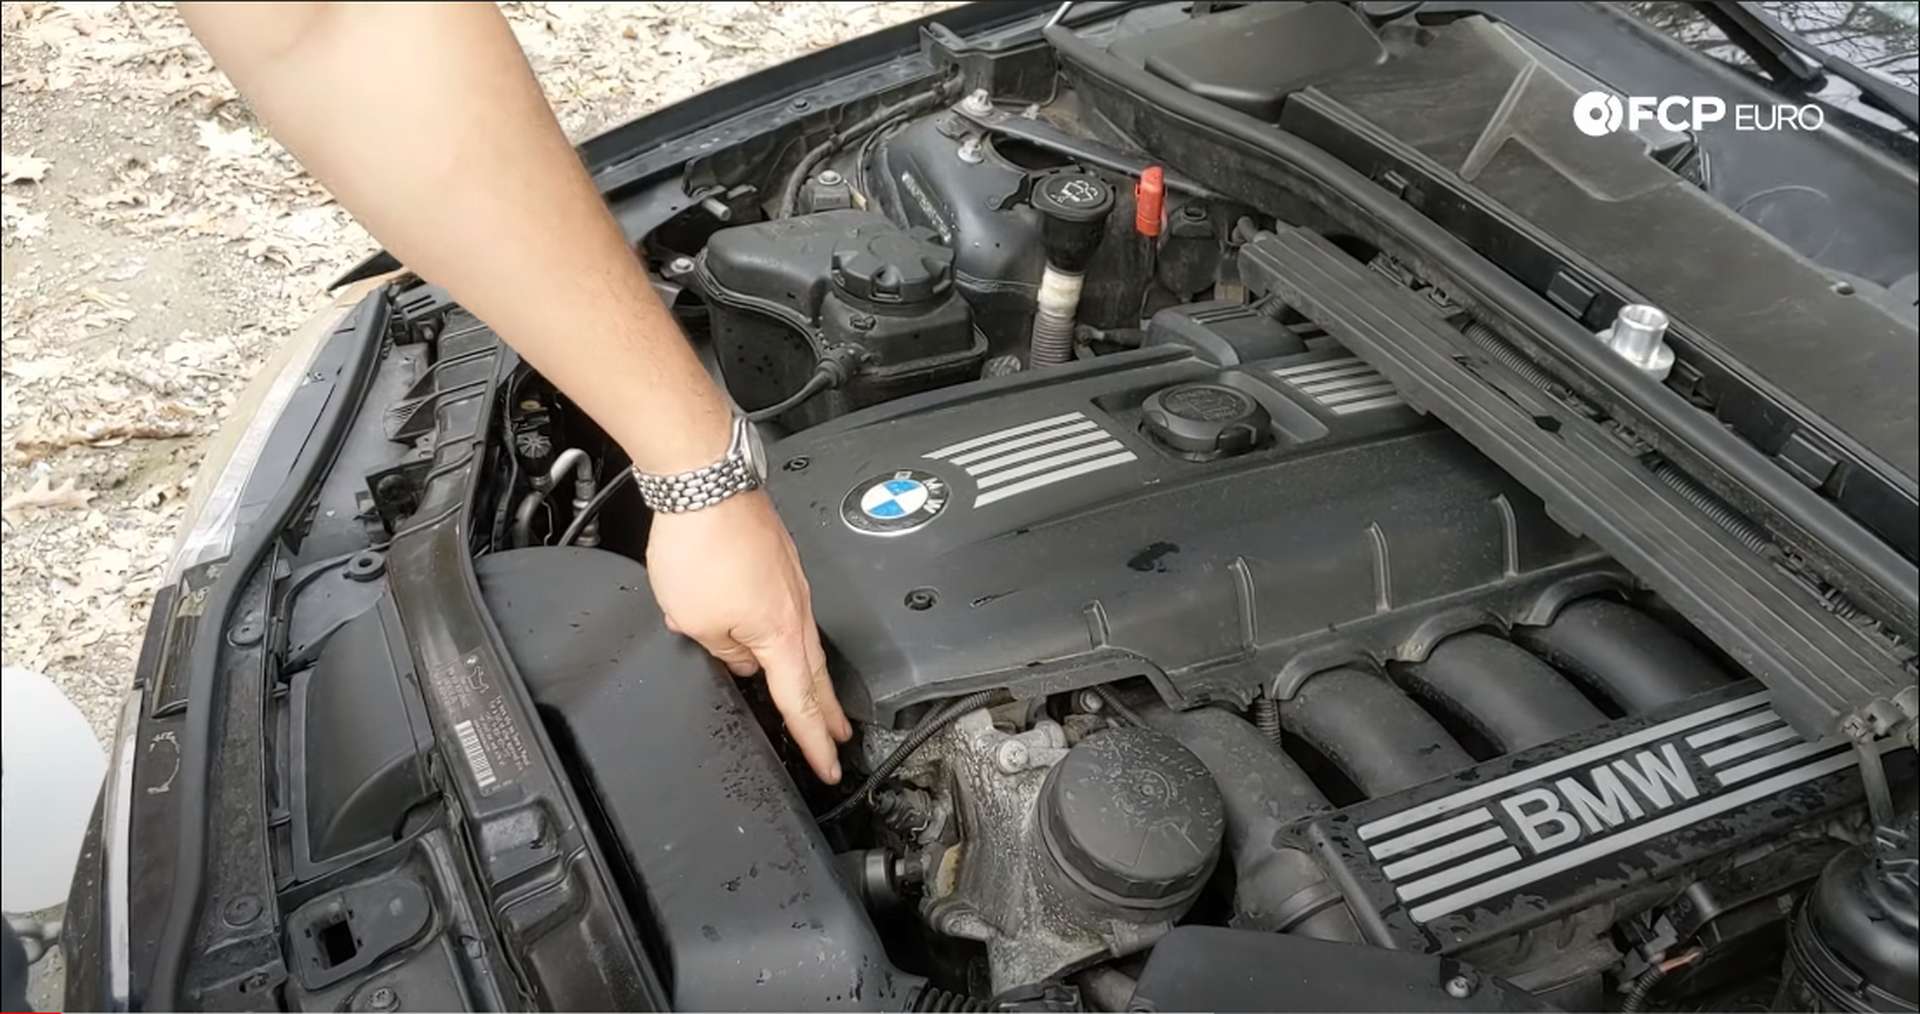
Keeping your engine’s coolant inside of its cooling system is as essential as it seems. Without the coolant, the engine would overheat, leading to a multitude of possible more significant problems. Among many other manufacturers, BMW uses plastic in their cooling system because it is lighter and cheaper than aluminum or steel. However, the plastic parts are far more prone to cracking and breaking from the heat.
The coolant inlet flange (also known as the 'Mickey Mouse flange') on BMW’s N-series six-cylinder models is made of plastic from the factory and has a reputation for breaking overtime, leaving people stranded. Because of this, aftermarket companies have produced an aluminum replacement. If your inlet flange does happen to break, or you want to change it before it leaves you stranded, this DIY will show you how.
BMW Models and Years Applicable |
|
|
|
|
|
|
|
|
|
|
|
|
|
|
|
|
|
|
|
|
|
|
|
|
|
|
|
What are the symptoms of a cracked coolant inlet flange on a BMW? |
- Loss of coolant
- Engine overheating
The engine’s coolant regulates the temperature of the engine, preventing it from becoming too hot. Without it, the metals in the engine can expand, warp, and crack. No engine should run without coolant.
If the inlet only has a small crack, the coolant can slowly leak out, while air can get into the cooling system. Air bubbles in a cooling system can prevent sections from receiving coolant, causing them to heat up beyond safe operating levels.
How long will it take to replace the coolant inlet flange on a BMW? |
Unlike many jobs on newer engines, this job is simple and easy to access. For the removal and installation of the new parts, budget around thirty minutes. Your cooling system needs to be filled and bled once the job is completed. Put aside another twenty minutes for that.
How much will it cost to replace the coolant inlet flange on a BMW? |
To do the job yourself, you’ll need the parts linked below. Rather than use another plastic BMW part, we offer an aluminum coolant flange. This upgraded part costs you roughly $17.
If you were to bring your car to the dealer, this job will run upward of $250.
A quick google search shows you that every BMW parts website offers the upgraded aluminum flange rather than the original plastic piece. We would recommend using the aluminum piece as it will last indefinitely longer than the standard plastic flange.
Tools required to replace the coolant inlet flange on a BMW |
Parts required to replace your BMW’s coolant inlet flange:
Parts required to replace the coolant inlet flange on a BMW |
Steps required to replace the coolant inlet flange on a BMW |
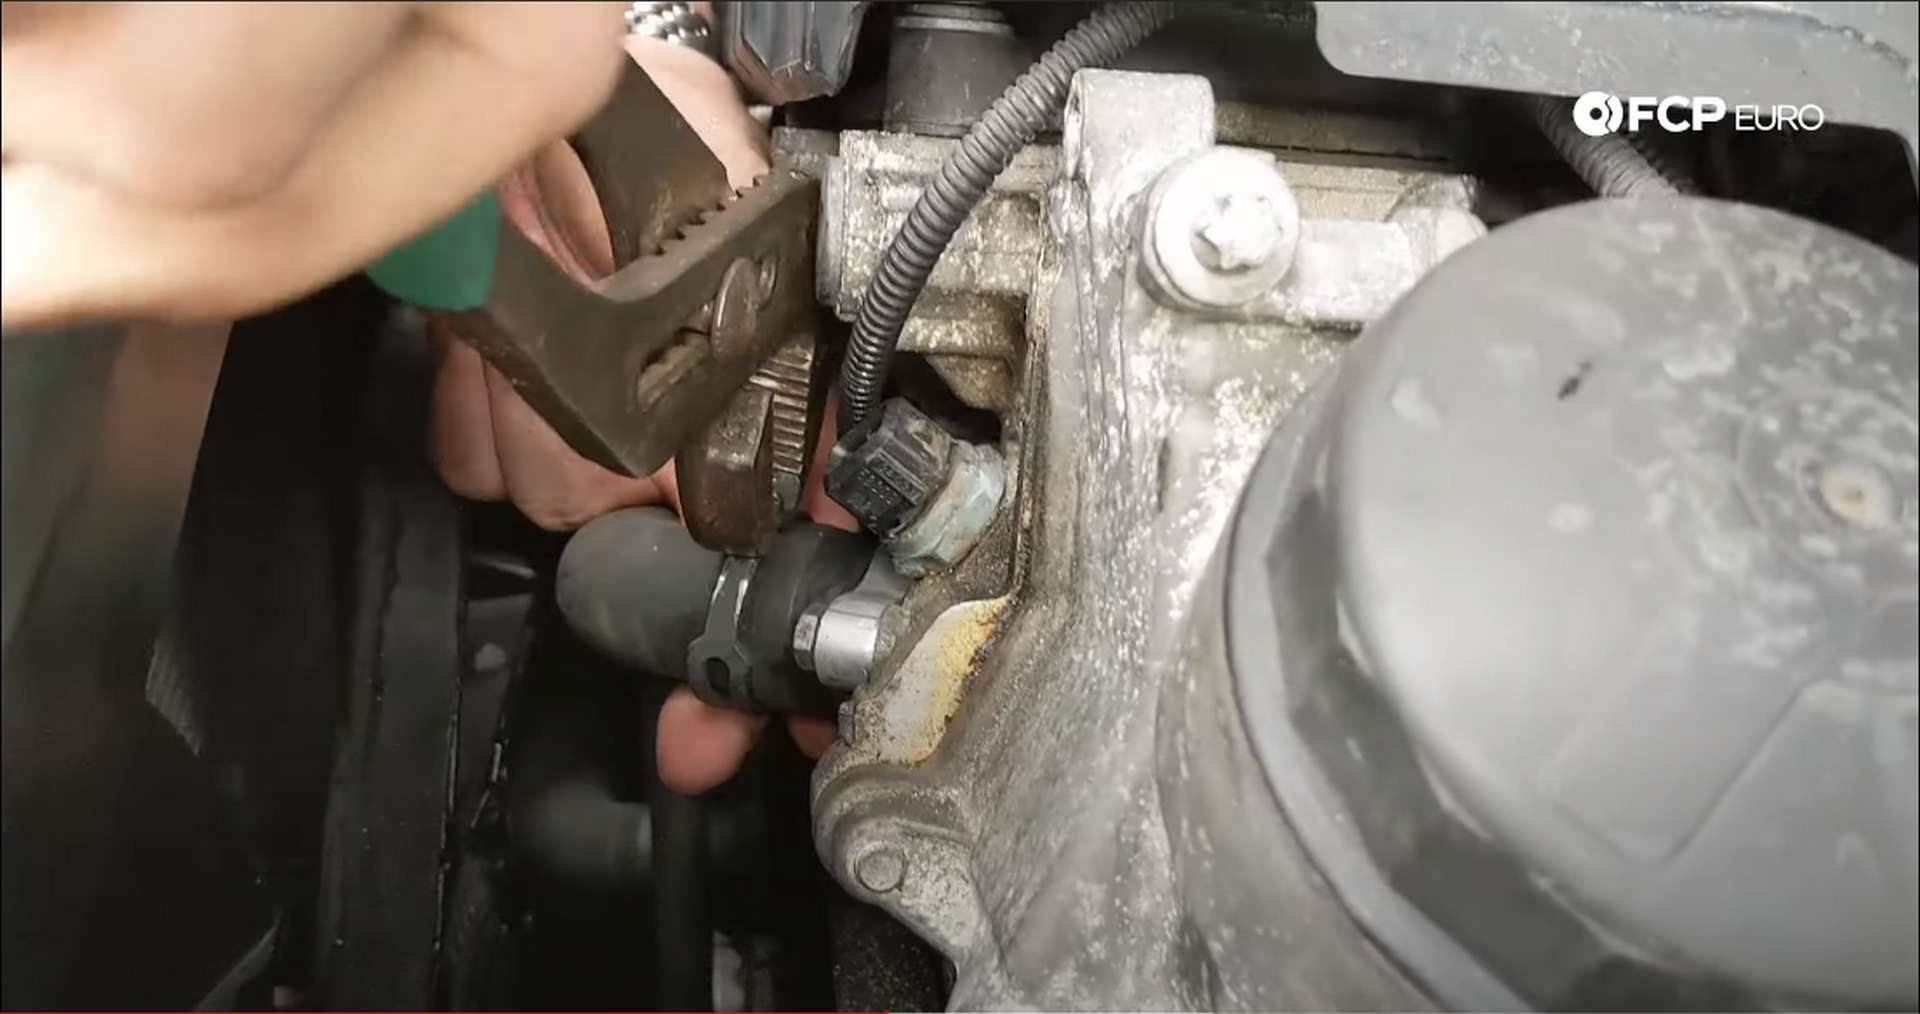
Step 1: Remove the hose clamp
The clamp BMW uses for the inlet is crimped on. If your inlet hasn’t shattered into pieces, you’ll need to cut through the clamp with the diagonal cutters. Once the clamp is cut through, throw it into the garbage, and pull the hose off of the flange.
If you don’t have cutters, you aren’t stuck. The chances are that you’re doing this job because the plastic flange has already failed. The plastic will already be weak, so grip the hose where it slips over the flange and break the flange off. Now you can pull the destroyed bits of plastic out of the hose and slip the old clamp off.
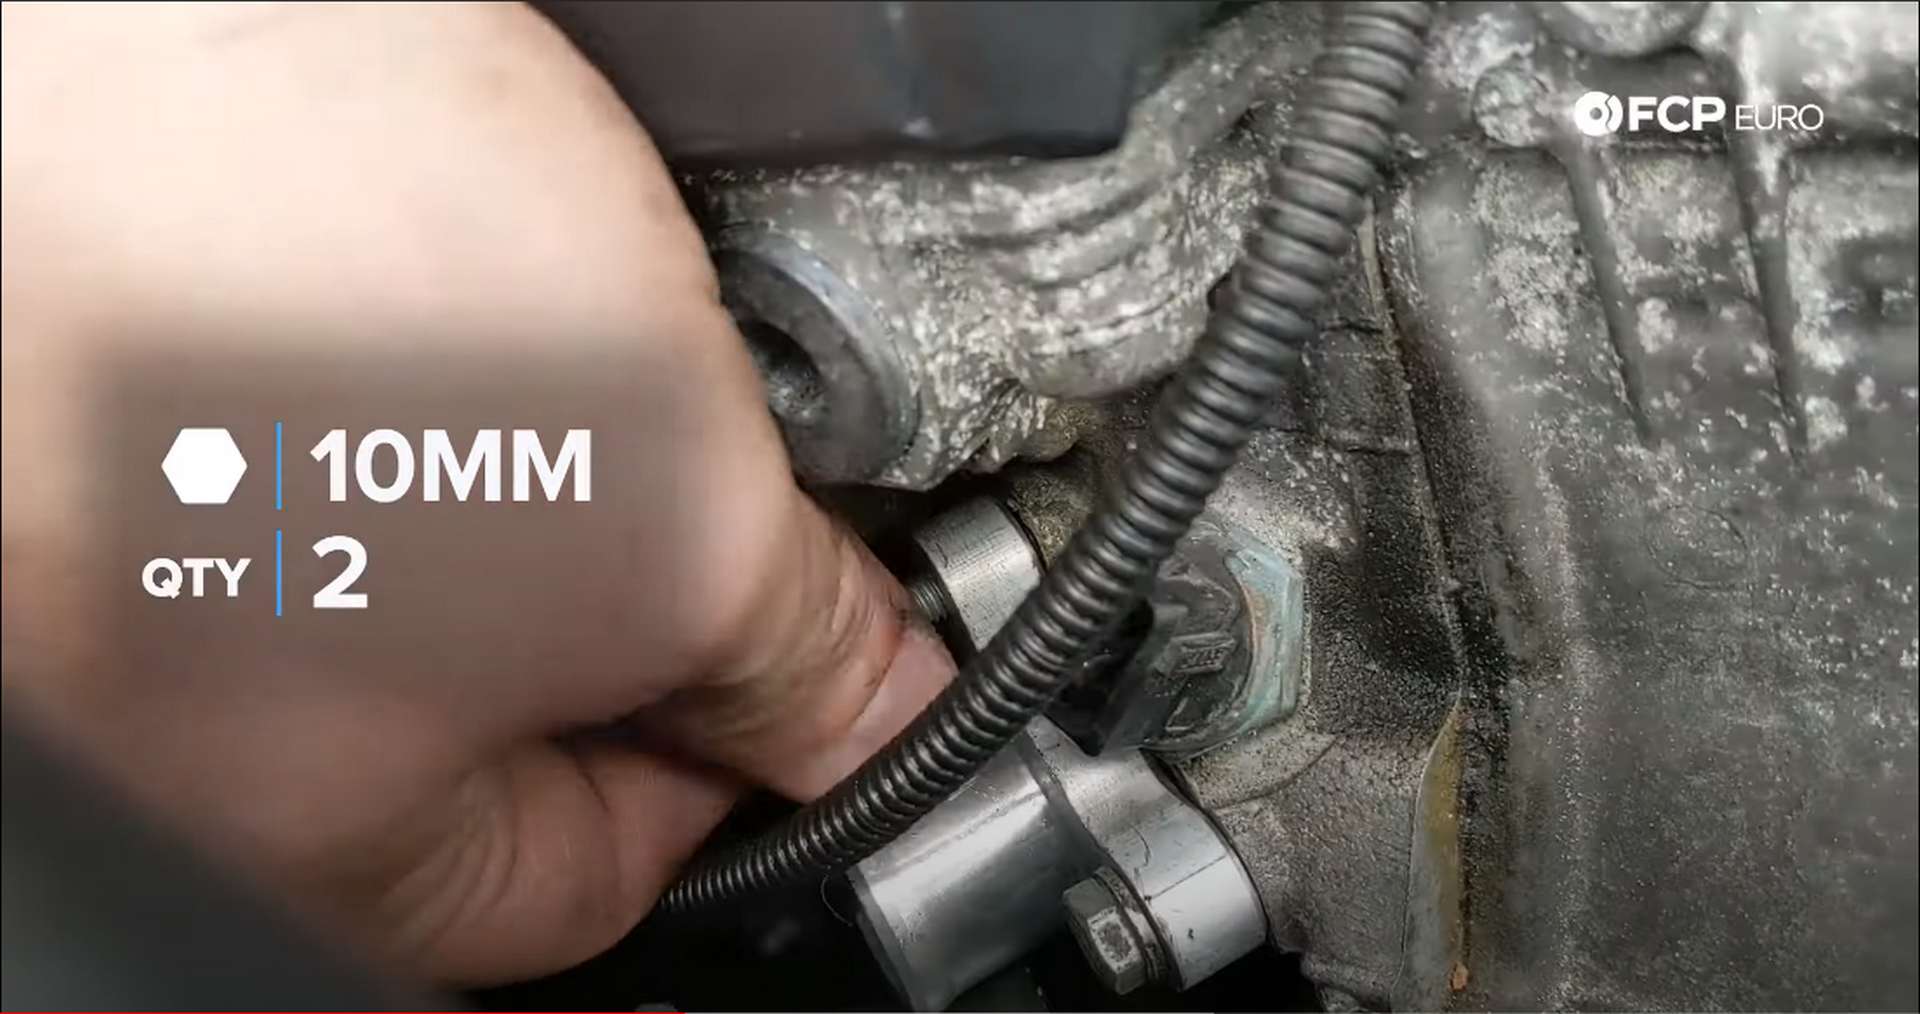
Step 2: Unbolt the flange from the engine
A large portion of the inlet is still secured to the engine, no matter what the current condition of the inlet is. Two 10mm bolts are securing it into the engine.
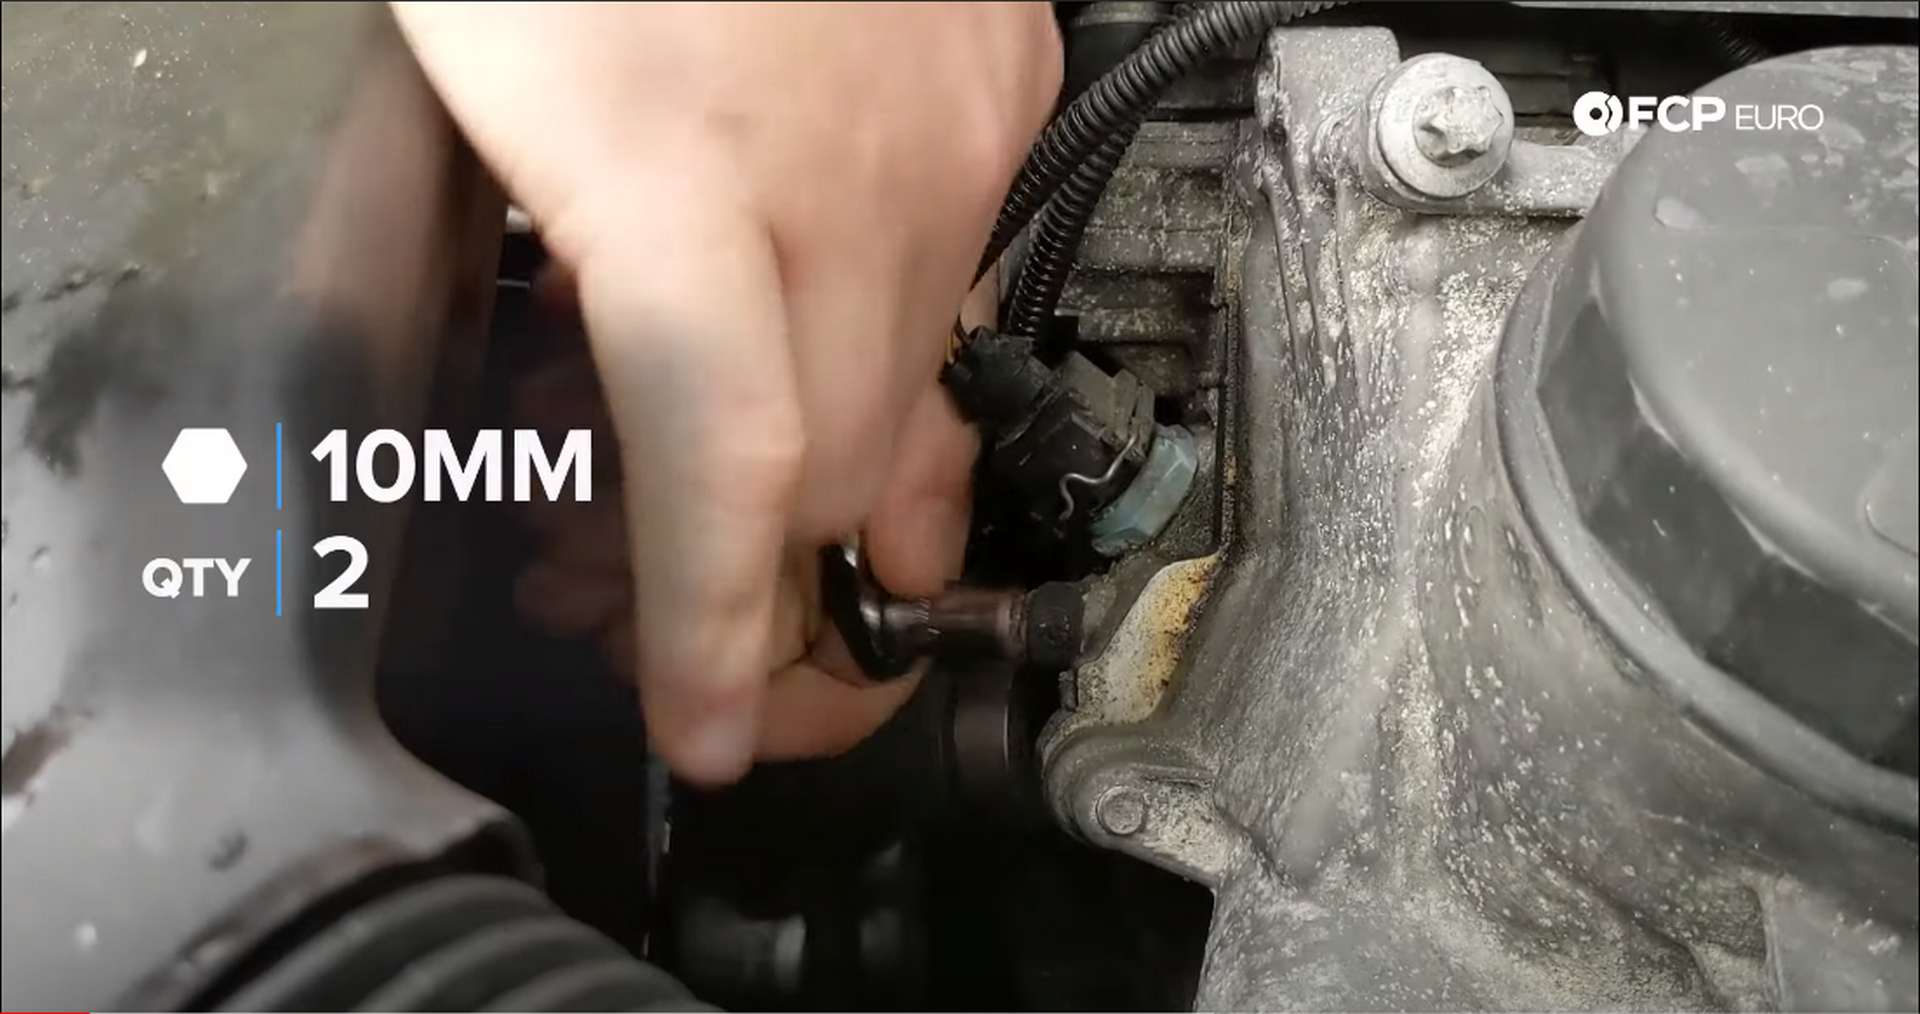
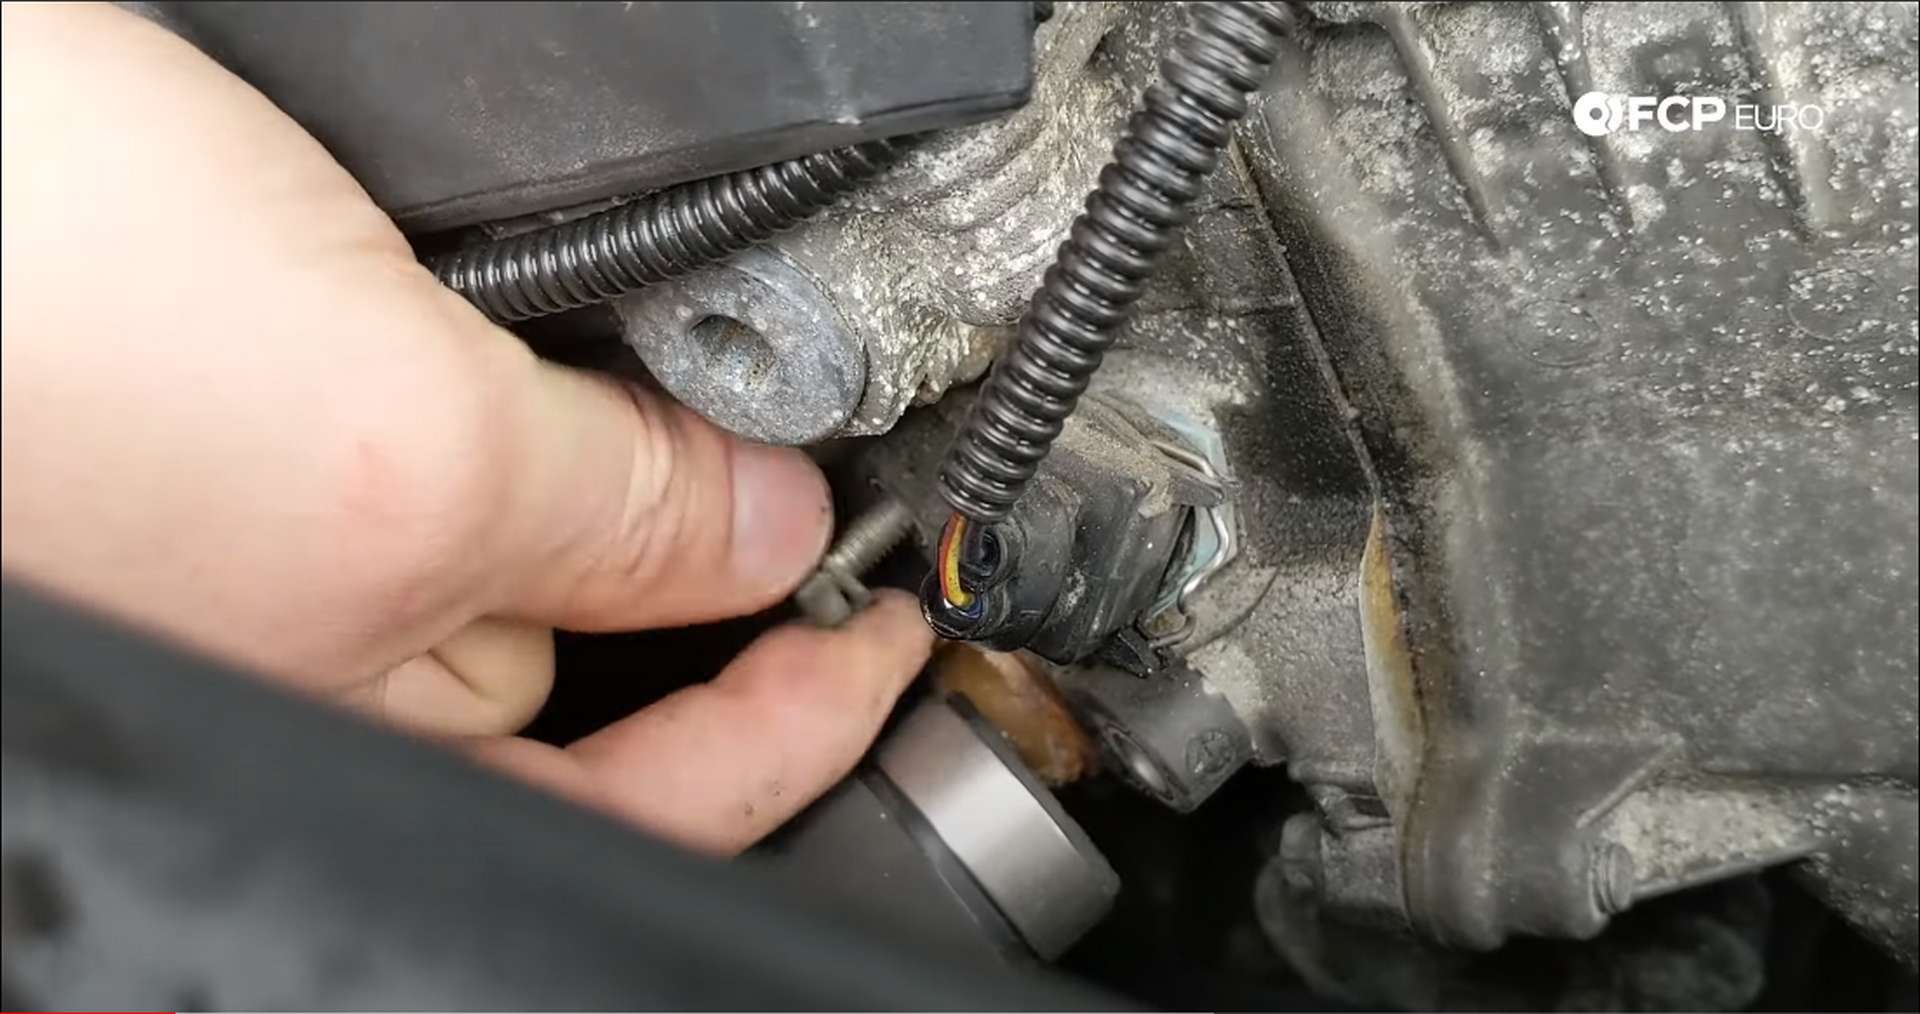
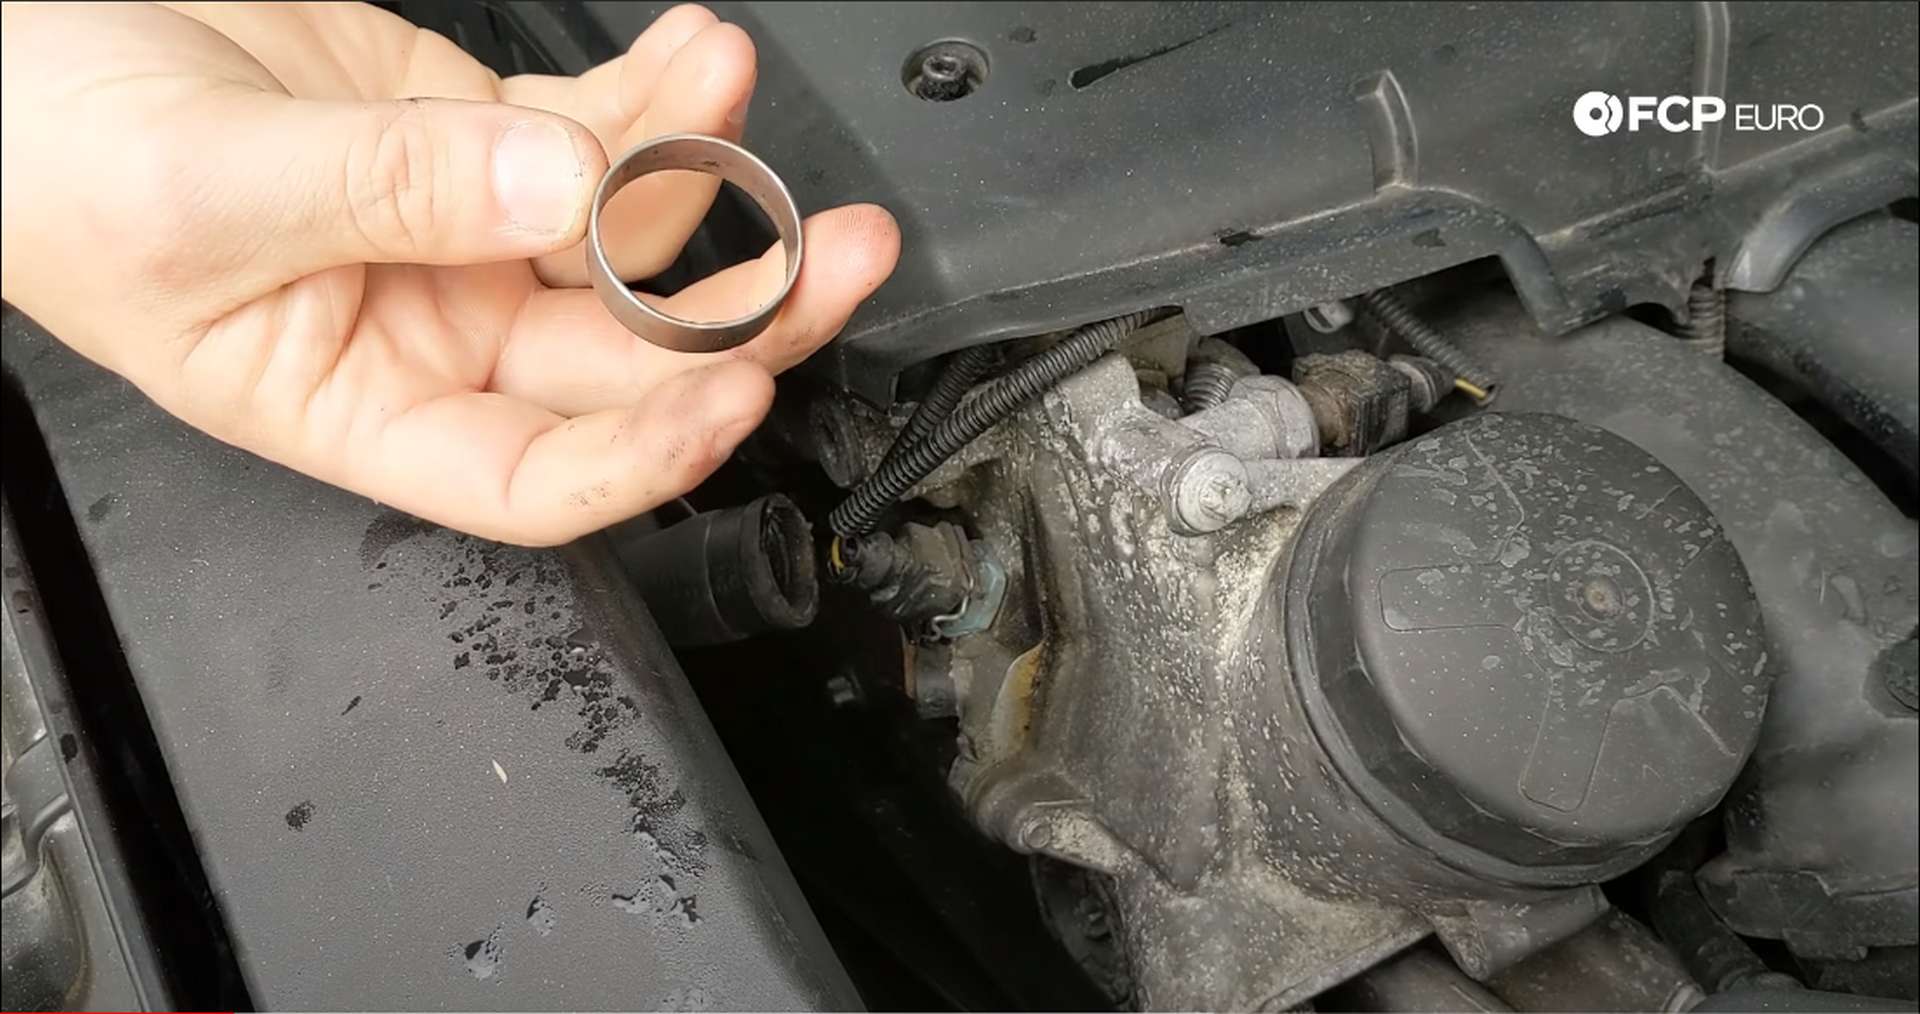
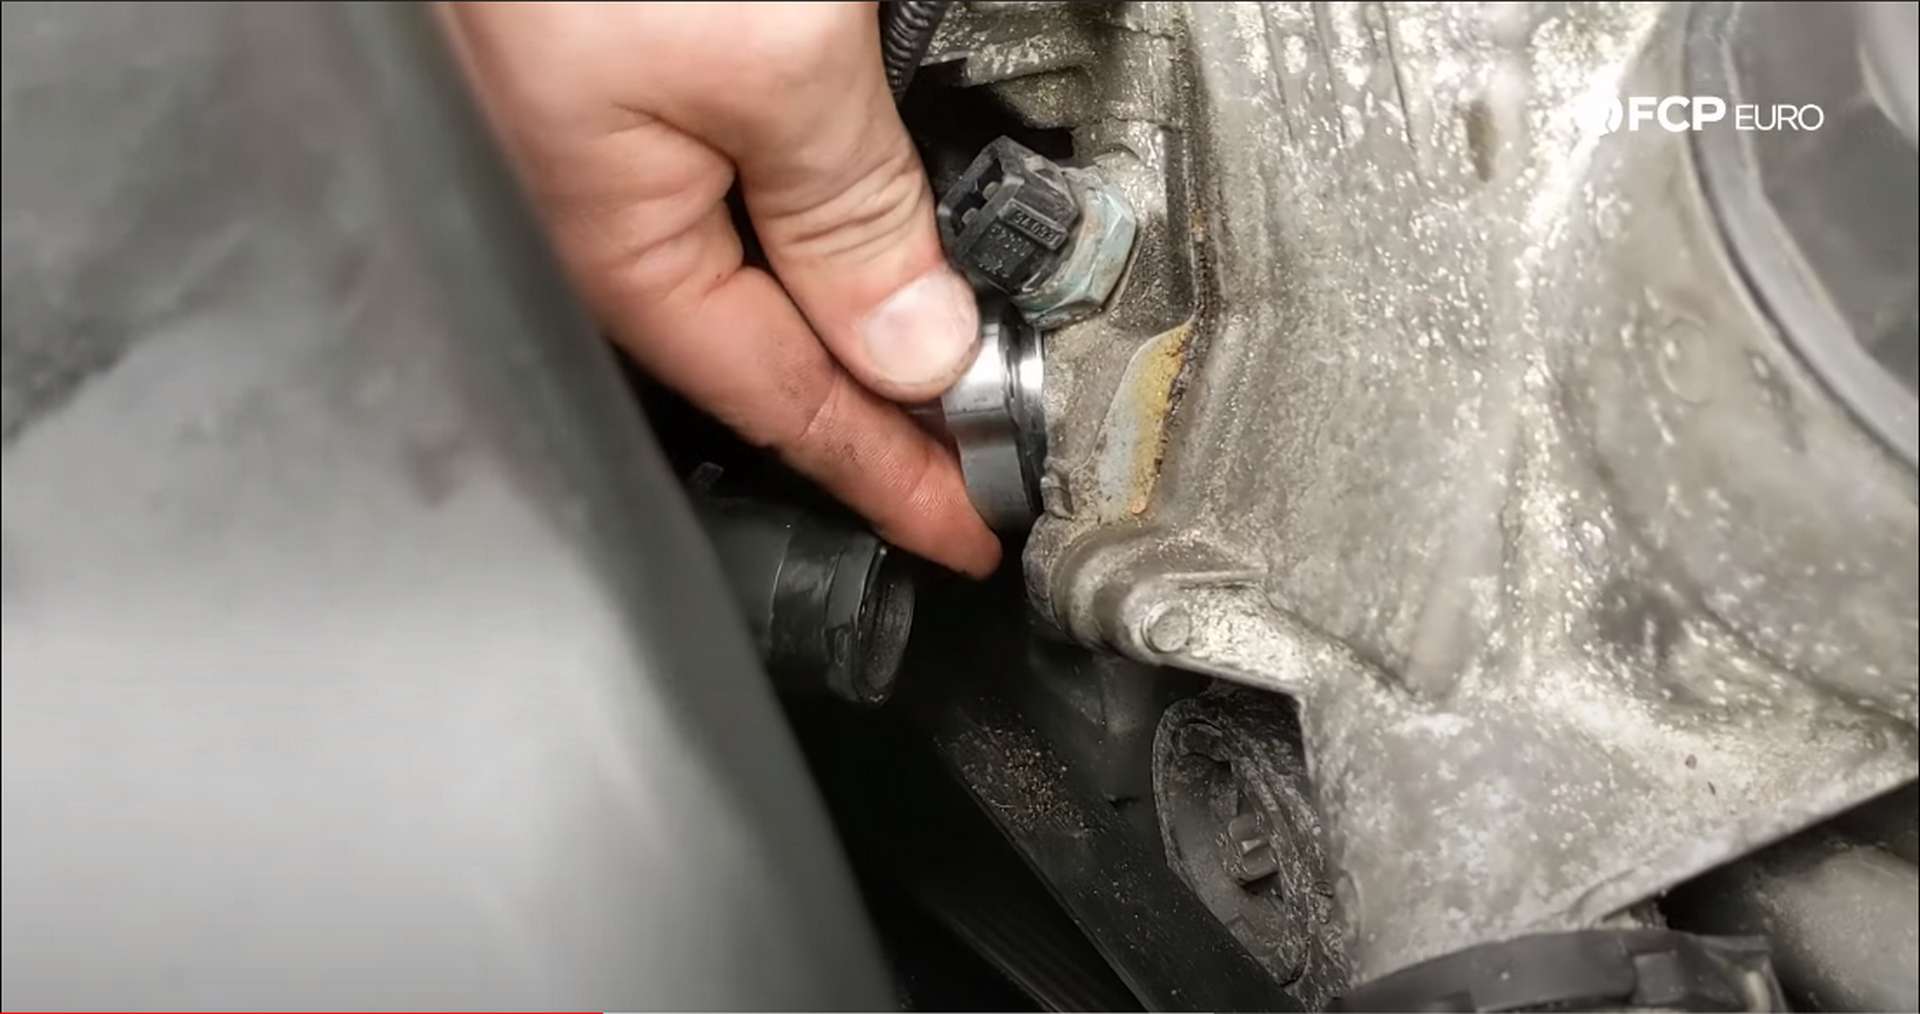
Remove them and pull the inlet out. The inlet uses an o-ring to seal itself in the engine. Corrosion will have built up around the sealing surface and o-ring, preventing the inlet from coming out quickly. Try twisting the inlet to free it from the corrosion and stick your fingers inside of the inlet to pull it out.
With the old inlet flange out, take a rag or paper towel and clean the surface and o-ring channel. A clean mating surface is critical to prevent any leaks when everything is put back together.
Step 3: Install the new coolant inlet flange
Before installing the new part, lubricate the o-ring with some new coolant. The o-ring seals the inlet and prevents the coolant from leaking out from the mating surface. Because of this, the new inlet flange will be a tight fit.
Try to keep even pressure all around the inlet flange when putting it in. Even pressure will prevent the o-ring from getting pinched. Once it is nearly there, start threading in the bolts—alternate sides when tightening to keep the even pressure. The bolts don’t require much force, so just get them snug.
Now that the new flange is installed, put the new hose clamp onto the hose. Next, slip the hose onto the new flange and using the channel locks or regular pliers, move the hose clamp up, securing the hose to the inlet flange.
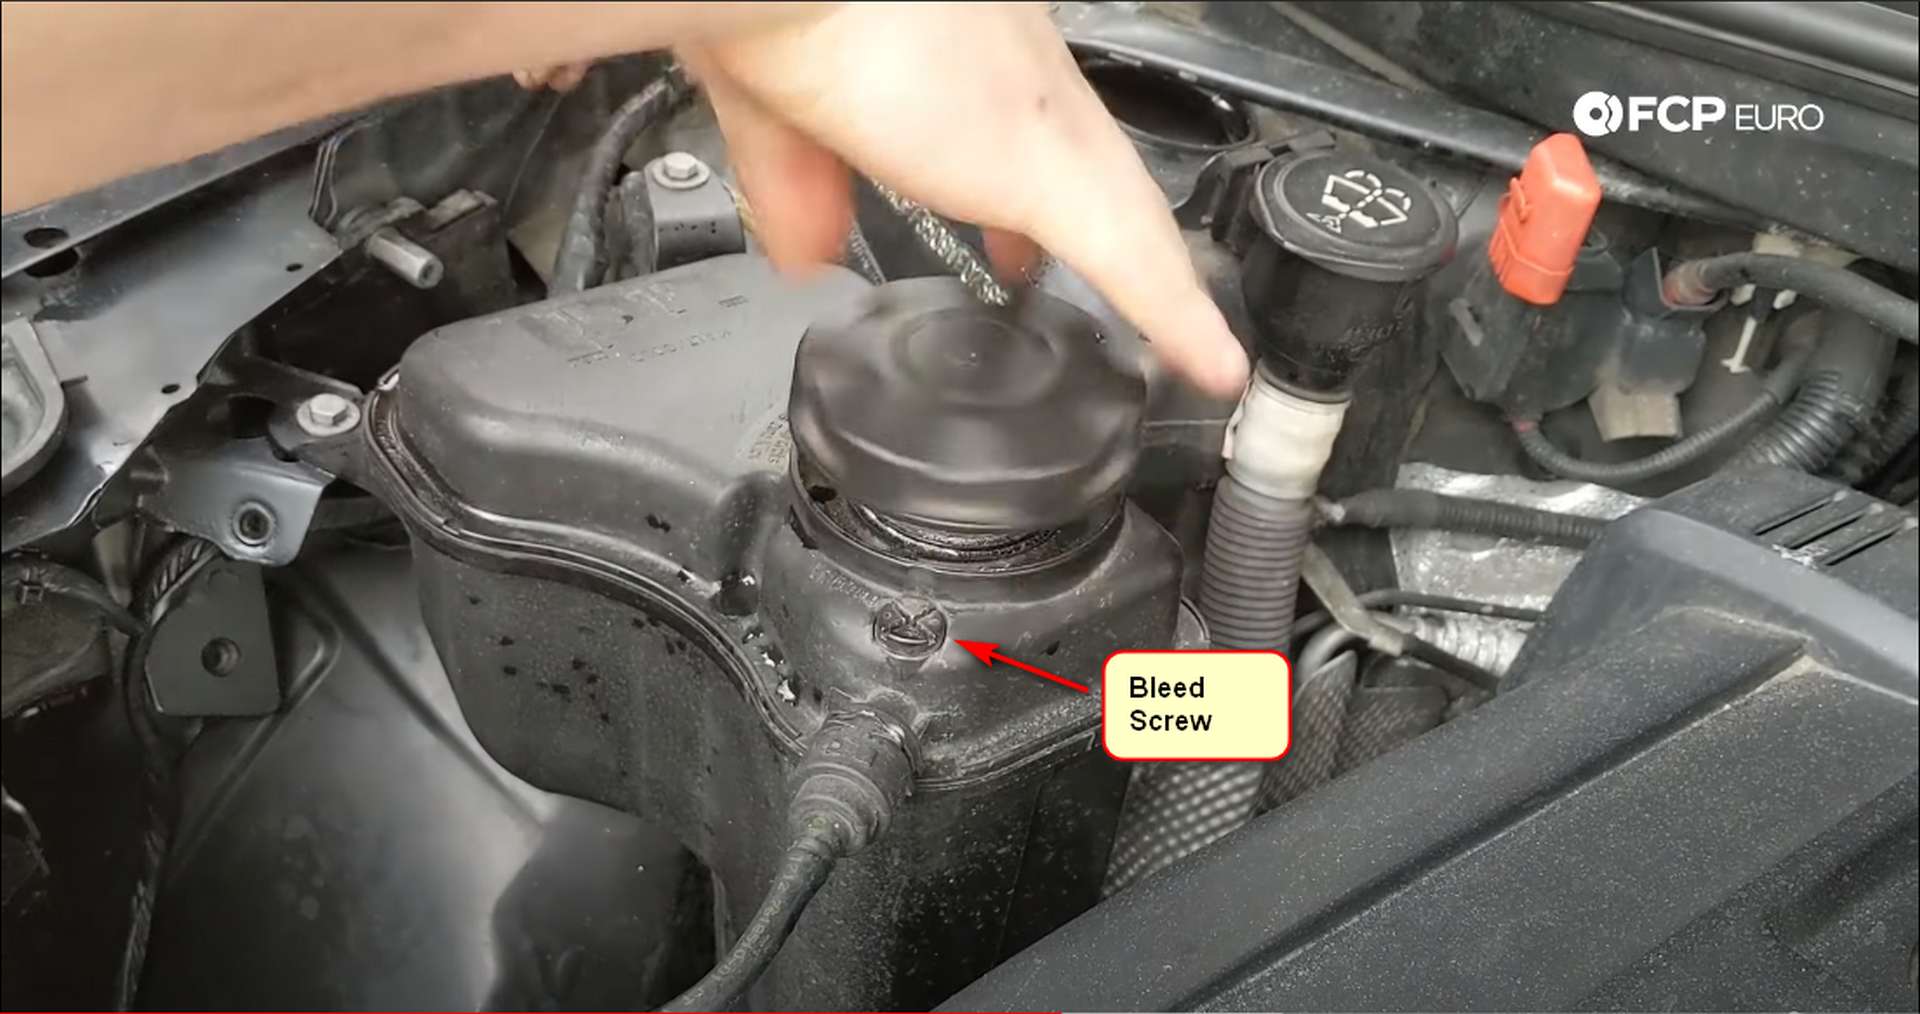
Step 4: Fill and bleed the coolant system
With everything installed, the cooling system can be refilled. Locate the expansion tank and remove the cap. Next, locate the bleed screw next to the cap and open it using a Phillips head screwdriver.
When using the coolant linked above, you need to mix it with water to create a 50/50 mix. Pre-mixed coolant is available at any auto parts store, but we recommend using genuine BMW coolant.
Pour the coolant mix into the expansion tank. As you pour the coolant in, a reddish colored plunger will rise, signaling that the tank is full. As the air gets pushed out of the system, the plunger will sink back down, and more coolant should be added.
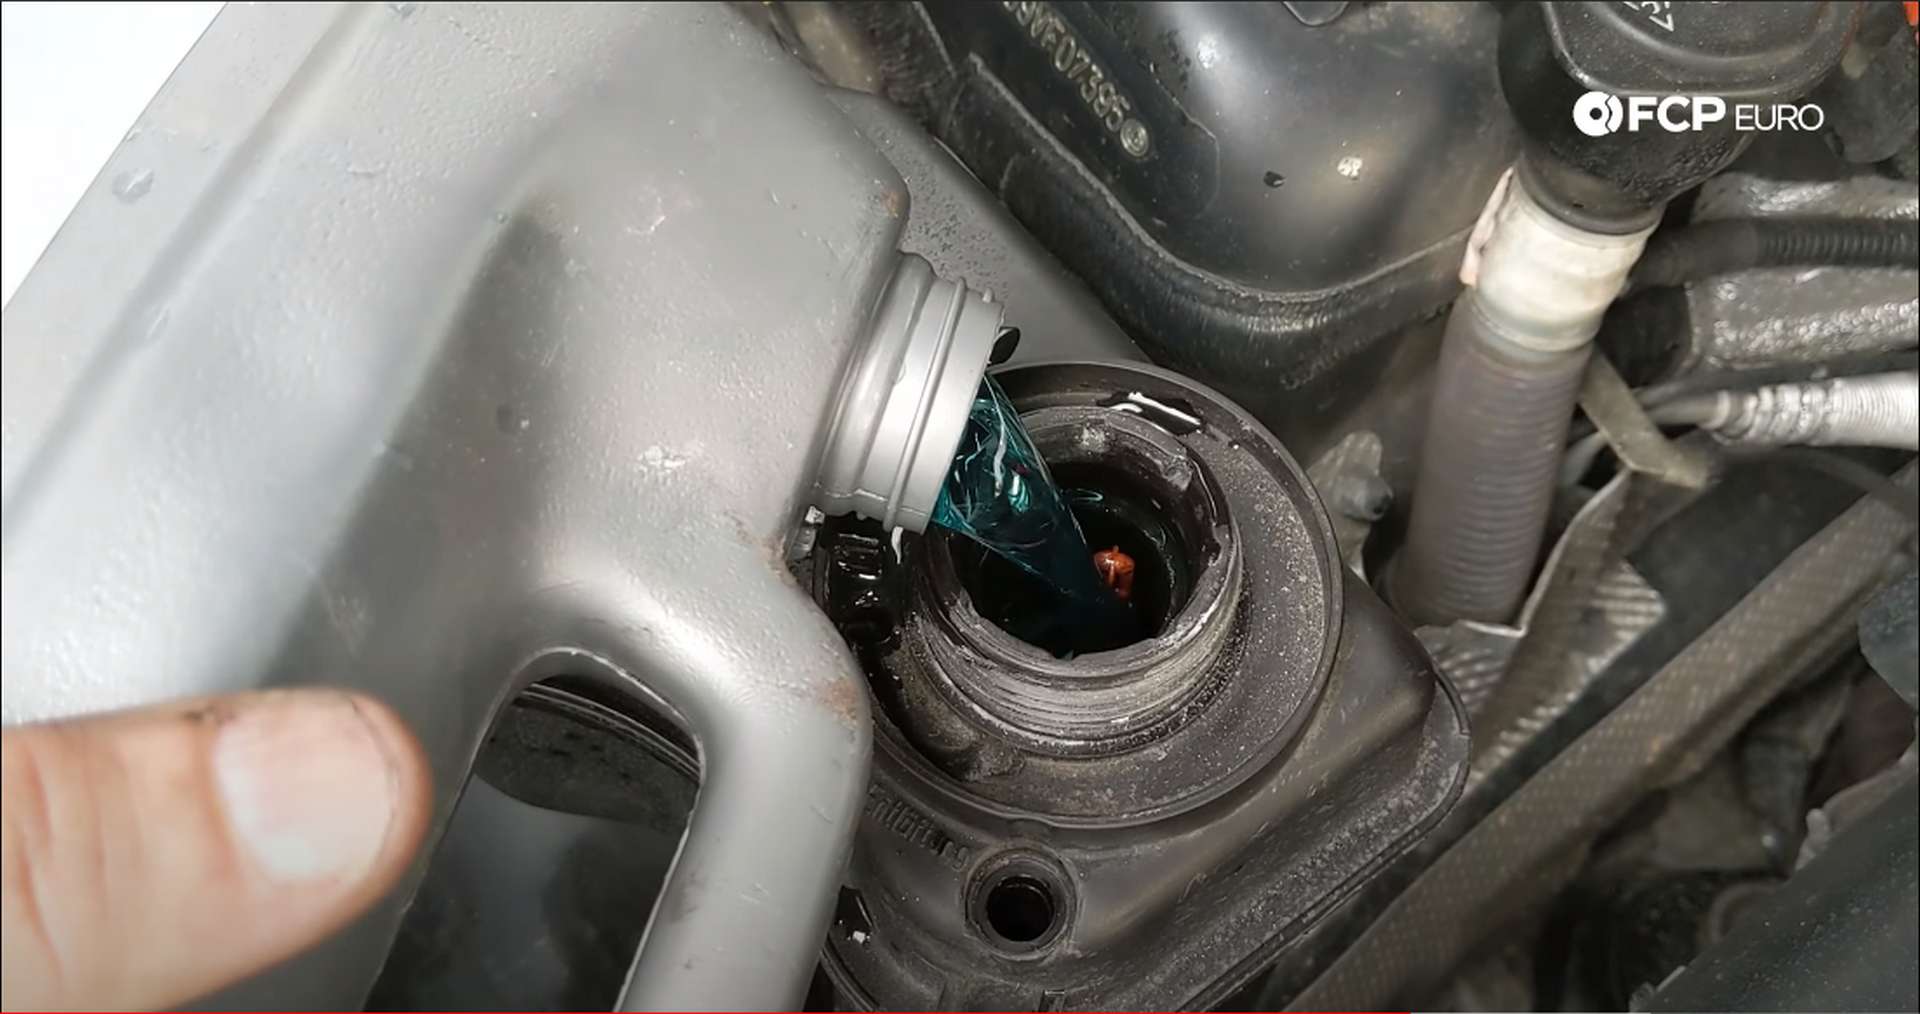
Stop adding coolant when the plunger is sticking out of the tank and is no longer sinking back into it. Put the cap and bleed screw back on, and get into the driver’s seat.
Put the key into the ignition and turn on the accessory power. Next, set the heat on high and put the fans on low. Next, hold down the gas pedal for fifteen seconds. This will trigger the electric water pump to run its bleeding cycle. The pump will run for around fifteen minutes. When the pump stops running, open up the expansion tank cap and look at where the plunger is. The top of the threads for the cap need to be between the two dots on the plunger.

If the plunger is too low, add some coolant. Siphon out some coolant if the two dots are above the top of the threads. With the coolant level set, put the can back on and take the car for a test drive.
Your cooling system is back to full health and can hold all of its coolant now that you’ve replaced the broken coolant inlet flange. You can drive worry-free knowing that you won't have this issue ever again.
If you’re interested in more DIYs for your BMW, you can visit bmw.fcpeuro.com or subscribe to our YouTube channel.
bmw