- 10/15/2020
- 5 Min Read
- By: Christian Schaefer
How To Replace The Rear Brake Pads & Rotors On A Mercedes-Benz W211/W212 (E320, E350, E550 & More)

No matter what position of your vehicle they are, the condition of your brakes is incredibly important. Without them, you’re a liability to yourself and everyone around you. On all cars, including the Mercedes W211 and W212, the brakes will be larger at the front to prevent the rear of the car slowing quicker than the front, causing you to lose control. Even though the rear brakes are smaller than the fronts, it's just as important to replace them.
Modern disc brakes are cheap, reliable, and easy to maintain. Replacing the pads and rotors is a job anyone can accomplish with simple hand tools and an afternoon. Follow along with the DIY to understand just what it takes to service your rear brakes.
Mercedes models and years applicable:
|
|
|
|
|
|
What are the symptoms of bad rear brakes on a Mercedes W211/W212?
- A grinding coming from the rear, under braking
- Juddering or a vibration coming from the rear, under braking
- Deep grooves on the rotor surface
- Dark-colored deposits on the rotor surface
While doing less work than the front brakes, the rears are just as important. Because of the reduction of work done by the rears, the components will be smaller and cheaper to replace. The reduction in work will also make worn brake pads and rotors less noticeable than the fronts.
Grinding from the brakes indicates that the brake pad material has completely worn away and the metal backing is making contact with the rotor. The car can be driven under these conditions, but comes with a reduction in safety. Park the vehicle until you can change the brakes or until they can be serviced by a professional.
How long will it take to change the rear brakes on Mercedes W211/W212?
A safe estimate for a rear brake job is around an hour and a half. The condition of the hardware underneath the vehicle will directly impact the ease and speed of the job. Have a can of rust penetrant handy if you live in an area where rust is normal.
How much will it cost to change the rear brakes on a Mercedes W211/W212?
The kit we offer for this job comes with everything you’ll need to complete the job for $130.37. Additionally, we recommend buying the Lisle caliper spreader, especially if you plan to do more brake jobs in the future. The tool costs $37.75.
A dealership or independent shop will charge you more for parts. Along with the added labor cost, the job will cost around double the parts cost to have it completed by a professional.
Tools required to change the rear brakes on a Mercedes W211/W212:
- Floor Jack
- Jack Stands
- T30 Torx Socket
- 7mm Allen Socket
- 17mm Socket
- 18mm Socket
- 18mm Wrench
- Ratchets
- Lisle Caliper Spreader
- Torque Wrench
Parts required to change the rear brakes on a Mercedes W211/W212:
Steps required to change the rear brakes on a Mercedes W211/W212:
Step 1: Remove the caliper
First, jack up the rear of the vehicle and remove the wheels using a 17mm socket. Hit the wheel with the palm of your hand if it stays stuck to the brake rotor after the lug bolts are removed. Now would be a great time to check the vehicle’s tires’ condition with the wheel removed. Look for any uneven wear and cracking on the tread. If the tread is down to the wear bars, start thinking about a new set.
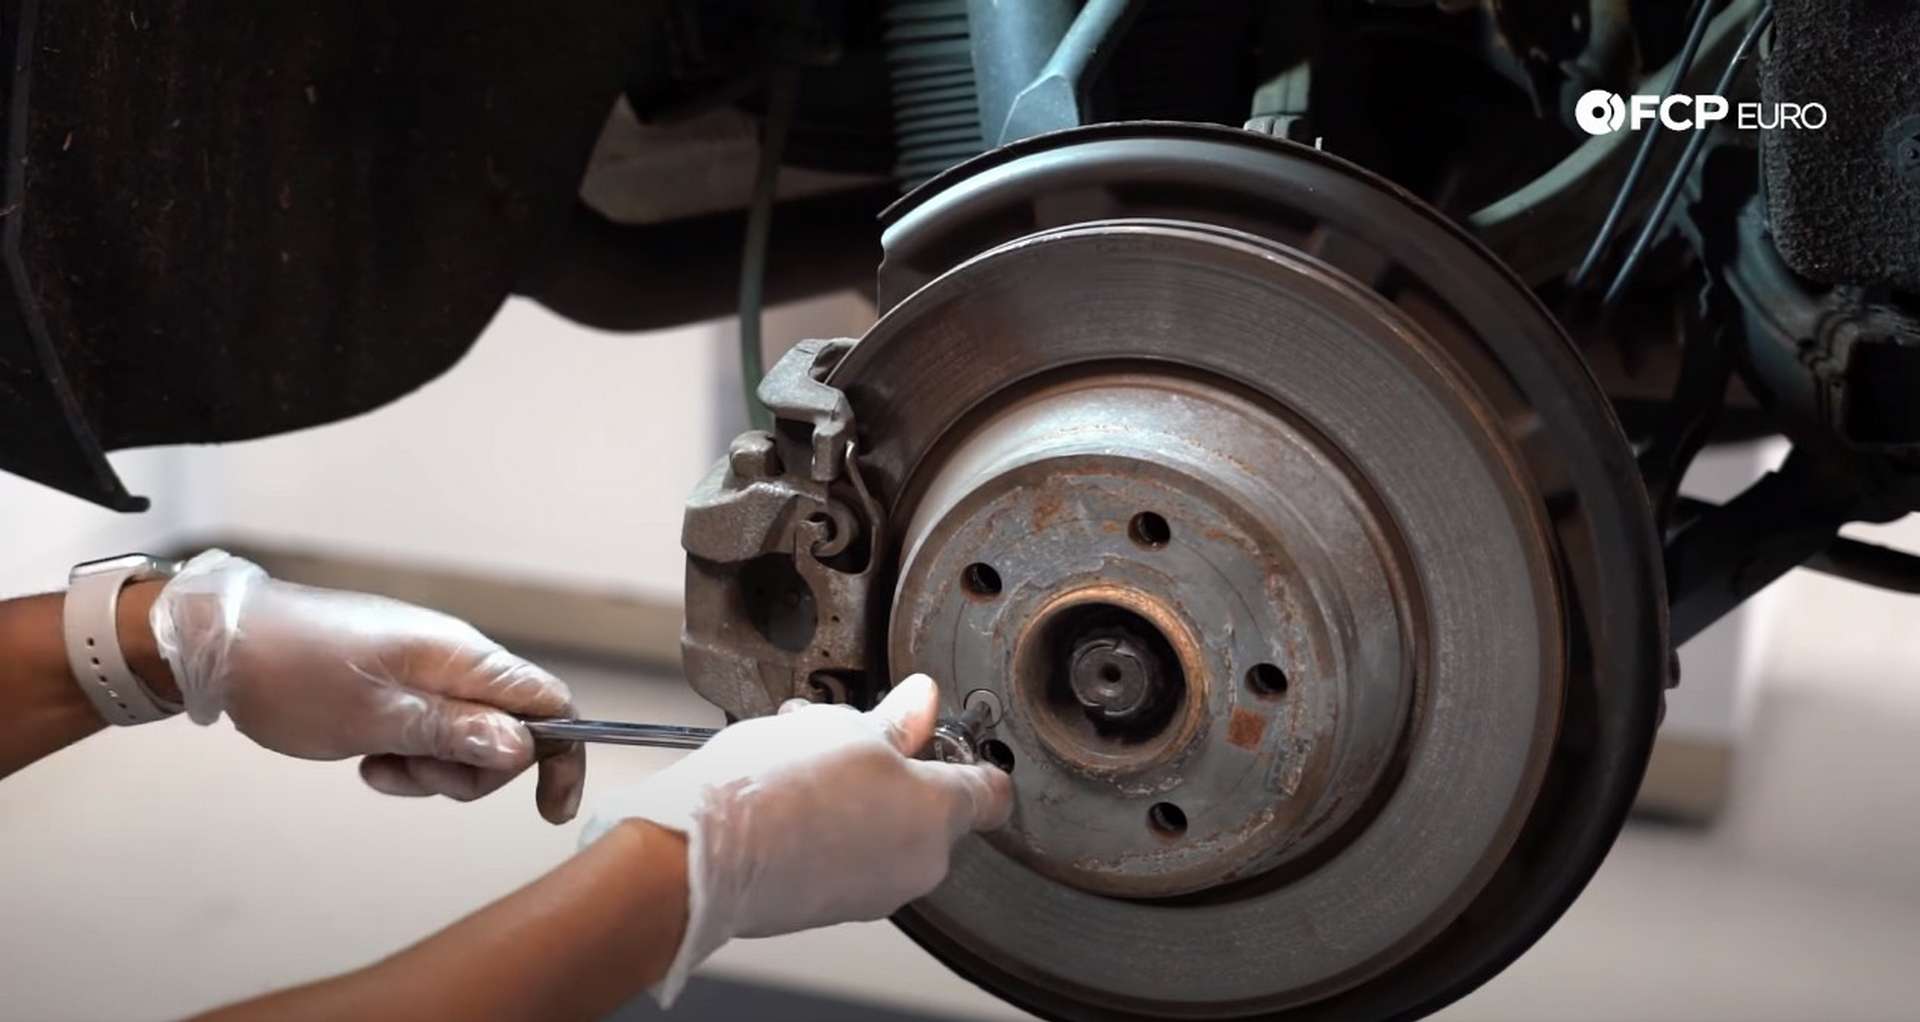
Next, remove the rotor set screw with a T30 socket. The set screws strip easily, so be sure that the socket is fully seated into the screw before attempting removal.
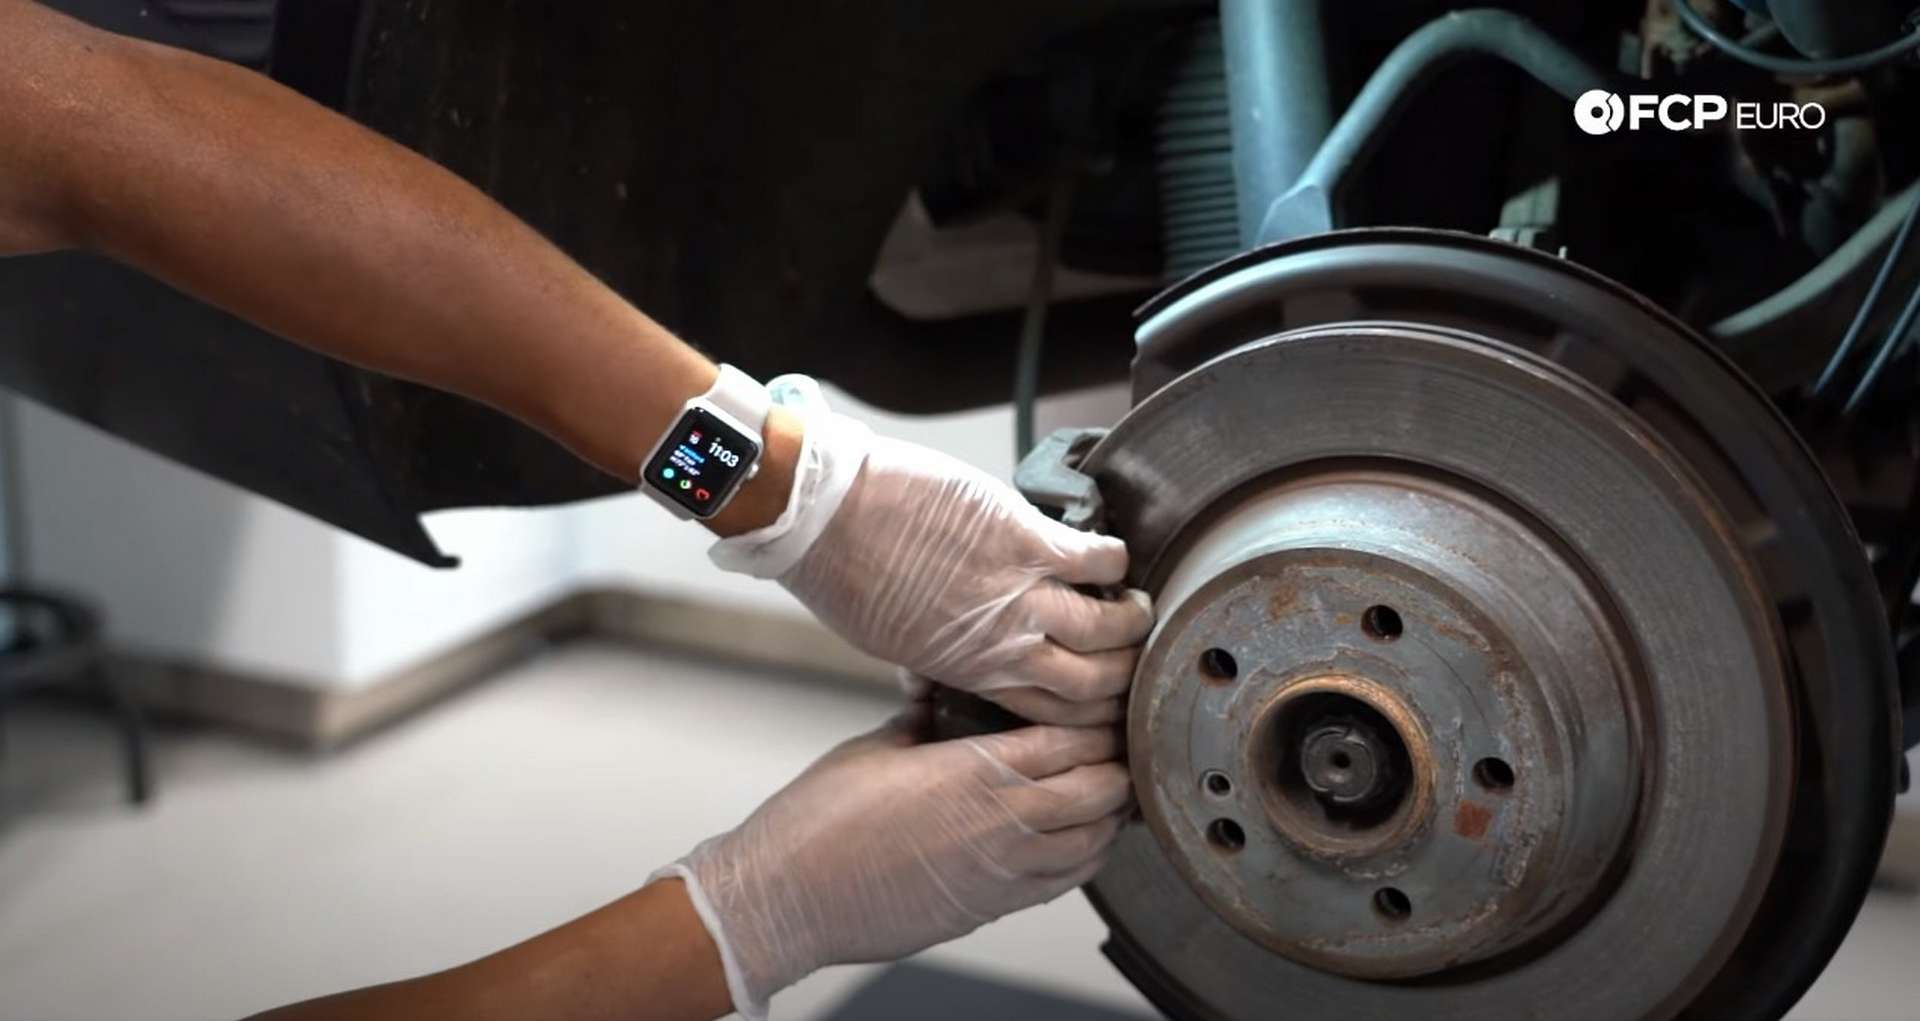
Then, remove the caliper’s anti-rattle clip. Grab the clip, pull it towards the back of the car, and then pull it out and away from the rotor.
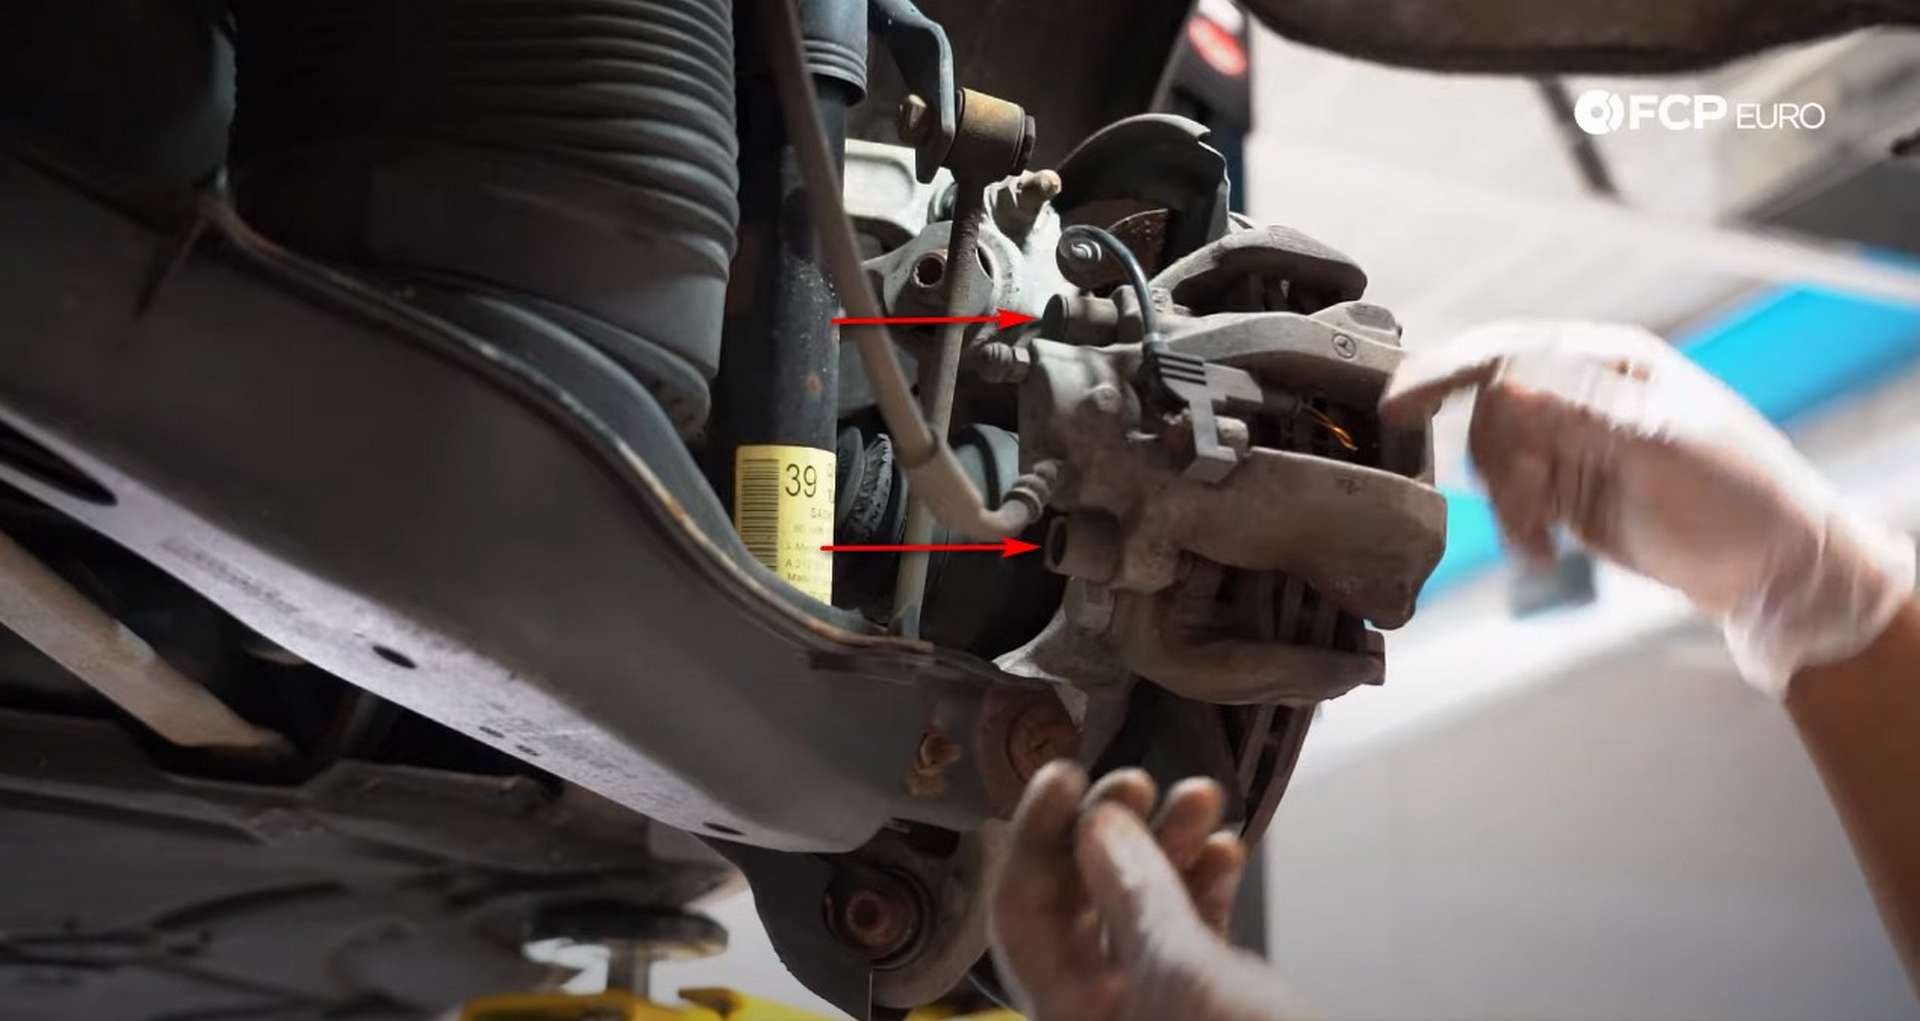
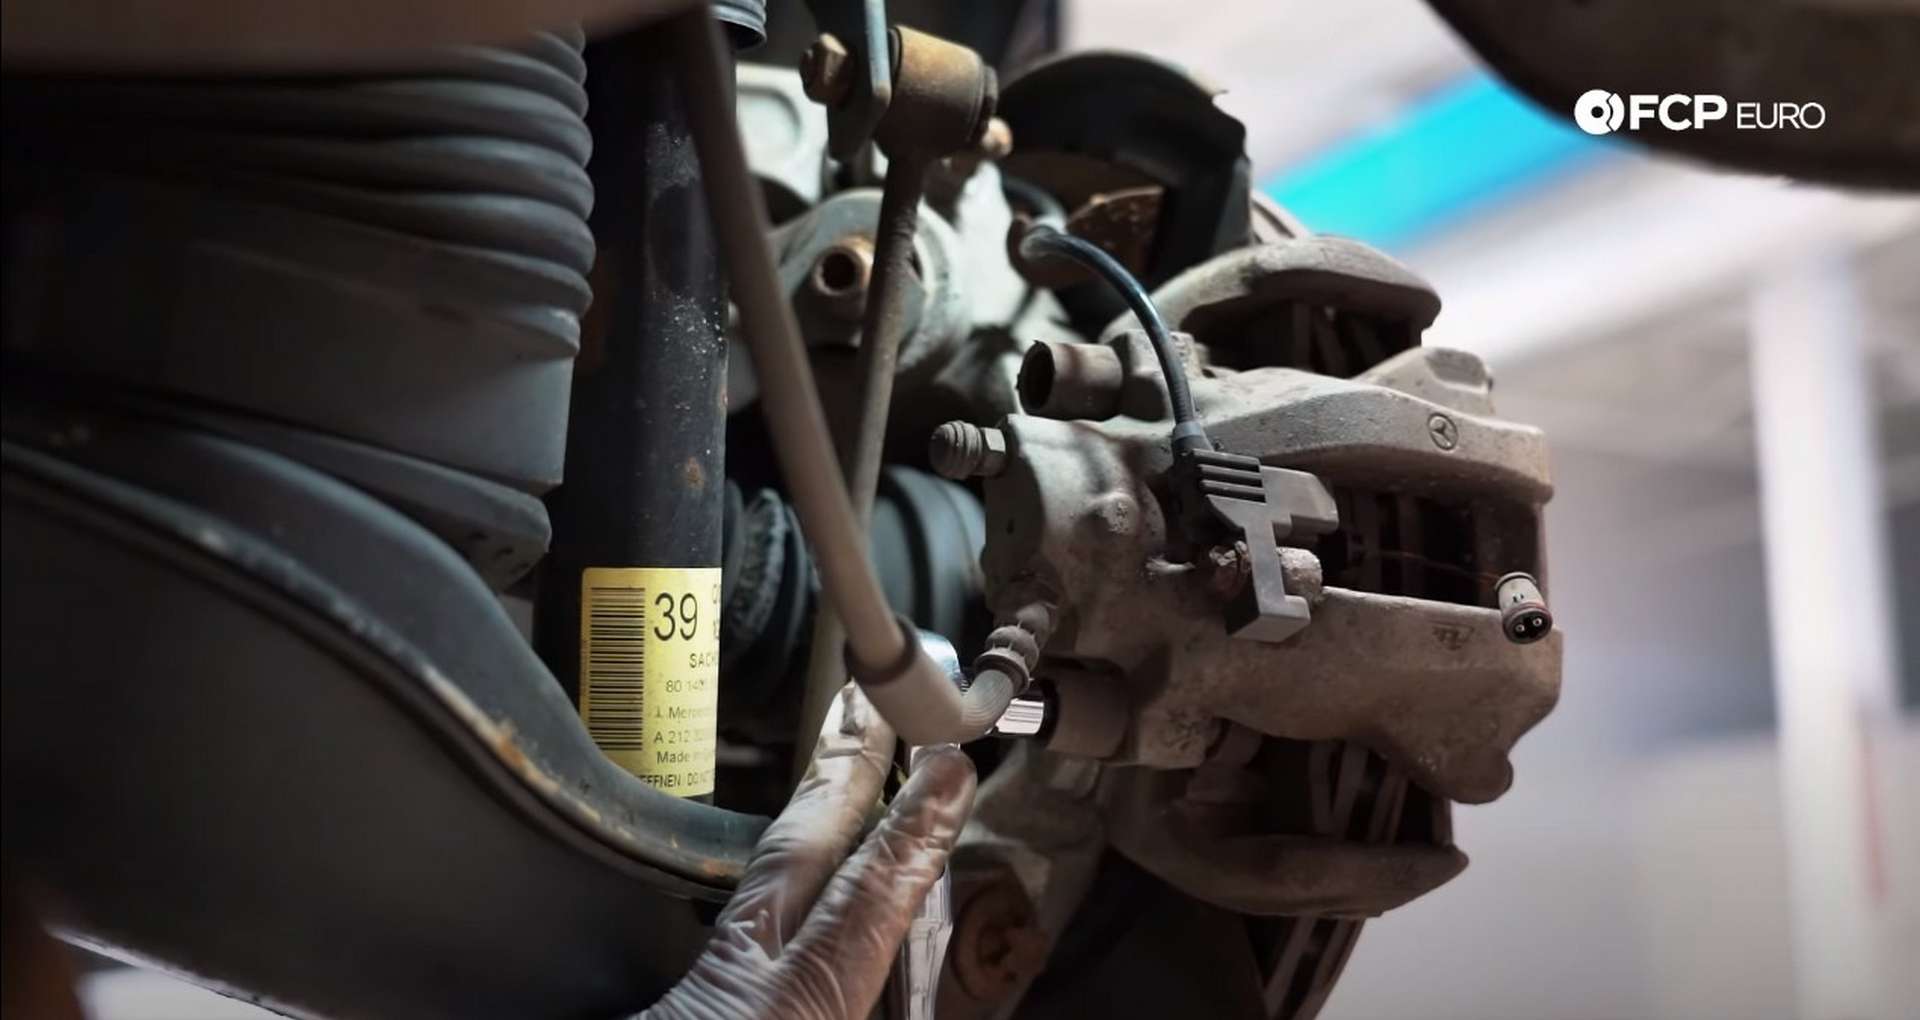
Above and below the caliper’s piston are two caliper guide pins. Remove the dust caps from the ends, and then unplug the brake pad wear sensor from the caliper. After that, use a 7mm Allen wrench or socket to remove the two caliper guide pins.
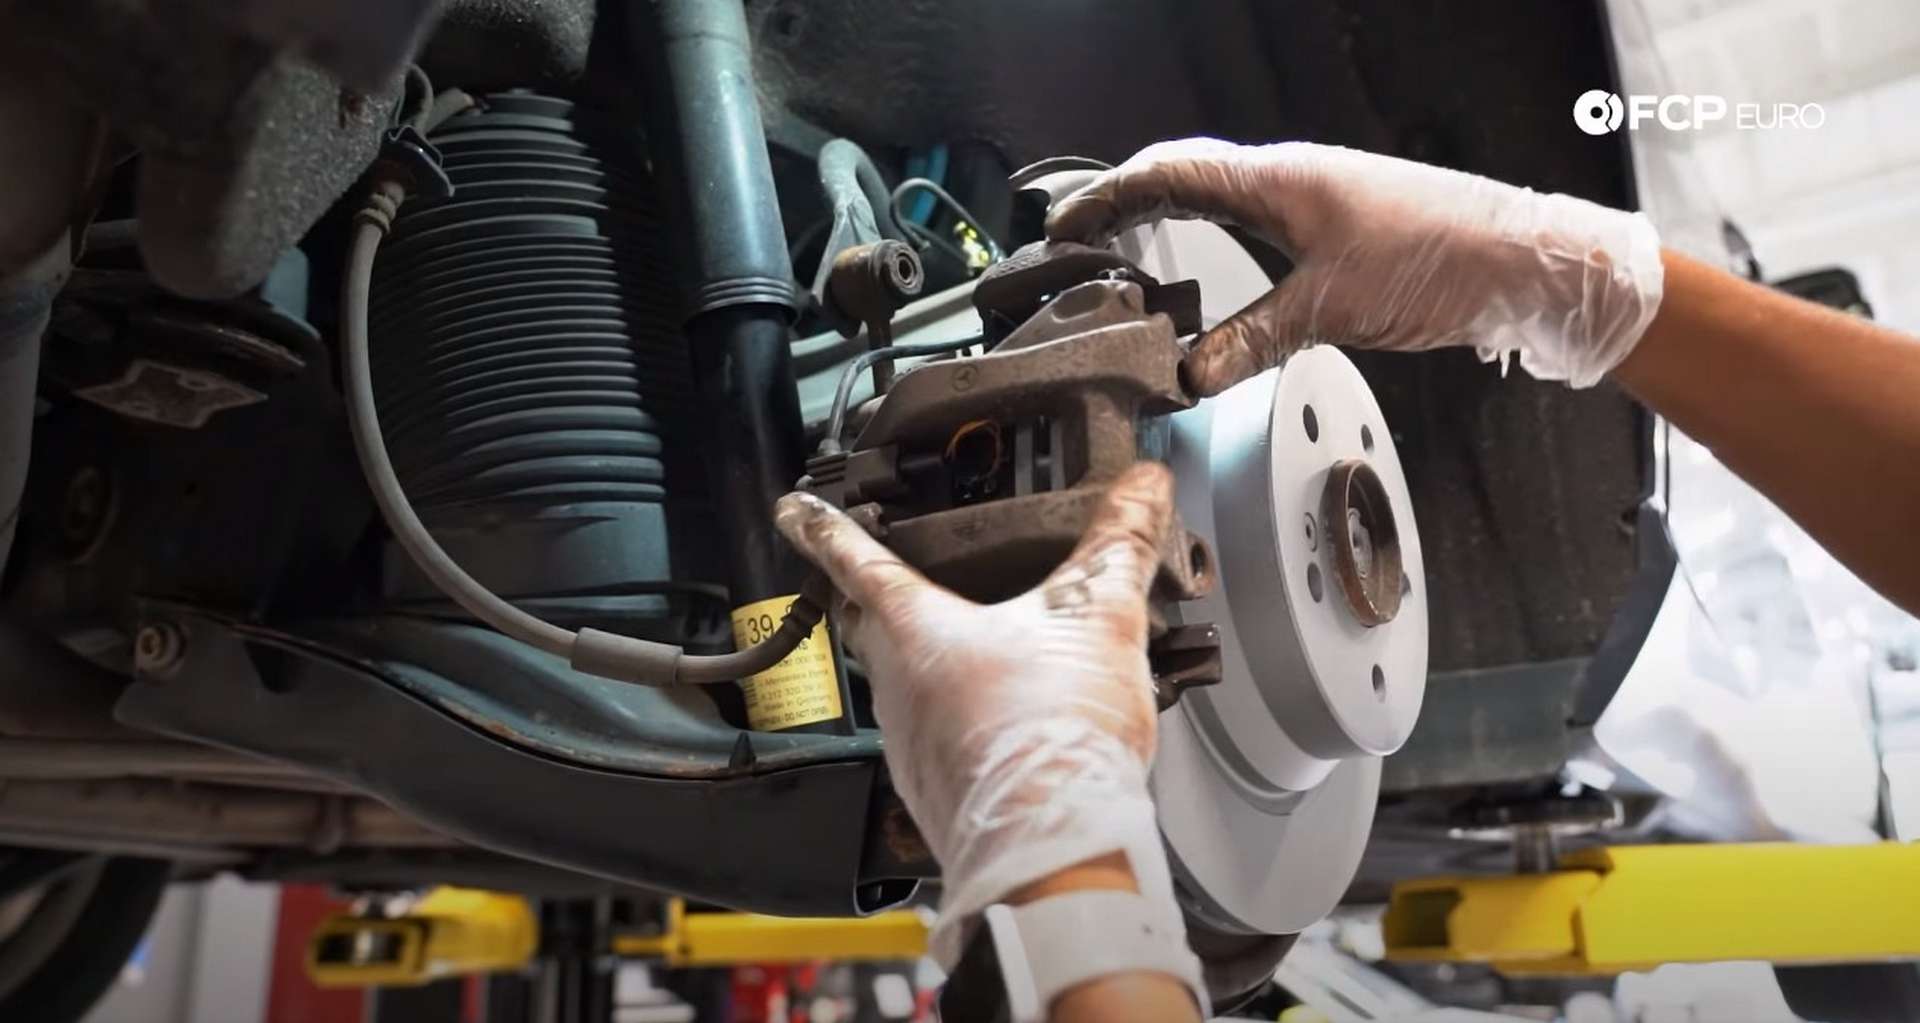
Pull the caliper off of the rotor once after the guide pins are removed. Don’t let the caliper dangle by its rubber brake line. Doing so will stress the line, potentially leading to a leak or line failure. Use a bungee cord or some zip-ties to hang the caliper out of the way on the control arm or near the sway bar end link.
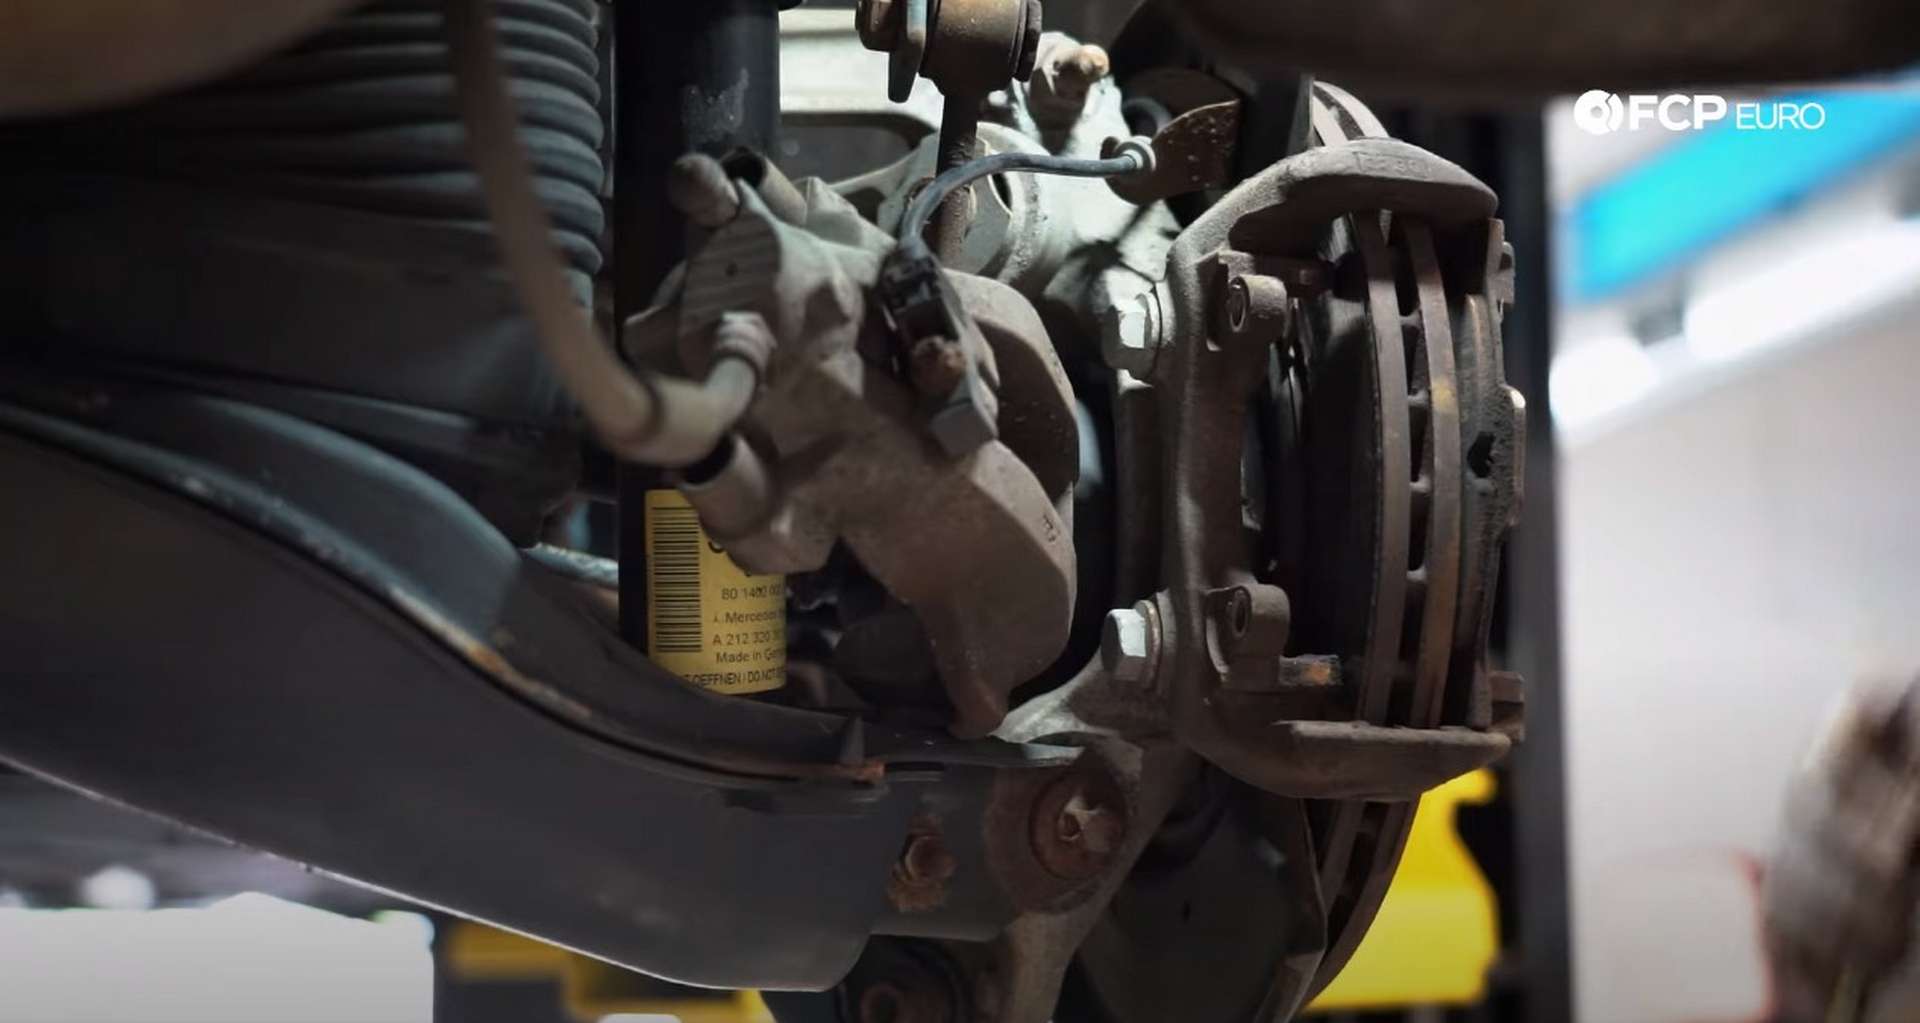
The outer pad will stay sitting in the caliper bracket, and the rear pad will remain with the caliper while you remove it. Pull the pads out of the caliper and the bracket, and throw them away.
Step 2: Remove the rotor
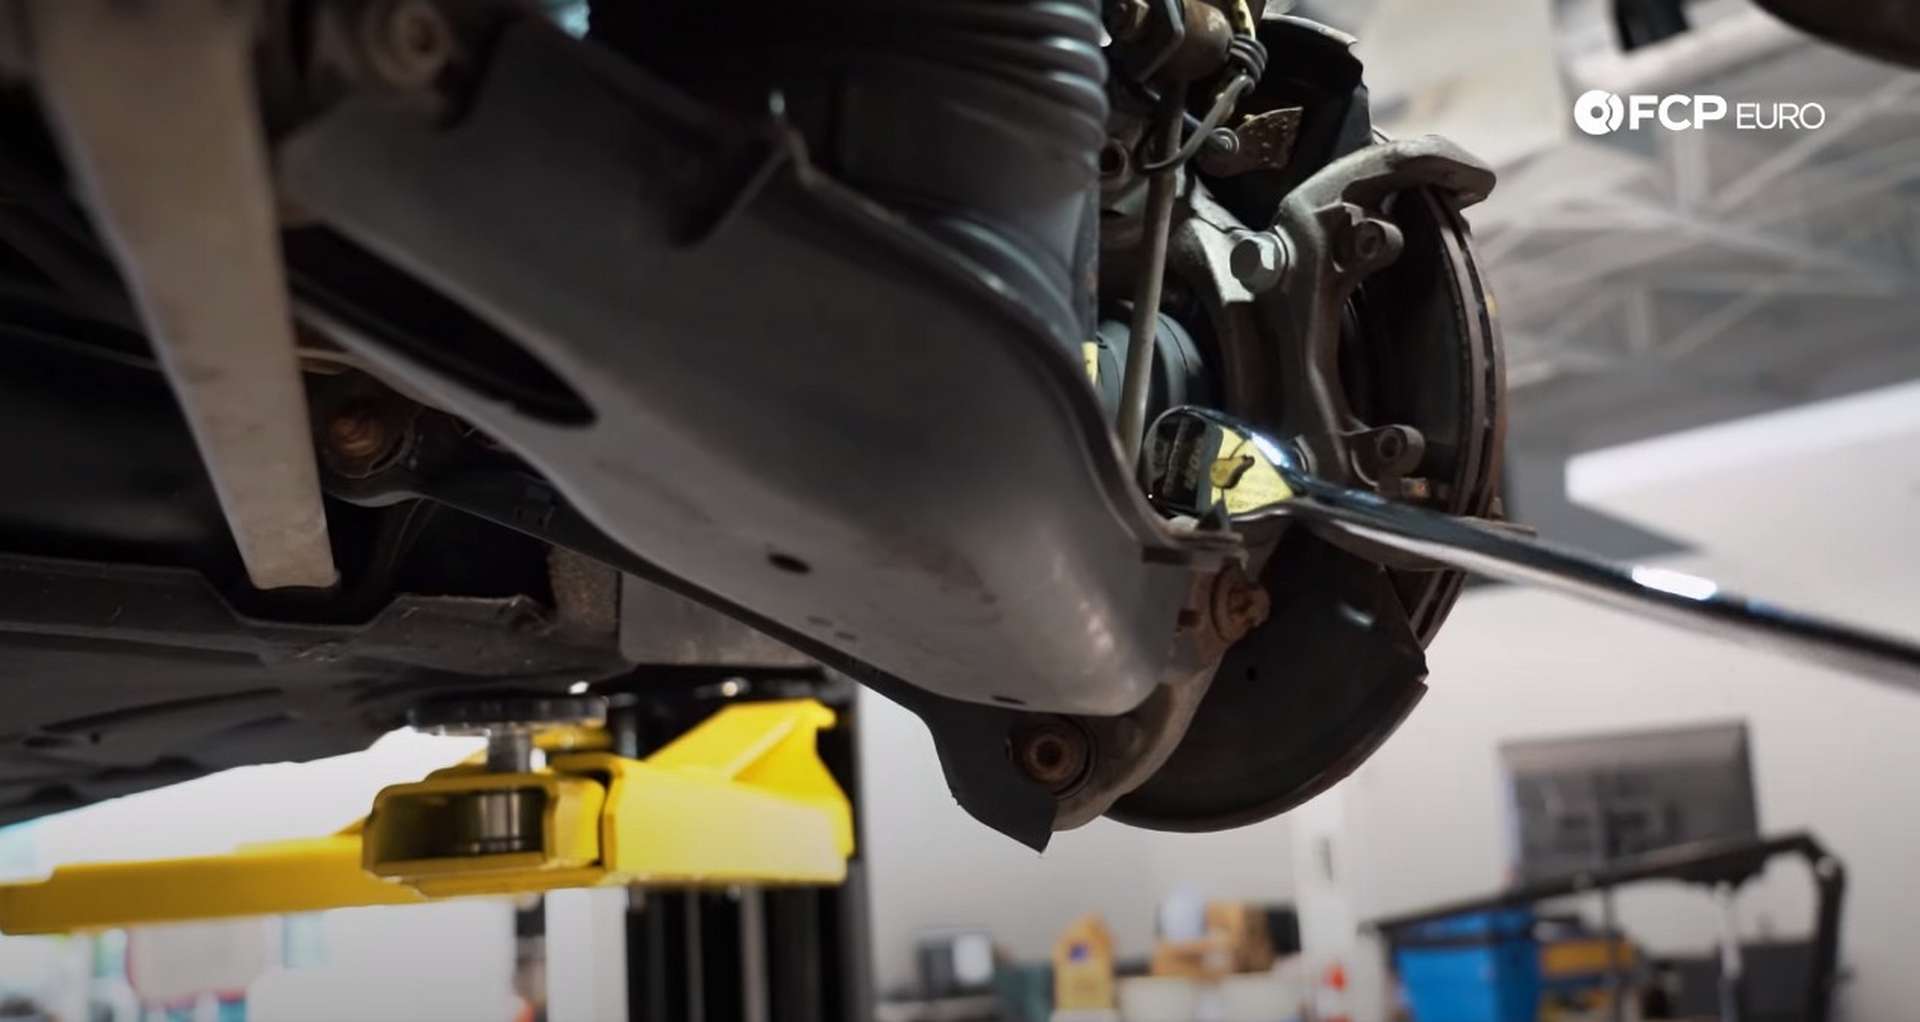
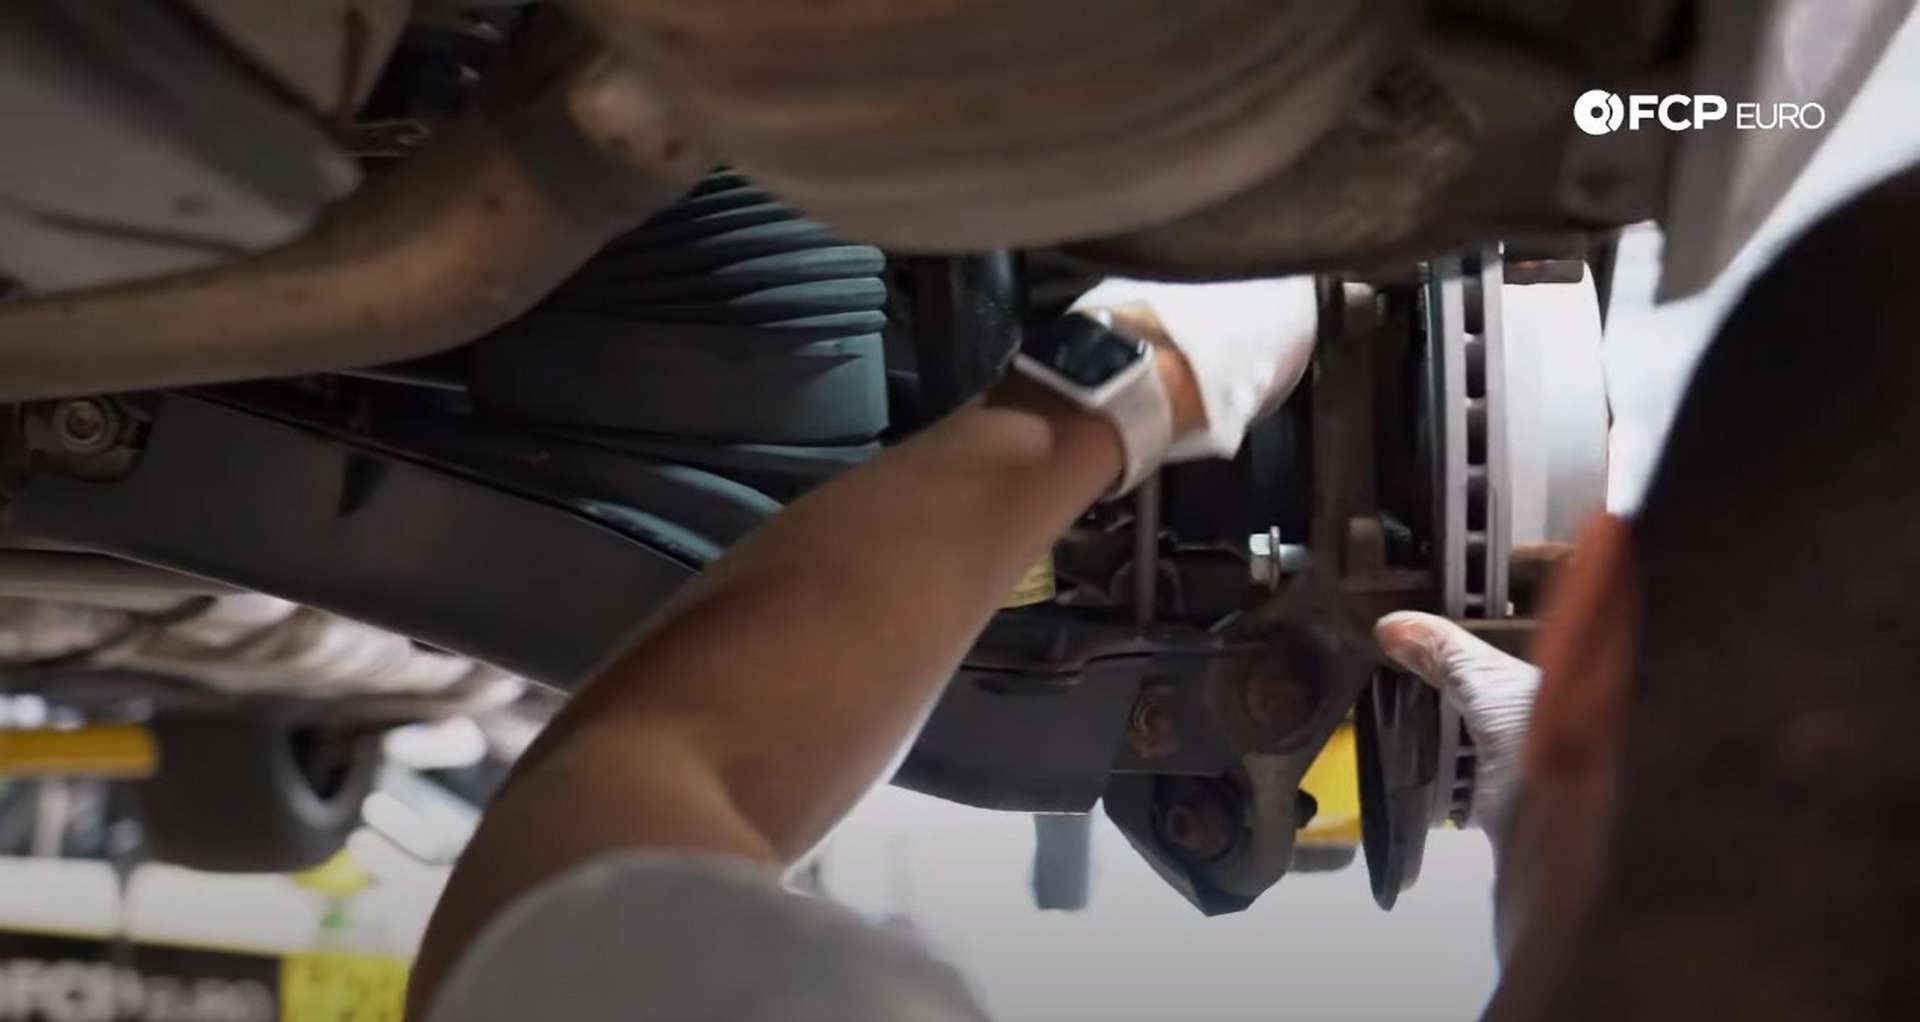
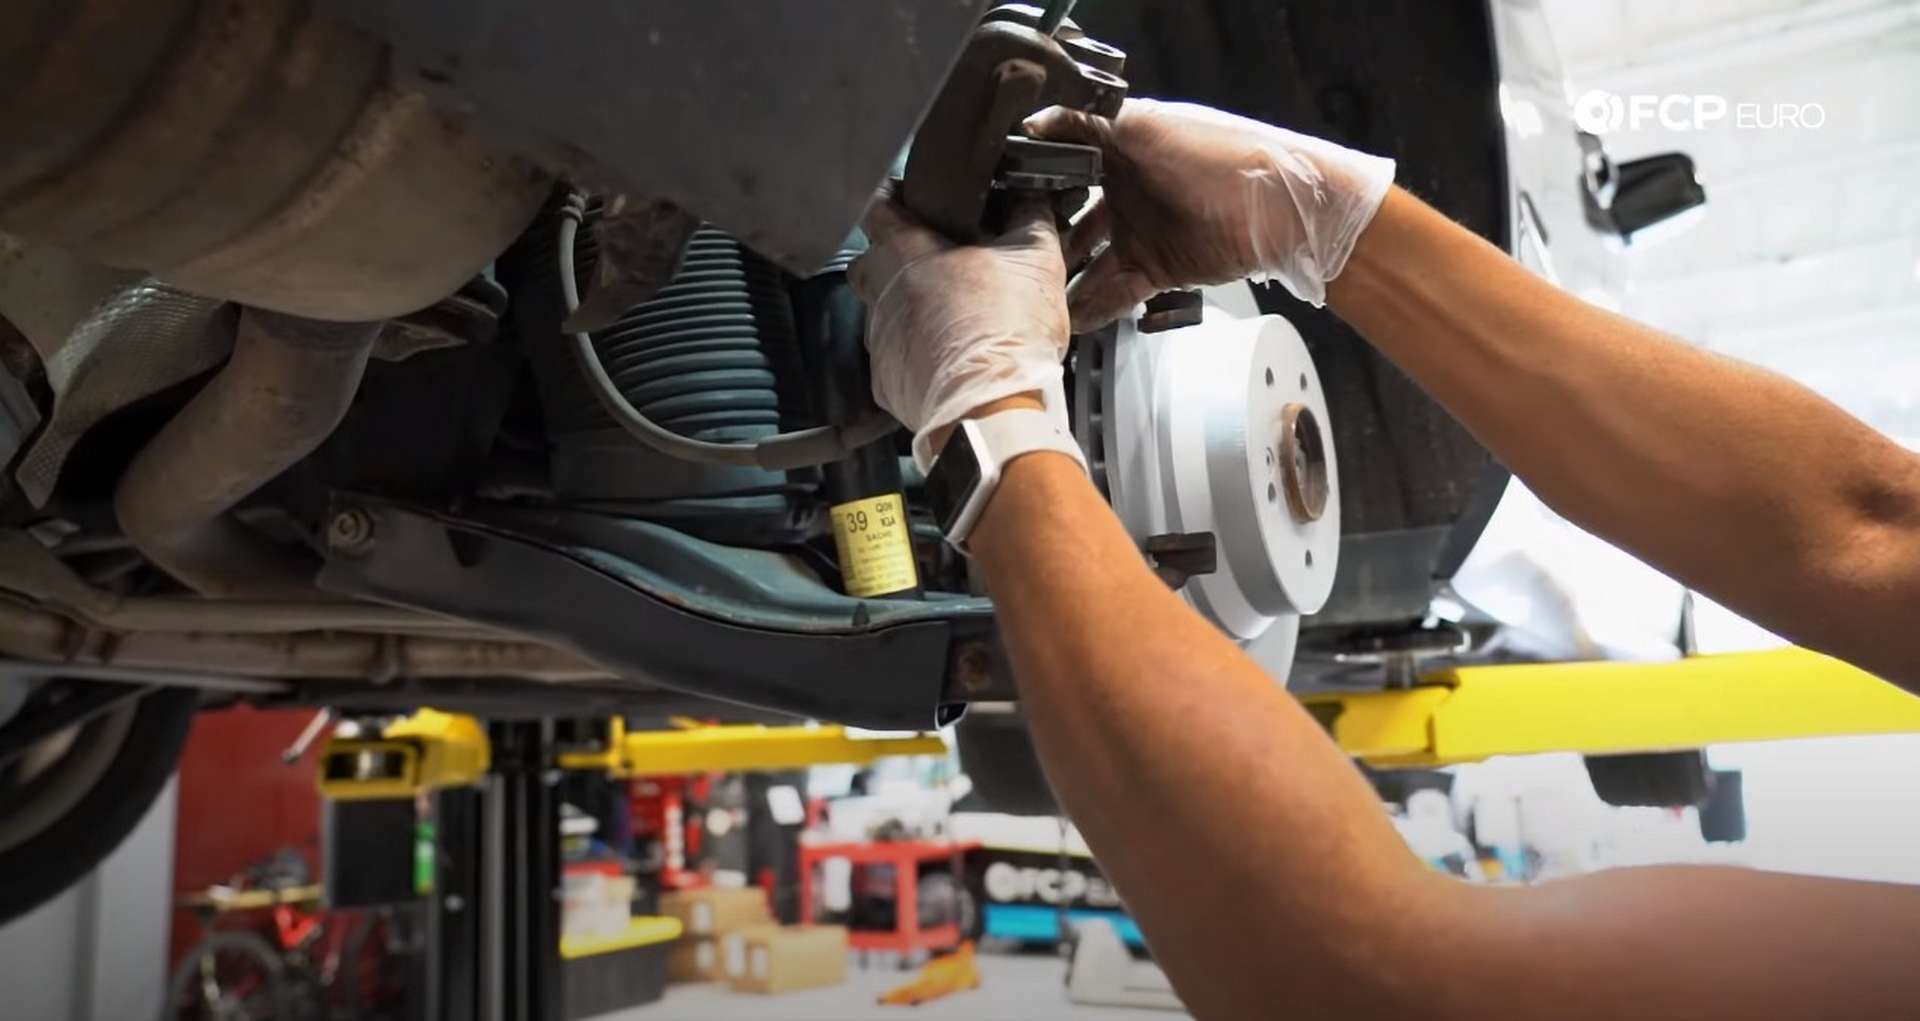
Use an 18mm wrench or socket to remove the caliper bracket bolts. You may need to use a socket on one bolt and a wrench on the other due to a lack of available space.
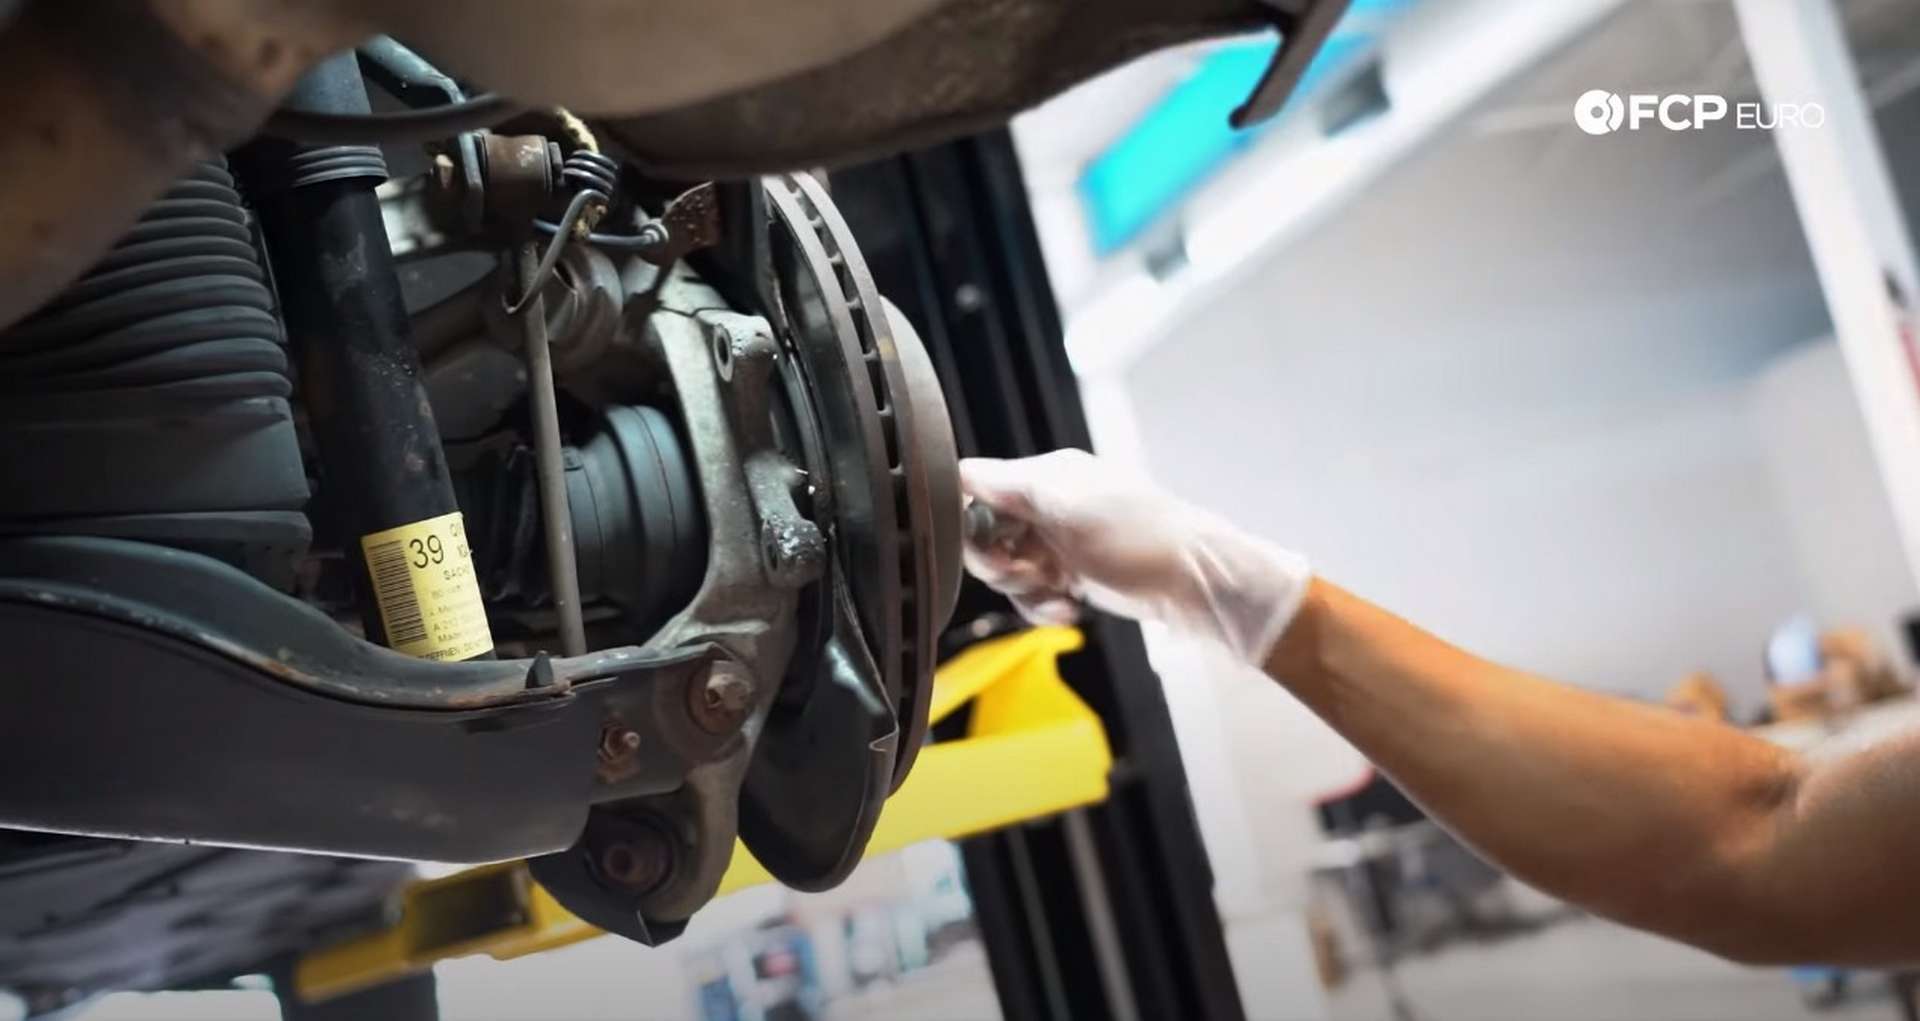
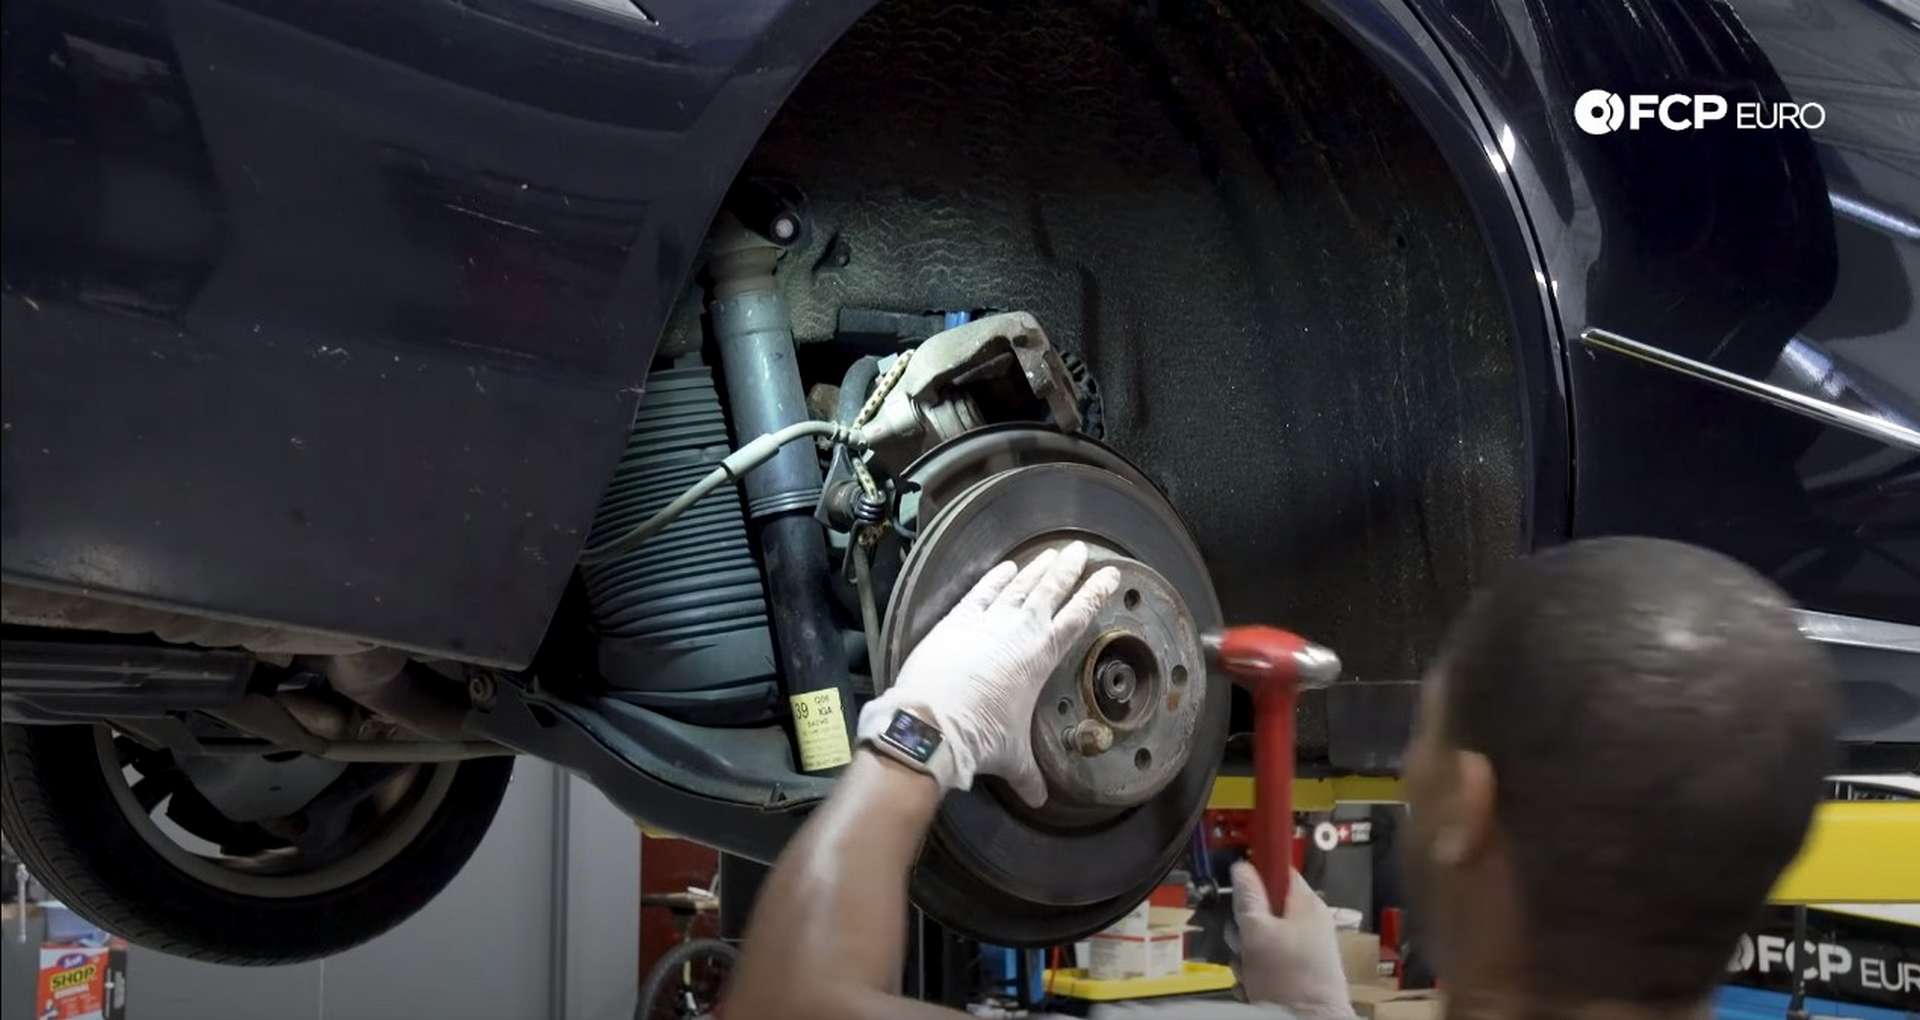
Pull the bracket off once the bolts are removed. Now you can remove the rotor. The chances are that corrosion has built up between the back of the rotor and the wheel hub’s face that prevents the rotor from wanting to be removed. Thread in a lug bolt and then hit the rotor with a mallet or hammer to break the rotor free from corrosion. The lug bolt is there to prevent the rotor from falling off.
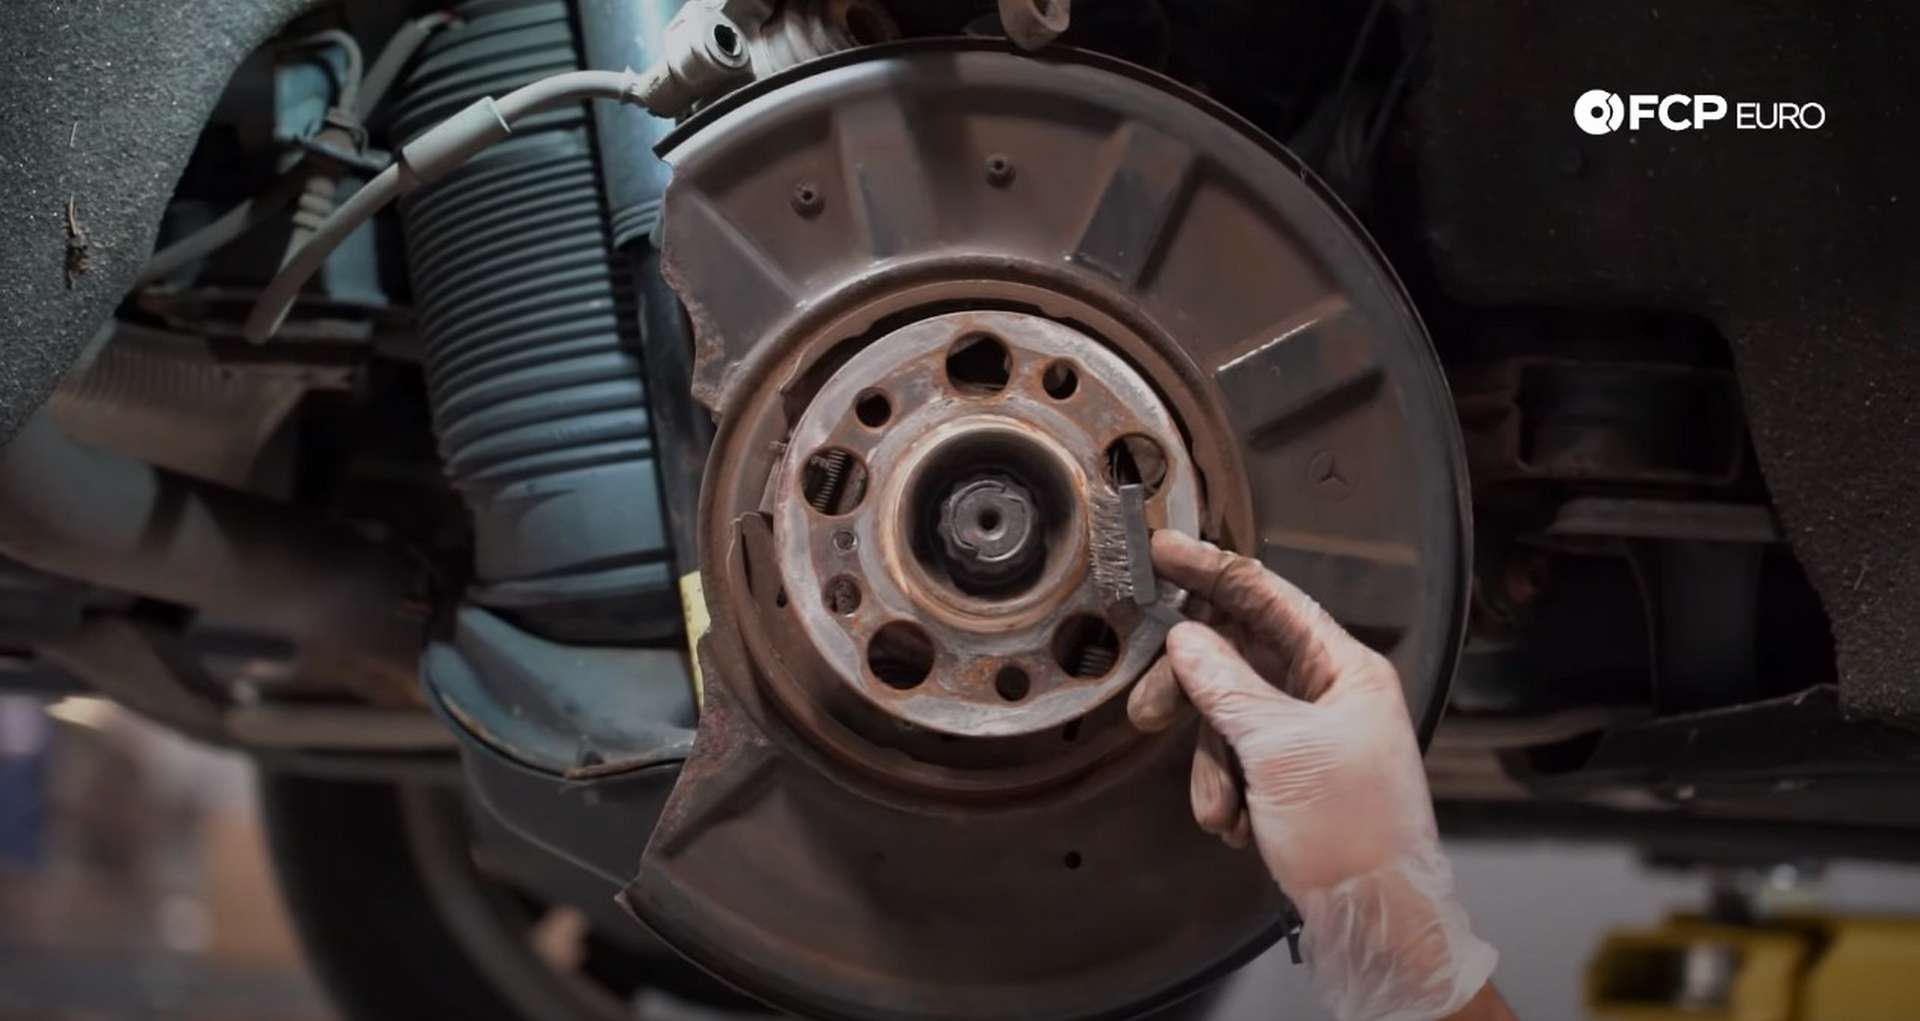
Now is a good time to give the disassembled brakes a clean. Use a wire brush and some brake clean to remove any corrosion from the caliper bracket and the wheel hub face.
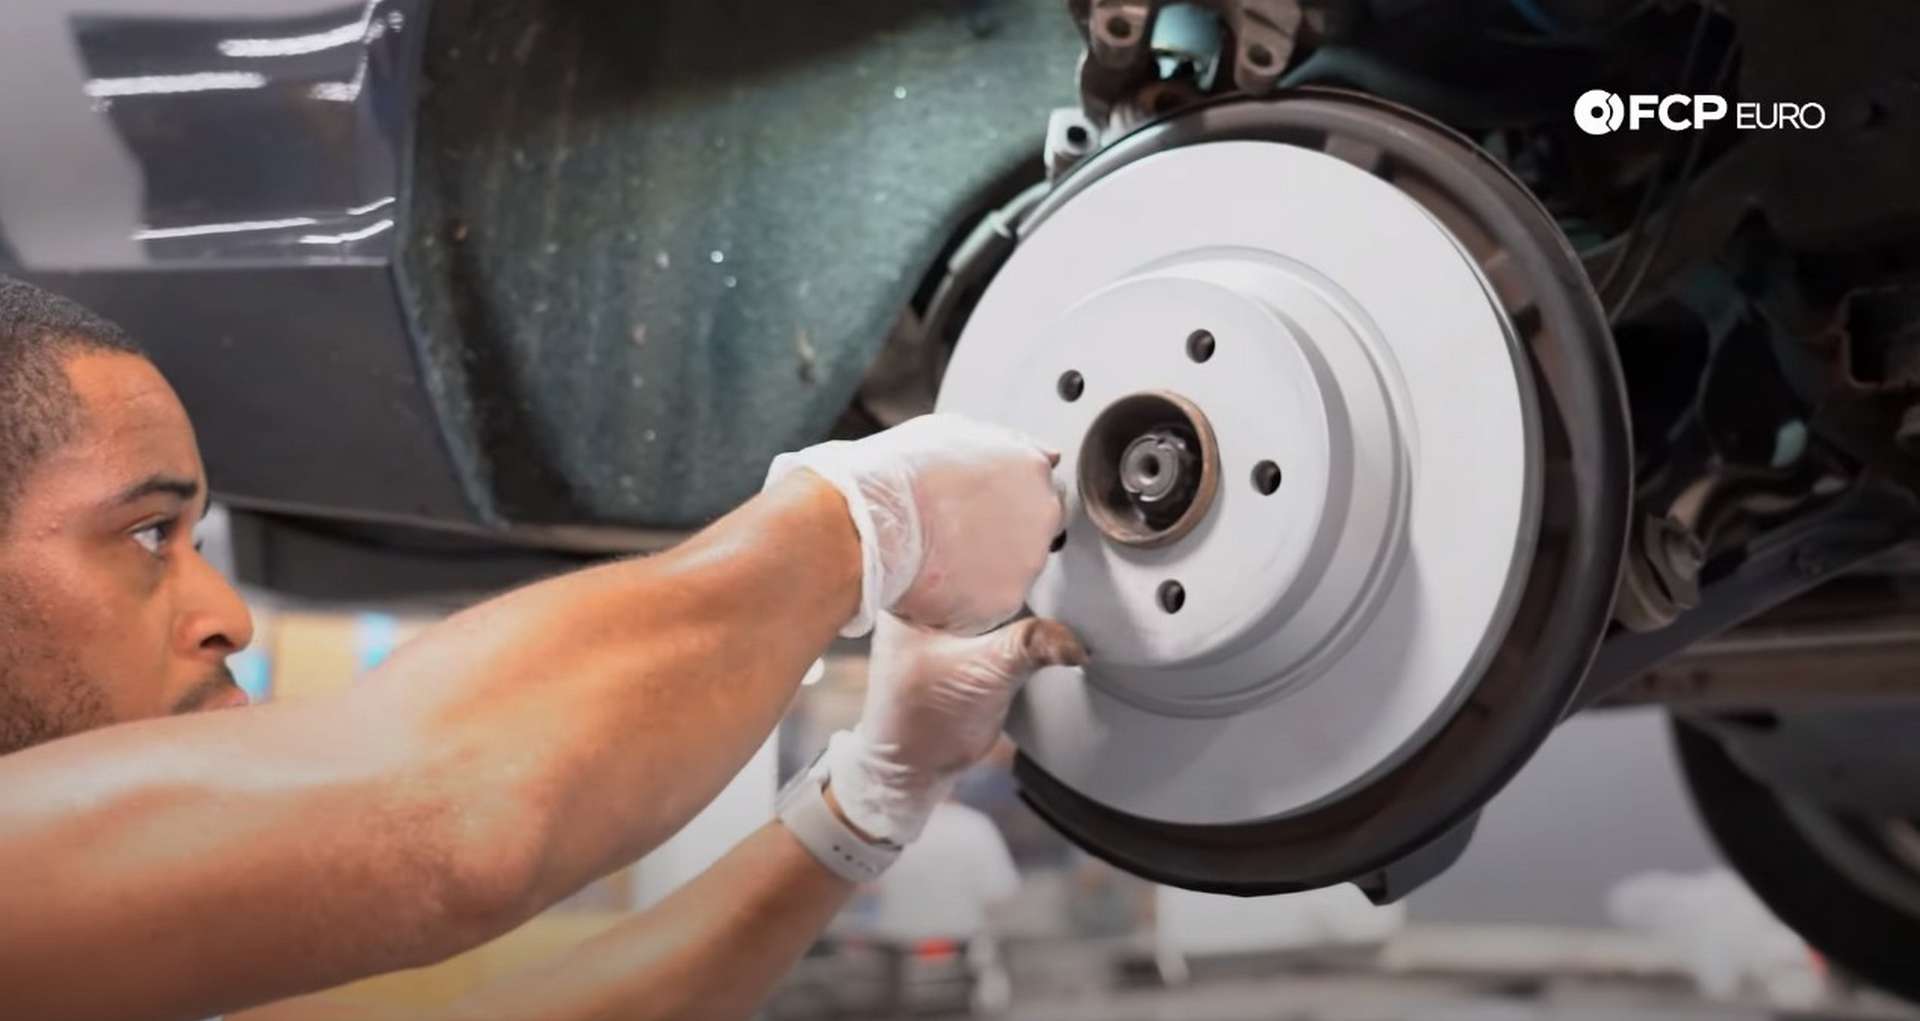
Step 3: Install the new brake rotor
Take the new rotor and fit it onto the wheel hub. Align the set screw hole in the rotor with the hub and thread in the set screw. Use a T30 socket to torque the screw to 10Nm.
Next, refit the caliper bracket to the knuckle. Thread in the two bolts by hand before using an 18mm socket to torque them to 115Nm
Step 4: Reinstalling the caliper
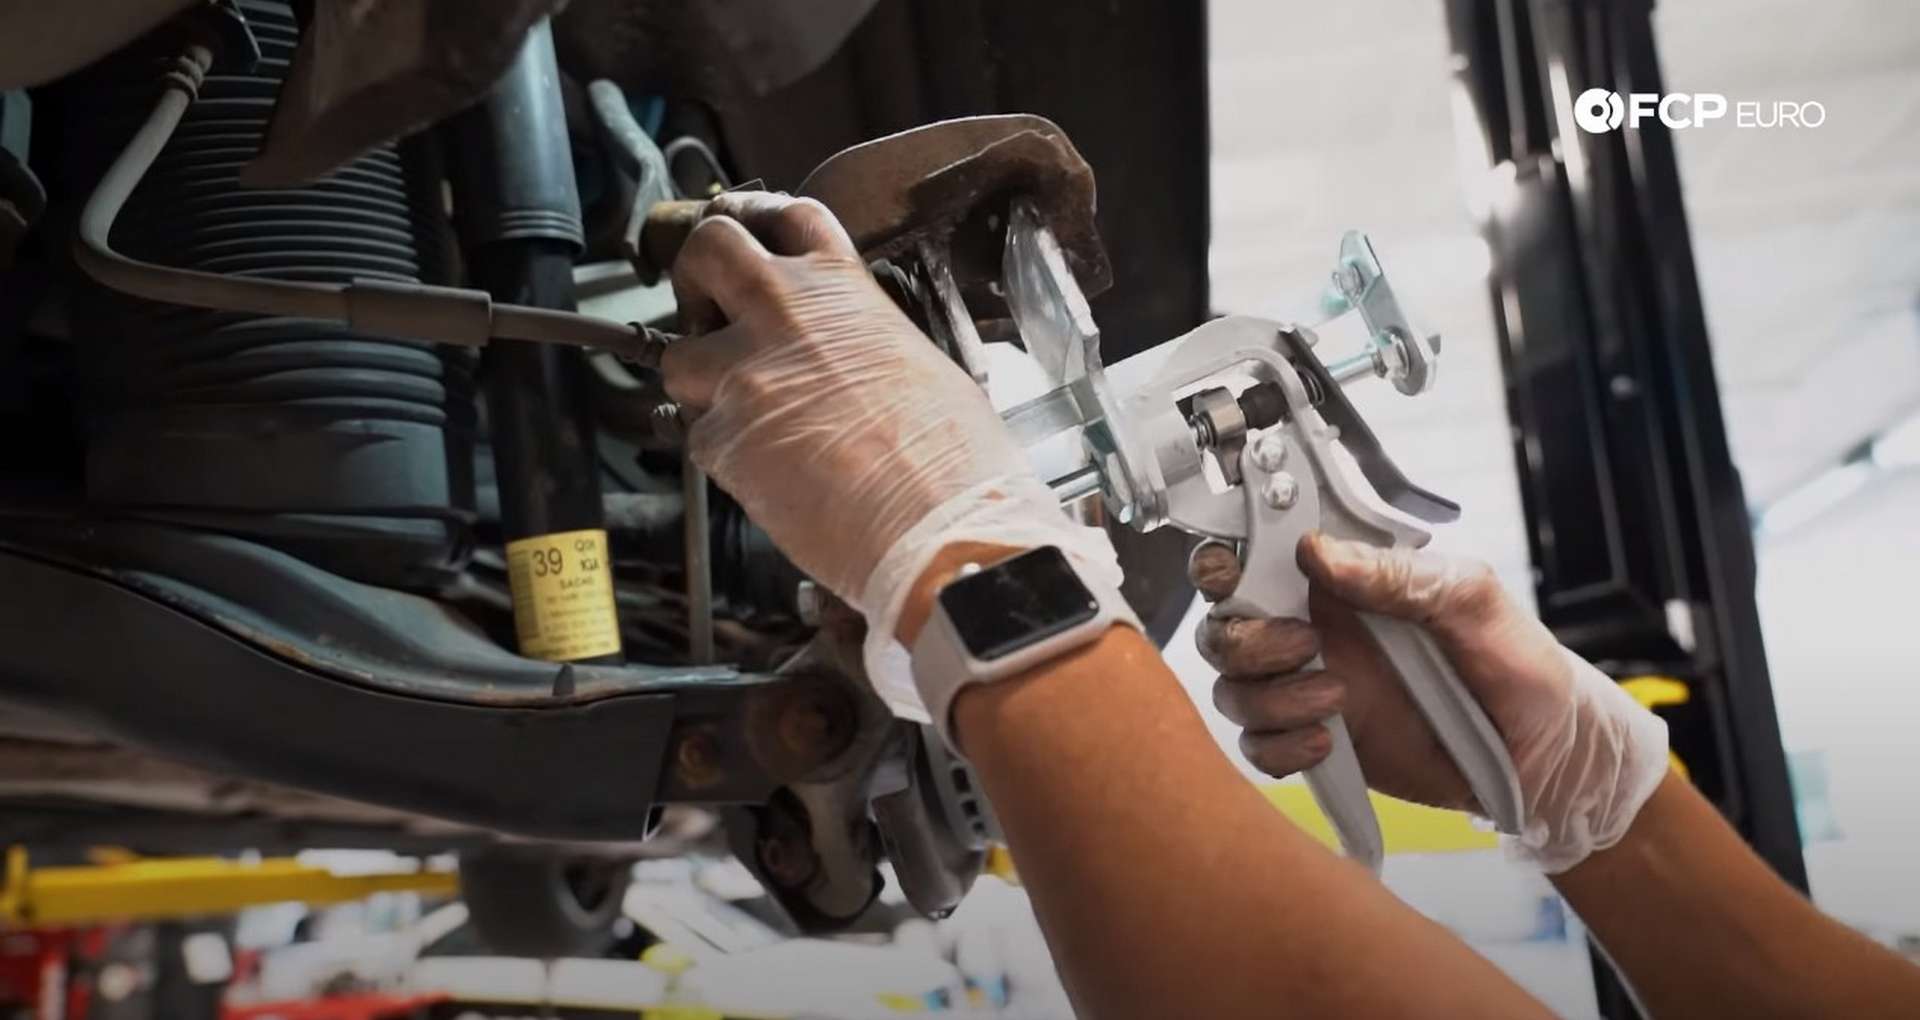
Take the brake caliper and use the spreader tool to push the caliper’s piston back in the caliper. If you don’t own the tool and don’t want to buy it, use a c-clamp or large channel locks to reset the piston in the caliper.
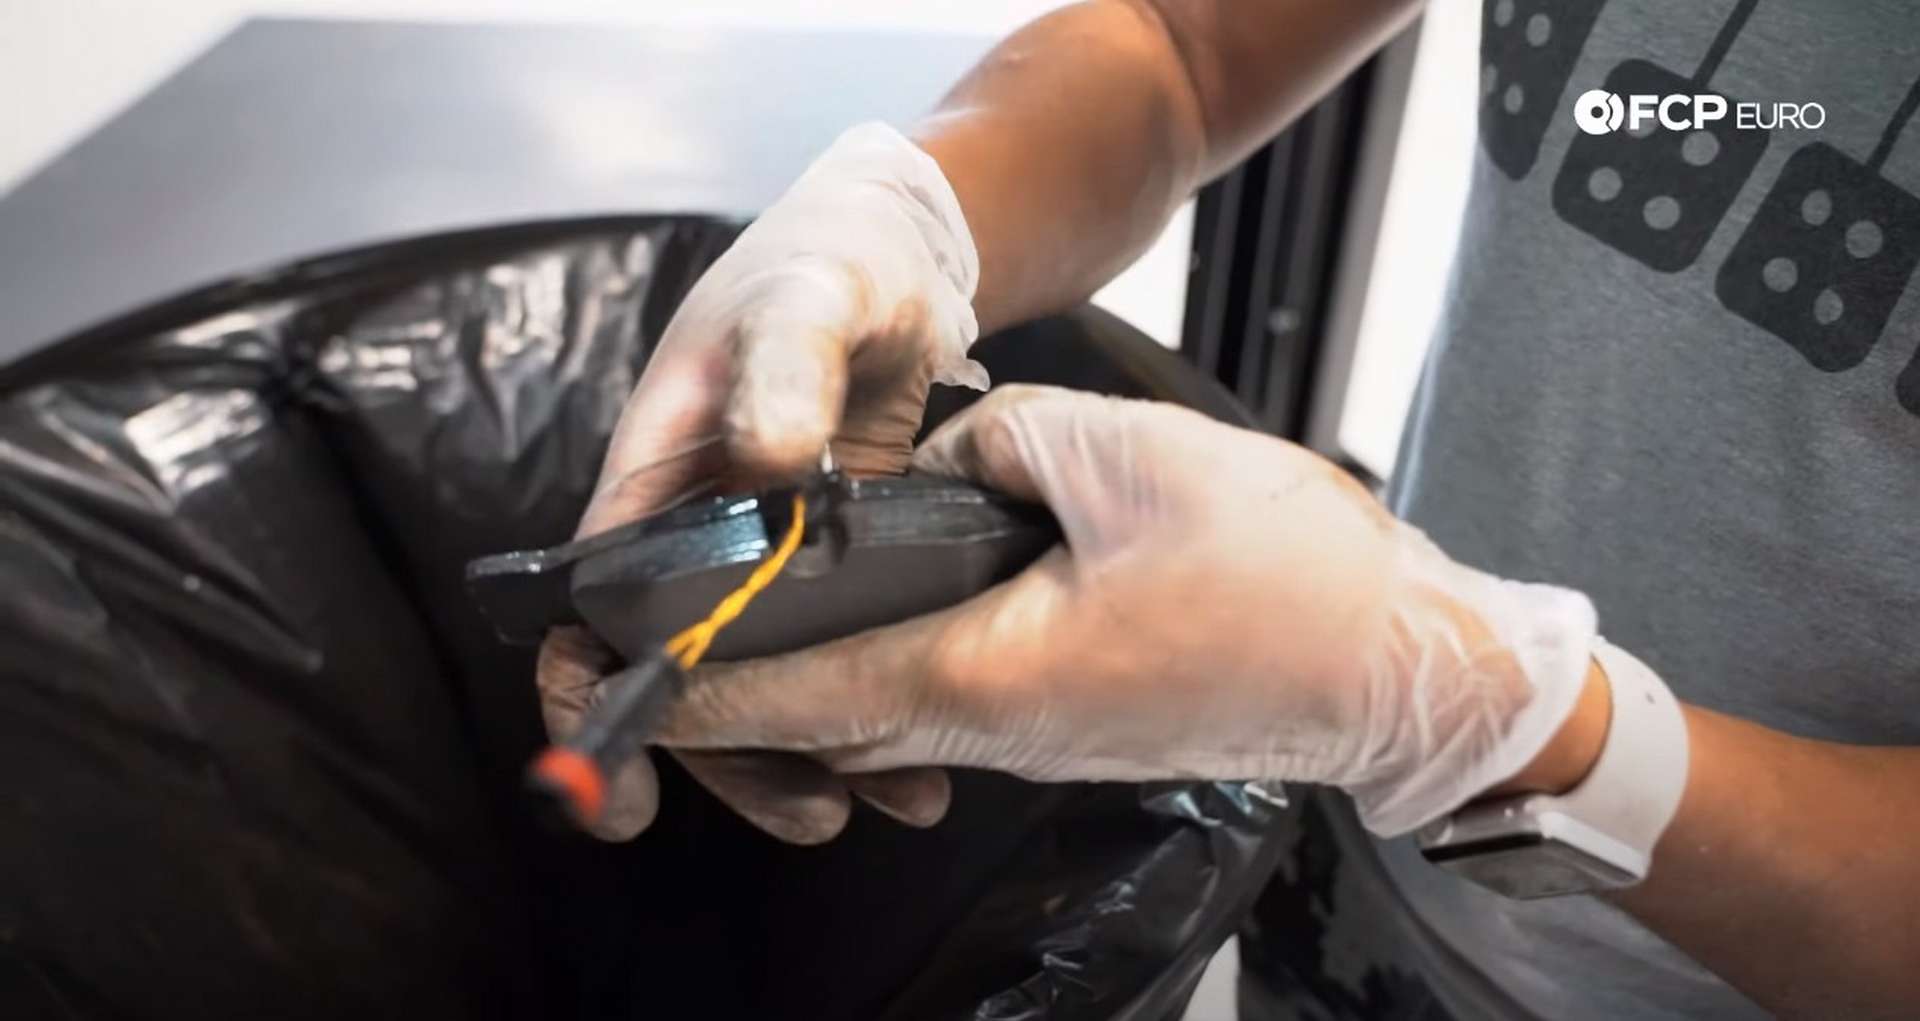
Then take the new pad wear sensor and clip it into the top of the inner brake pad. The inner pad has three prongs on the back of it used to clip it into the caliper’s piston.
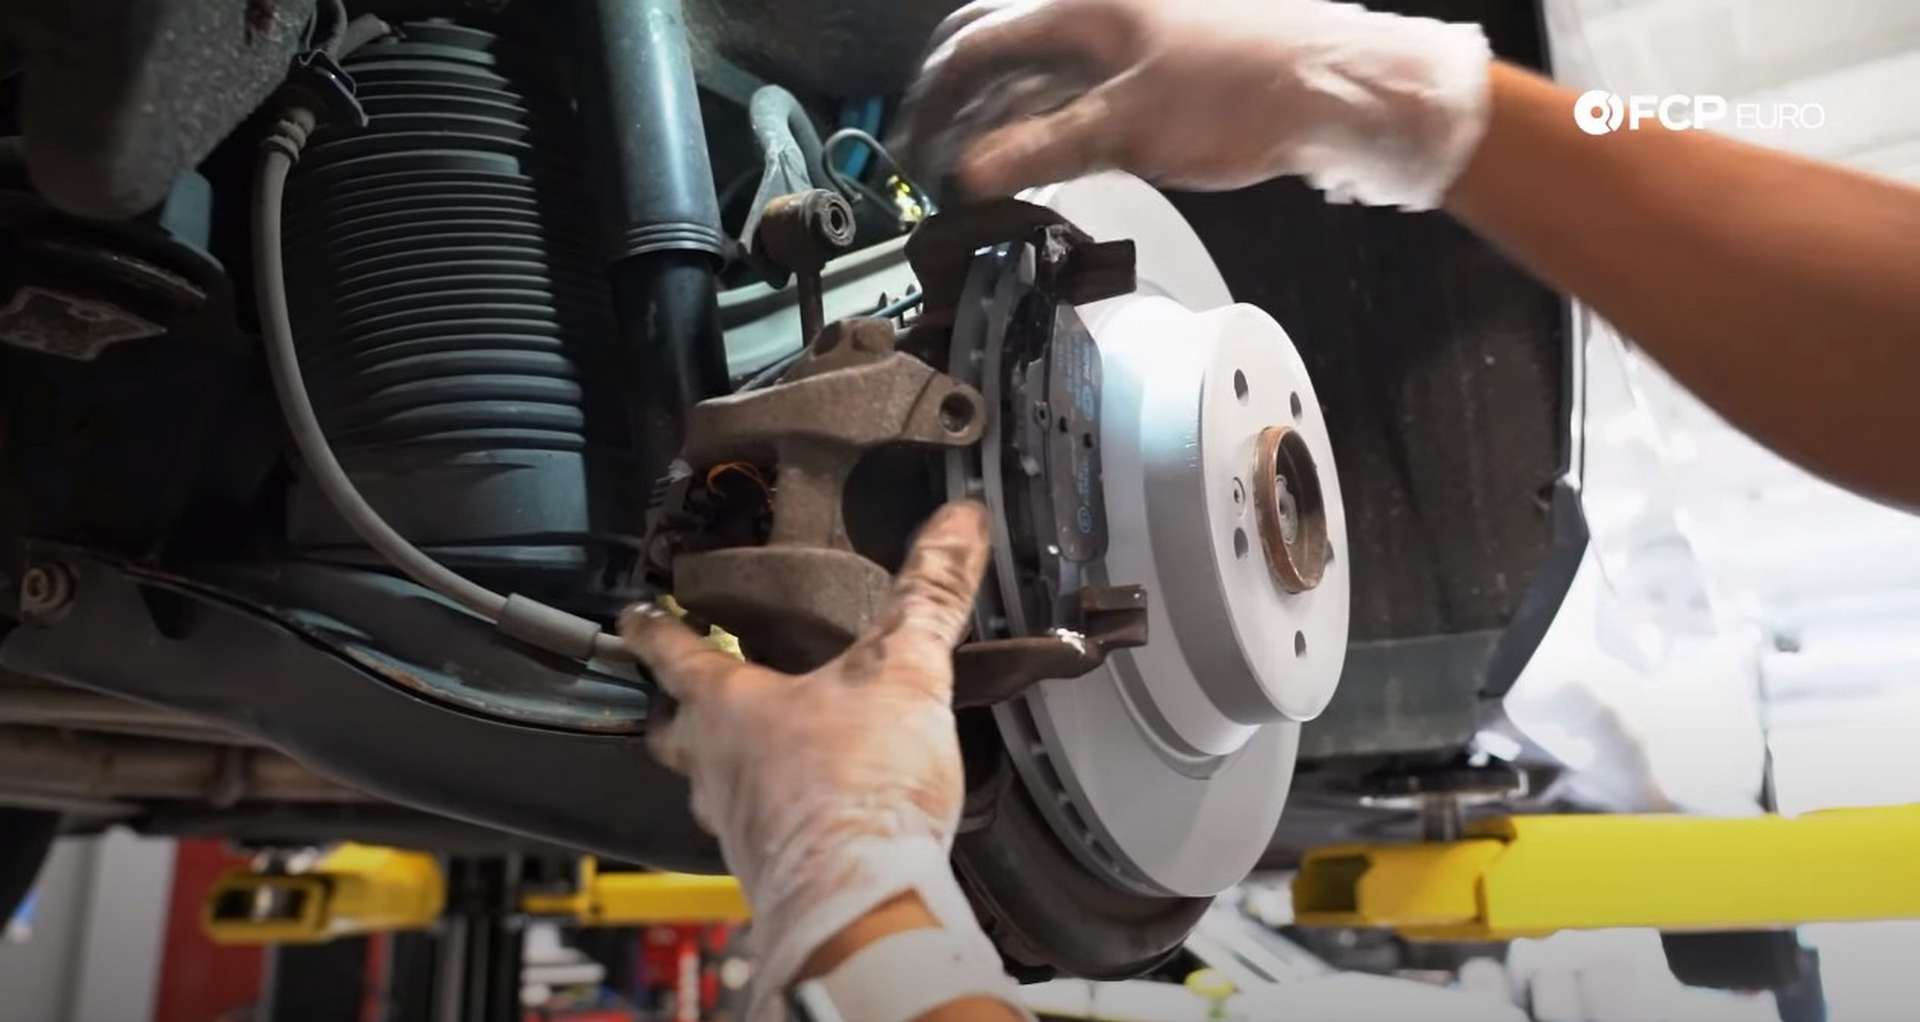
Install the inner pad into the caliper and then connect the wear sensor to the caliper. Then, slide the outer pad into the bracket with the wear material facing the rotor. Next, slide the caliper onto the rotor and line up the caliper guide pin holes in the bracket.
Thread the guide pins in by hand before tightening them down with a 7mm Allen socket. Torque the pins to 25Nm. Don’t forget to put the guide pin dust caps back on, too. Finally, put the wheels back on and set the car back onto the ground. Use a 17mm socket to install the lug bolts and torque them to 115Nm.
Mercedes W211/W212 Rear Brake Job Torque Specs:
- Mercedes Set Screw = 10Nm or 7.4 ft-lbs of torque
- Mercedes Caliper Bracket Bolts = 115Nm or 85 ft-lbs of torque
- Mercedes Caliper Guide Pins = 25Nm or 18.4 ft-lbs of torque
- Mercedes Lug Bolts = 115Nm or 85 ft-lbs of torque
Now that your rear brake pads and rotors have been replaced, you can get back to safely driving your vehicle on the public roads. If you’re interested in more DIYs for your Mercedes, you can visit mercedes.fcpeuro.com and subscribe to our YouTube channel.