- 08/18/2020
- 6 Min Read
- By: Christian Schaefer
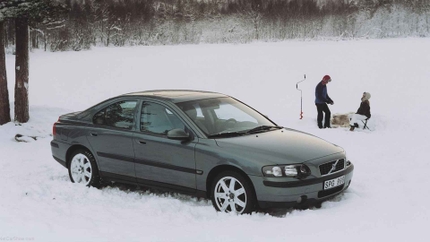
How To Replace The Rear Brakes On A Volvo XC60 (Volvo P3 - S60, S80, V60, V70, & XC70)

No matter at the front or rear, the condition of your brakes is incredibly important, especially on your large, heavy Volvo XC70. On all cars, the brakes will be larger at the front to prevent the rear of the car slowing quicker than the front, causing you to lose control. The reduced force applied to them means they will last longer than the fronts but are just as critical to stopping performance.
Modern disc brakes are cheap, reliable, and easy to maintain. Replacing the pads and rotors is a job anyone can accomplish with some simple hand tools and an afternoon. Follow along with the DIY to understand just what it takes to service your rear brakes on your Volvo XC70 or any P3 chassis Volvo.
Volvo models and years applicable:
|
|
|
|
|
|
What are the symptoms of bad rear brakes on a P3 Volvo?
- A grinding coming from the rear, under braking
- Juddering or a vibration coming from the rear, under braking
- Deep grooves on the rotor surface
- Dark-colored deposits on the rotor surface
While doing less work than the front brakes, the rears are just as important. Because of the reduction of work done by the rears, the components will be smaller and cheaper to replace. The reduction in work will also make the effects of worn brake pads and rotors less noticeable than the fronts.
Grinding from the brakes indicates that the brake pad material has completely worn away and the metal backing is making contact with the rotor. The car can be driven under these conditions, but comes with a reduction in safety. Park the vehicle until you can change the brakes or until they can be serviced by a professional.
How long will it take to replace the rear brakes on a P3 Volvo?
A safe estimate for a rear brake job is around an hour and a half. The condition of the hardware underneath the vehicle will directly impact the ease and speed of the job. Have a can of rust penetrant handy if you live in an area where rust is normal.
How much will it cost to replace the rear brakes on a P3 Volvo?
Having this job done by a Volvo certified professional can cost nearly $500. The job will cost $147.30 using the OE pads and rotors available on fcpeuro.com. By doing the job yourself, there are no labor costs, and you gain valuable wrench-turning experience.
Tools required to change the rear brakes on a P3 Volvo:
- Floor Jack
- Jack Stands
- 13mm Socket
- 15mm Socket
- 19mm Socket
- T50 Torx
- 13mm Wrench
- 15mm Wrench
- 16mm Wrench
- Breaker Bar
- Ratchet set
- Ratchet Extensions
- Hammer
- Flathead Screwdriver
- Wire Brush
- Brake Anti-Squeal Grease
- Brake Clean
- Scan Tool
- Channellocks
- Torque Wrenches
Parts required to change the rear brakes on a P3 Volvo:
Steps required to change the rear brakes on a P3 Volvo:
Step 1: Set the parking brake to the service position
Use a 19mm socket on the breaker bar and break the lug bolts loose. Then jack up the rear of the vehicle and remove the lug bolts. Set the wheel under the car for added protection.
Get into the driver’s seat and hold the ignition button down for three seconds, putting the ignition into position two. All of the dashboard light will illuminate when it is in the right position. Plug the scan tool into the dashboard, below and to the left of the steering wheel. Turn the scan tool on, select Volvo, and then have the tool read the VIN. Confirm it when the correct VIN appears and then go into the Hot Function menu.

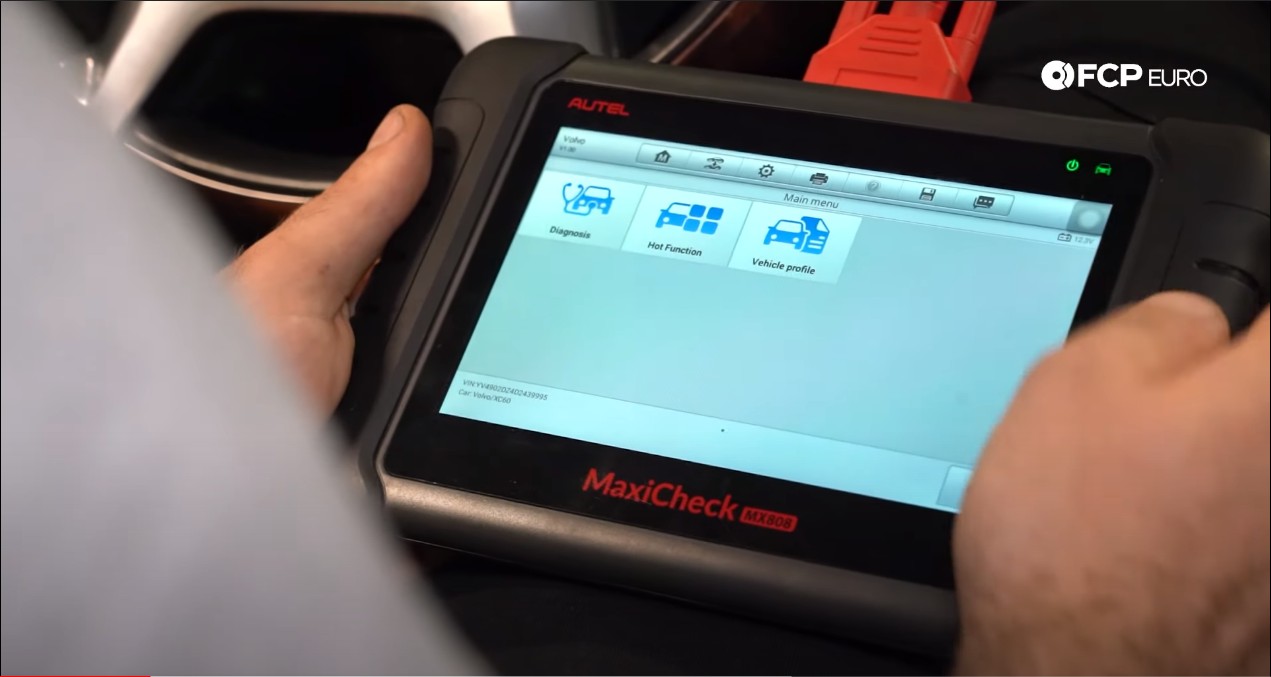
The first choice under the Hot Function menu will be “Replace Brake Pads.” Select that and then follow the prompts to release the electronic parking brake.
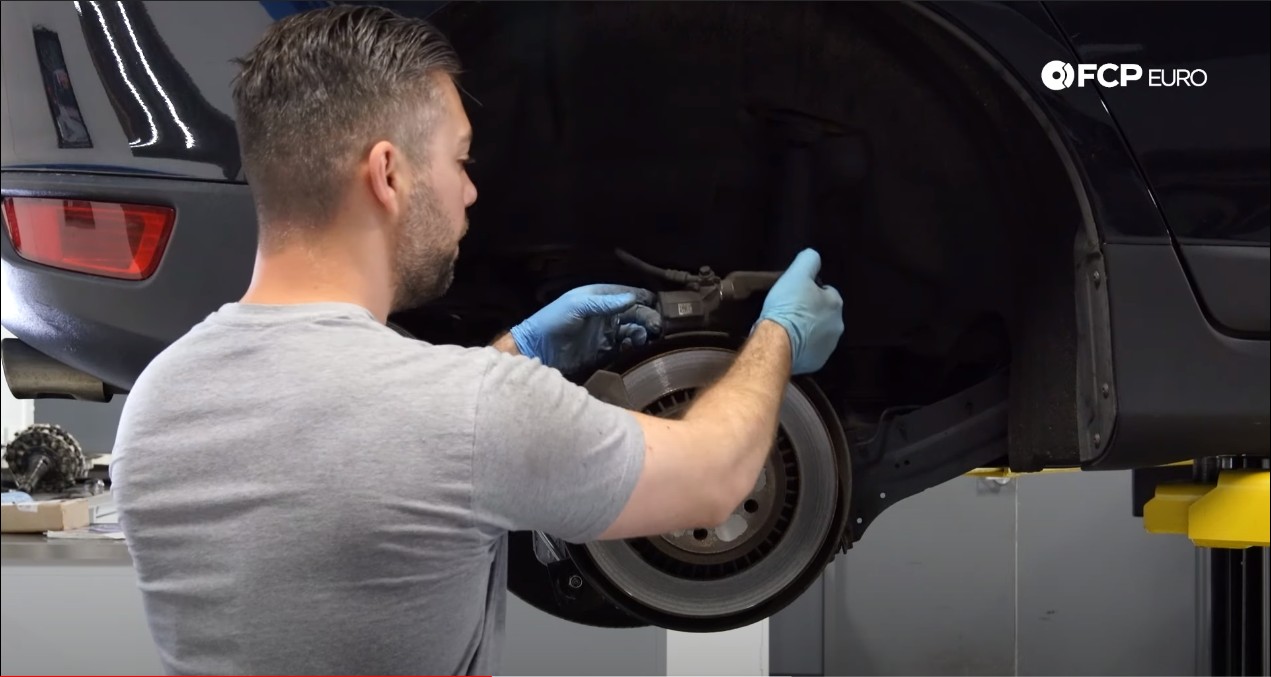
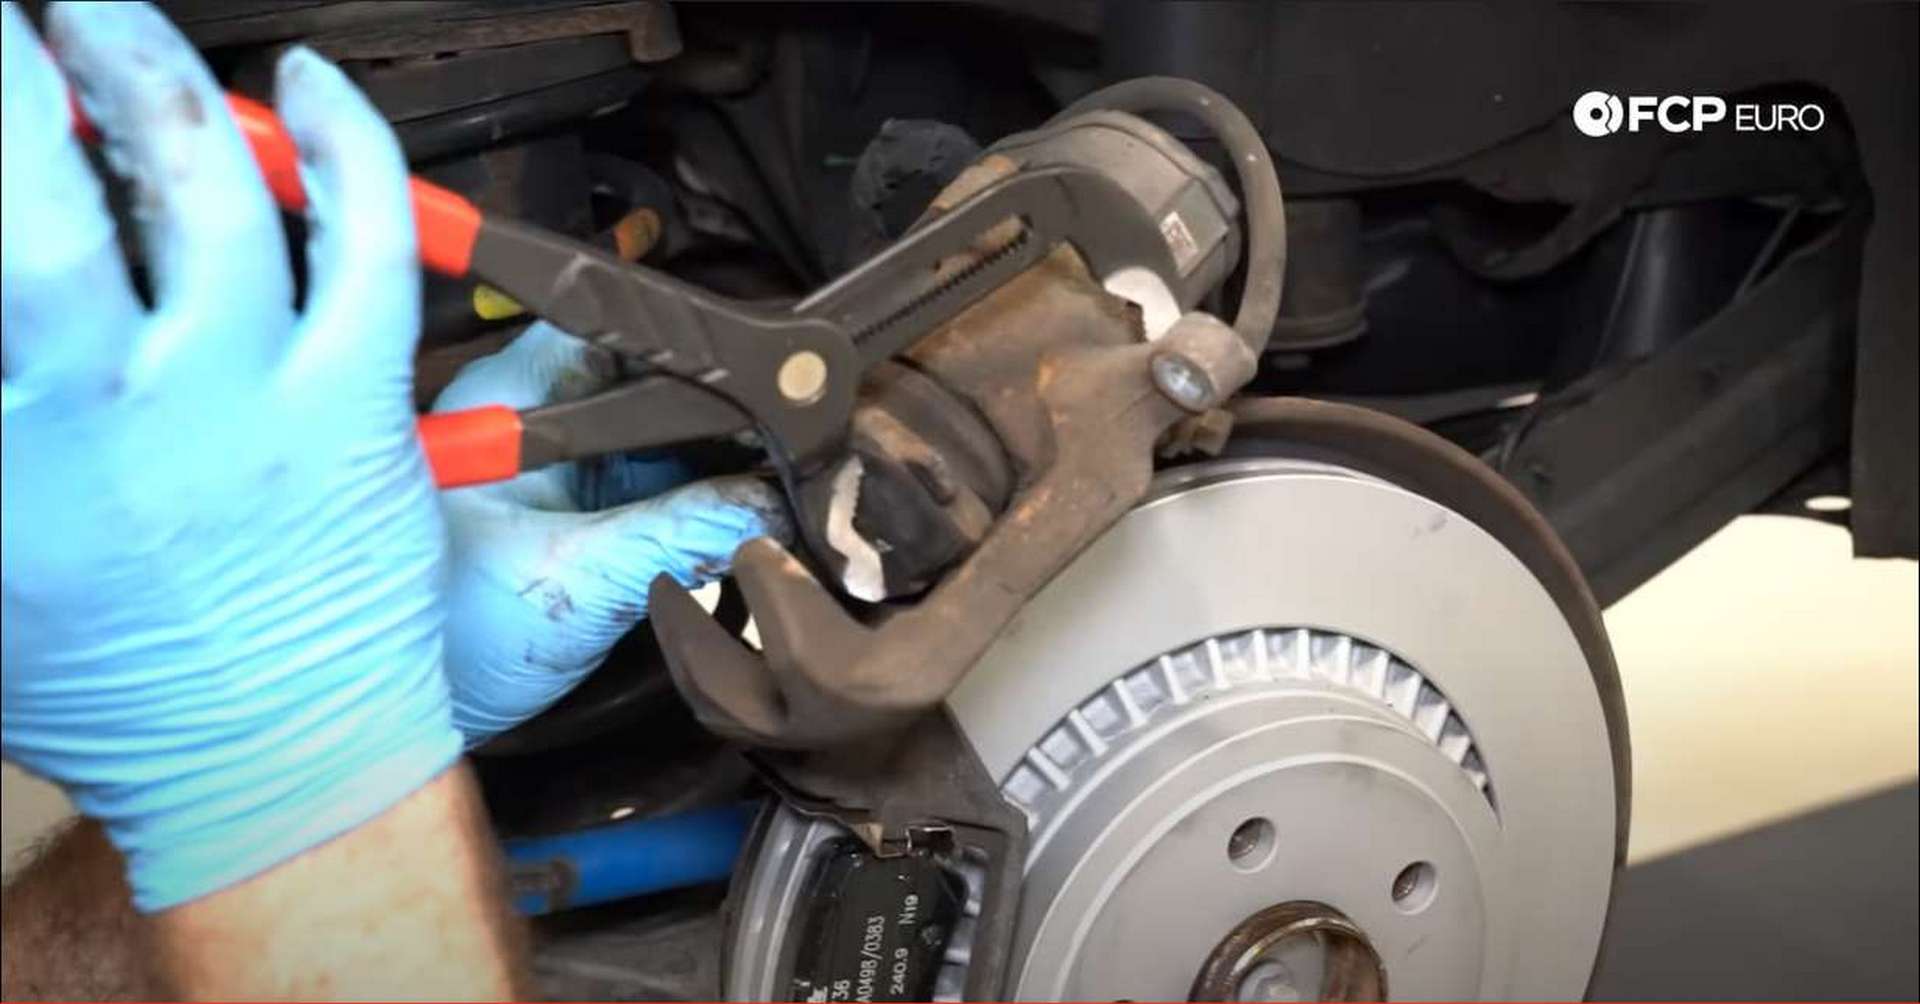
Step 2: Remove the brake caliper
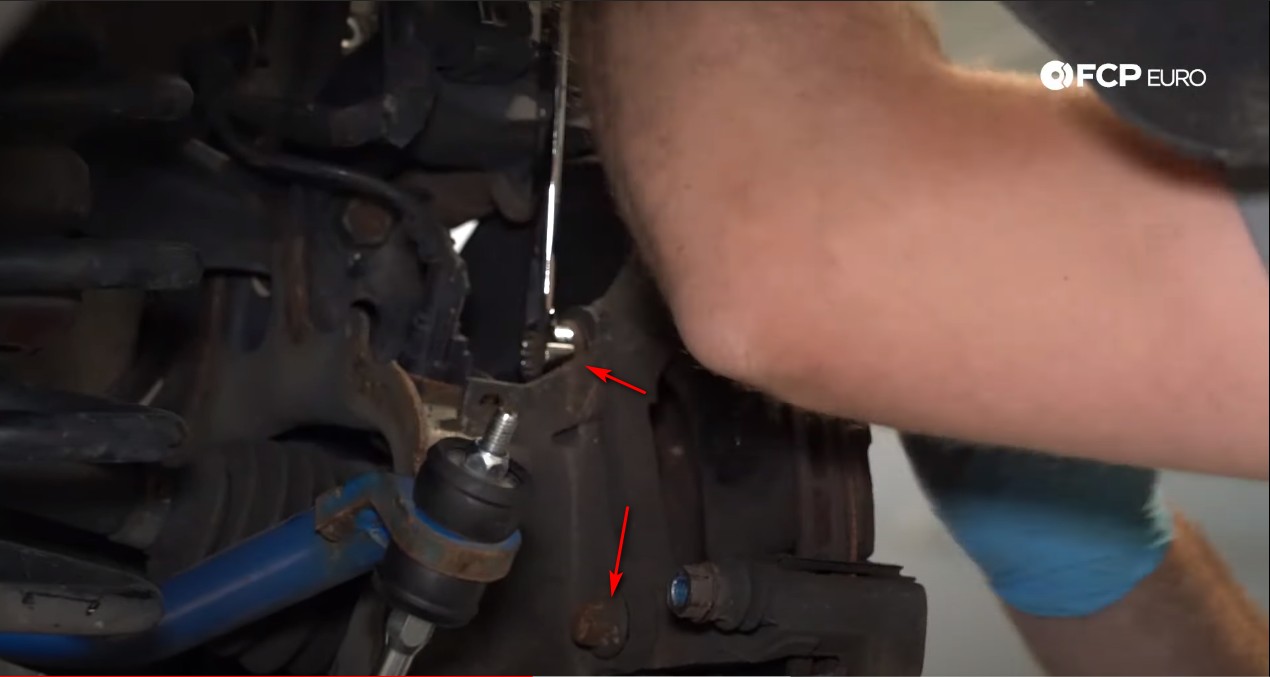
Get behind the caliper and locate the two 13mm bolts holding the caliper to the caliper bracket. Use a 13mm wrench to loosen the bolts while counter holding the guide pin with a 16mm wrench.
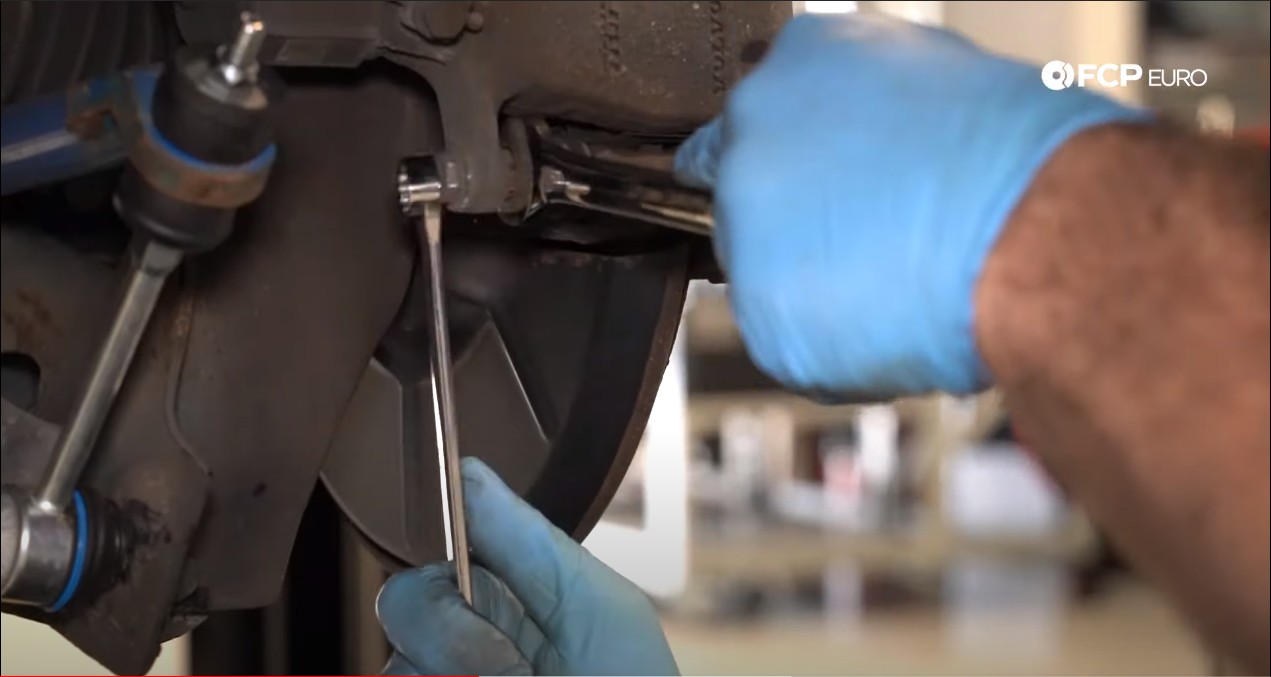
The area used to counter hold the caliper pins is just too thin for a conventional open-ended wrench. A few taps on the wrench with a hammer will get the wrench in enough to hold the pin.
Wiggle the caliper back and pull it off of the rotor. Set it on top of the hub assembly or hang it out of the way with some zip-ties. Do not let the caliper hang by any of the wires or hoses connected to it. The weight will strain the rubber hose and wires enough to damage them.
Next, remove the caliper bracket. Use a 15mm wrench to remove the two bolts that secure the bracket to the knuckle. The brake pads will most likely still be sitting in the bracket and can be removed with it.
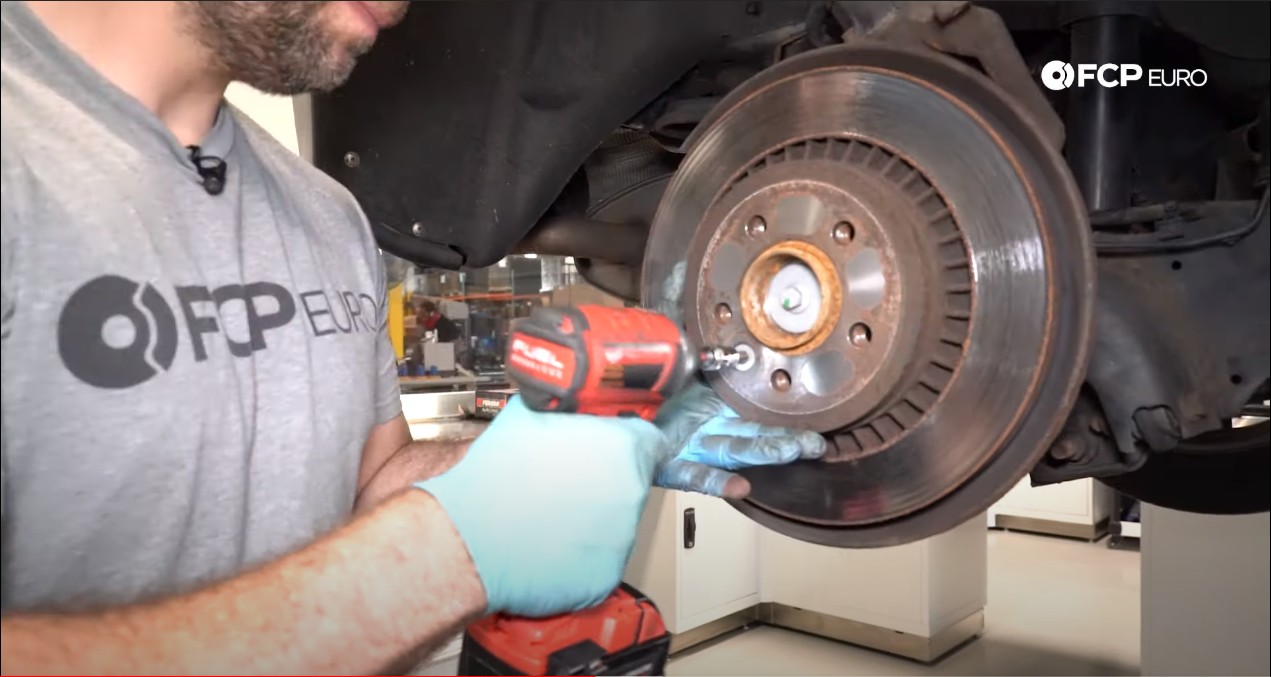
Step 3: Replace the brake rotor
A single T50 Torx screw secures the rotor to the hub face. The screw may be stuck in the hub due to corrosion and will need to be shocked free. Insert the T50 bit into the screw and give it a few good taps with the hammer. That technique, with the use of some rust penetrant, should be enough to free the screw.
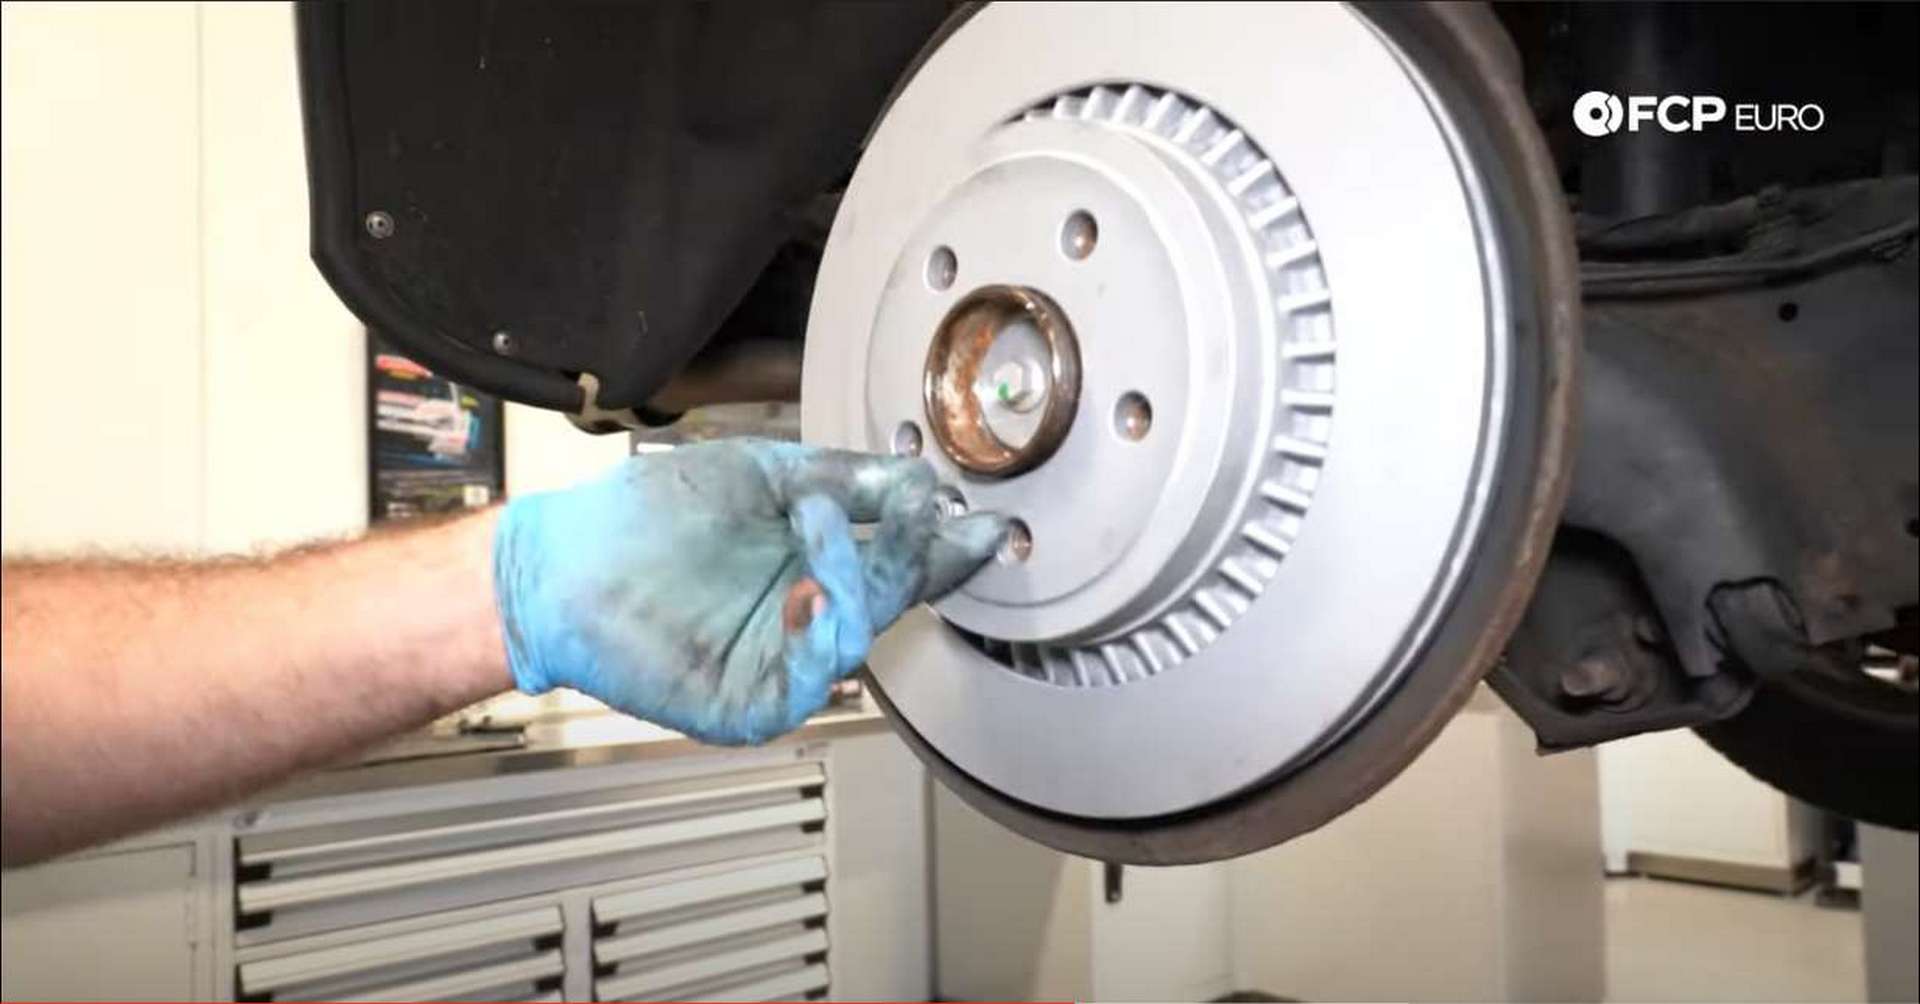
Hit the center of the rotor with a hammer if it has corroded to the hub. Clean any corrosion off of the hub with a wire brush and some brake clean. You can also lubricate the hub with some grease to prevent any corrosion.
Slide the new rotor onto the hub and lock it into place with the set screw. Use a T50 Torx bit socket to torque the screw to 35Nm.

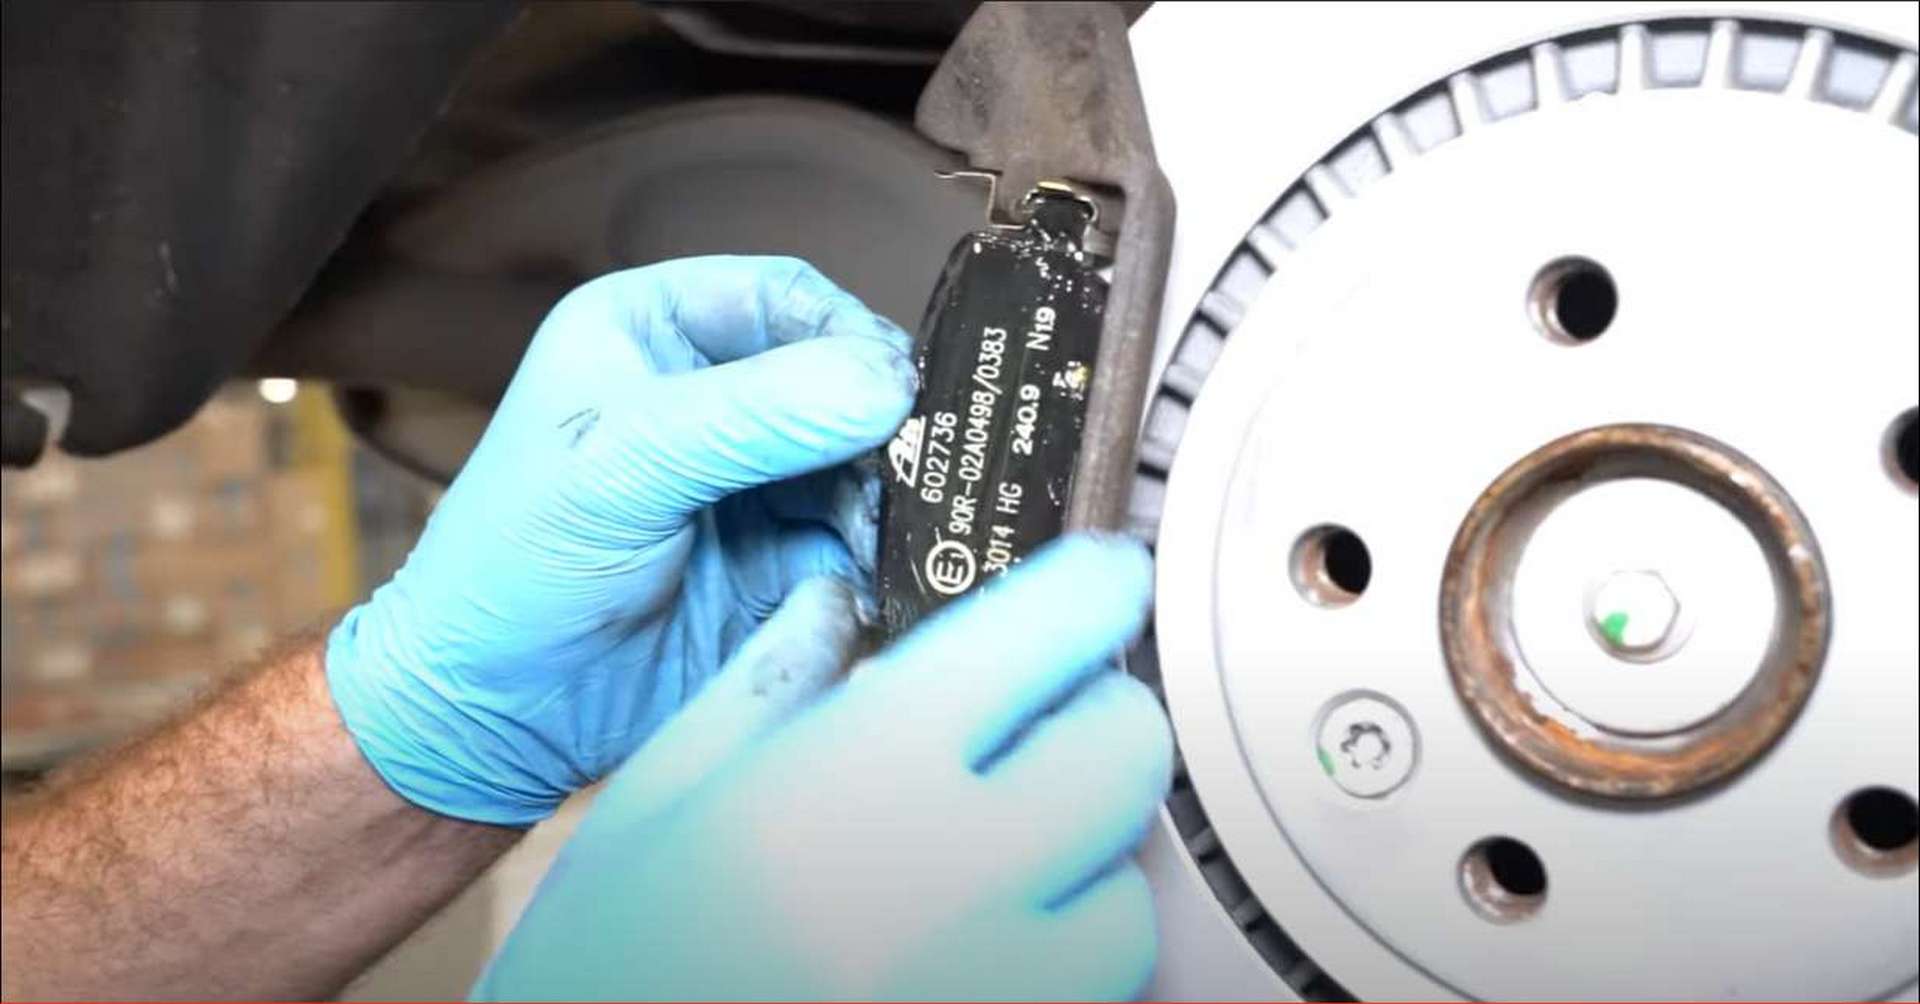
Step 4: Replace the brake pads
Knock the old brake pads out of the caliper bracket and remove the metal clips. Use brake clean and a wire brush to clean off any brake dust. Then install the new clips onto the caliper bracket.
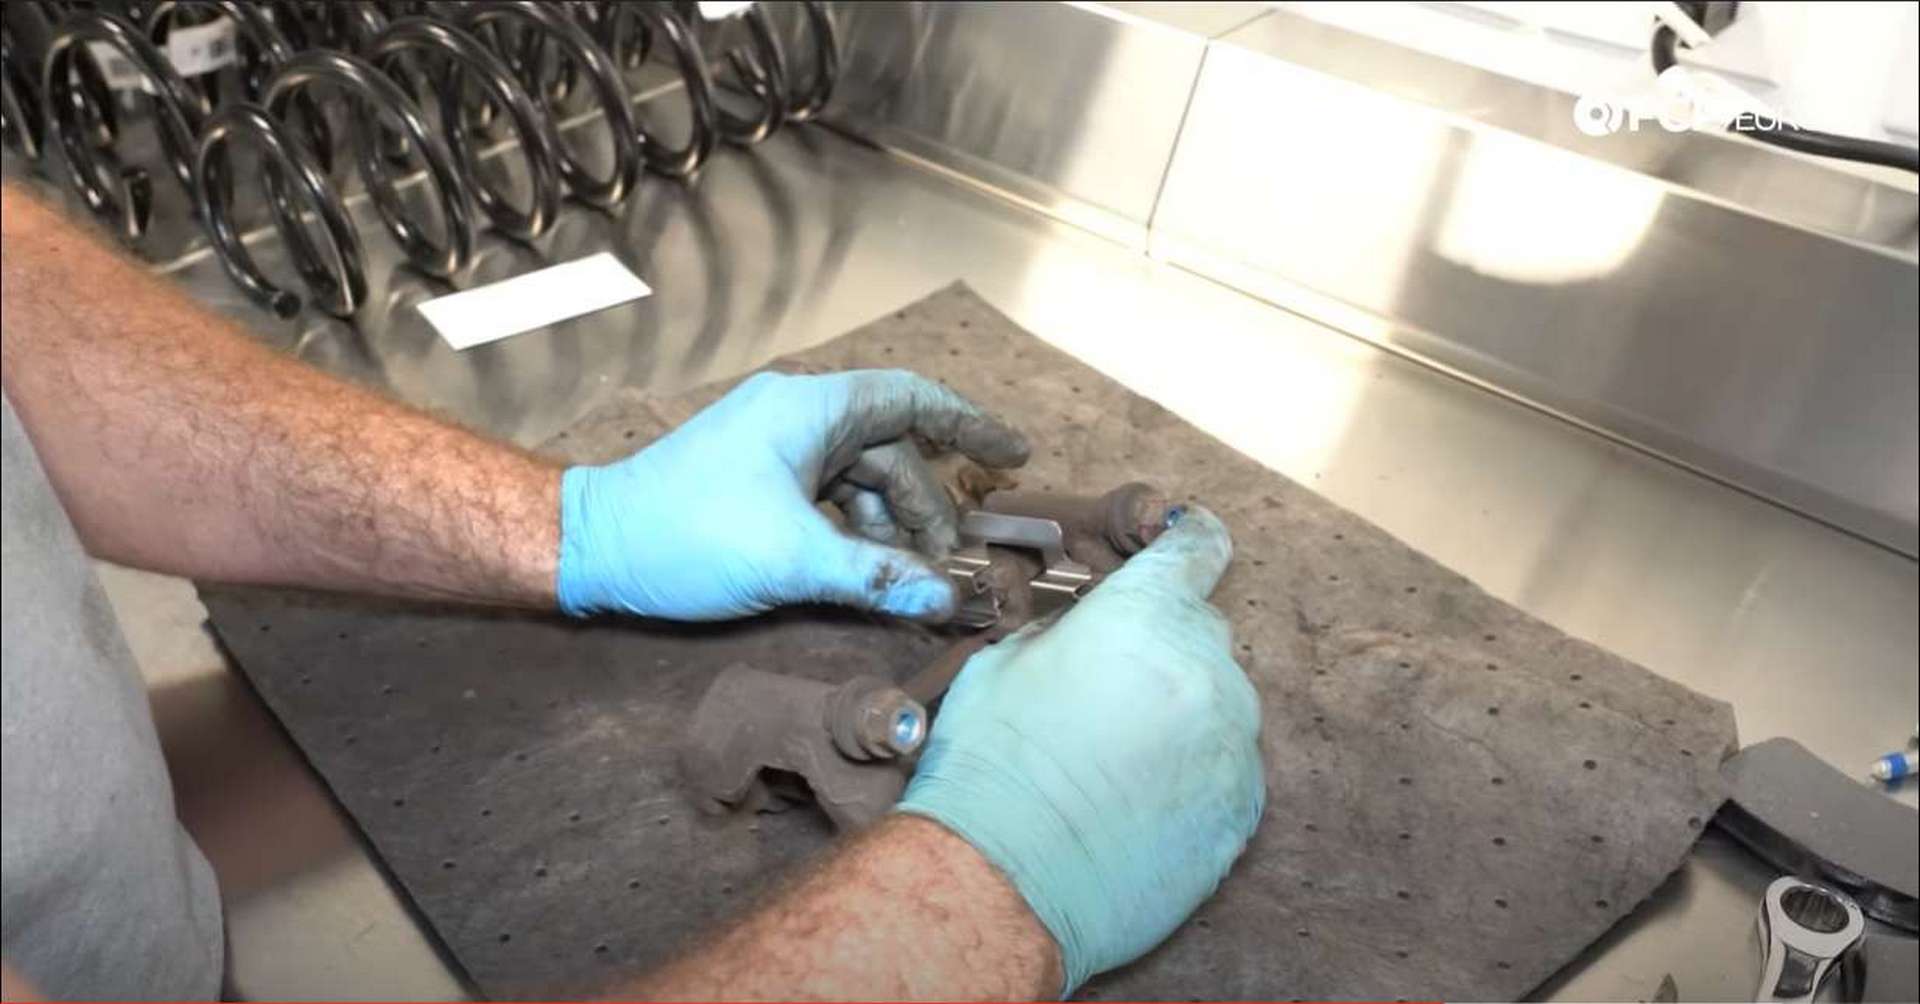
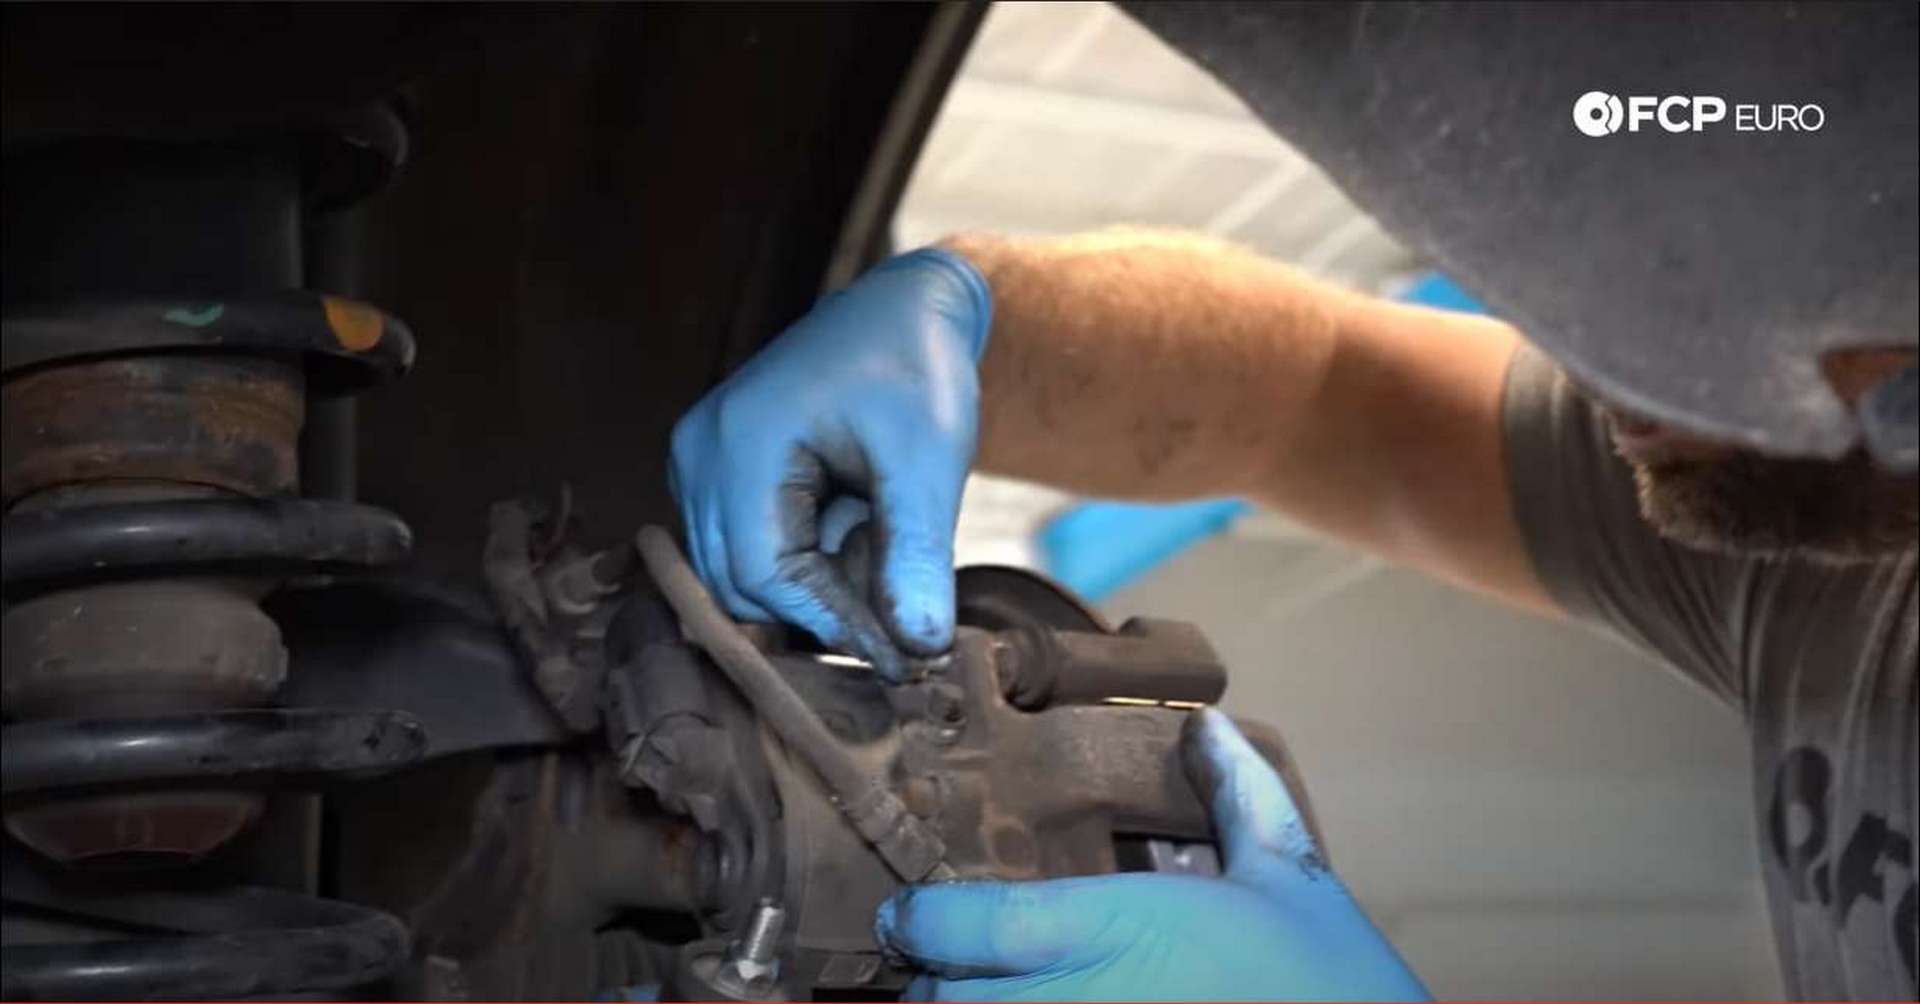
Next, pull back on the guide pin’s rubber boots and remove the pins from the bracket. Clean off the pins and regrease them before reinstalling them.
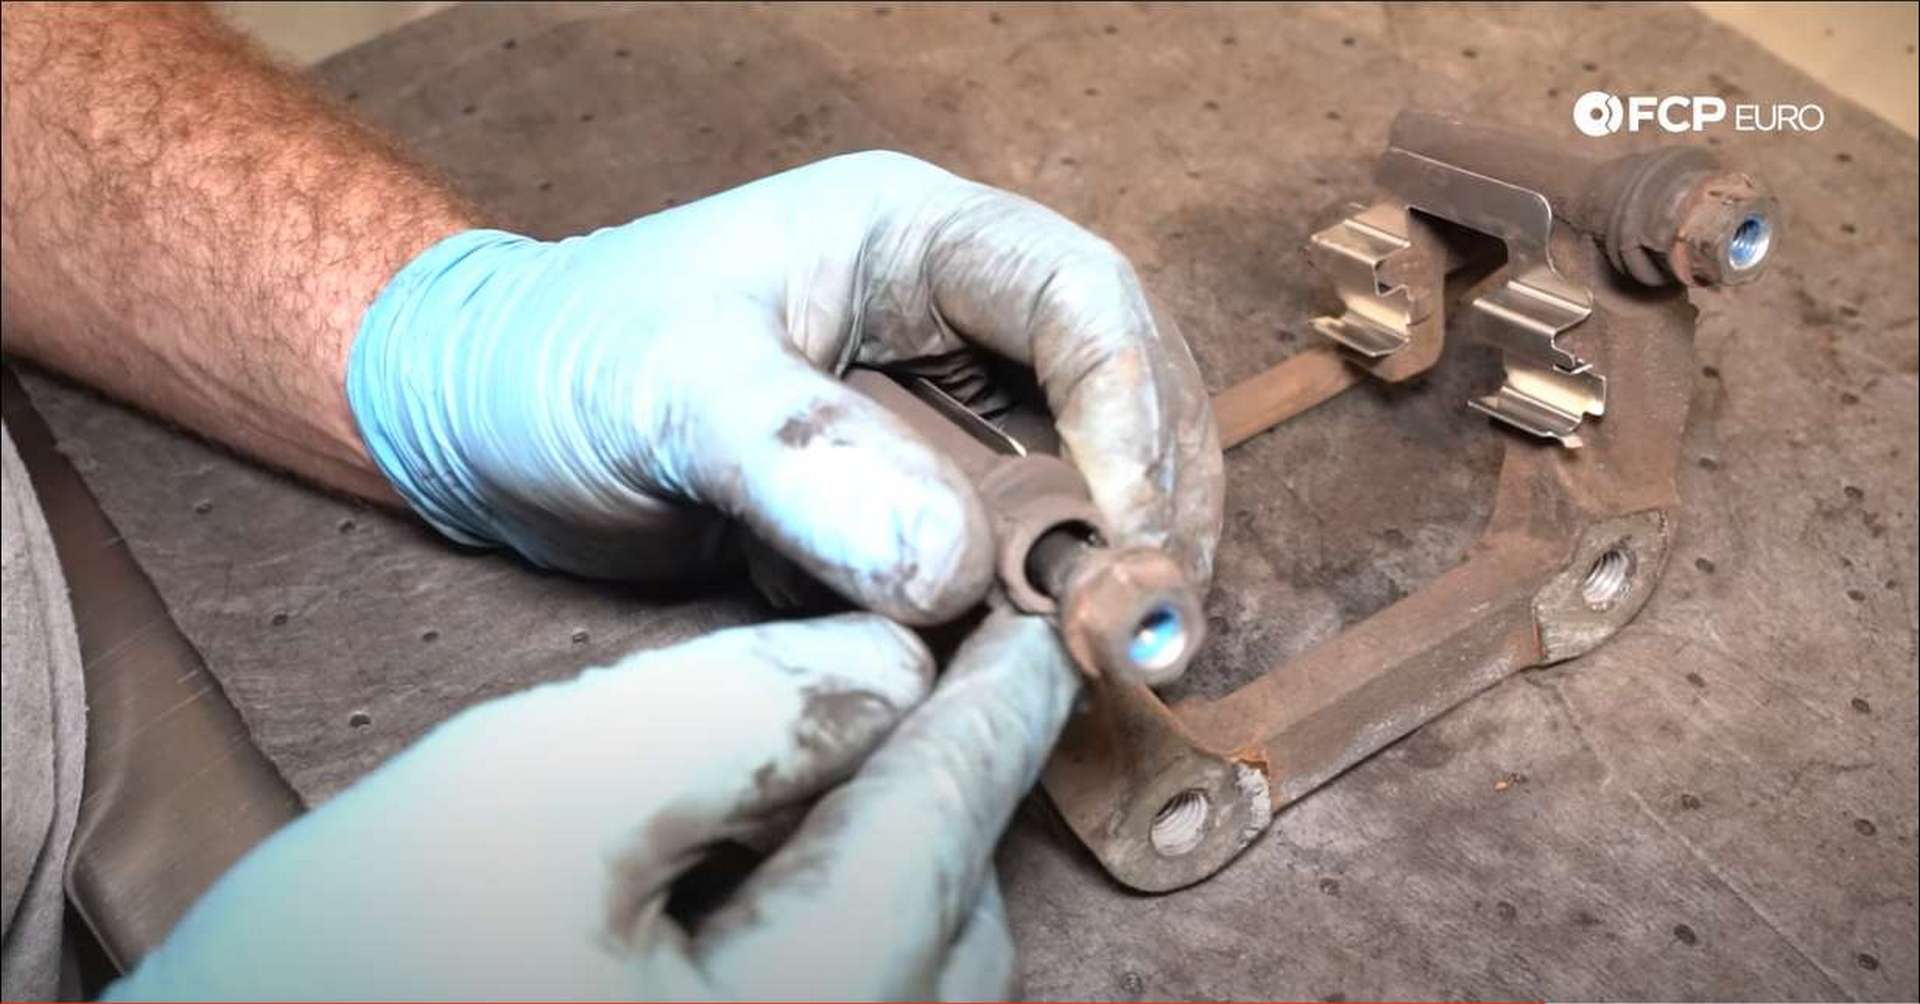
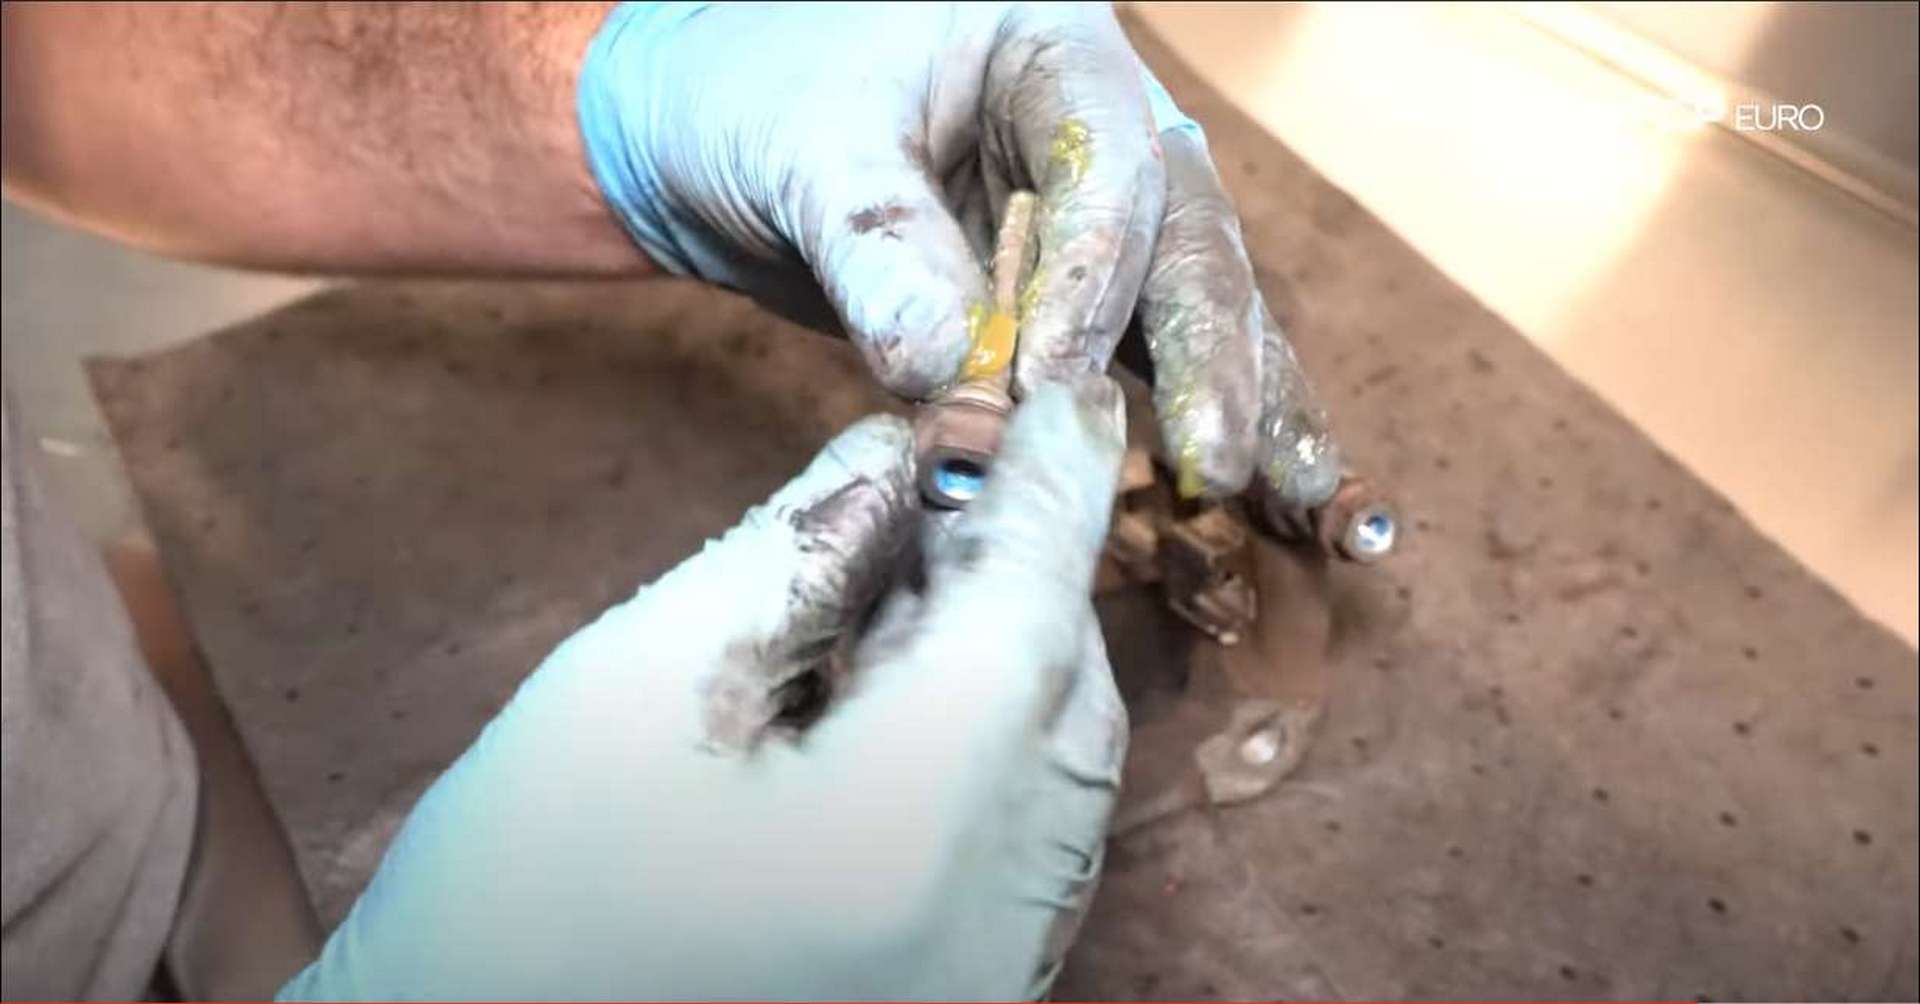
Make sure to reconnect the boots to the pins when you reinstall them. Optionally, you can grease the backs of the brake pads to prevent any squealing or vibrations. Greasing the backs of the pads is a highly debated topic, so make a choice based on your own opinion. Whatever you choose, however, don’t get any grease on the pad’s friction surface.
Next, refit the caliper bracket to the wheel hub. Tighten the two mounting bolts with a 15mm socket and torque them to 110Nm.
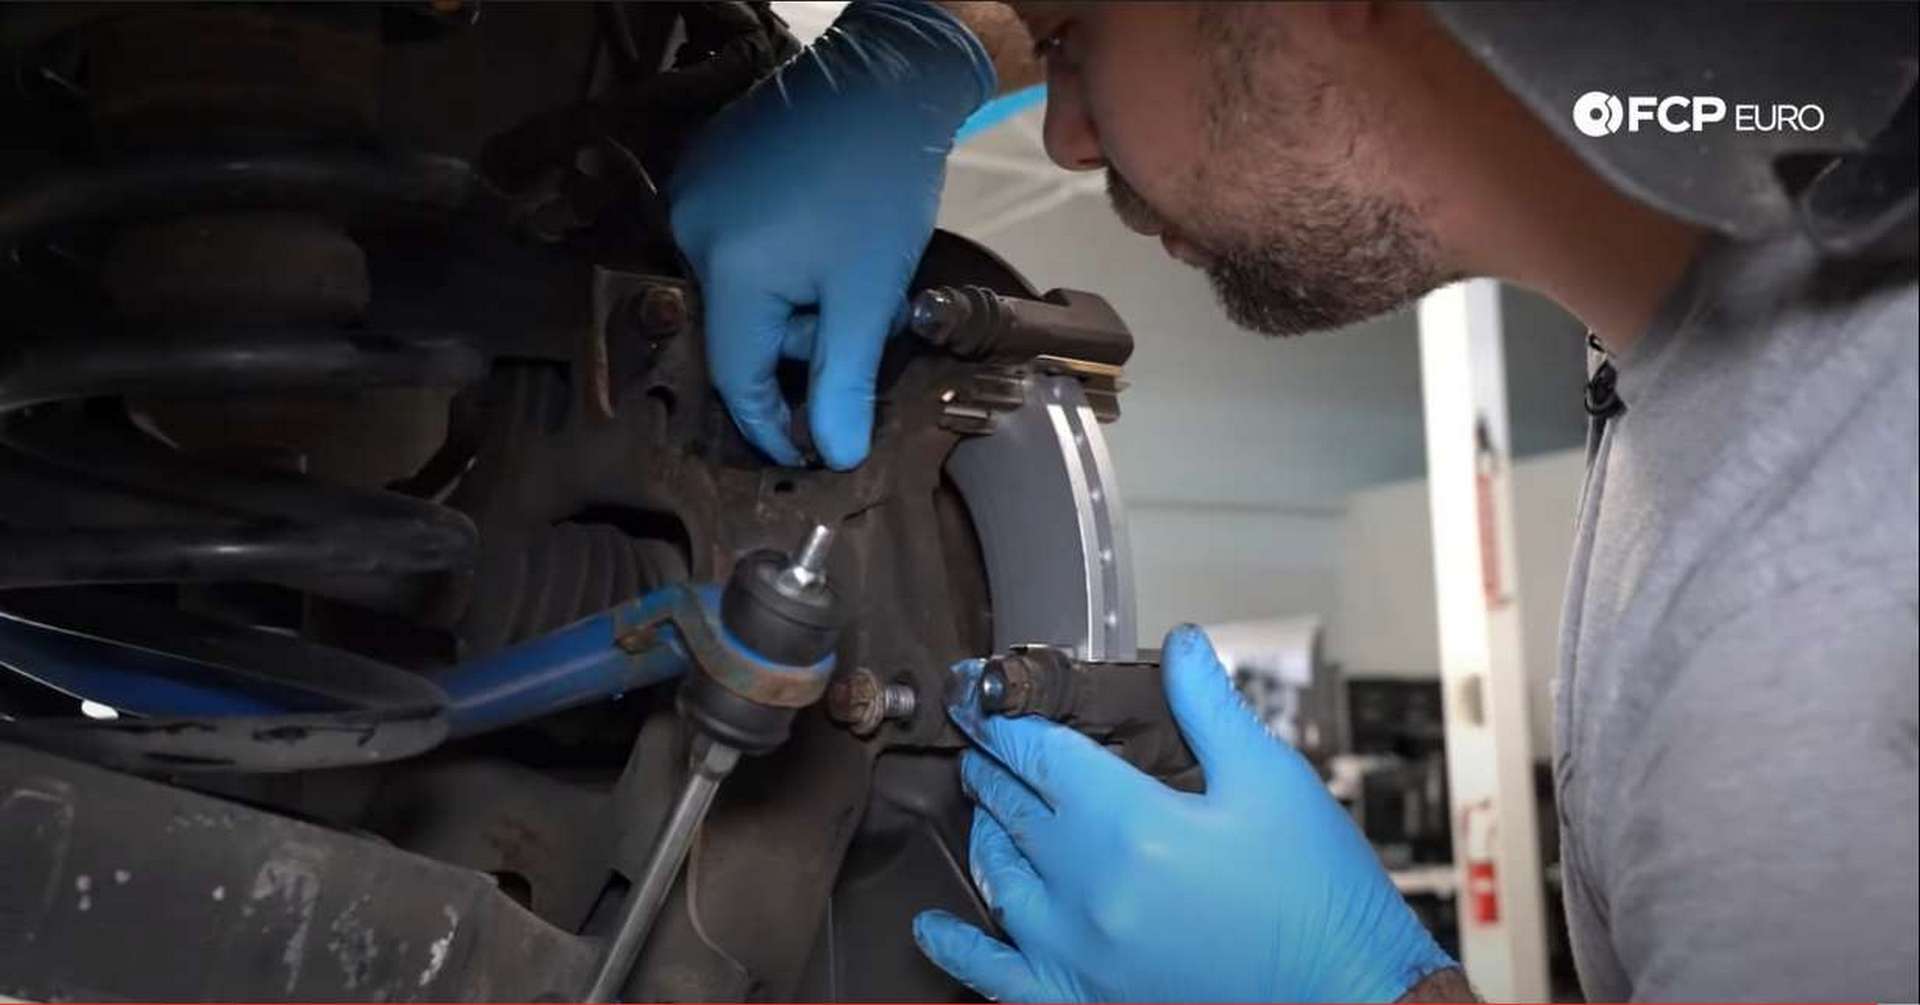
After the bracket has been fitted, slide the pads into place. Push them into the bracket all the way up against the rotor. The pads aren’t inboard/outboard specific, so either pad on either side will work.
Step 5: Refit the brake caliper
The piston in the brake caliper needs to be retracted before the caliper can be installed. First, place an old brake pad into the caliper, with the friction side touching the piston. Next, use channel locks to grip the back of the pad and the side of the caliper. Then, squeeze on the channel locks, pushing the piston back into the caliper.
Next, flip the caliper over and install it over the pads and onto the caliper bracket. Thread in the two mounting bolts and torque them to 35Nm with a 13mm socket. Counter-hold the pins with a 16m wrench.
Step 6: Refit the wheels and turn off service mode
Refit the wheel to the car and tighten the lug bolts with a 19mm socket. Head back into the car and follow all of the steps used to set the car into service mode to turn service mode off. The car will recalibrate the parking brake while leaving service mode. Then, pump the pedal a few times to seat the piston against the pads.
Volvo P3 Rear Brake Torque Specs:
- Volvo Set Screw = 35Nm or 26 ft-lbs of torque
- Volvo Rear Caliper Bracket Bolts = 110Nm or 81 ft-lbs of torque
- Volvo Rear Caliper Bolts = 35Nm or 26 ft-lbs of torque
- Volvo Lug Bolts = 140Nm or 103 ft-lbs of torque
Now that your rear brake pads and rotors have been replaced, you can get back to safely driving your vehicle on the public roads. If you’re interested in more DIYs for your Volvo, you can visit volvo.fcpeuro.com and subscribe to our YouTube channel.