- 09/17/2020
- 6 Min Read
- By: Christian Schaefer
How To Replace The Vacuum Pump & Boost Control Solenoid On A BMW N20 Engine (X1, X3, 328i, & More)

A functioning vacuum pump is critical to a correctly performing turbocharged engine. While driving, the turbocharger creates boost pressure in the intake, rather than vacuum pressure. A source of vacuum is needed during driving, making the vacuum pump a vital component. The vacuum pump provides a vacuum to the brake booster, wastegate actuators, exhaust flap controls, and various emissions components. The pump is located on the back of the valve cover and is quite tricky to get to but is well worth the replacement. Also, replacing the boost control solenoid while everything is apart is a smart play.
BMWs equipped with the N20 engine built after 2013 came with electronically actuated turbochargers. The DIY process will be nearly the same as the earlier cars, requiring fewer steps. Replacing the vacuum pump is an excellent DIY to challenge your home-wrenching chops. The job doesn’t require fancy specialist tools but does involve a critical engine component. By following the DIY, you’ll further your skill s while saving yourself a nice chunk of money.
BMW models and years applicable:
|
|
|
|
|
|
|
|
Symptoms of a failing BMW vacuum pump:
- Abnormal-feeling brake pedal
- Oil in the vacuum lines
- Improperly functioning turbocharger wastegate
- Various engine codes at idle
A sign you may need to replace your vacuum pump is if your car enters limp mode and displays a "Drivetrain Malfunction" Warning light. A leak coming from your vacuum pump or an engine cover full of oil are additional signs that you may need to replace your vacuum pump.
The N20 boost solenoid is also worth doing at the same time for earlier models. The later models have an electronically controlled wastegate; therefore, you don't have to replace the solenoid. However, the vacuum pump itself and the associated gasket are the same processes between both models.
How long will it take to replace the vacuum pump and boost control solenoid on a BMW N20?
Replacing the vacuum pump and boost control solenoid can be considered a medium difficulty job. It doesn’t require many tools but gets a little tight and fiddly. A decent amount of components need to be removed to get to the pump, significantly adding to its length. With the proper tools and parts, the job should take around an hour or two for a slow and careful completion.
How much will it cost to replace the vacuum pump and boost control solenoid on a BMW N20?
With the parts listed below, you’ll be spending a hair over $550. The pump takes up most of that at $432. Consider budgeting a little more money for supplies like rags and brake clean.
A dealership or independent shop can charge over double the parts cost to complete the job. They will charge more for the parts and need to charge you for the labor.
Parts required to replace the vacuum pump and boost control solenoid on a BMW N20:
Tools required to replace the vacuum pump and boost solenoid on a BMW N20:
- 10mm Socket
- E20 External Torx Socket
- T30 Torx Bit Socket
- Ratchets
- Flat-head Screwdriver
- Brake Cleaner
Steps required to replace the vacuum pump and boost solenoid on a BMW N20:
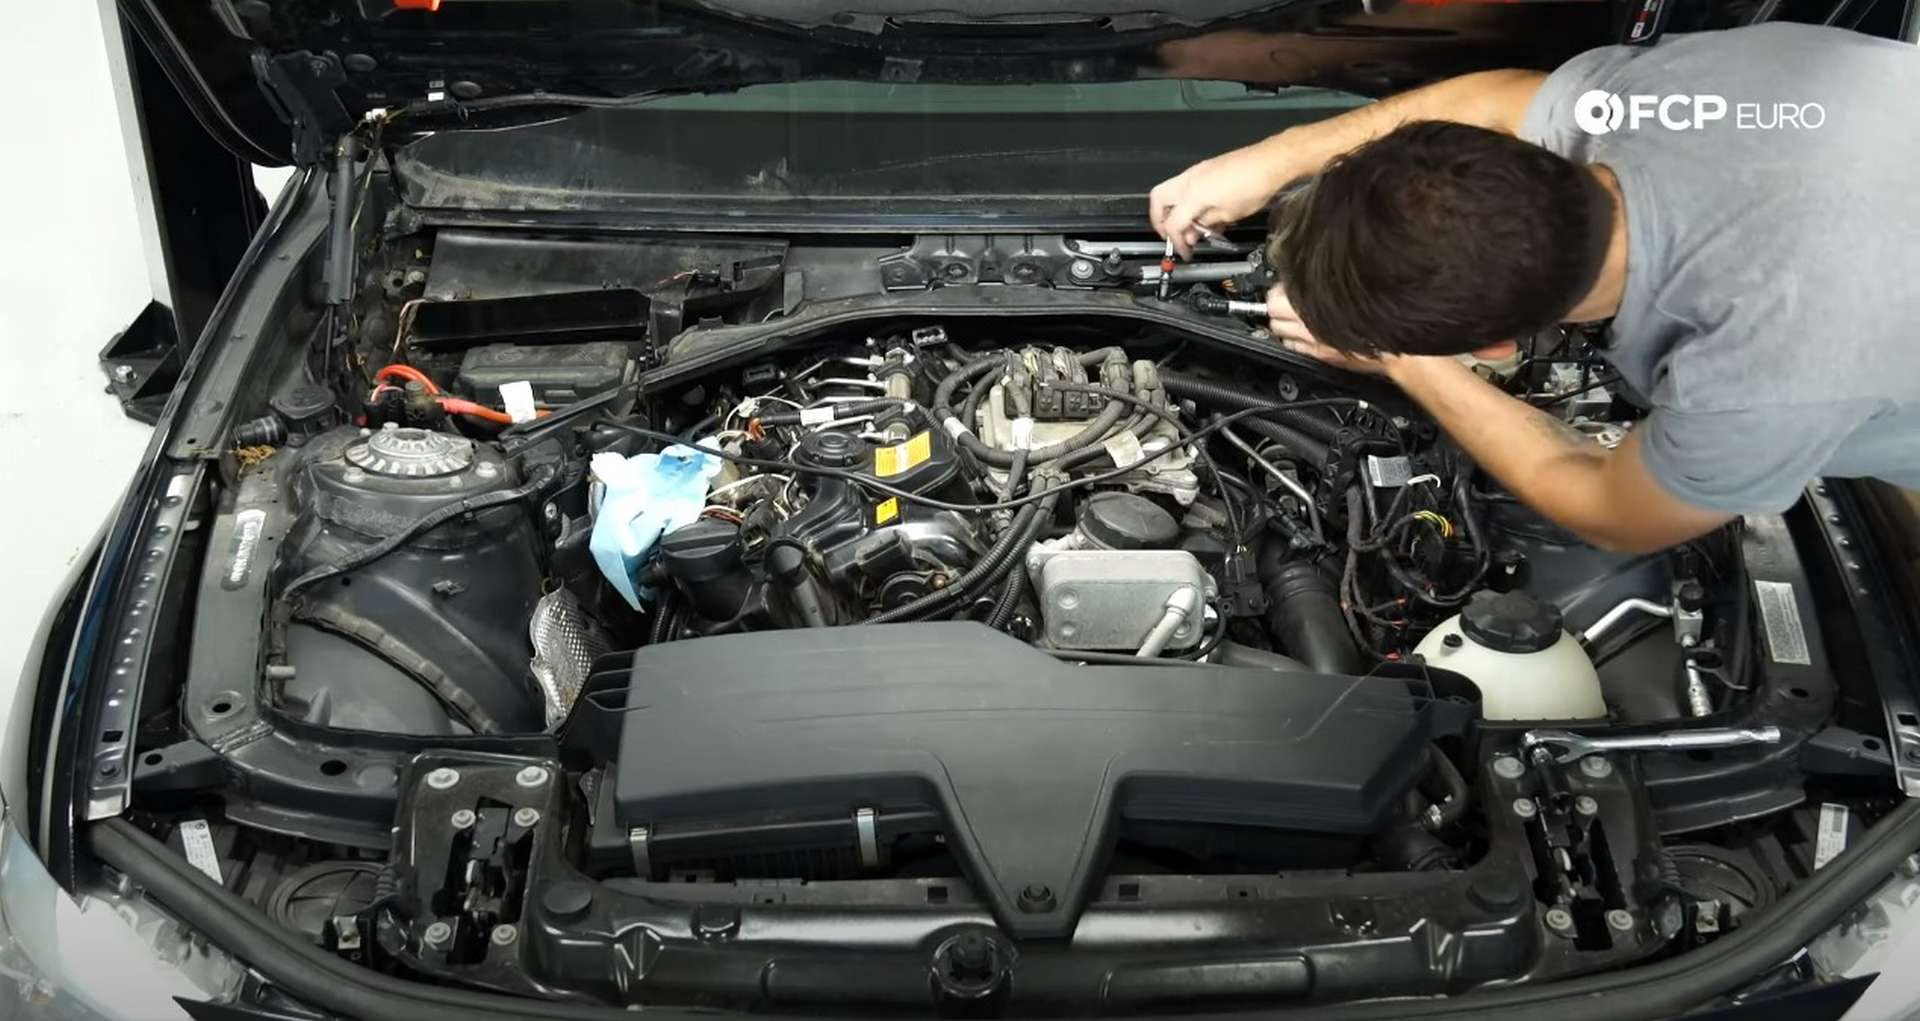
Step 1: Remove the engine cover
The early BMWs that run the N20 engine have an engine cover that also functions as part of the vacuum system. Two vacuum lines run to the passenger’s side of the cover where they feed into a reservoir for the vacuum system. Pinch the sides of the ends of the lines to remove them from the engine cover.
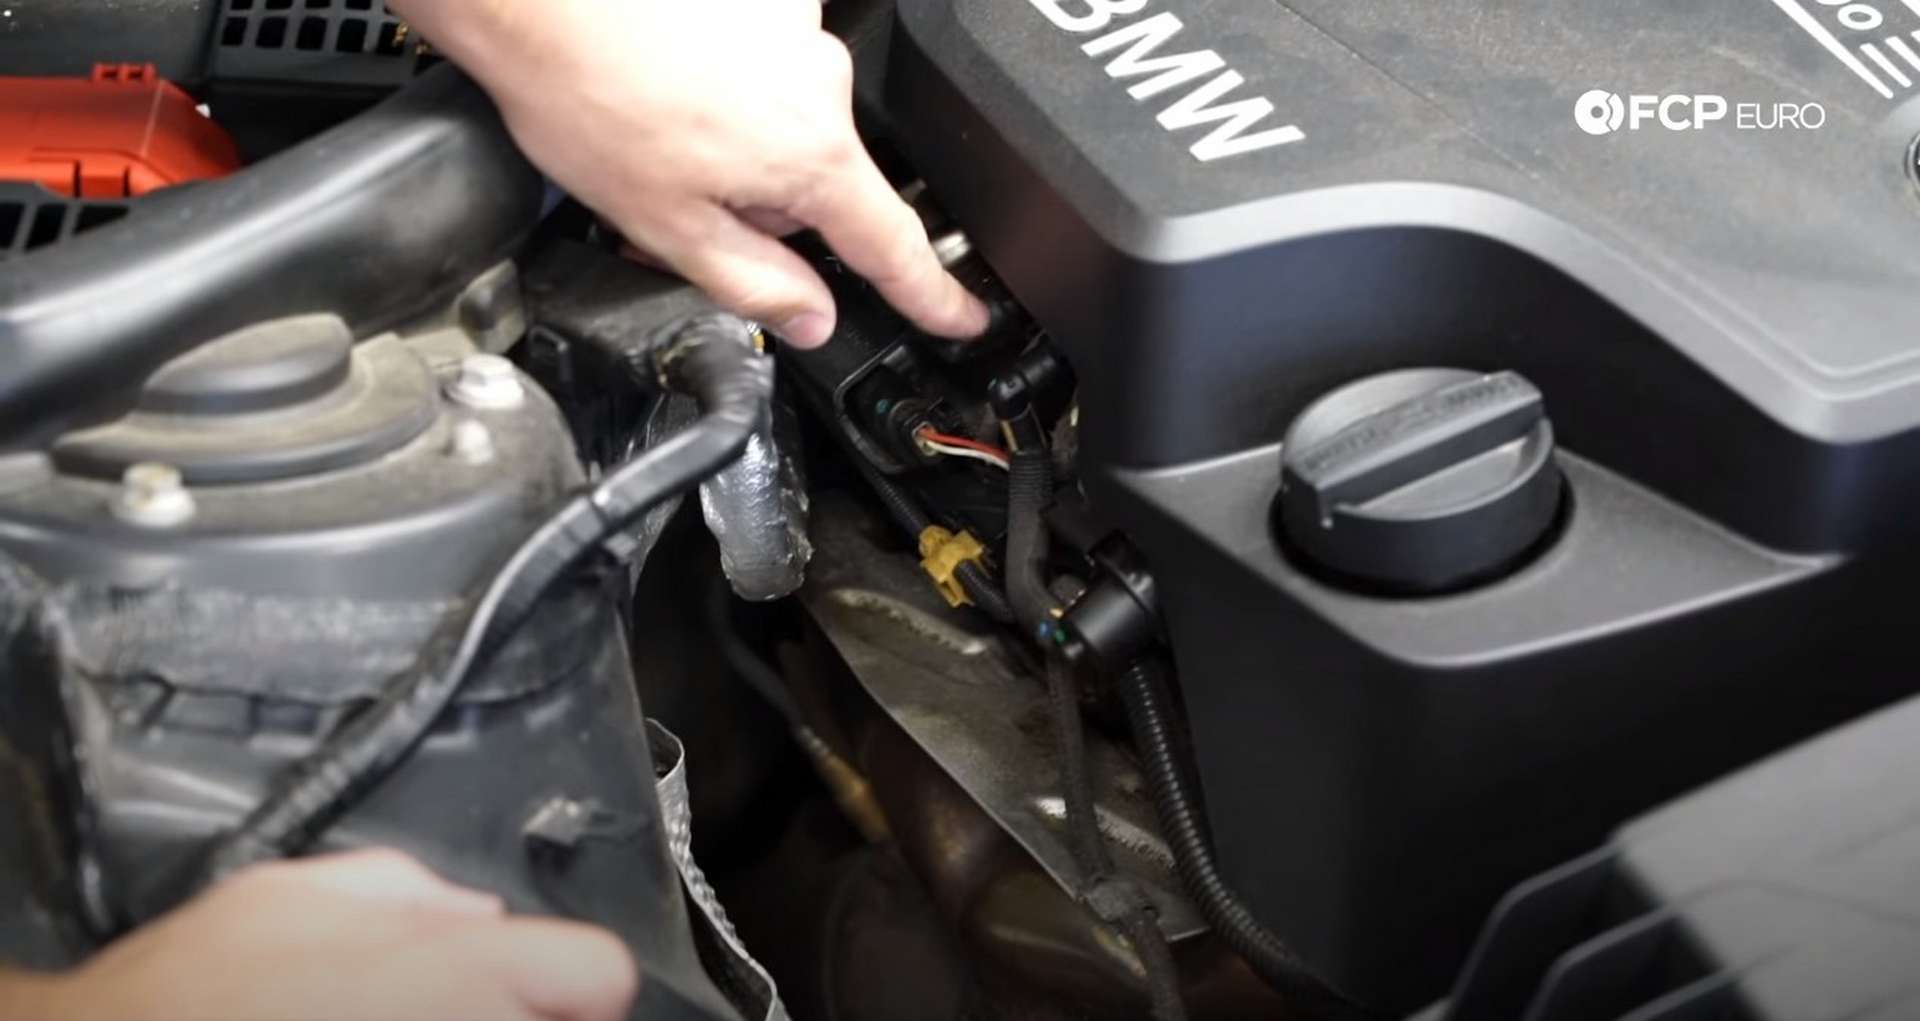
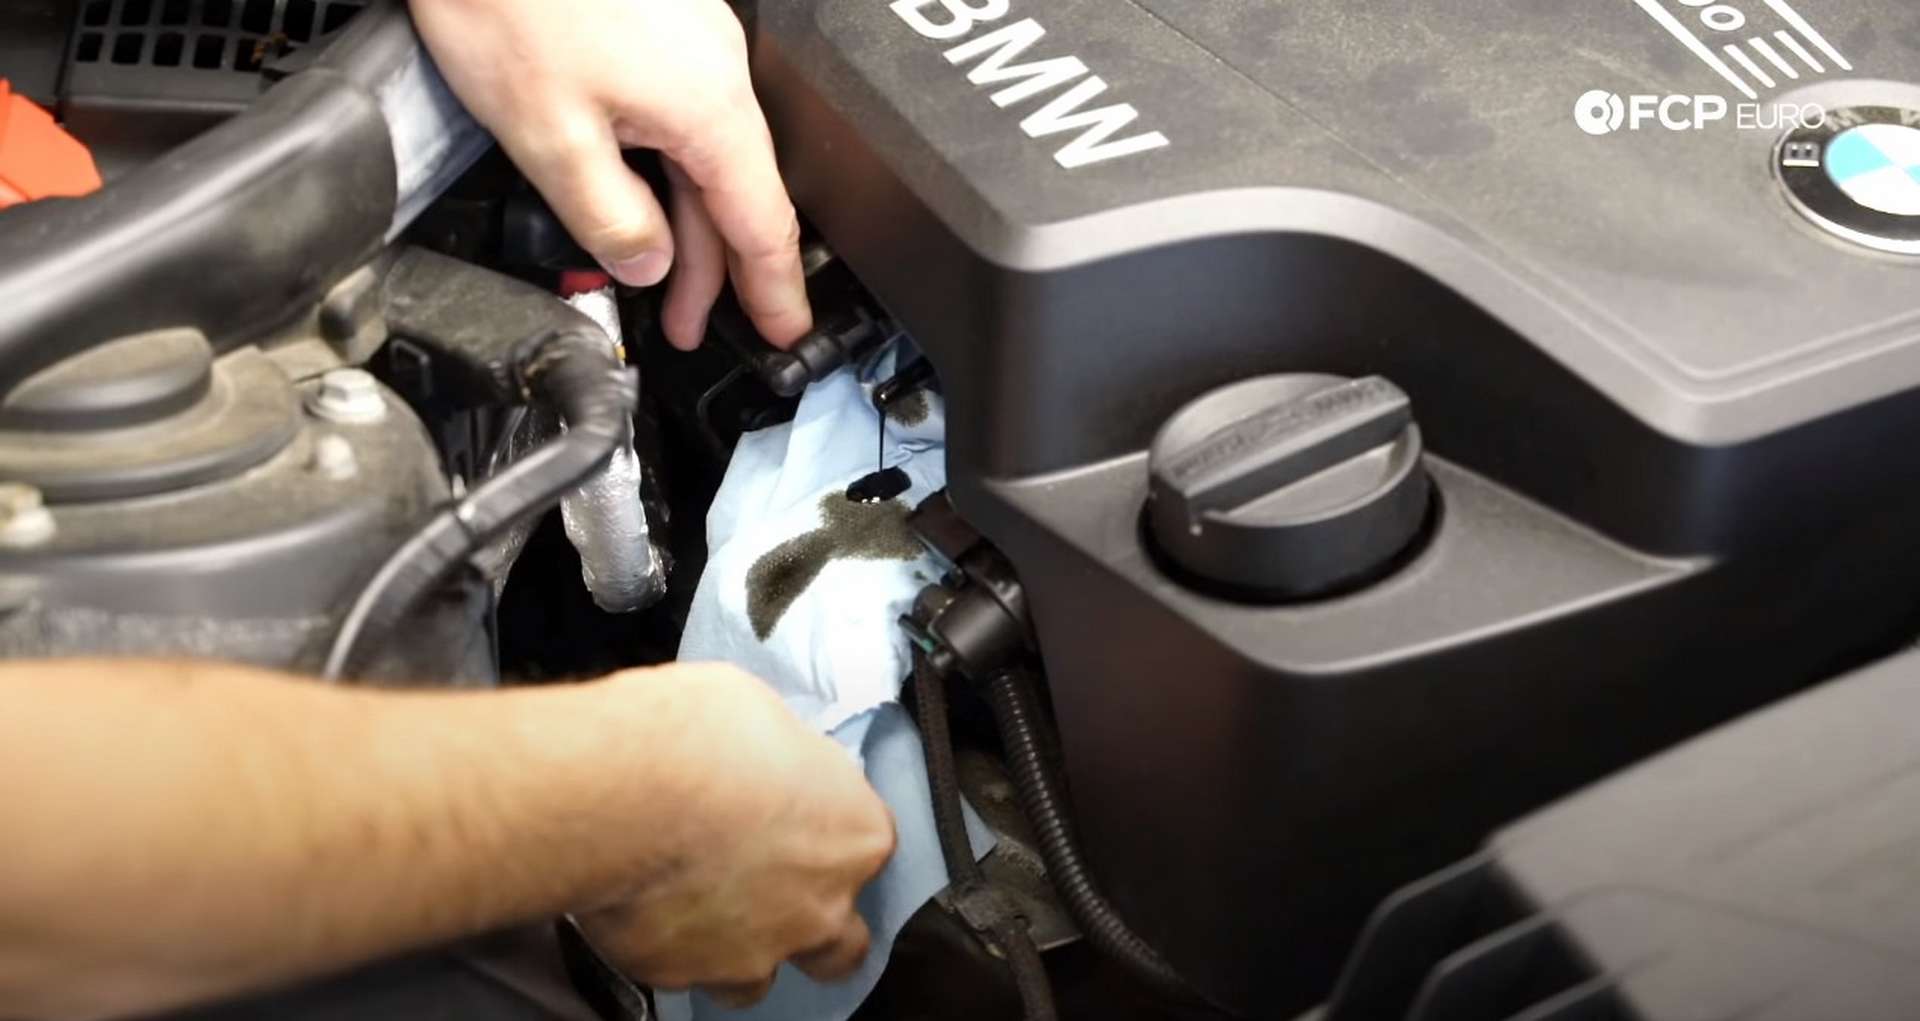
A telltale sign that the vacuum pump has begun or completely failed is if any oil runs out of the engine cover. Have a rag under the lines to prevent covering the turbocharger in oil. Next, grab the engine cover on its three front corners and pop them up to free them from the engine. Then pull the cover towards the front of the car and off of the engine.

Under the cover is a piece of sound deadening foam. Pull it off of the engine and set it aside.
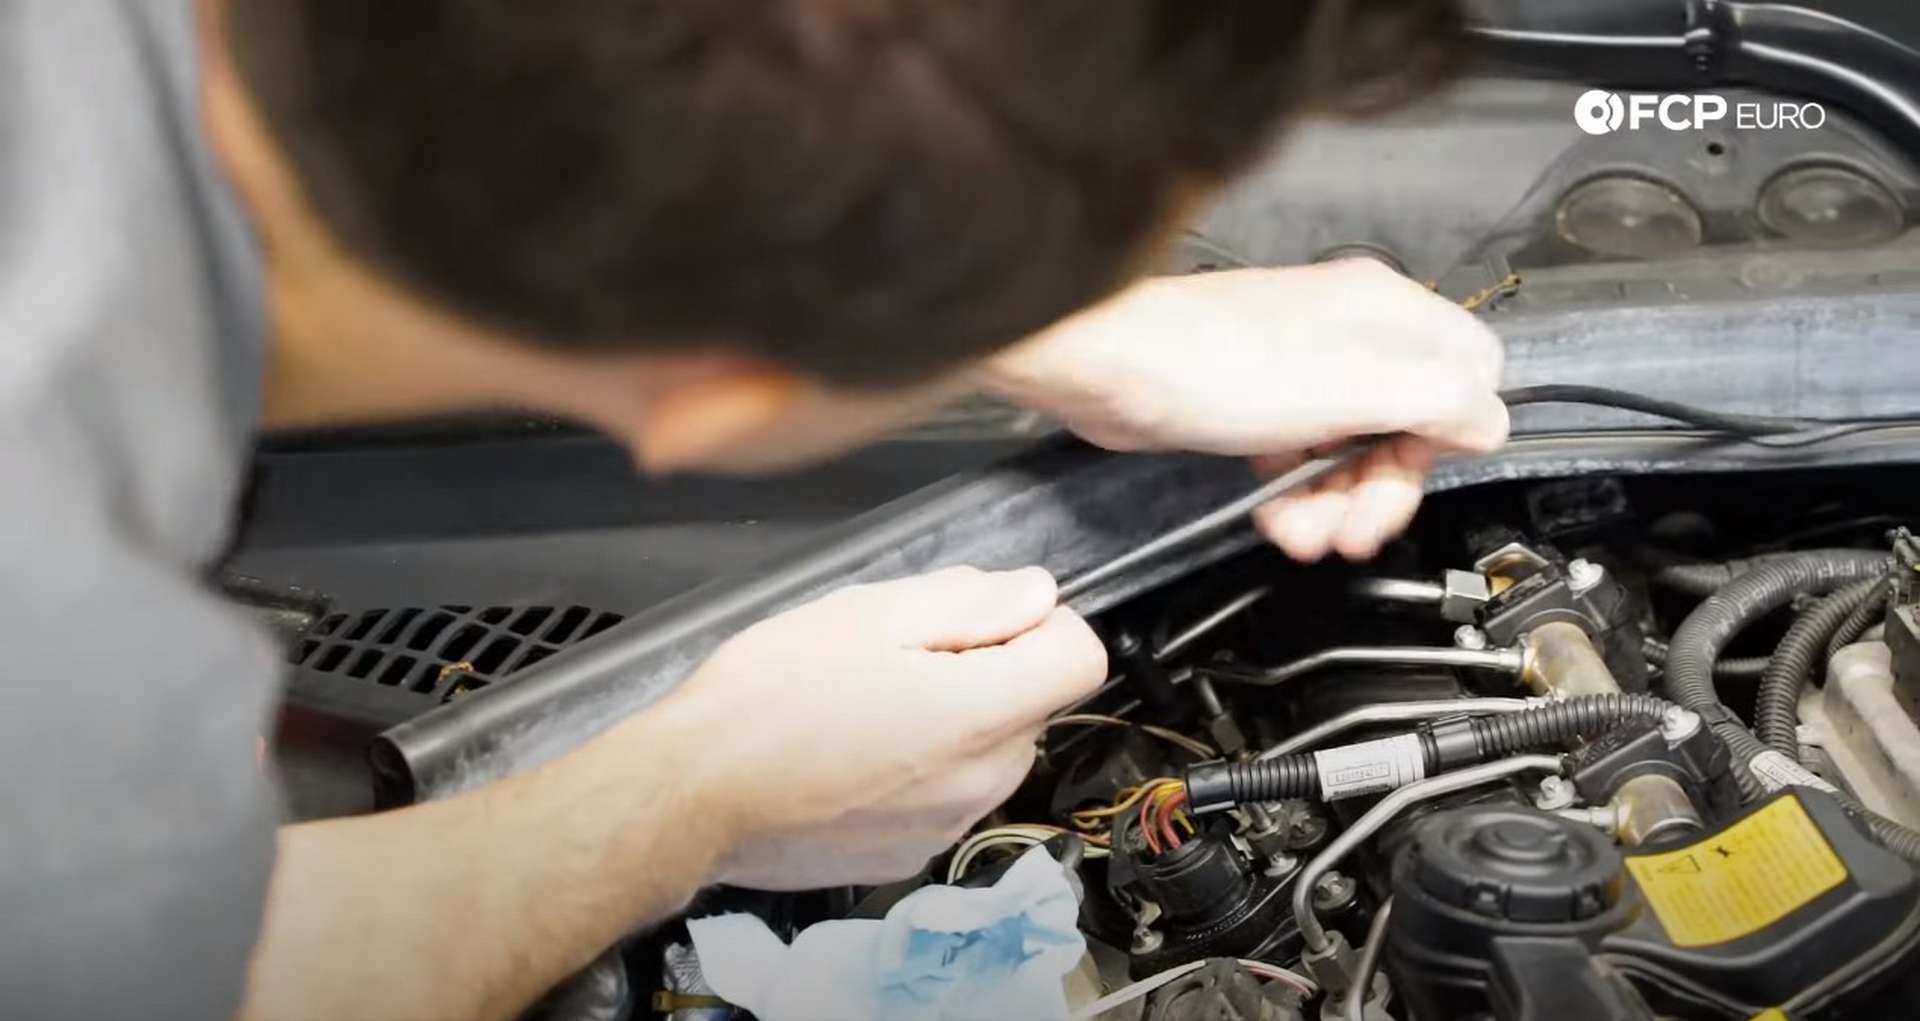
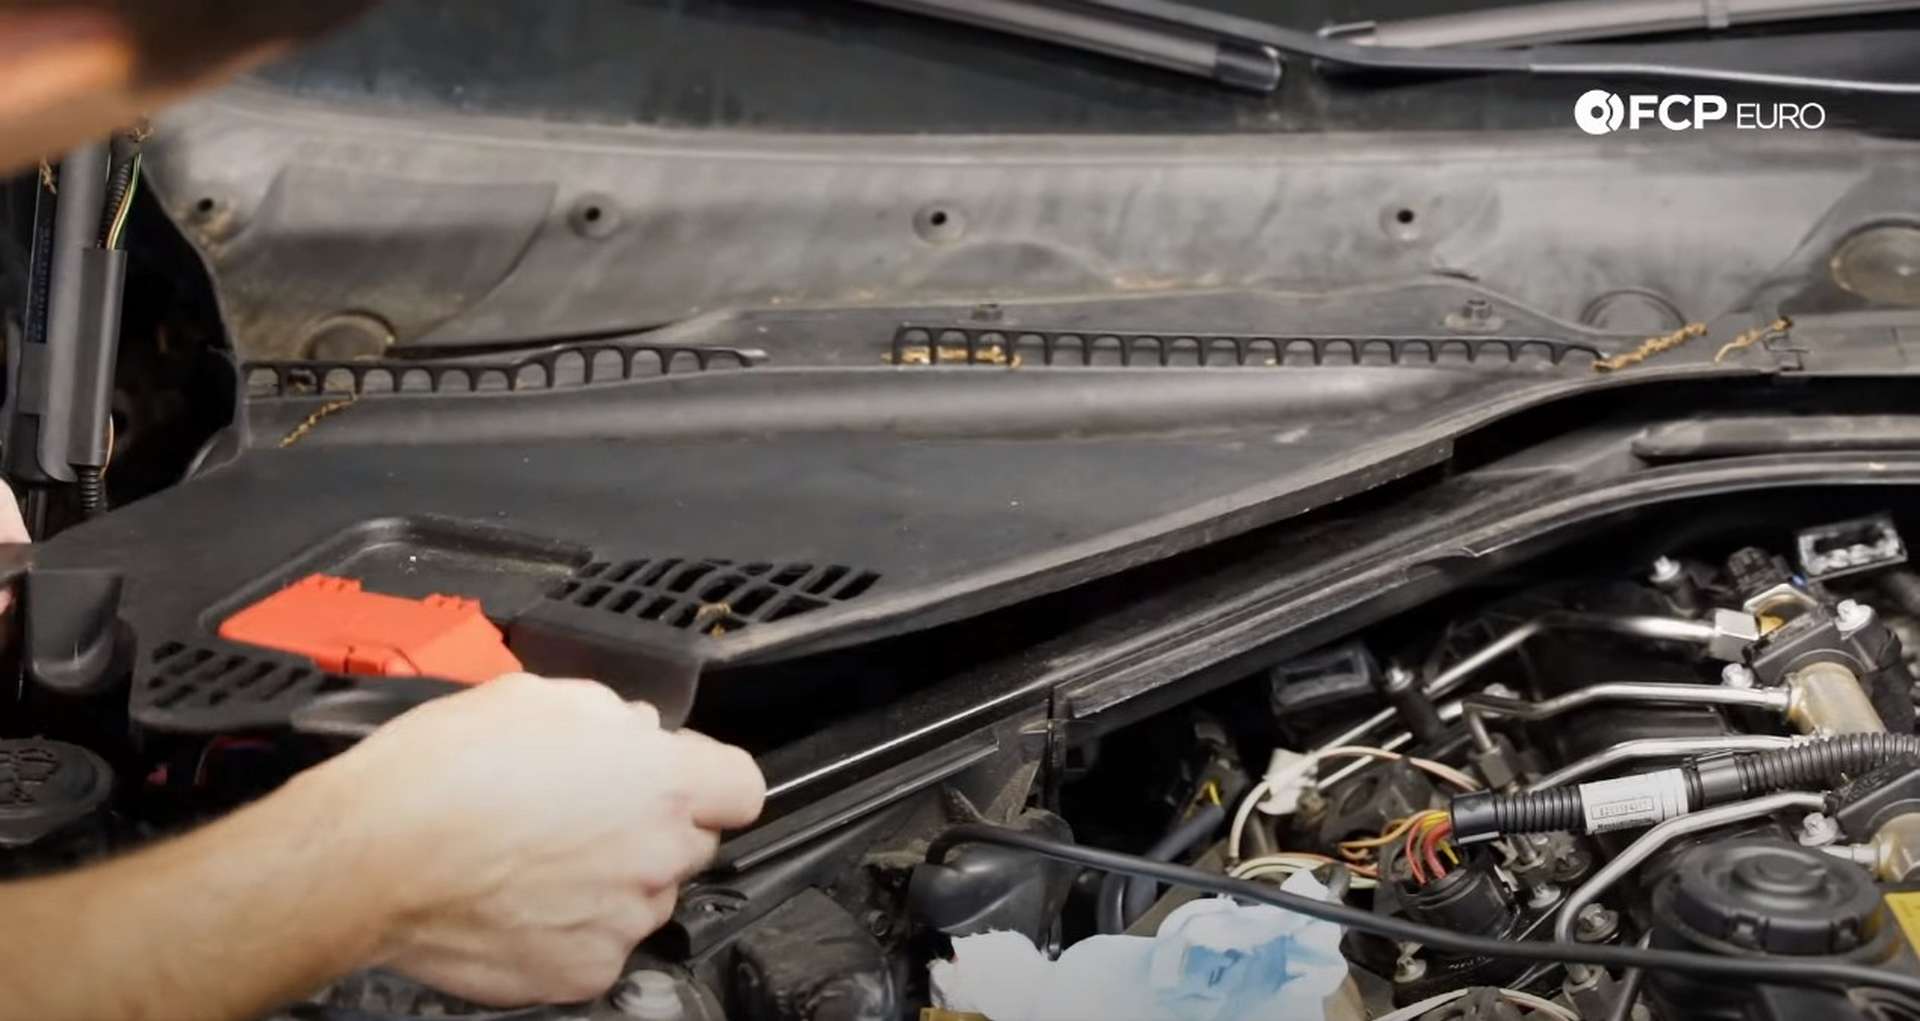
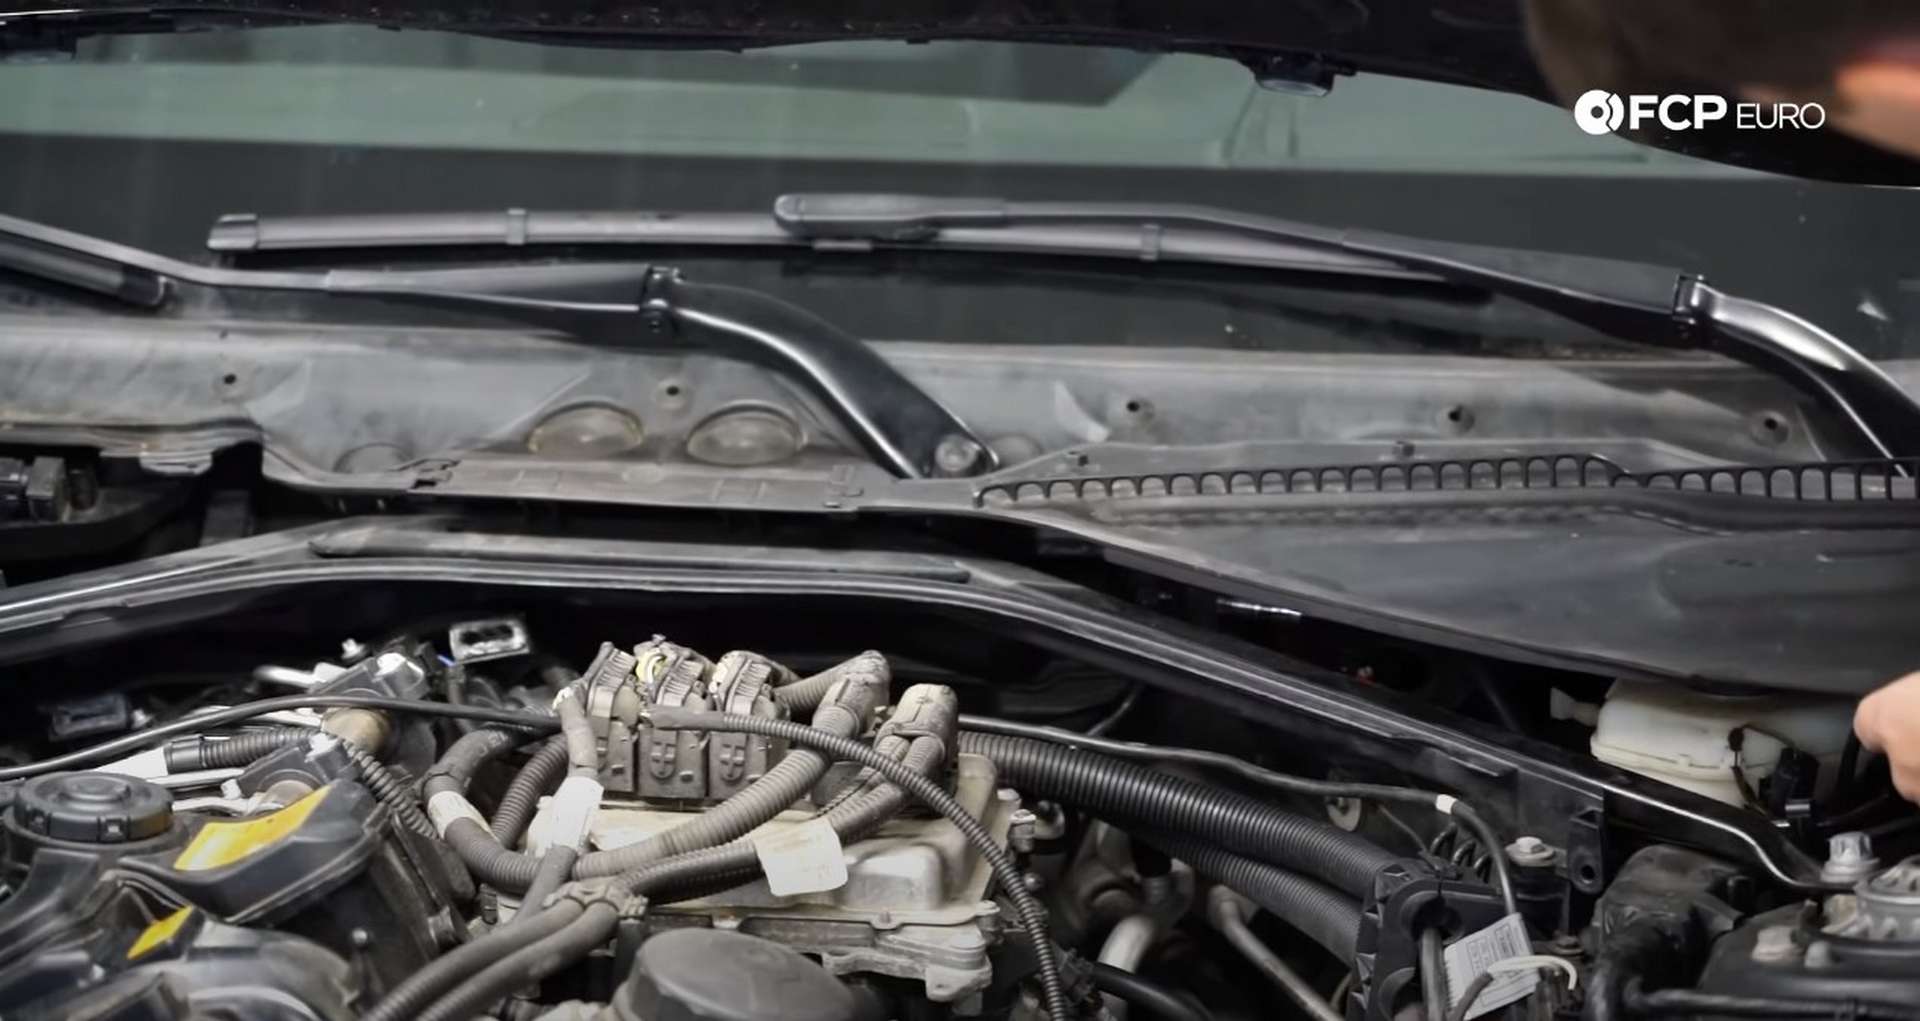
Step 2: Remove the engine bay cowl and strut brace
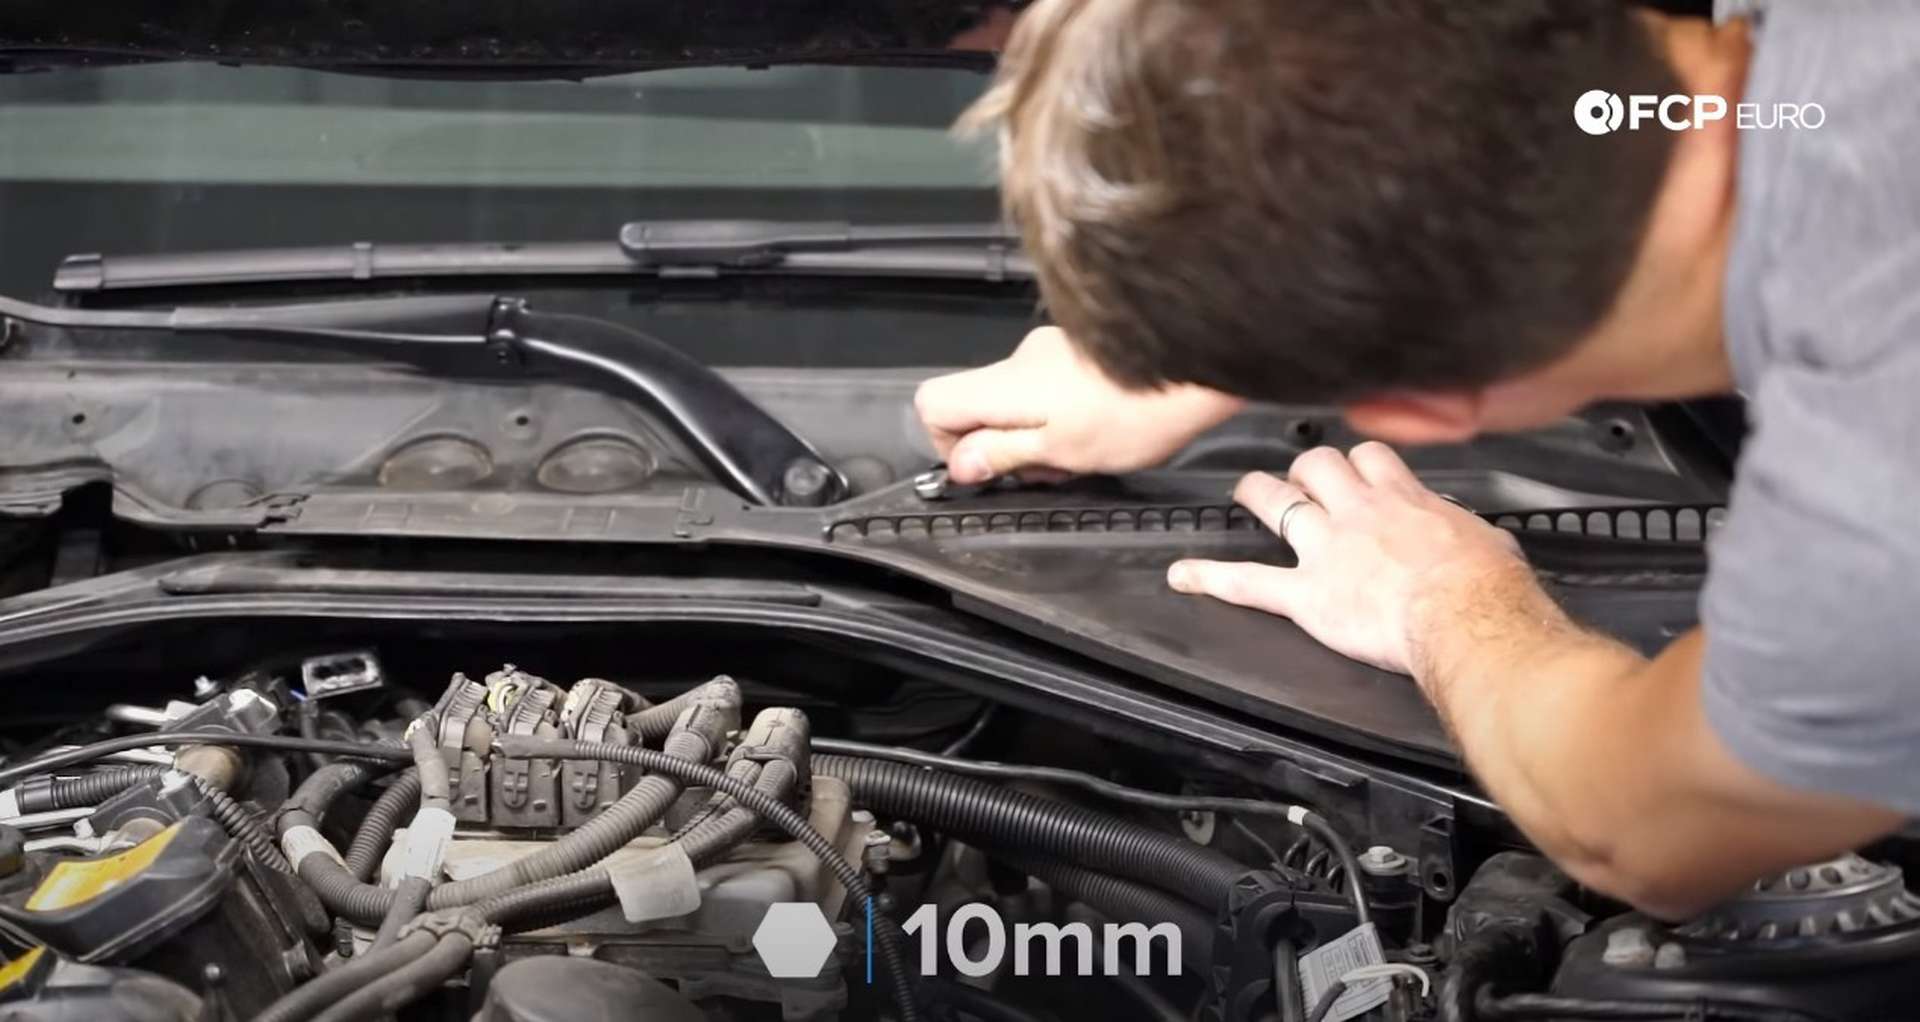
Each rear corner of the engine bay is covered by a plastic cowl. Use a 10mm wrench and turn the six plastic nuts 90° to the left to unlock them. Then, use a plastic trim tool or flat-head screwdriver to remove the plastic clips from the cowl seal’s corners.
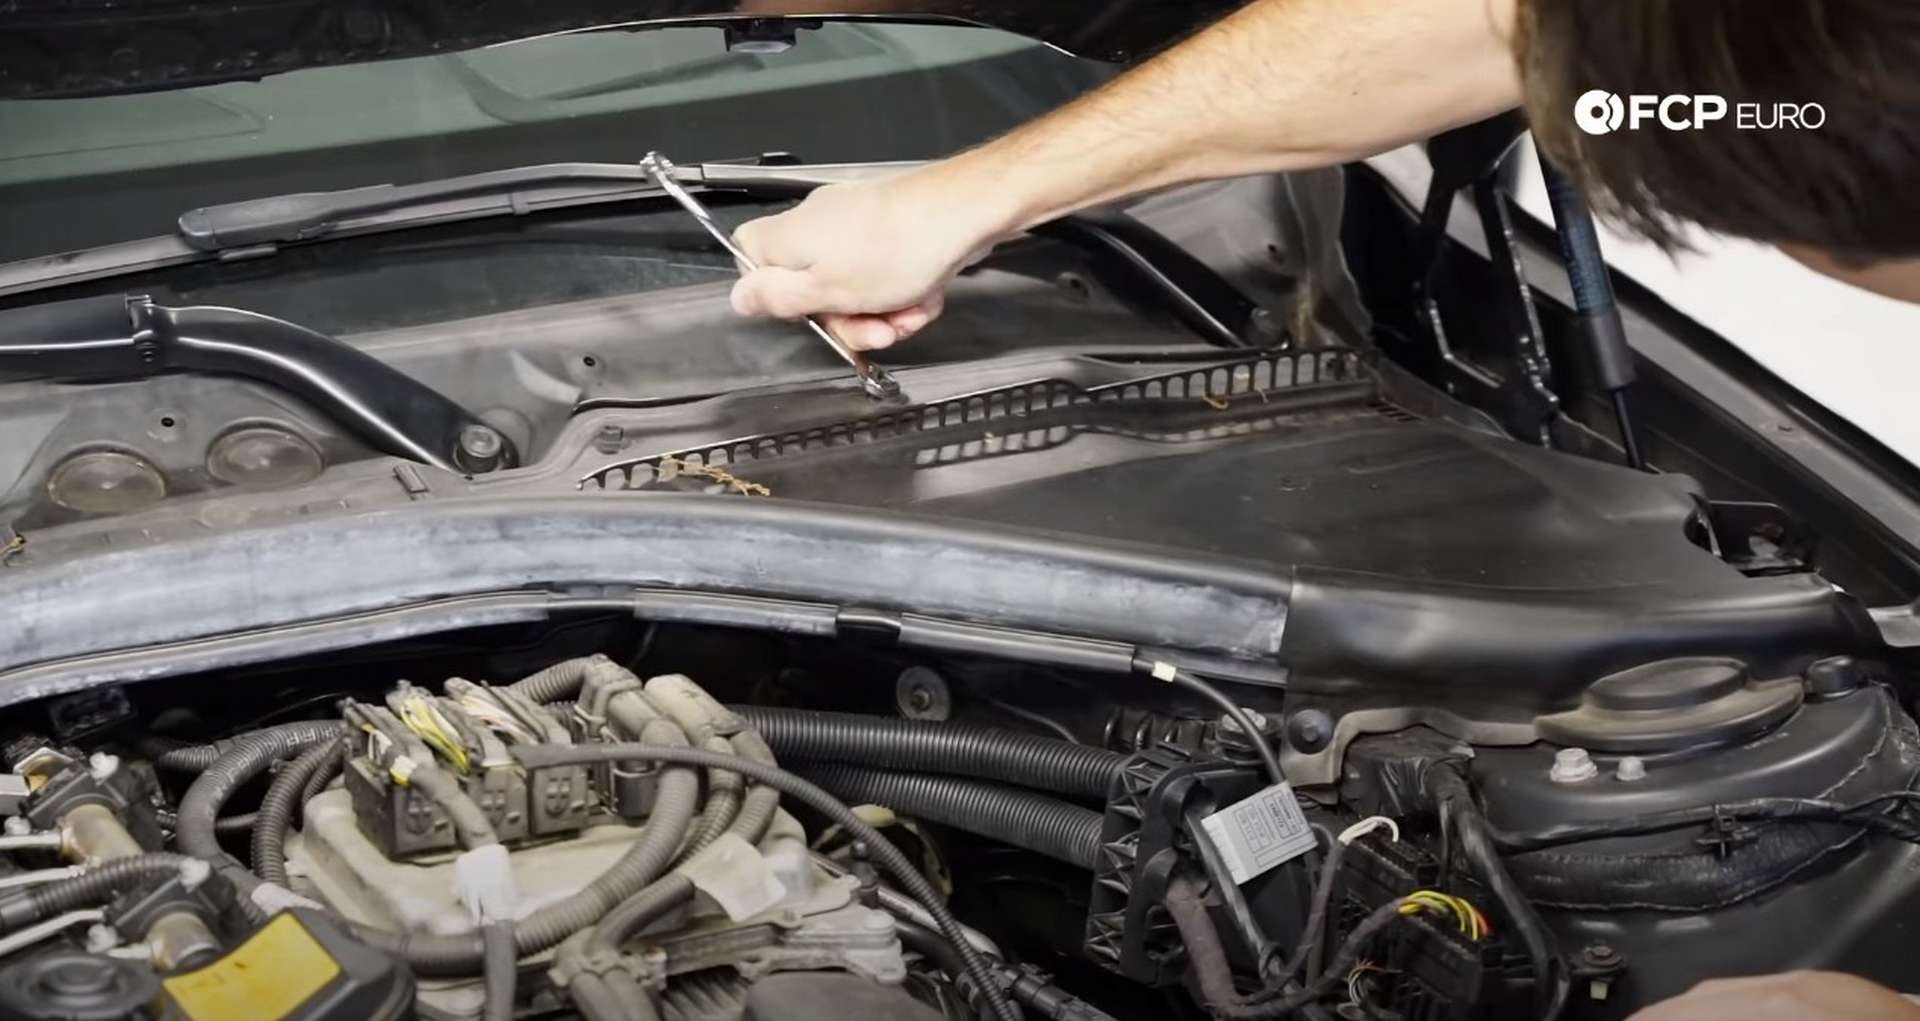
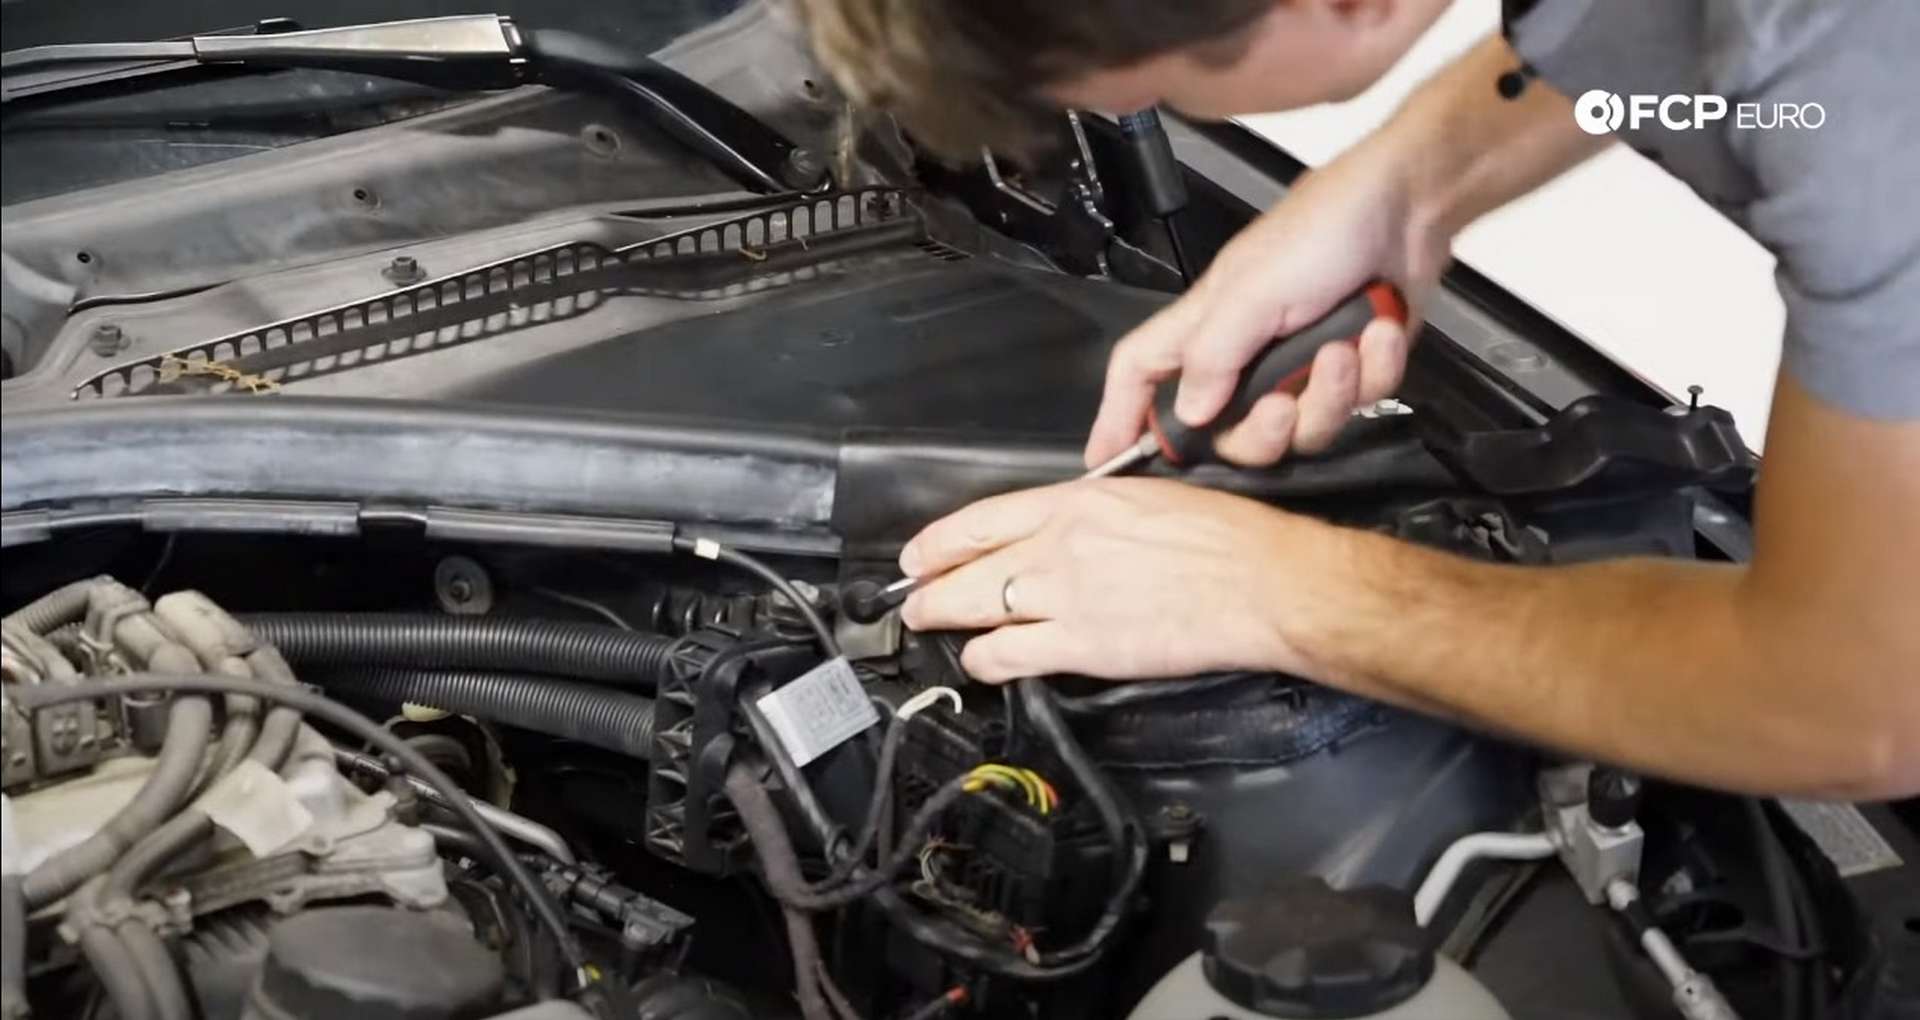
There is a wire running across the front of the seal and the engine bay. Pull the wire out of the seal and then pull the seal off of the strut brace. With the seal out of the way, remove the two cowl pieces.
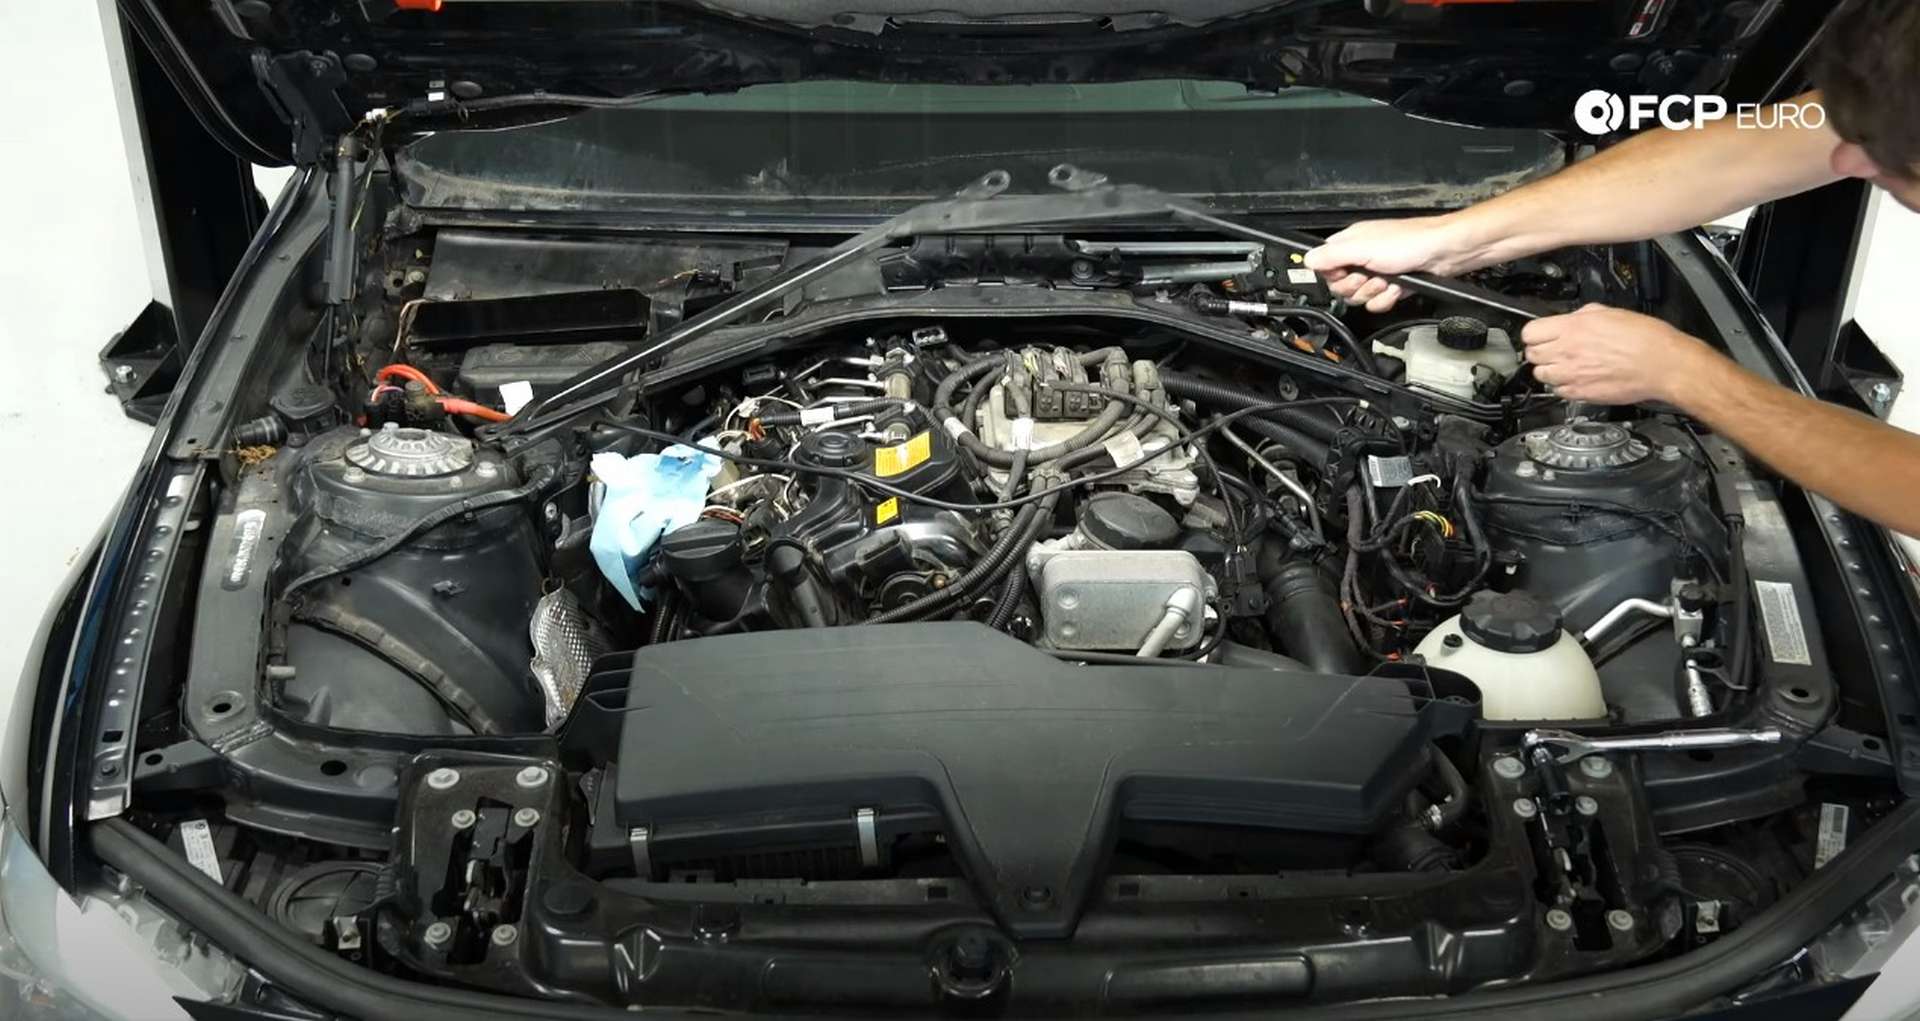
The vacuum pump sits directly under where the strut brace meets the firewall. Use an E20 socket to remove the four bolts mounting the strut brace to the chassis.
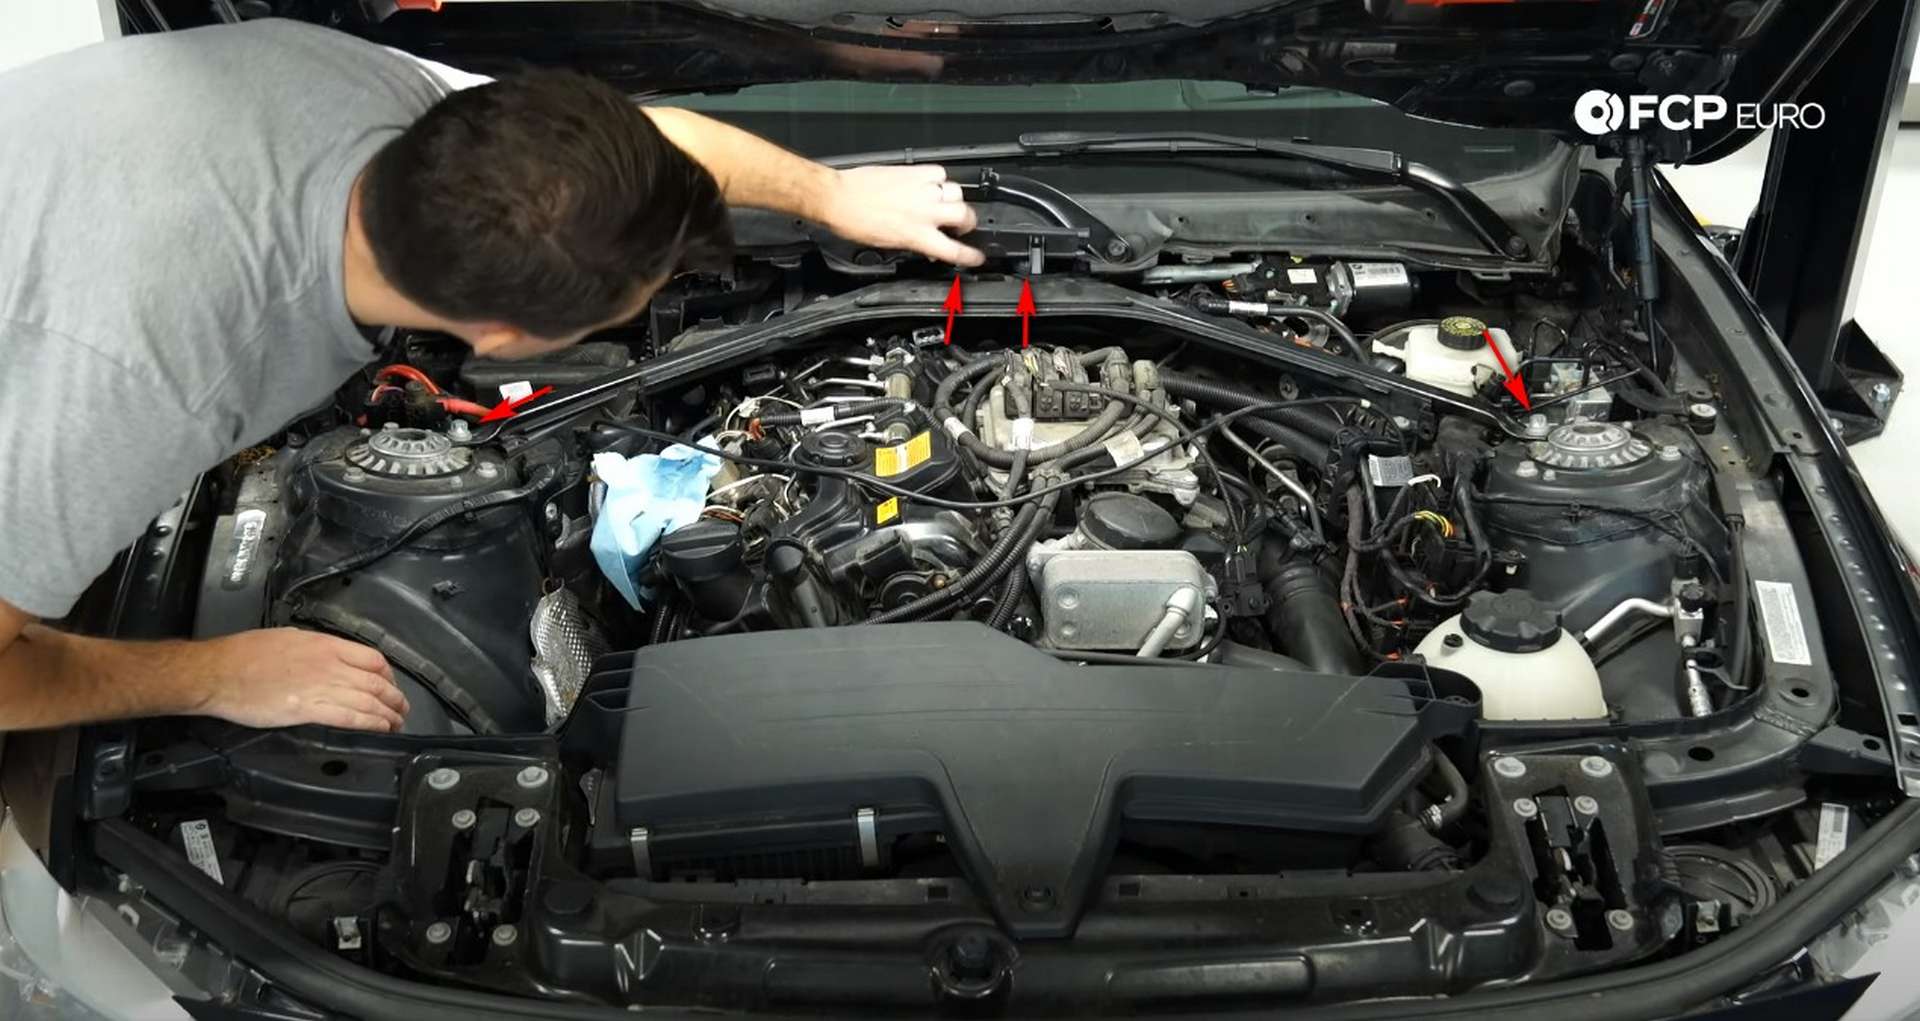
Under the strut brace is the firewall shield. Use a 10mm socket to remove the seven bolts that secure it in the engine bay.
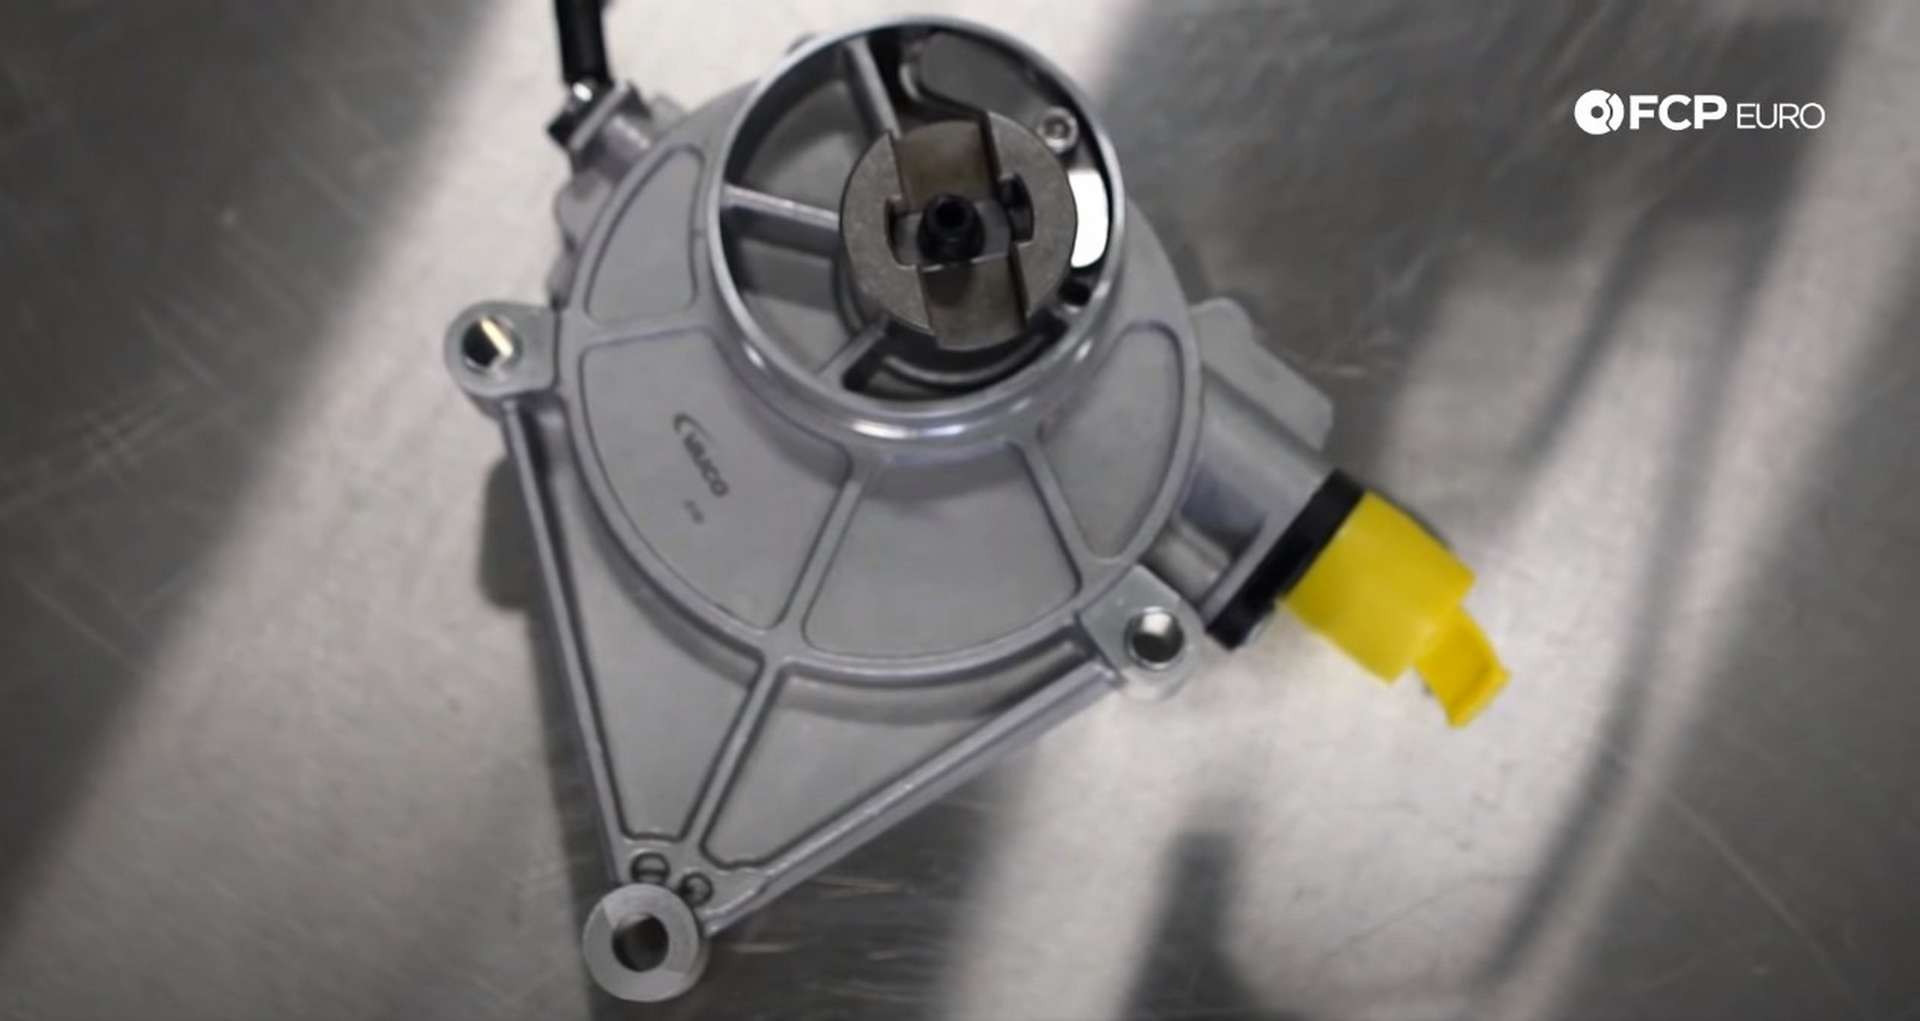
Step 3: Remove the vacuum pump
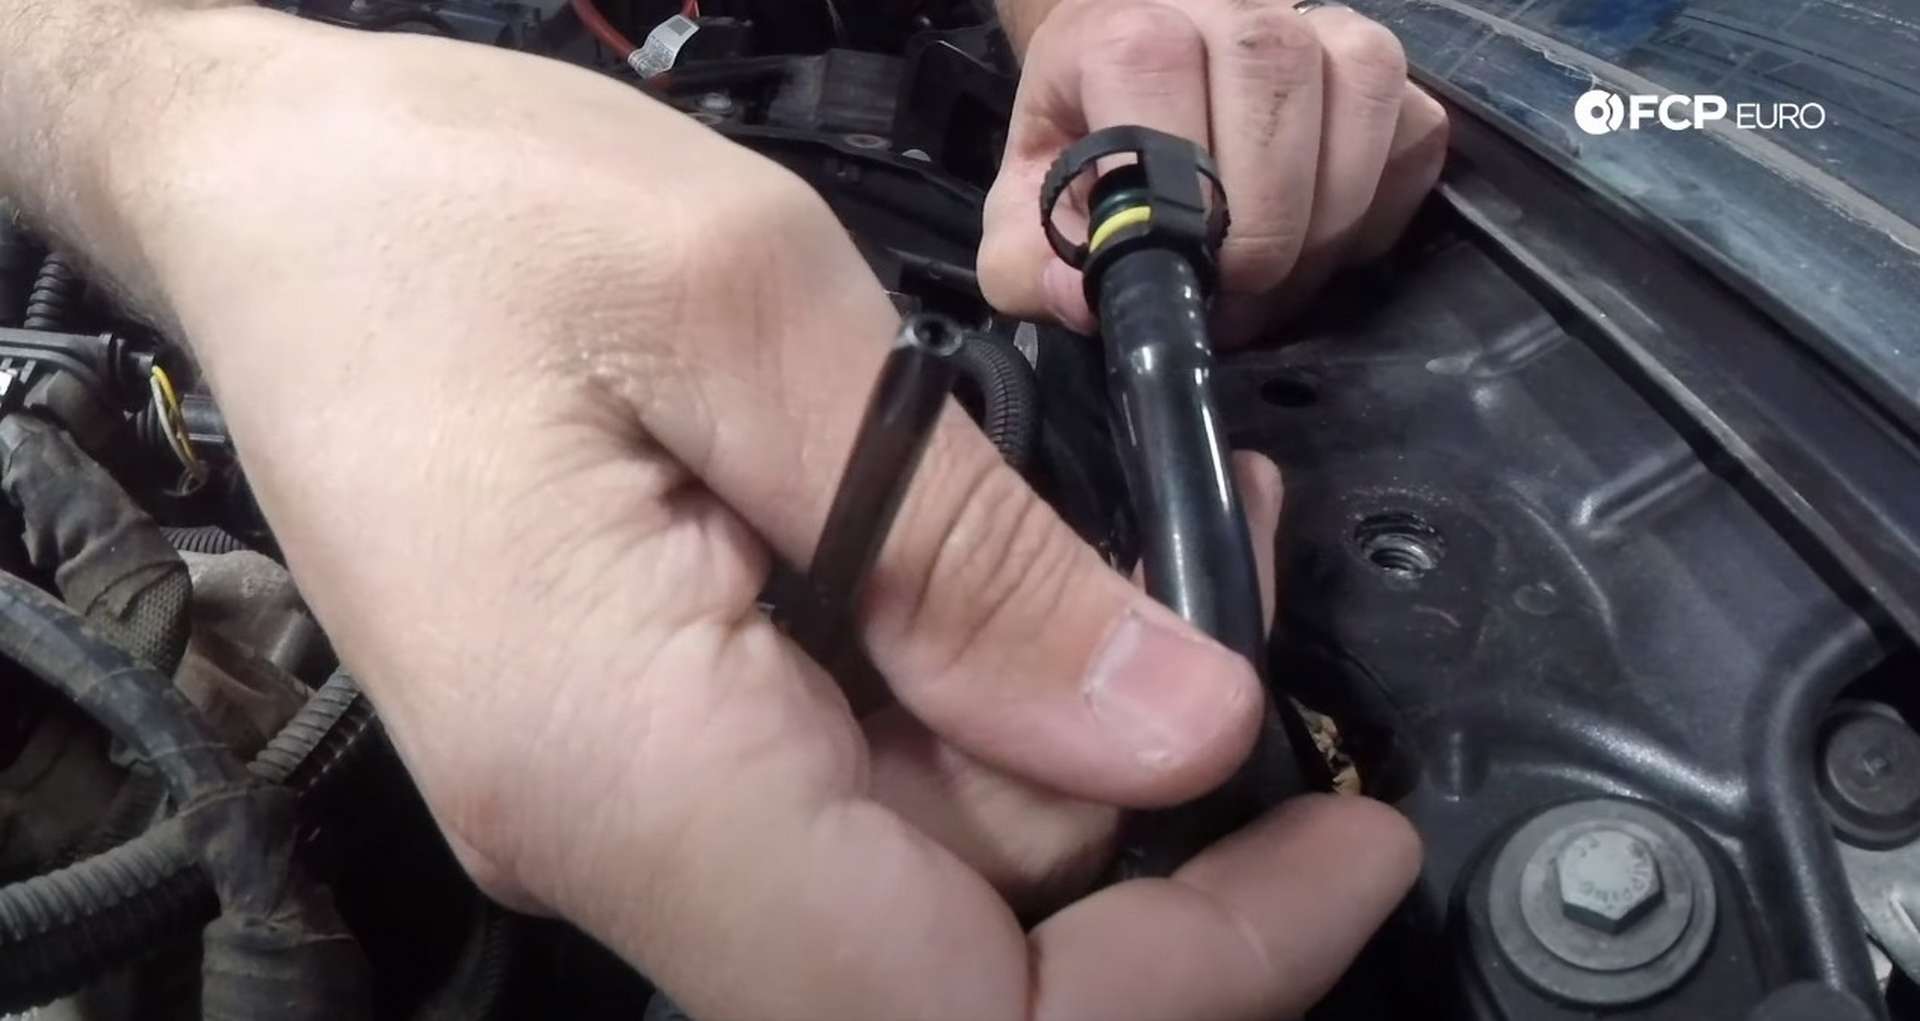
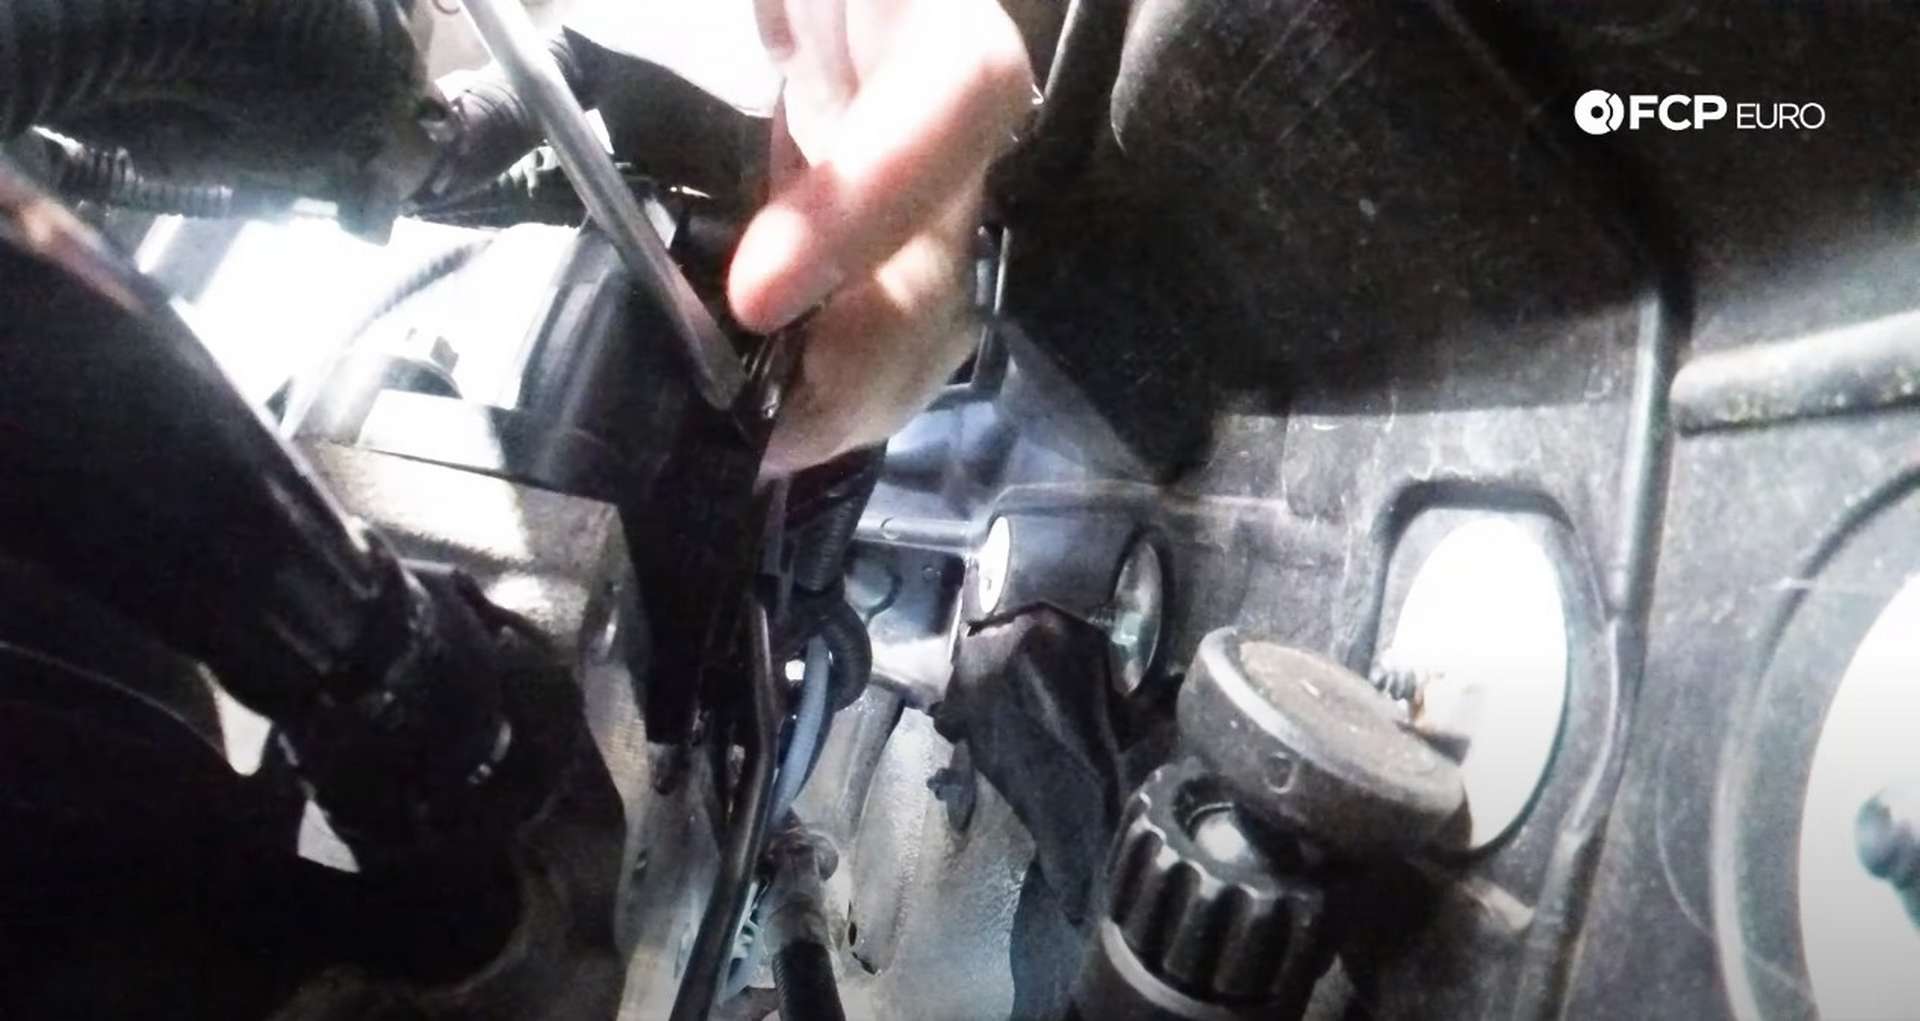
The vacuum pump mounts to the back of the valve cover and has two vacuum lines running off it. The later cars with the electronically controlled turbochargers only have one line leading off of the pump. The common line gives vacuum to the brake booster. Locate the line and pinch in on the two textured sides. Pull the line off of the pump while pushing in on the sides.
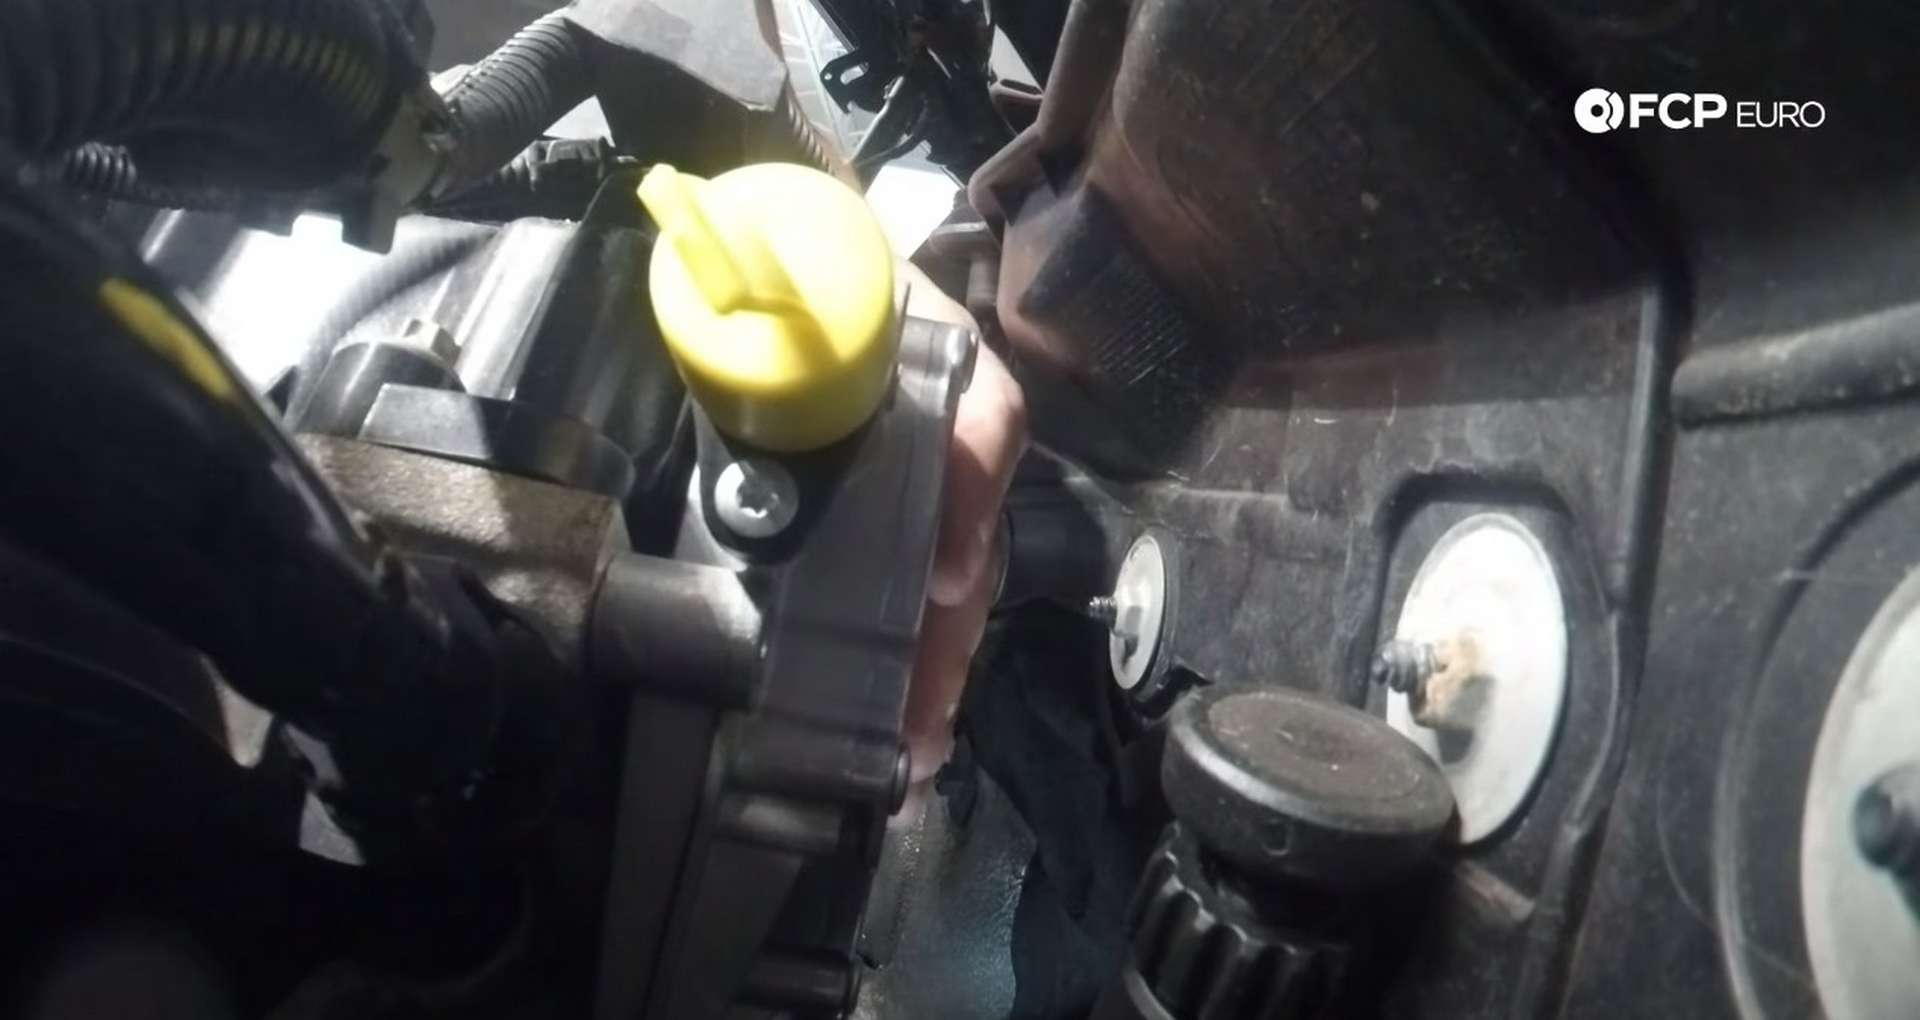
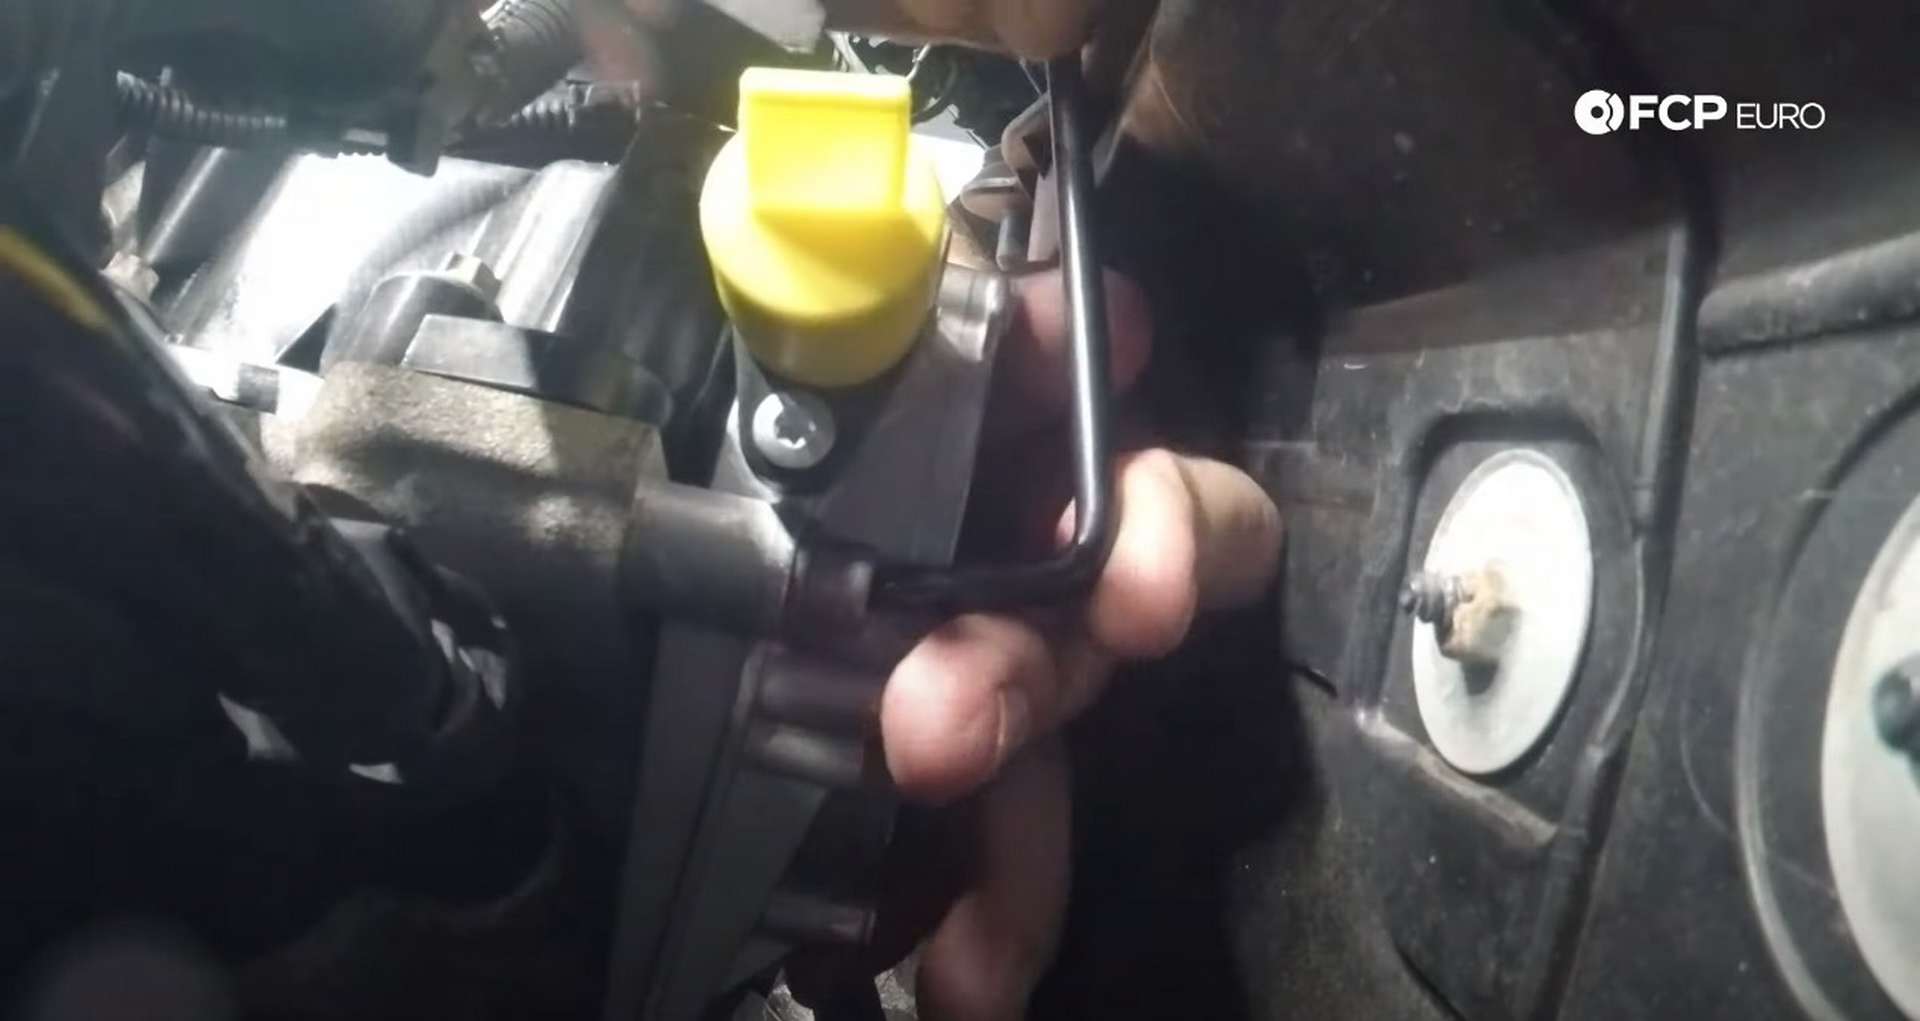
The three fasteners that secure the pump to the valve cover use a T30 bit for removal. Use a short T30 socket or an L-shaped T30 wrench to break the fasteners loose. Very little torque is used on the fasteners allowing them to be removed by fingers once broken free.
The fasteners are positioned in an upside-down triangle on the bottom half of the pump. Use the image above for guidance on locating the fasteners.
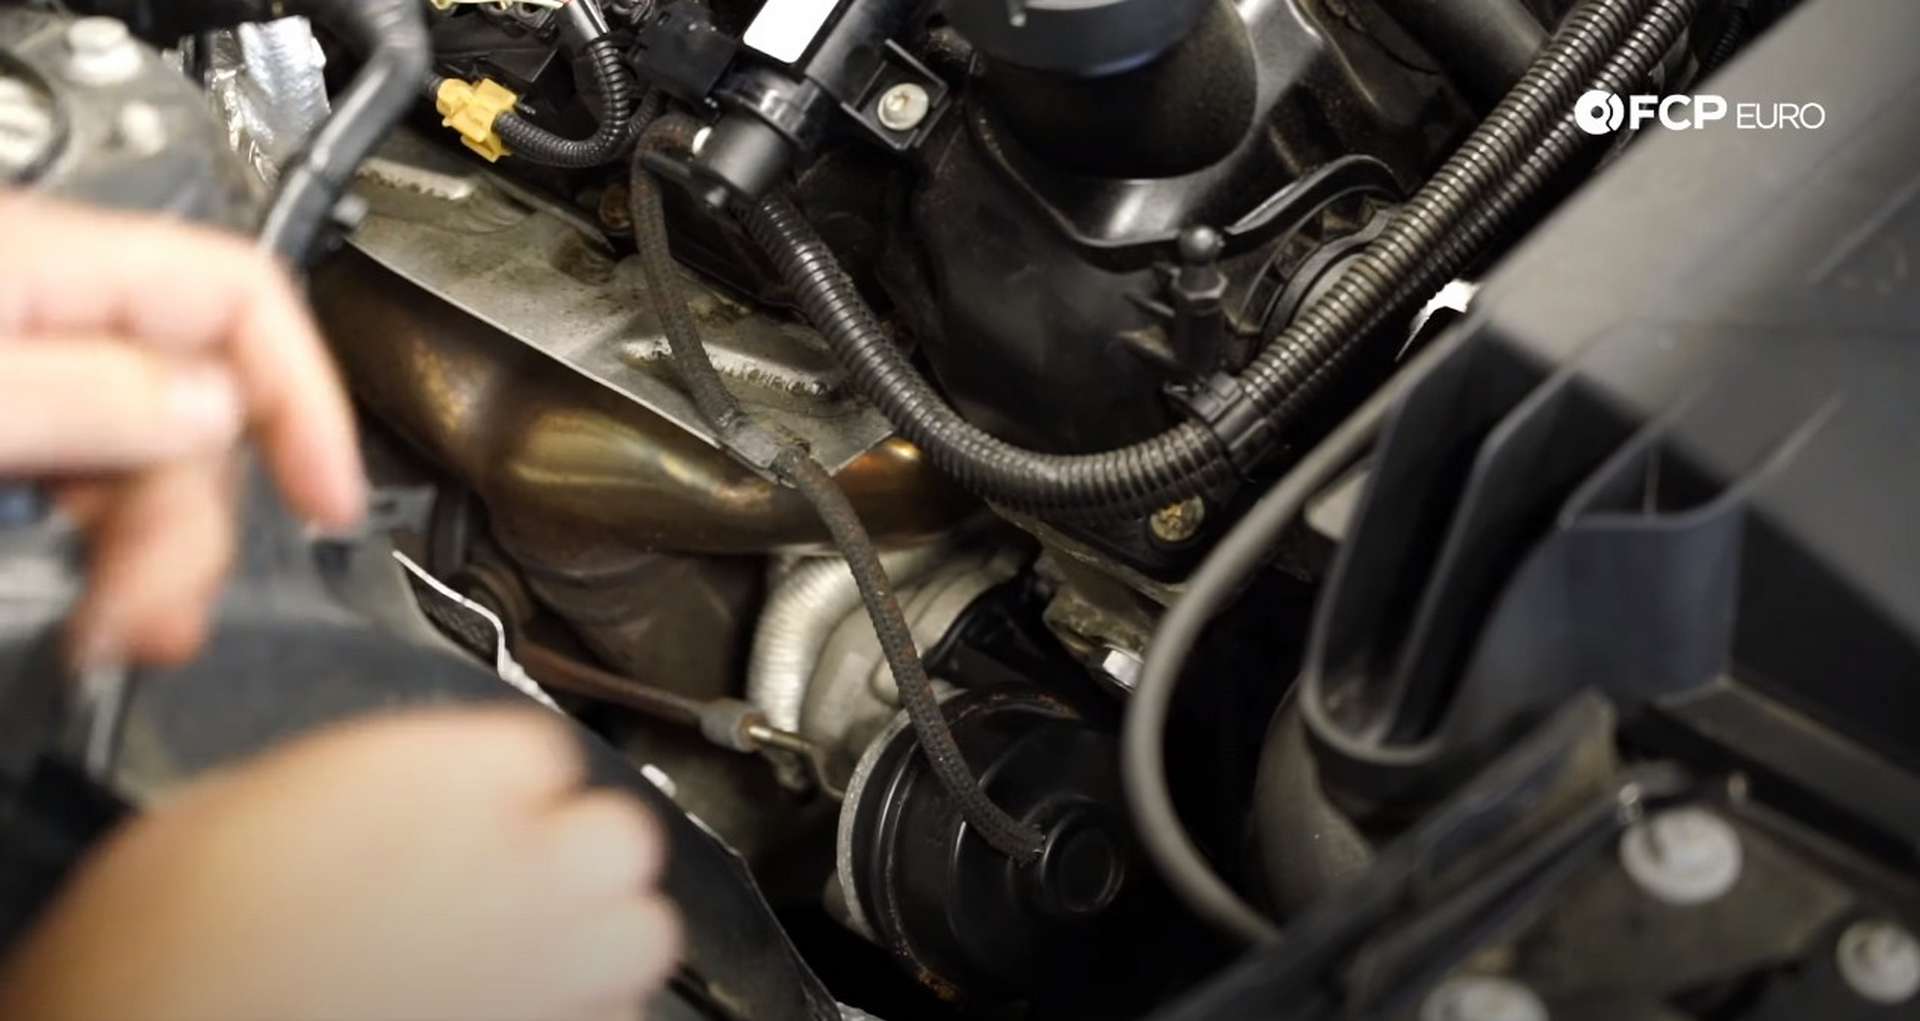
Move the turbo vacuum line around towards the pump so that the pump can be removed with the line attached. Push and rock the pump away from the valve cover until it pops off the cover, and then pull it out of the engine bay. Pull the turbocharger line off of the pump and clean it out with brake clean.
The vacuum pump seal will still be sitting in the valve cover after the pump is removed. Use a pick tool or flat-head screwdriver to pry out the seal. Be careful as the valve cover is plastic and becomes brittle over time.
Step 4: Install the new seal and pump
Install the new seal in the same orientation that the old seal was in. Then, reach down into the back of the valve cover and feel the back of the camshaft. Pay attention to the flat’s orientation on the camshaft and then rotate the gear on the pump to line up with the camshaft flat. Aligning the gear on the pump will help with the installation.
Then, fit the pump behind the valve cover and seat it into place. Thread in the bolts by hand, torquing them to 10Nm. There isn’t any space to get a torque wrench in between the pump and firewall to torque the bolts, so do your best to make them as tight as they were when you removed them.
Next, install the turbocharger vacuum line, if your engine requires it. Snake it around the corner of the engine and slip it onto the black nipple on the pump. Trace the brake booster line until its connection with the booster. Remove it from the engine bay and clean it of any oil that may be present inside. Then, reattach the line to the booster and vacuum pump.
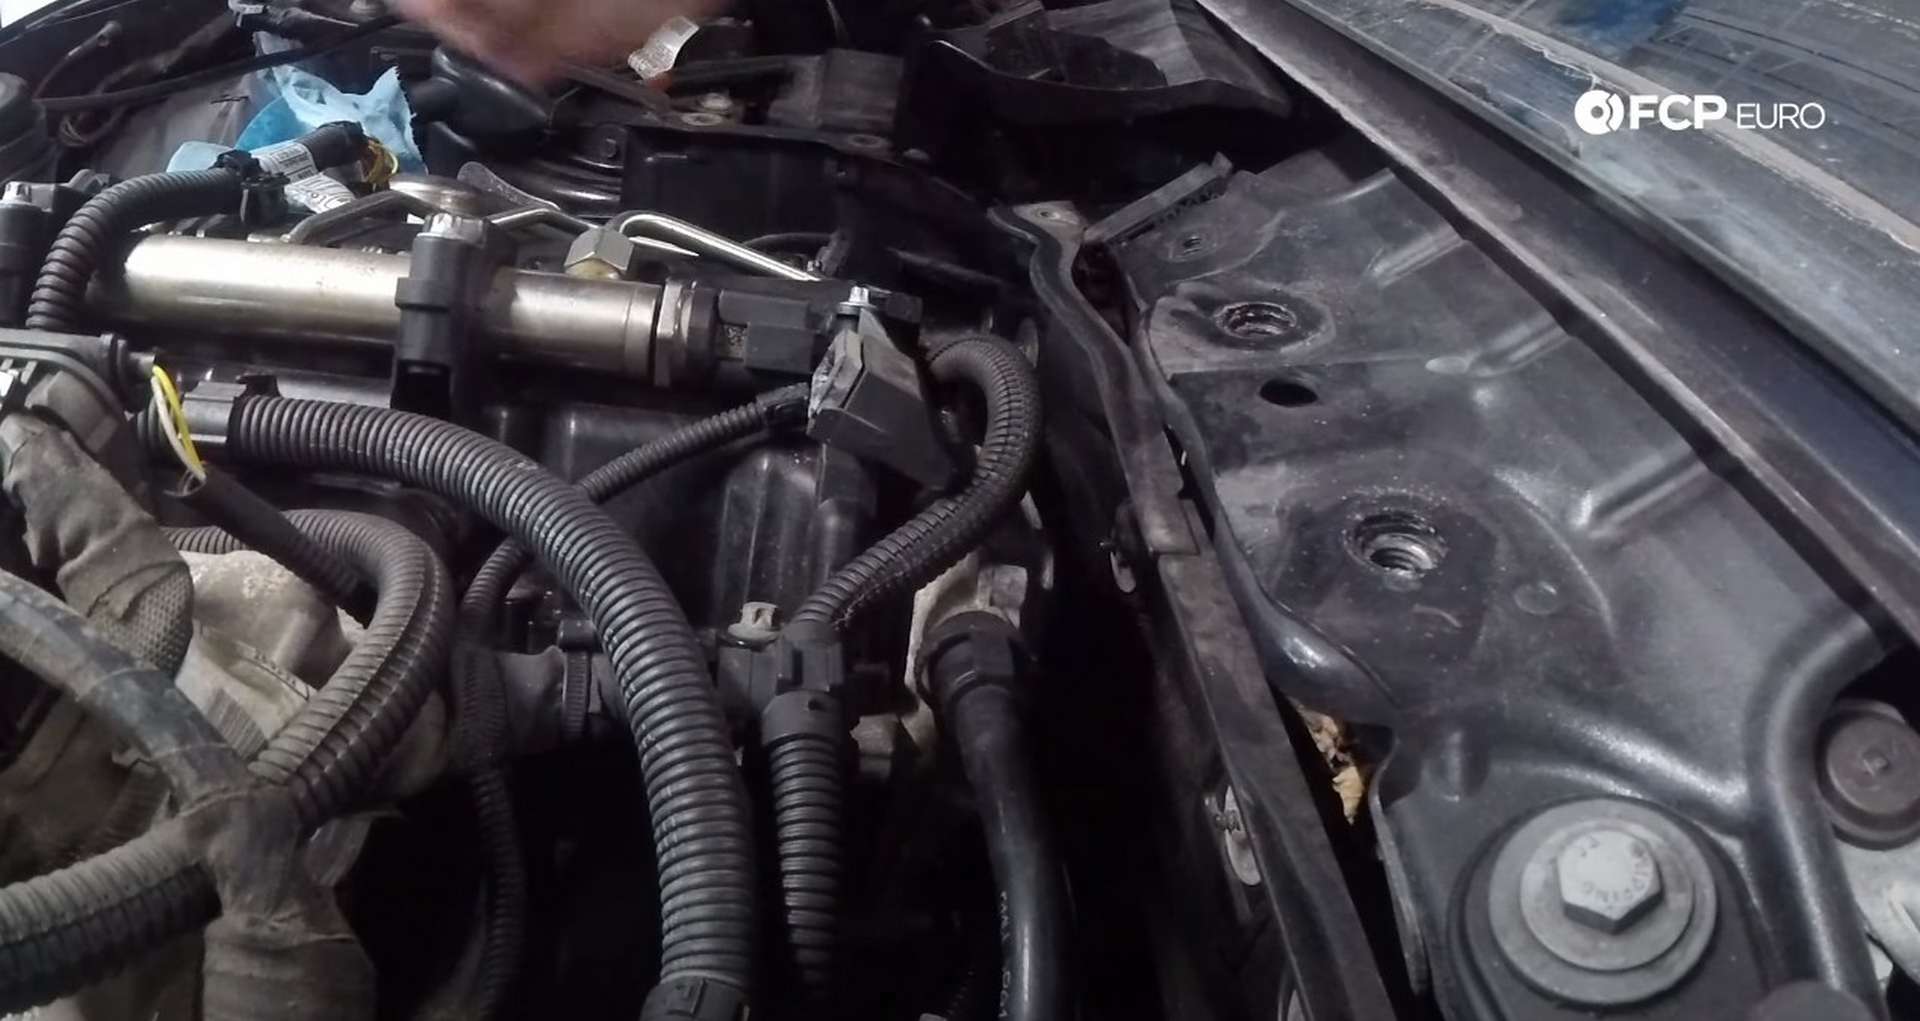
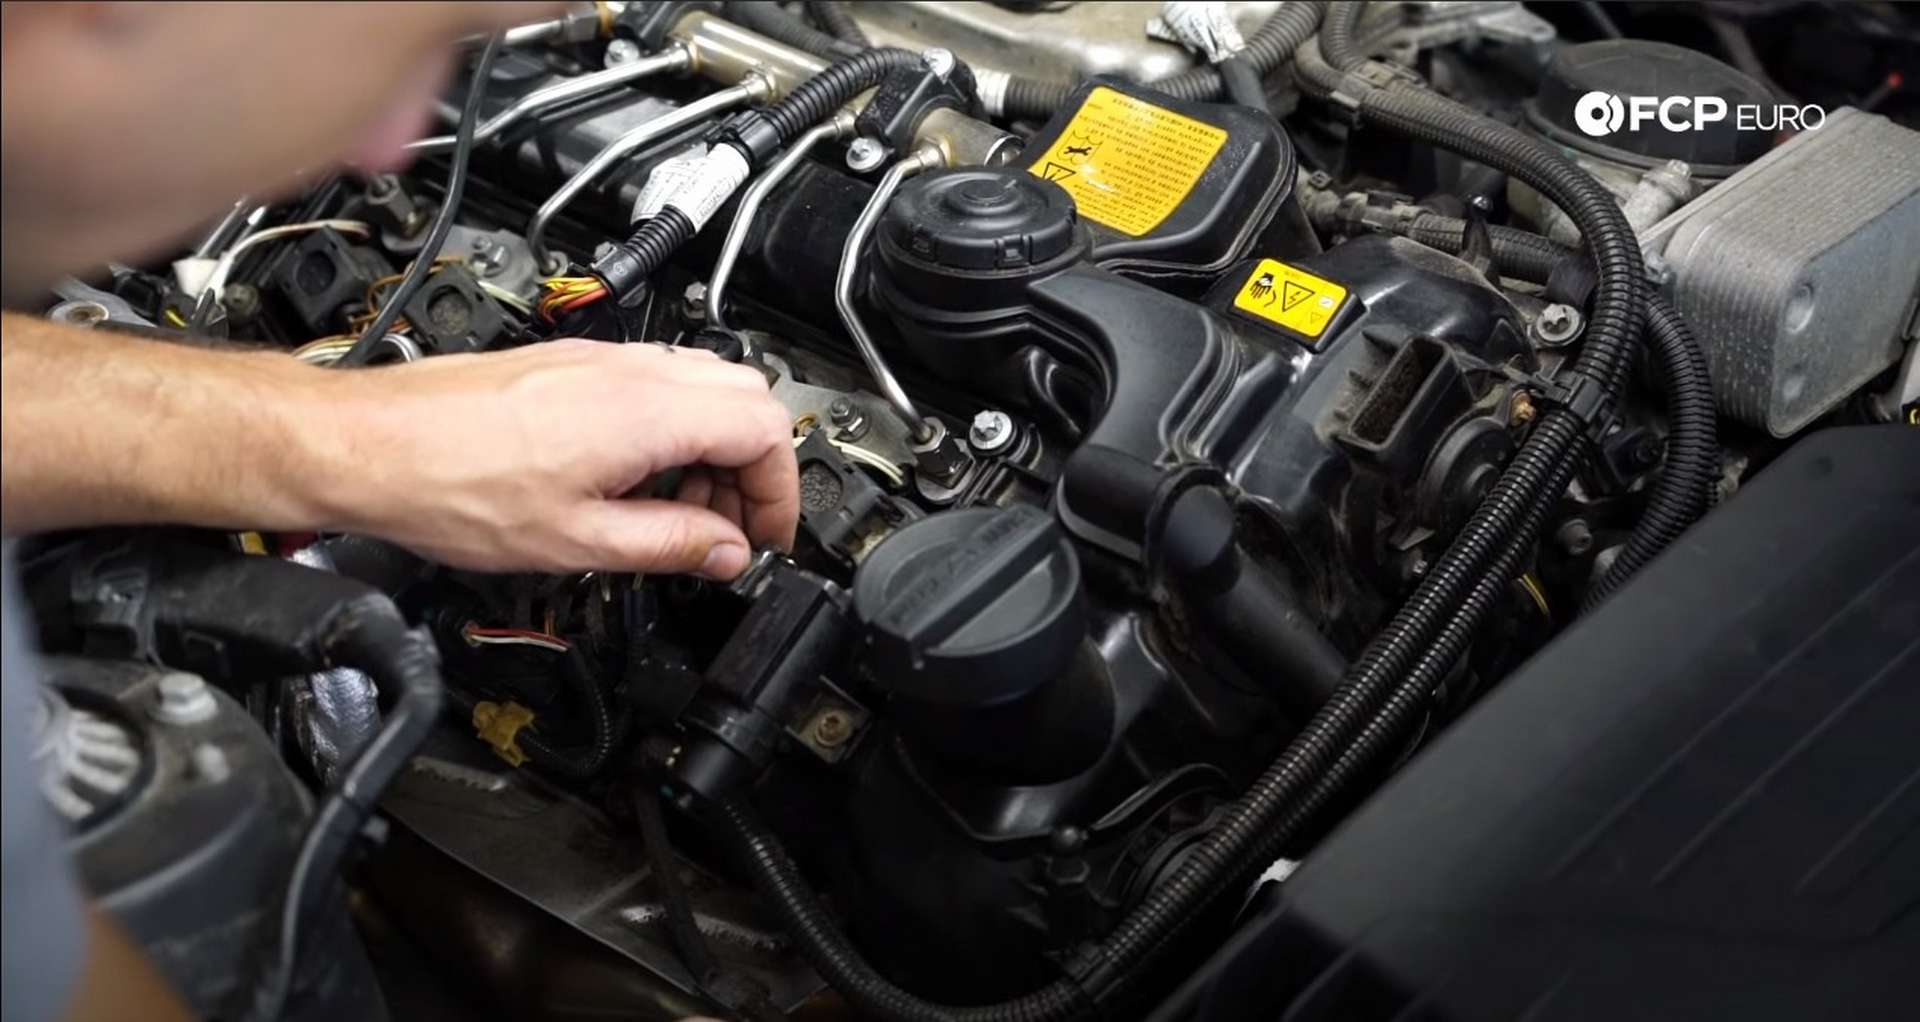
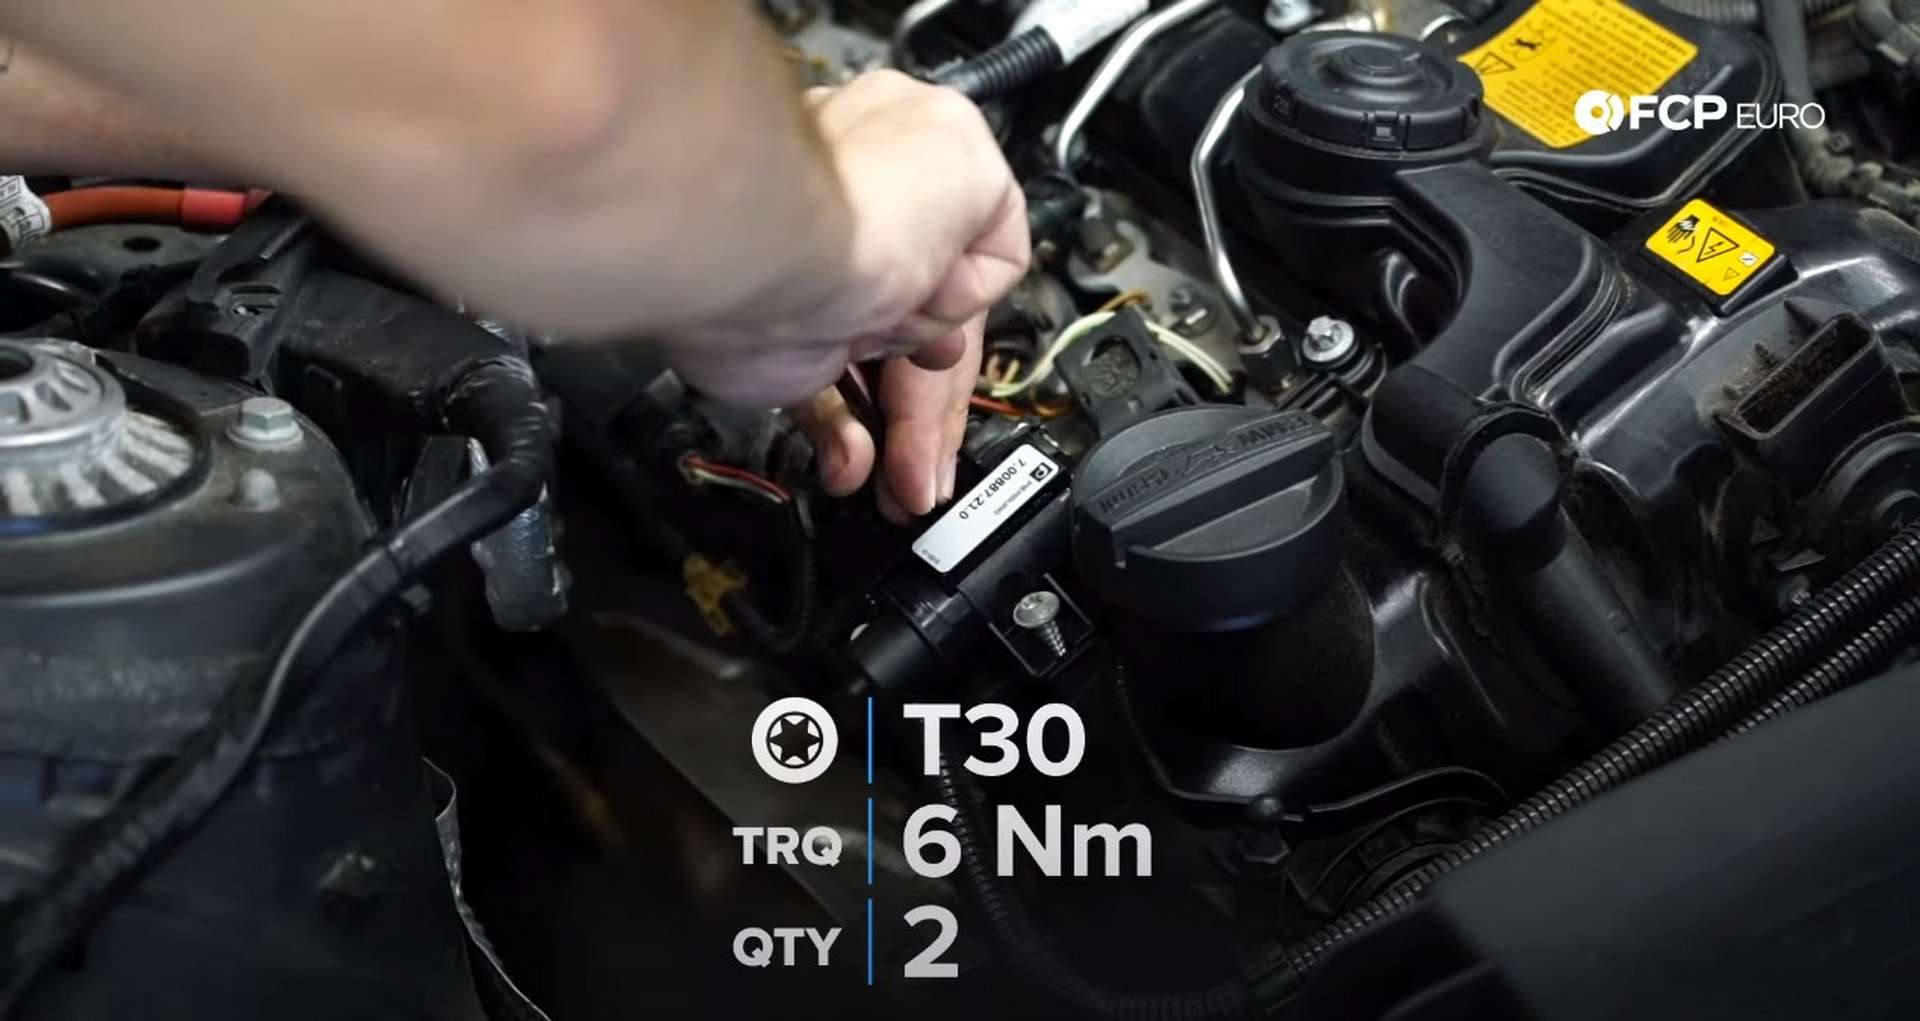
Step 5: Replace the boost solenoid
Just behind the oil fill cap sits the boost control solenoid. Squeeze the sides of the solenoid’s electrical plug and then pull it off. Next, use a T30 socket or wrench to remove the two bolts that secure the solenoid to the valve cover. Remove the long boost line with it by pulling it off the wastegate and out if its retaining clip.
Use brake clean to clean out the line of any residue. Plug the new solenoid into the electrical harness and then mount it to the valve cover. Then, reattach the boost line to the wastegate actuator and solenoid.
Step 6: Reinstall the engine cowl and strut brace
First up is the firewall shield. Use a 10mm socket to install the seven bolts that secure it in the engine bay.

Then, refit the strut brace. Use an E20 socket to tighten the bolts. Next, Slip the cowl pieces into the center of the wiper cowl and then fit them into place. Use a 10mm wrench to rotate the locks 90° to the right.
Refit the big rubber cowl seal onto the strut braces and rerun the wire through it. Then reattach the corners of the seal and use the plastic clips too secure them.
Step 7: Refit the engine cover
Lay the sound deadening foam atop the engine and press it into place. Grab the engine cover and slide the rear tabs into their mounts. Lay the front of it down and press it into place. Reattach the two vacuum hoses, if your car requires them.
BMW N20 vacuum pump replacement torque specs:
- BMW Vacuum Pump Fasteners = 10Nm or 7.4 ft-lbs of torque
- BMW Boost Control Solenoid Fasteners = 6Nm or 4.4 ft-lbs of torque
Now that you’ve replaced the boost control solenoid and the vacuum pump, you can get back to driving your BMW worry free! If you're interested in more DIYs for your BMW, you can visit bmw.fcpeuro.com and subscribe to our YouTube channel.