- 02/02/2017
- 1 Min Read
- By: Eric Seeger
How to Replace Transmission Mounts on a BMW 5-Series (E34)

The GM 4L30E automatic transmission (a.k.a A4S-270R, a.k.a A4S-310R) used in BMW's E34 cars (and some years of the E36) have four transmission mounts. This DIY will discuss replacing the rear two transmission mounts.
This is a fairly easy job with basic BMW parts for any DIYer with some very basic tools. This is also a very important job. The rear transmission mounts help dampen the twisting motion caused by engine torque as the transmission runs through its gears.
The rear transmission mounts are very inexpensive to replace. But if they fail, they can cause damage to some much more expensive components in the driveline. Once a transmission mount breaks it will allow the rear portion of the transmission to move excessively, which can stress the driveshaft damper (a.k.a. guibo) or the driveshaft carrier bearing.
Diagnosis
A clunking sound (upon up shifts or downshifts) from behind the driver's seat is a good indication that a rear transmission mount has failed.
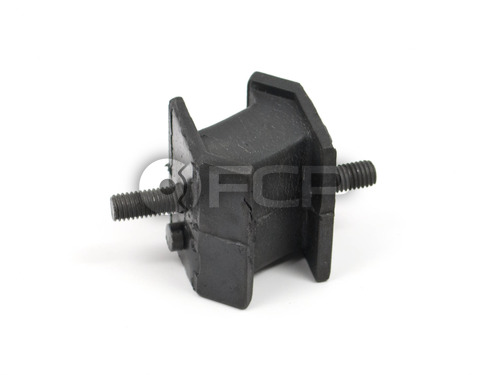
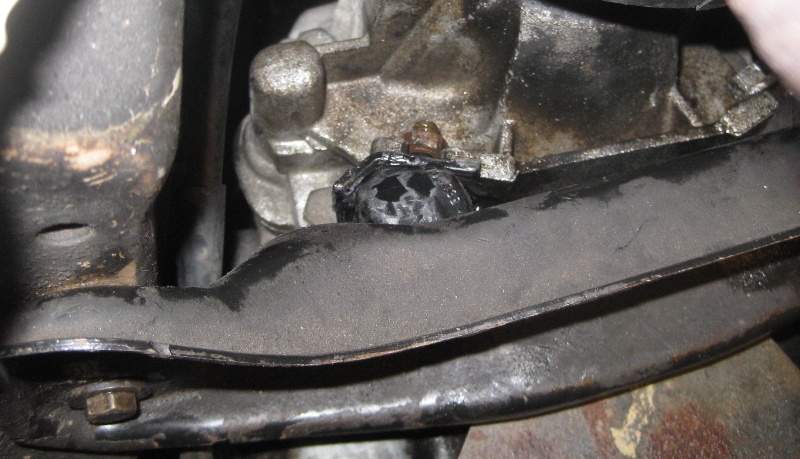
The transmission mounts are made of rubber block sandwiched between two metal plates that each have a threaded bolt. In my car's case, the rubber had separted from the upper metal plate.
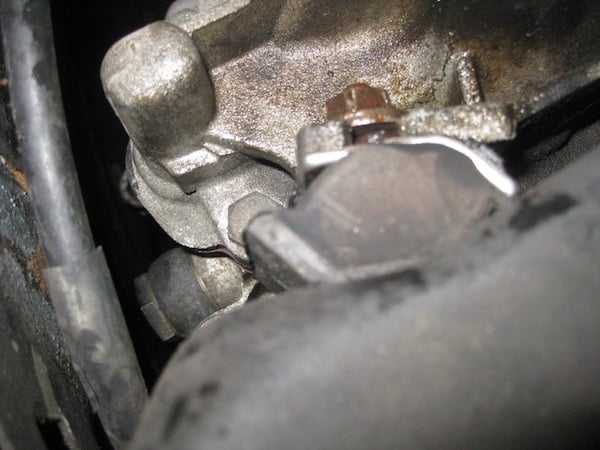
If you suspect that a transmission mount is broken, you just need to raise the car and pry upward on the transmission near the transmission crossmember. Do this on both the driver side and passenger side to see if there is any separation between the rubber block and the metal plates of the transmission mounts.
Tools
- 13 mm socket socket wrench
- Jackstands (or ramps)
- Tire chock
- Floor jack
- Block of wood
- 13 mm ratcheting wrench
- Penetrating fluid
Parts:
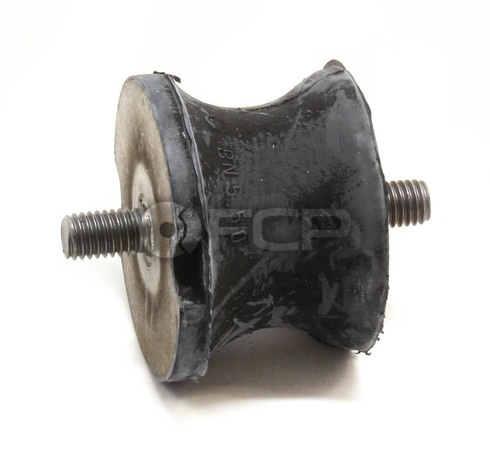
Right Mount: BMW Transmission Mount (Transmission) - Lemforder (OEM) 24701138435
Left Mount: BMW Transmission Mount Left Rear (Auto Trans) - OEM Rein 24701138427
Procedure
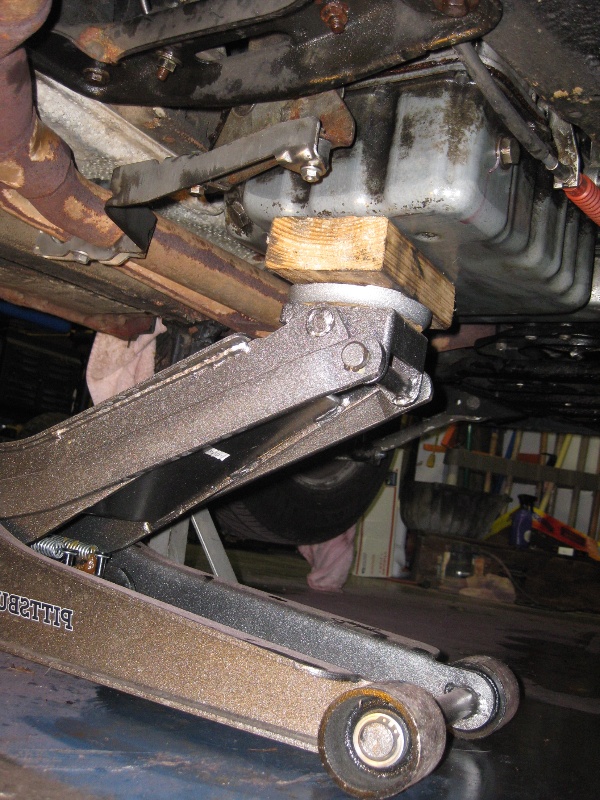
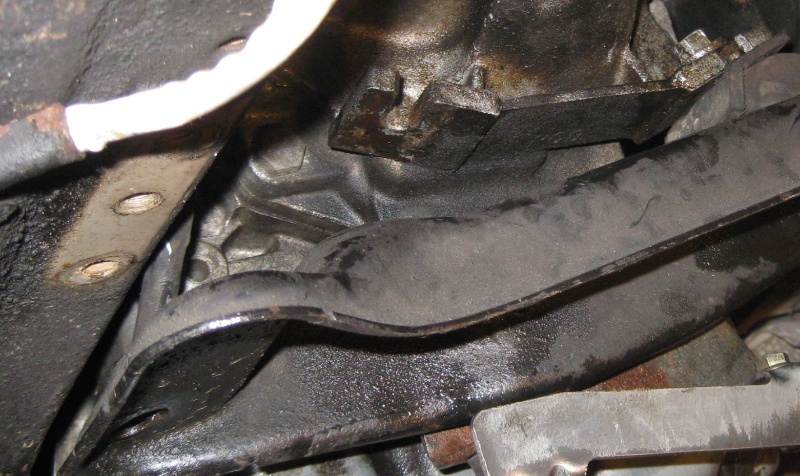
Since this job involves either removing or loosening the transmission support beam, it is necessary to use a floor jack to temporarily keep the transmission in place. Once the car is raised off of the ground, position the floor jack underneath the rearmost transmission pan. Place a block of wood between the floor jack and the transmission pan. Raise the jack's arm until the block of wood is supporting the transmission. Do not attempt to raise the transmission with this, just support it.
Spray all the bolts and nuts with a good dose of penetrating fluid, and give it time to soak in. These nuts and bolts can be very rusty.
How to replace just one mount
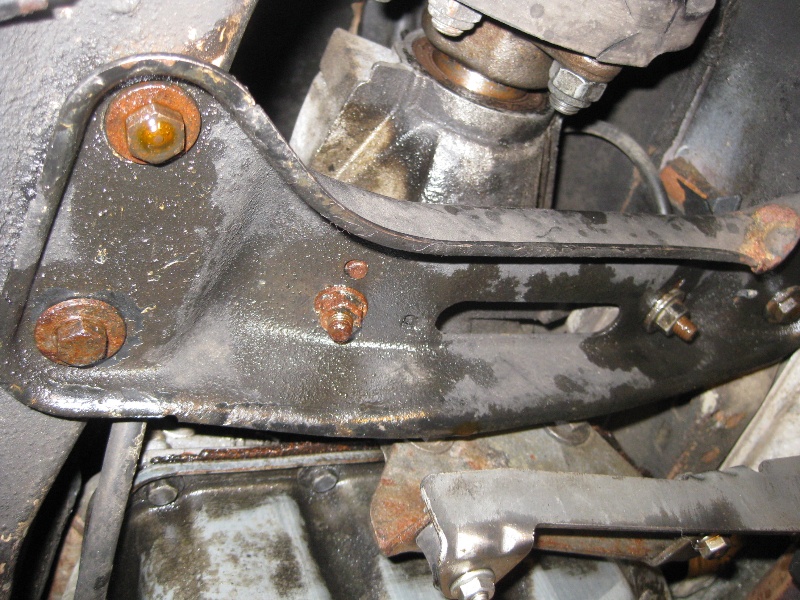
Remove the 13 mm bolts that attach both transmission mounts to the transmission crossmember.
Remove both bolts that attach the transmission crossmember to the body on the side of the transmission mount that you plan to replace.
Loosen the remaining two bolts on the transmission crossmember enough that it allows the beam to sag a little bit.
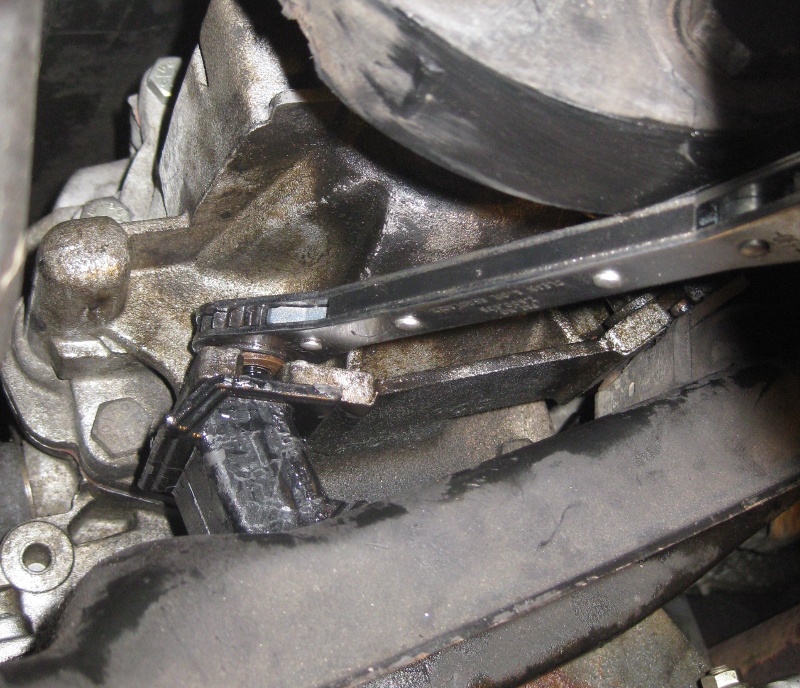
Using a 13 mm ratcheting wrench, loosen the nuts that attach the mounts to the transmission.
Remove the old mount.
Replace it with the new transmission mount.
Reinstall the nuts that attach the transmission mounts to the transmission crossmember.
Tighten the nut that attaches the transmission mounts to the transmission.
Reinstall the transmission crossmember to the car's body. As you tighten the bolts that hold the crossmember in place, the transmission mount will compress to fit.
Remove the Jack. Lower the car, and take it for a test drive!
Replacing both transmission mounts
If you plan to replace both transmission mounts, undo both of the 13 mm nuts securing the transmission mounts to the transmission crossmember.
Remove the four 13 mm bolts that connect the transmission crossmember to the body of the car. Remove the crossmember.
Using a 13 mm ratcheting wrench, loosen the nuts that secure the transmission mounts to the transmission. There is no need to remove the nuts completely. They can be slid backwards off of the transmission.
Install the new mounts onto the transmission support beam. Note that next to each bolt is a specially sized dowel that will help orient the mount on the crossbeam.
Attach the mounts to the crossmember.
Reinstall the crossbeam. As you tighten the bolts, the transmission mounts will compress.
Tighten the nuts to secure the mounts to the transmission.
Remove the Jack. Lower the car, and take it for a test drive!


