P1 Volvo Oil Change
Keeping up with routine maintenance will help ensure that your vehicle remains on the road for thousands of miles. Frequently changing the oil is one of the most important service items which any individual should be capable of doing in their own driveway. While your first oil change may be accompanied by a small cost for parts and tools, this price will still be cheaper than a single synthetic oil change from the dealership. With a process that only takes most DIY mechanics 30 minutes to accomplish, it also saves you the time and effort of driving to the dealer or local garage.
How Often Should I Change My Oil?
Depending on your car, engine, climate, oil type, and driving style, oil change intervals can vary. For the Volvo C30, S40, V50, and C70, Volvo suggests oil changes every 7,500 miles. Of course, the oil manufactures and most garages will suggest every 3,000 miles. I opt for changing the oil every 5,000 miles or 6 months, whichever comes first.
What Oil Viscosity Should I Use?
Oil viscosity is the oil's resistance to flow; a thin oil would flow like water, a thick oil would flow like honey. You will frequently see oil labeled as "5W-30." "0W-50," etc. But what does this mean?
The W stands for winter and the number accompanying it represents the flow of that oil at 0°F. The lower this number, the better flow when cold. If the oil is too thick when it is cold, it may not flow properly which can be damaging to internals.
The adjacent number represents the flow of that oil at an operating temperature of 212°F. If the oil is too thin at operating temperature, it will also be damaging to internals.
Choosing which oil is best for your application is largely dependent upon your climate and driving style. Most manufactures will suggest a range of oils you should run and for what applications they are necessary.
Here in Atlanta, GA, we see average temperature range from 25°F in winter to 95°F in summer. Based on that range, plus Volvo's suggested oils, I run a 5W-30 oil all year. Most of my driving is spirited or long highway stretches, so it is important for me to have an oil that does not get too thin at higher temperatures.
I also run a full synthetic oil. Most turbo cars are suggested to use synthetic as it has less impurities than conventional oil and flows more optimally at various temperatures. This is especially relevant for turbo applications due to the excessive amount of heat.
FCP Euro offers a variety of oil options and even some kits which include the oil filter, O ring, and drain plug. If you are uncertain of which oil you should run, reference your owners manual, check online forums, and ask your local auto parts suppliers for which oils they suggest to customers in your area.
Necessary tools
- Jack and jack stands or ramps
- Oil catch pan
- Funnel
- T25 Torx driver
- 17mm wrench
- 8mm socket
- 36mm socket
- Rags, towels, gloves, etc.
Necessary parts
- At least 7 quarts of new oil, I always purchase two 5 quart jugs so I have some extra oil if needed.
- New oil filter and O ring
- New oil drain plug and crush washer
Changing Engine Oil On a P1 Volvo With a T5 Engine
This is a similar process for other gasoline engine variants of the P1 Volvo, however oil amounts and filter types may vary.
Step 1: Get the engine warm. Even just driving for one mile will be enough to get the oil warmed to a temperature that allows for efficient draining. If you are trying to drain cold oil, expect it to drip like molasses.
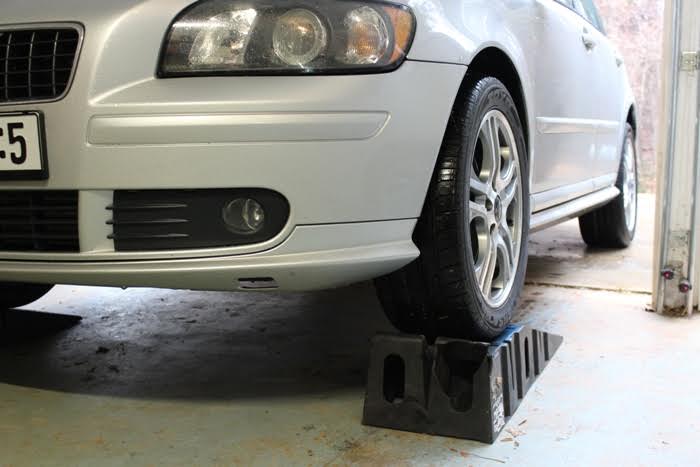
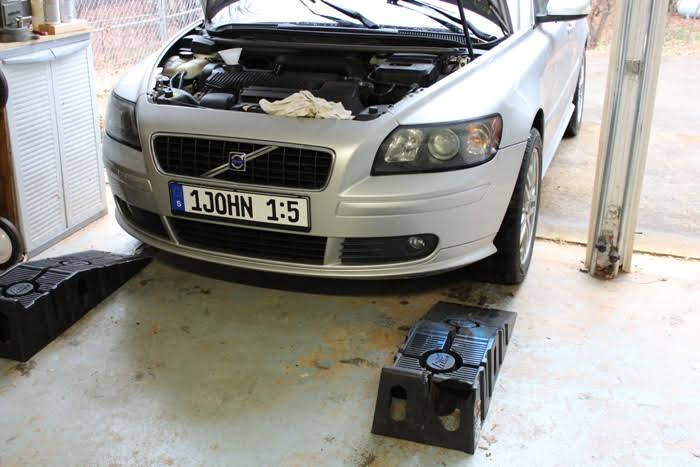
Step 2: While parked on a level surface, get the front of the vehicle off the ground. Jack stands placed under the front jacking points of the car will suffice, however ramps make the process much faster.
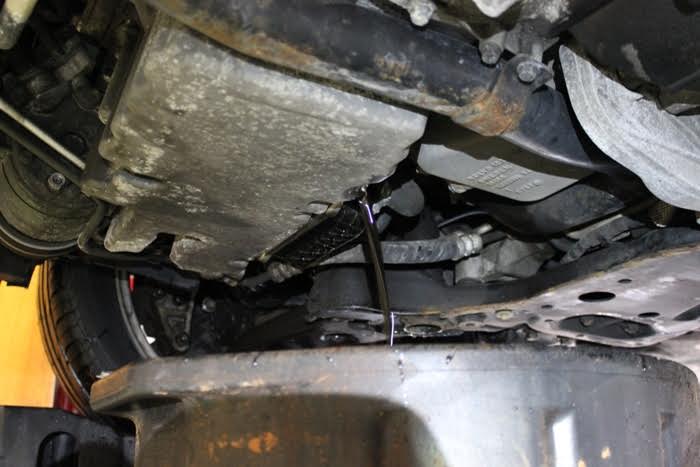
Step 3: Unless you have a skid plate or splash guard with a opening for draining the oil, you will need to remove this plate before proceeding further. Using the 8mm socket remove the five small bolts which support the plate. Then, using the T25 torx driver, remove the two screws which keep the plate in place. Upon removing the skid plate or splash guard, inspect the top side to make sure there are no strange fluids leaking onto it. If there are, inspect the underside of the car for the leaking source.

Assuming you warmed up the car, be careful not to touch anything metal as it may burn you hands. Gloves are an option for protection and keeping clean.
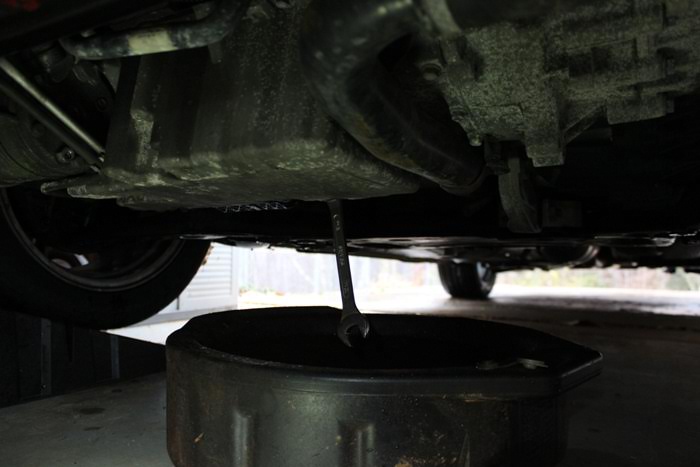
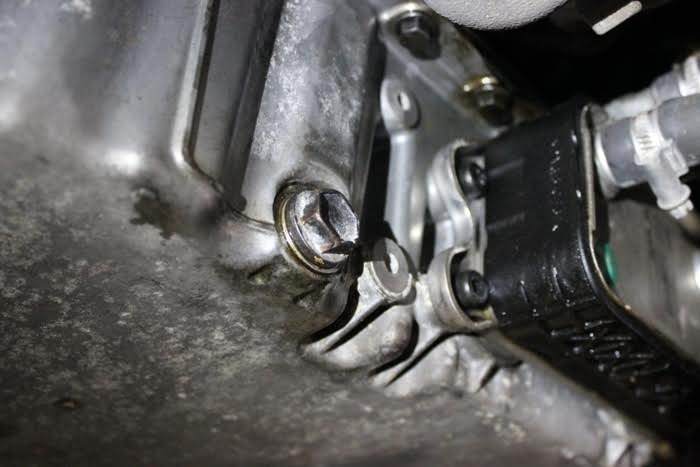
Step 4: Position your catch pan under the drain spout on the oil pan, then remove the 17mm drain plug.
Step 5: While the oil is draining, pop the hood and remove the two 8mm bolts which hold the intake funnel in place.
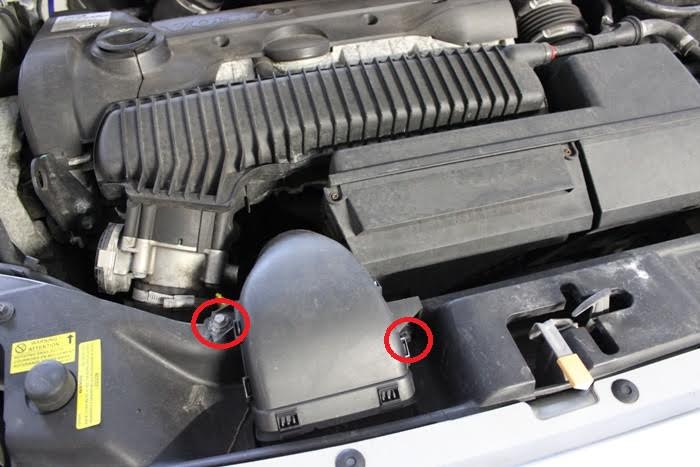
Step 6: Rotate the cylindrical intake tube 90° to free it from the lower elbow.
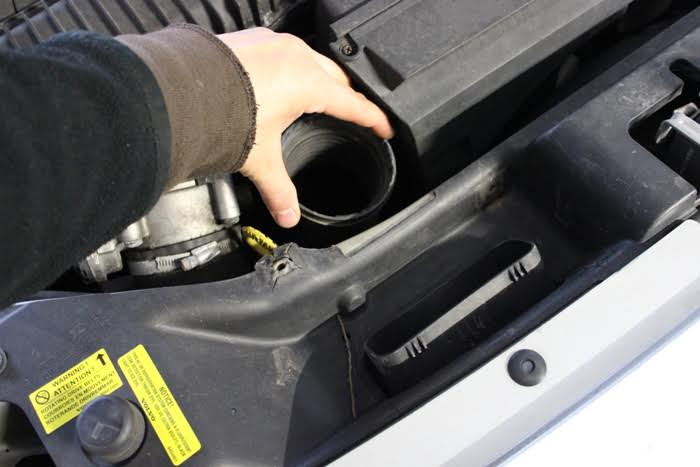
Step 7: Remove the elbow by pulling it straight out of the intake box.
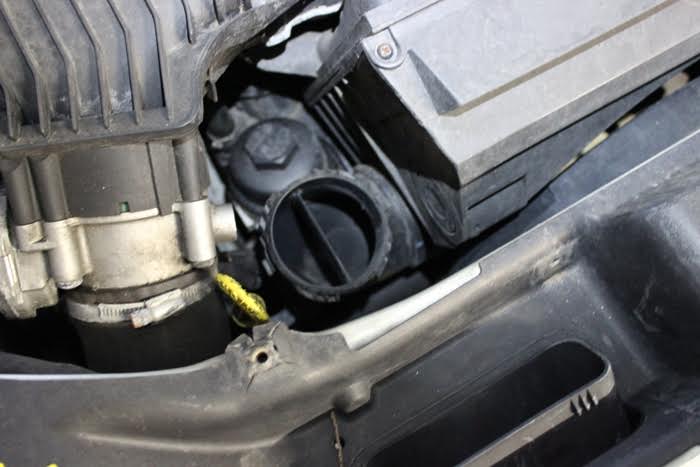
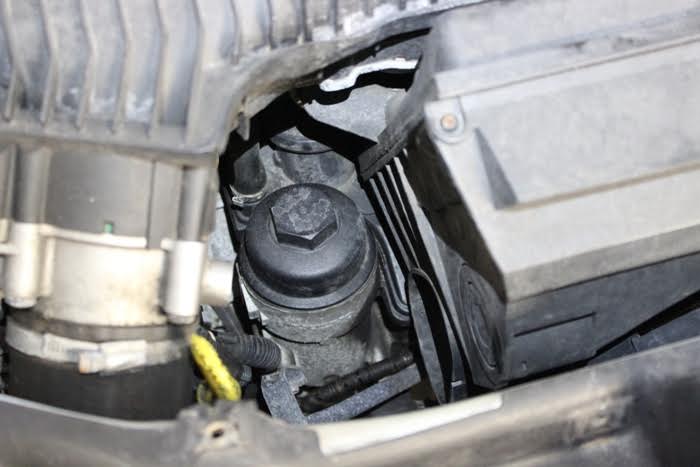
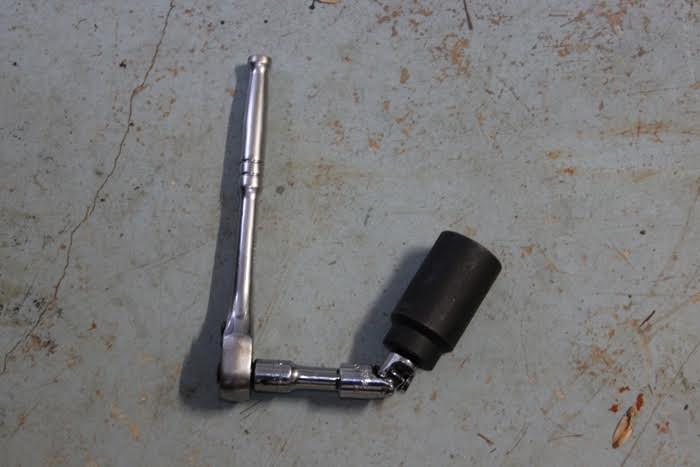
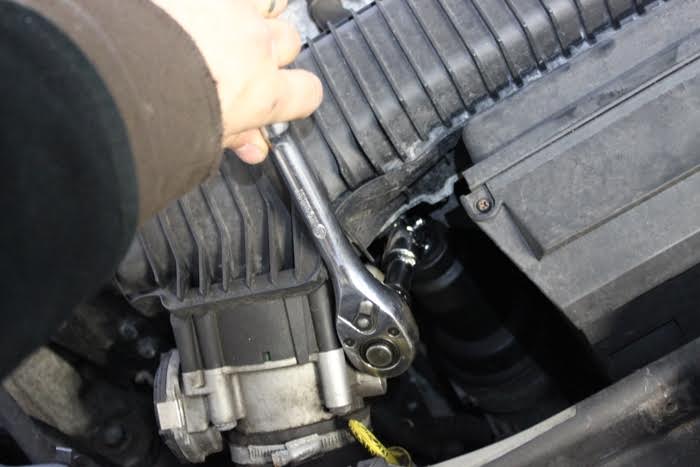
Step 8: With clear access to the oil filter canister, turn the 36mm filter cap. Depending on how shallow your socket is, and your working room, you may need a joint and extension on your socket wrench.
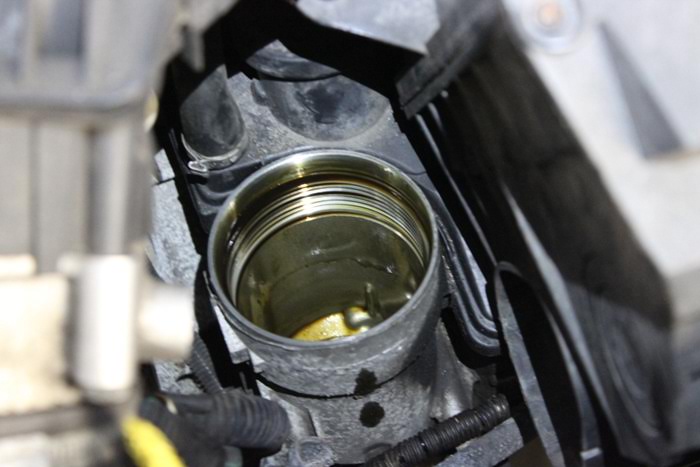
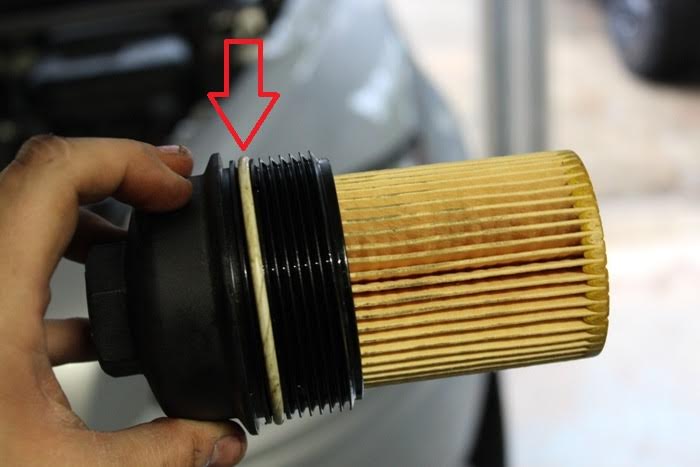
Step 9: Once the filter has been removed, use a rag to clean any excess oil in the filter cap and in the filter housing. Replace the filter and replace the O ring. I suggest wiping some oil on the O ring prior to installation to help lubricate it. Be certain that the O ring is in the second groove of the filter cap. If you place it up against the top of the cap, your filter housing will not make a proper seal and may spew oil throughout your engine bay and possibly damage your PCV system.

Step 10: Follow steps 5-9 in reverse order to replace the filter and reassemble the intake box.
Step 11: At this point, the dirty oil should be finished draining from the oil pan. Wipe away any excess oil on the pan and around the screw threads of the drain plug. Install your new drain plug and crush washer, tightening by hand for as far as you can go. It is suggested that you replace your drain plug and crush washer upon every oil change. Many people reuse their drain plug for a few oil changes, but it is important to replace the washer every time. Use the 17mm wrench to tighten the drain plug, being careful not to over tighten it. The aluminum drain hole threads can easily be stripped.
Step 12: Repeat step 3 in reverse order to reinstall the skid plate / splash guard.
Step 13: DO NOT START THE CAR, but lower it back to level ground by either removing the jack stands or rolling it off of the ramps.
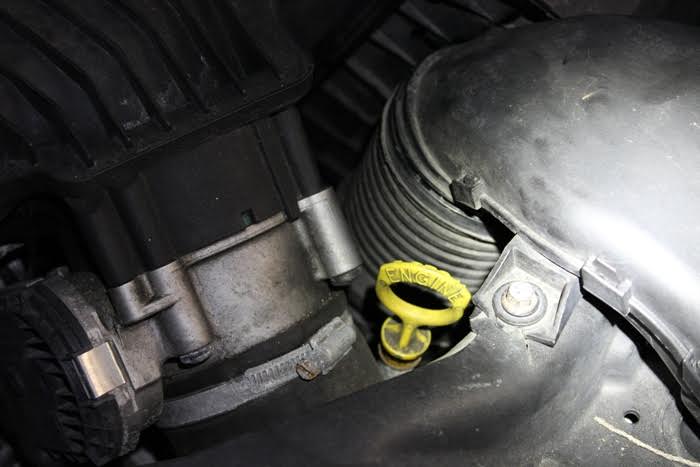
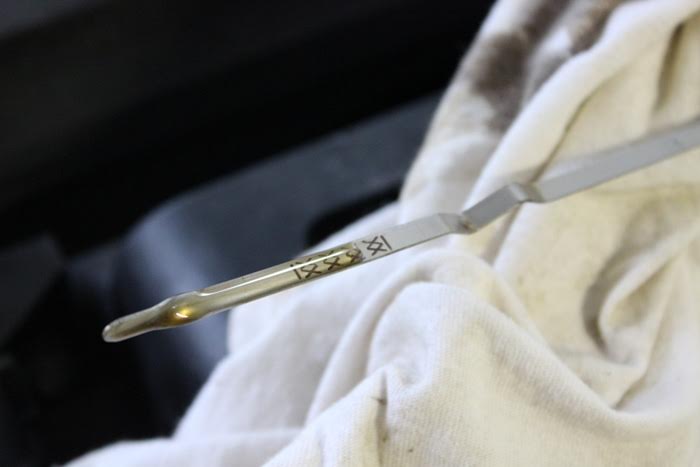
Step 14: Pull your dip stick and thoroughly clean the end.
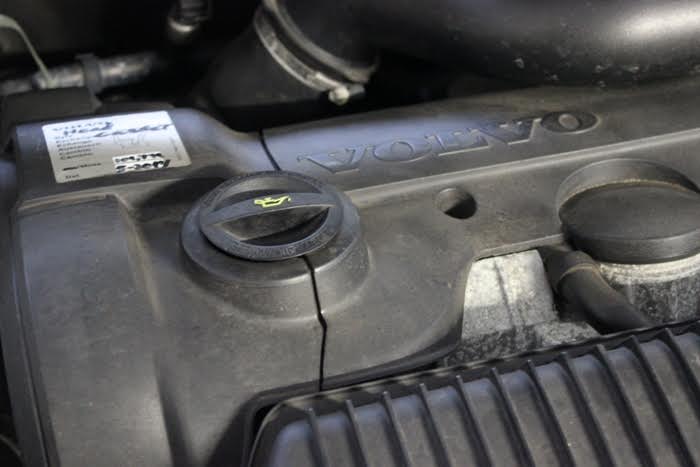
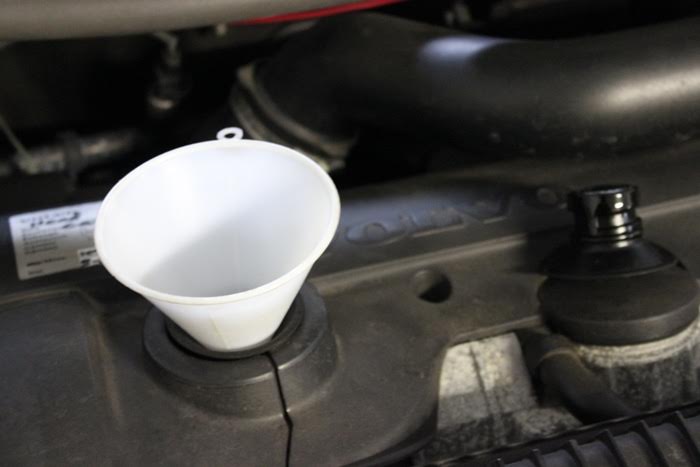
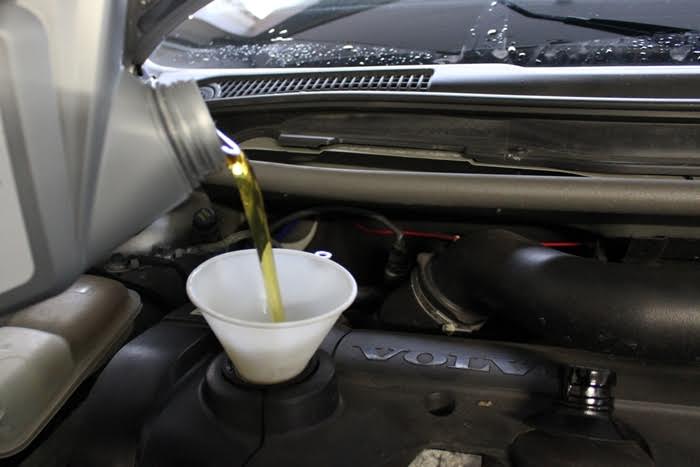
Step 15: Remove the oil filler cap and position your funnel to begin filling the engine with oil. Use the dipstick to frequently check the level and continue filling until it's a few millimeters shy of the top dipstick mark. Be certain not to over fill the engine with oil, as this can be just as damaging to internals as running with low oil.
Step 16: Once topped off, replace the cap, clean up any mess, and take the old oil to a recycling facility. Do not be concerned if you only drained about 6 quarts of old oil but put in nearly 7 quarts. Especially on turbo cars, it can be common for some oil to burn off with time.
Step 17: Record your mileage for when you changed the oil. As previously mentioned, Volvo suggest changing the oil every 7,500 miles. Oil manufactures will suggest every 3,000 miles. Most DIY mechanics opt for changing oil at 5,000 mile intervals or every 6 months, whichever comes first. You may find more frequent oil changes are necessary depending on if you subject your car to sporty abuse beyond the typical commute.
Unless you make good habit of checking your fluid levels at every gas station visit, it is advisable to at least check your oil level at the first gas stop after changing your oil. Make sure there are no leaks under the car and be certain that your warm oil level is near the top dipstick mark. Add a bit more oil if necessary and enjoy your smooth running engine for another 5,000 miles.