
Part 1: Accidentally Find a Project Car
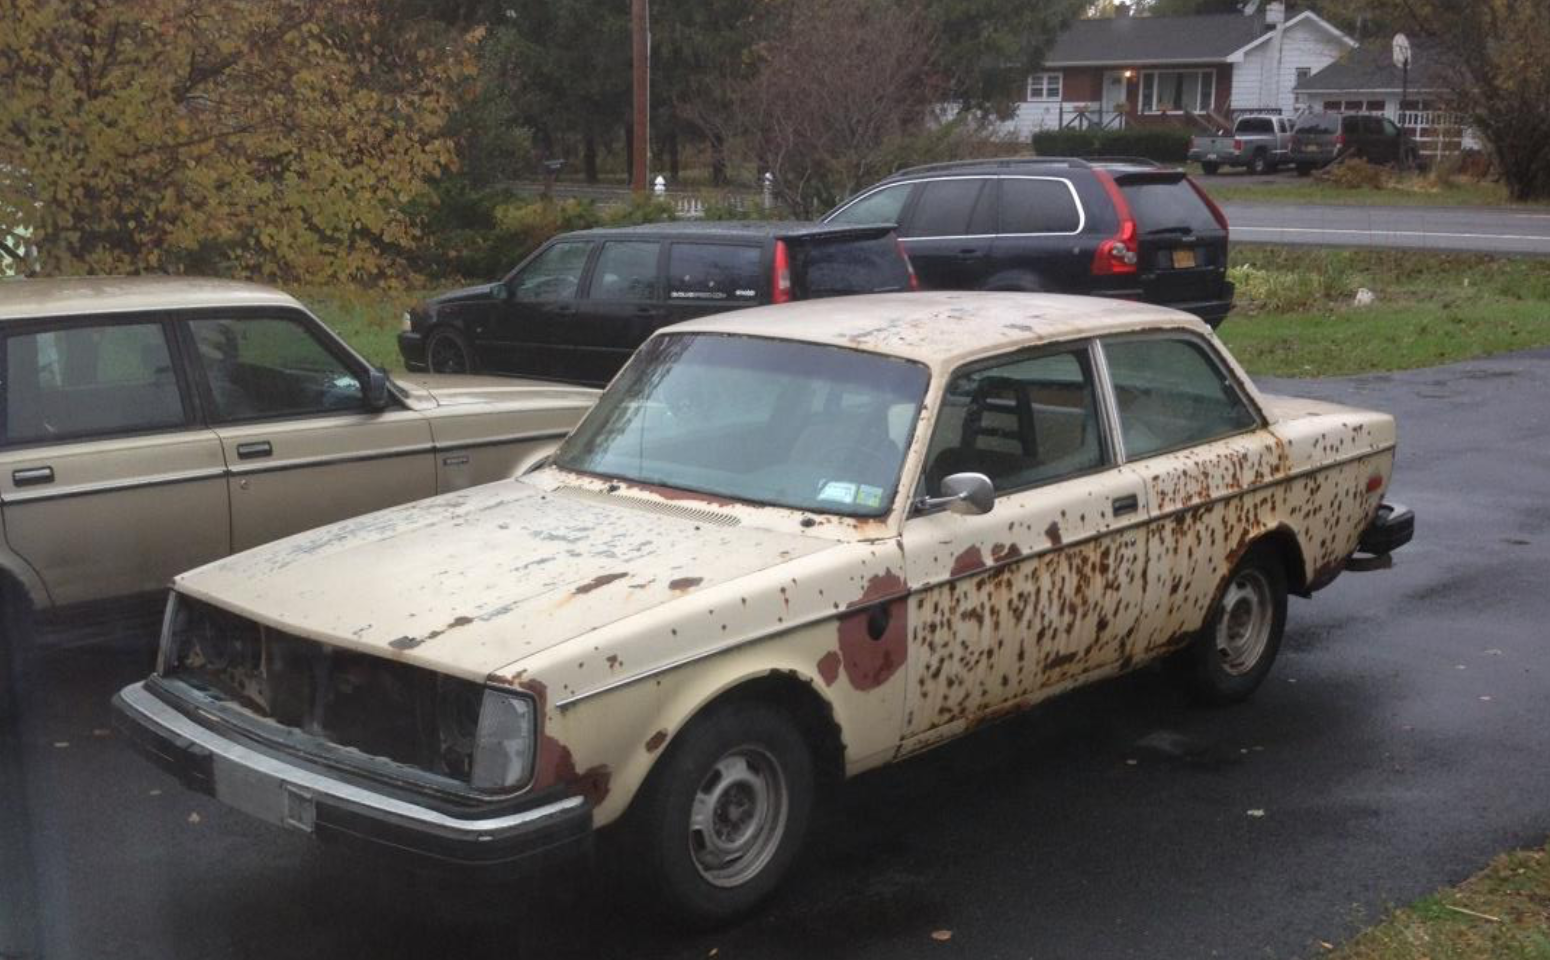
Somehow the Craigslist ad for this 1976 242 came to my attention. I sell Volvo parts on ebay, part out cars, and refurbish worn out 240’s as a side business, so it caught my attention...as a parts car. The pictures showed a rust-spotted, partly dismantled car parked in the weeds next to a house. The listing said that people could email offers to the owner and the highest offer would get it. I figured I could get enough parts off the car to make it worth some effort so I emailed my offer of $250. The car was about 2 hours away so I would also have to pay to tow it back if I won. About a month later, the owner emailed me informing me that I could have it for $250.
A picture from the Craigslist ad. Doesn’t look too promising!
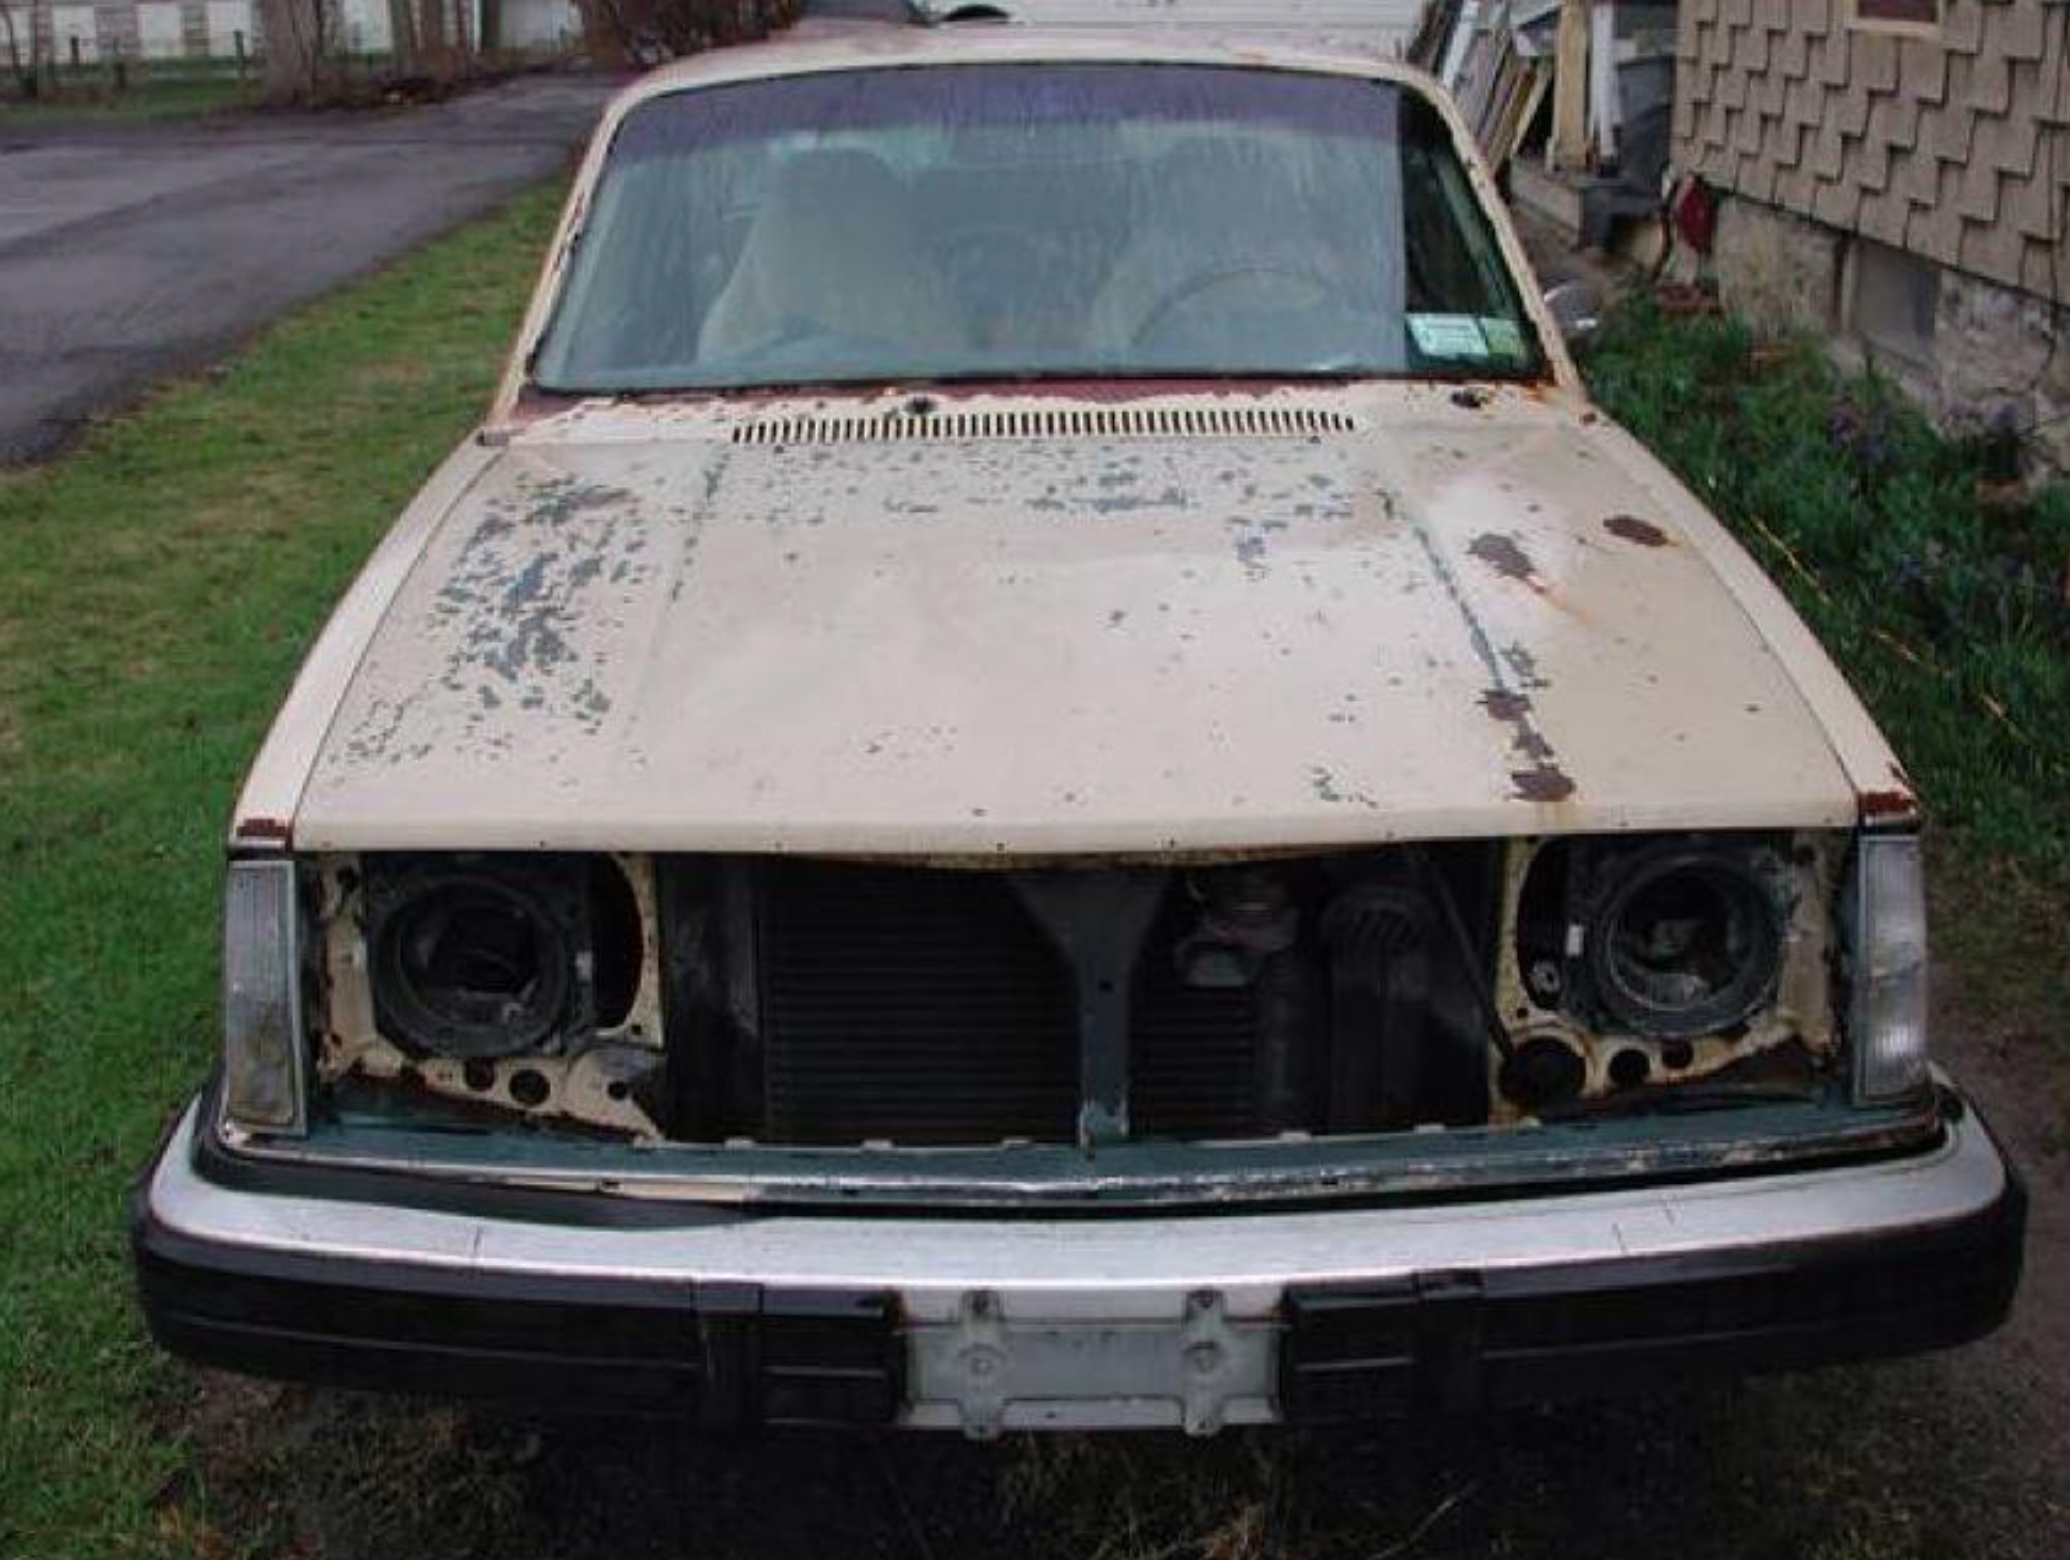
A friend picked it up for me and when I saw it in person for the first time, in late October 2015, I was surprised. The floors were solid, the car started, ran, drove, and stopped well. The interior was shot, dash severely cracked, old-style straw and horsehair seats (not really, but similar) were beat and the brown carpet had sun-faded to green. The body was covered by hundreds of surface rust spots and sections, like the hood and roof, appeared to have been repainted with house paint, which was peeling off like, well, house paint. There were a few rust holes, in each fender behind the emblems and one in the driver’s rocker. The butt cheeks had unprofessional, but good repairs done. Still, a solid-floored 242 that ran for $250 left me questioning the part out and I did have a complete ‘83 242 parts car (and a basement of parts) at home.
Additional history on the car, revealed by a thick folder of paperwork, showed that the original owner had it from new until 2009, when he sold it to his nephew, from whom I bought it. His nephew was elderly and had attempted to repaint the car himself, which explained the cheetah rust spots and house paint. The car had lived in Colorado until ’09 and never saw NY road salt while here. The original owner had kept extremely detailed records and even the original window sticker.
This is how the car looked when I got it home.
I considered the car’s history and current condition, my 83 donor car, and the local high school-run auto body program and concluded that a low-budget restoration was possible. Enter the idea to restore it for my dad. My dad is NOT a Volvo enthusiast. His dream car is probably more like the ‘66 Mustang fastback he used to have, but I was not in a position to give him a Mustang. I had a 1976 Volvo 2-door. But he does appreciate a cool car, and I could make an old flathood 242 cool. Also, my dad had recently told me that he doesn’t buy a Mustang because of his concerns about maintenance, up-keep, and problem solving. I figured that if I gave him a good-looking 242 he could enjoy the fun of driving, windows down, stick shift, without any worry- and THAT is the gift. I could get him the fun and enjoyment without the worry or expense. So, the decision was made.
I contacted the high school body shop and managed to get a slot for them to paint the car in the Spring of ‘16. Over the winter my job would be to strip the car for body work, swap over good fenders, and tune it up. Also, I needed someone to weld in a new rocker panel, since the class wouldn’t do welding. I found a rocker at fixmyrust.com. I need to plug them: the panels they have for 140/240 are stamped in Demark and the thickness of original Volvo sheet metal. An outer rocker panel was shipped to my house for the total cost of about $35. The welder I used was impressed with the rocker and said it was easy to use.
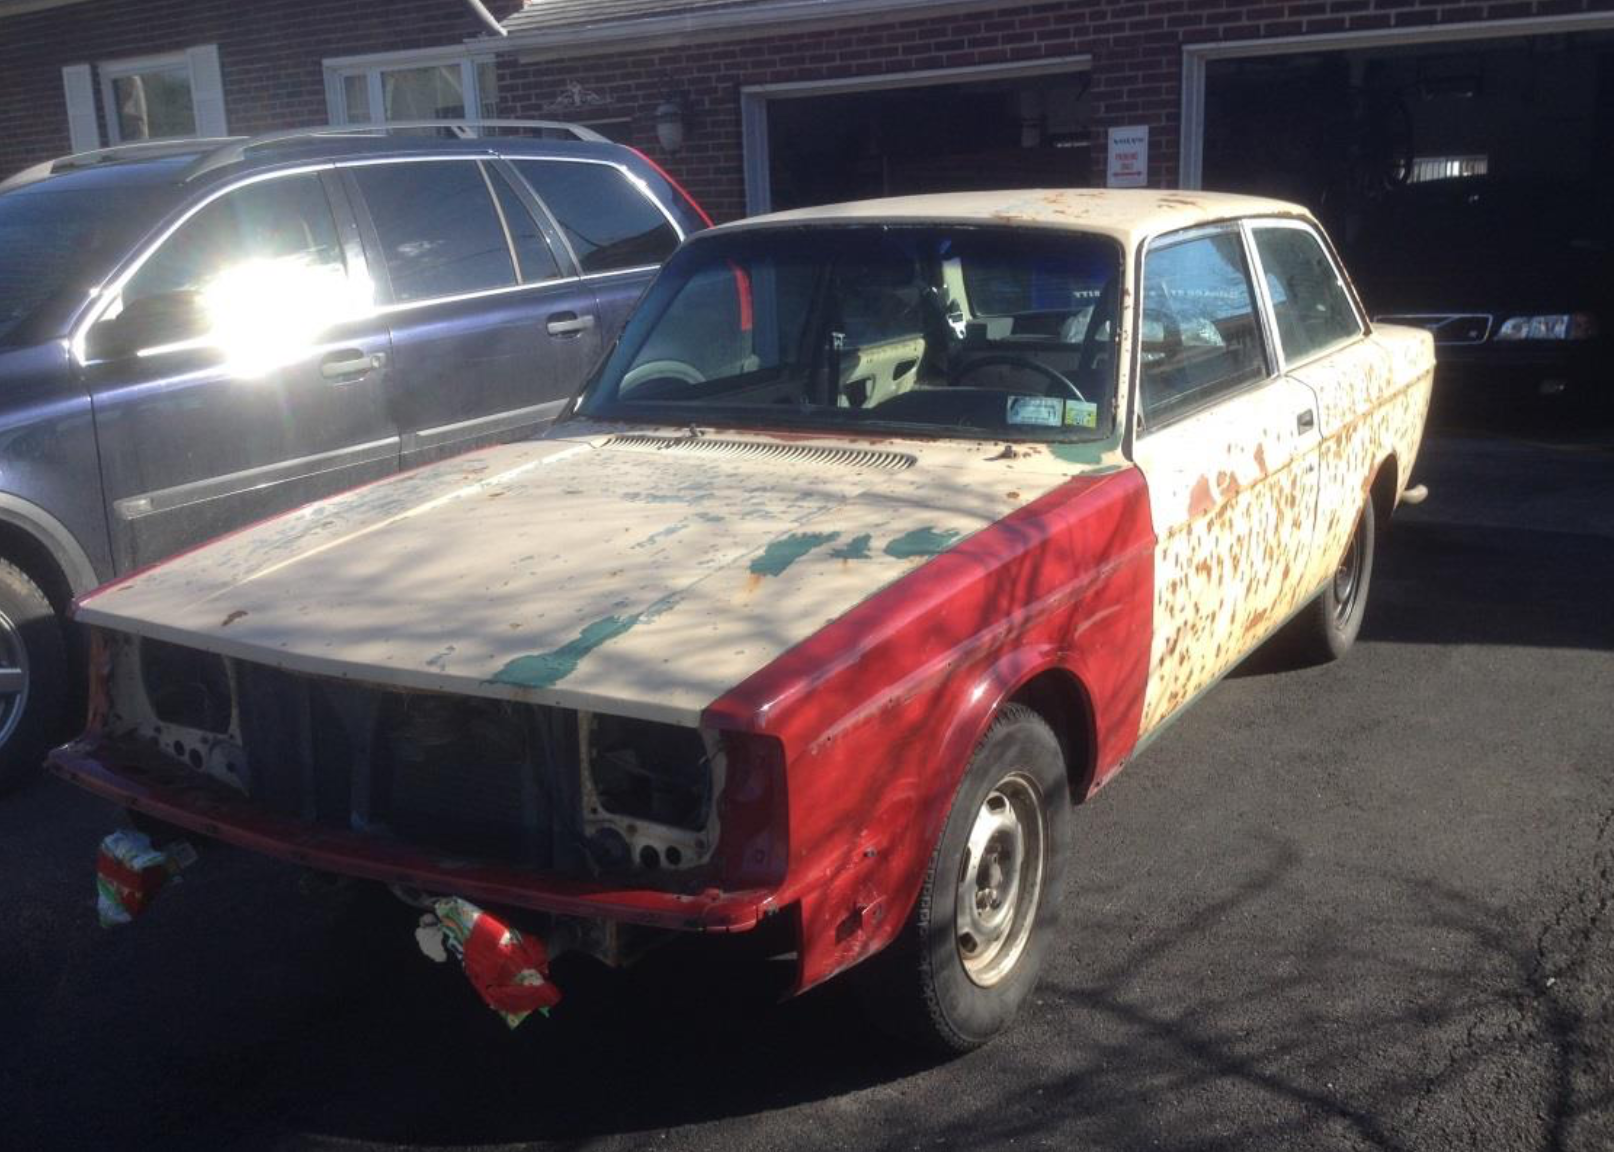
The red fenders are swapped on and the new rocker panel is welded in.
Part 2: Body Work and Collecting Parts
Through the Winter of 2015 I was anxious to get the car in to the high school Voc/Tech body shop. The teacher, Matt Lott, told me to bring the car in to the shop in March ‘16. Meanwhile, whenever my parents would visit I had to hide the car. Once, I put it in the far bay of my 2-car garage and stacked empty boxes up to hide it. Another time I put it in my neighbor’s driveway covered it with a tarp. Eventually, I stored it in a friend’s field near my house.
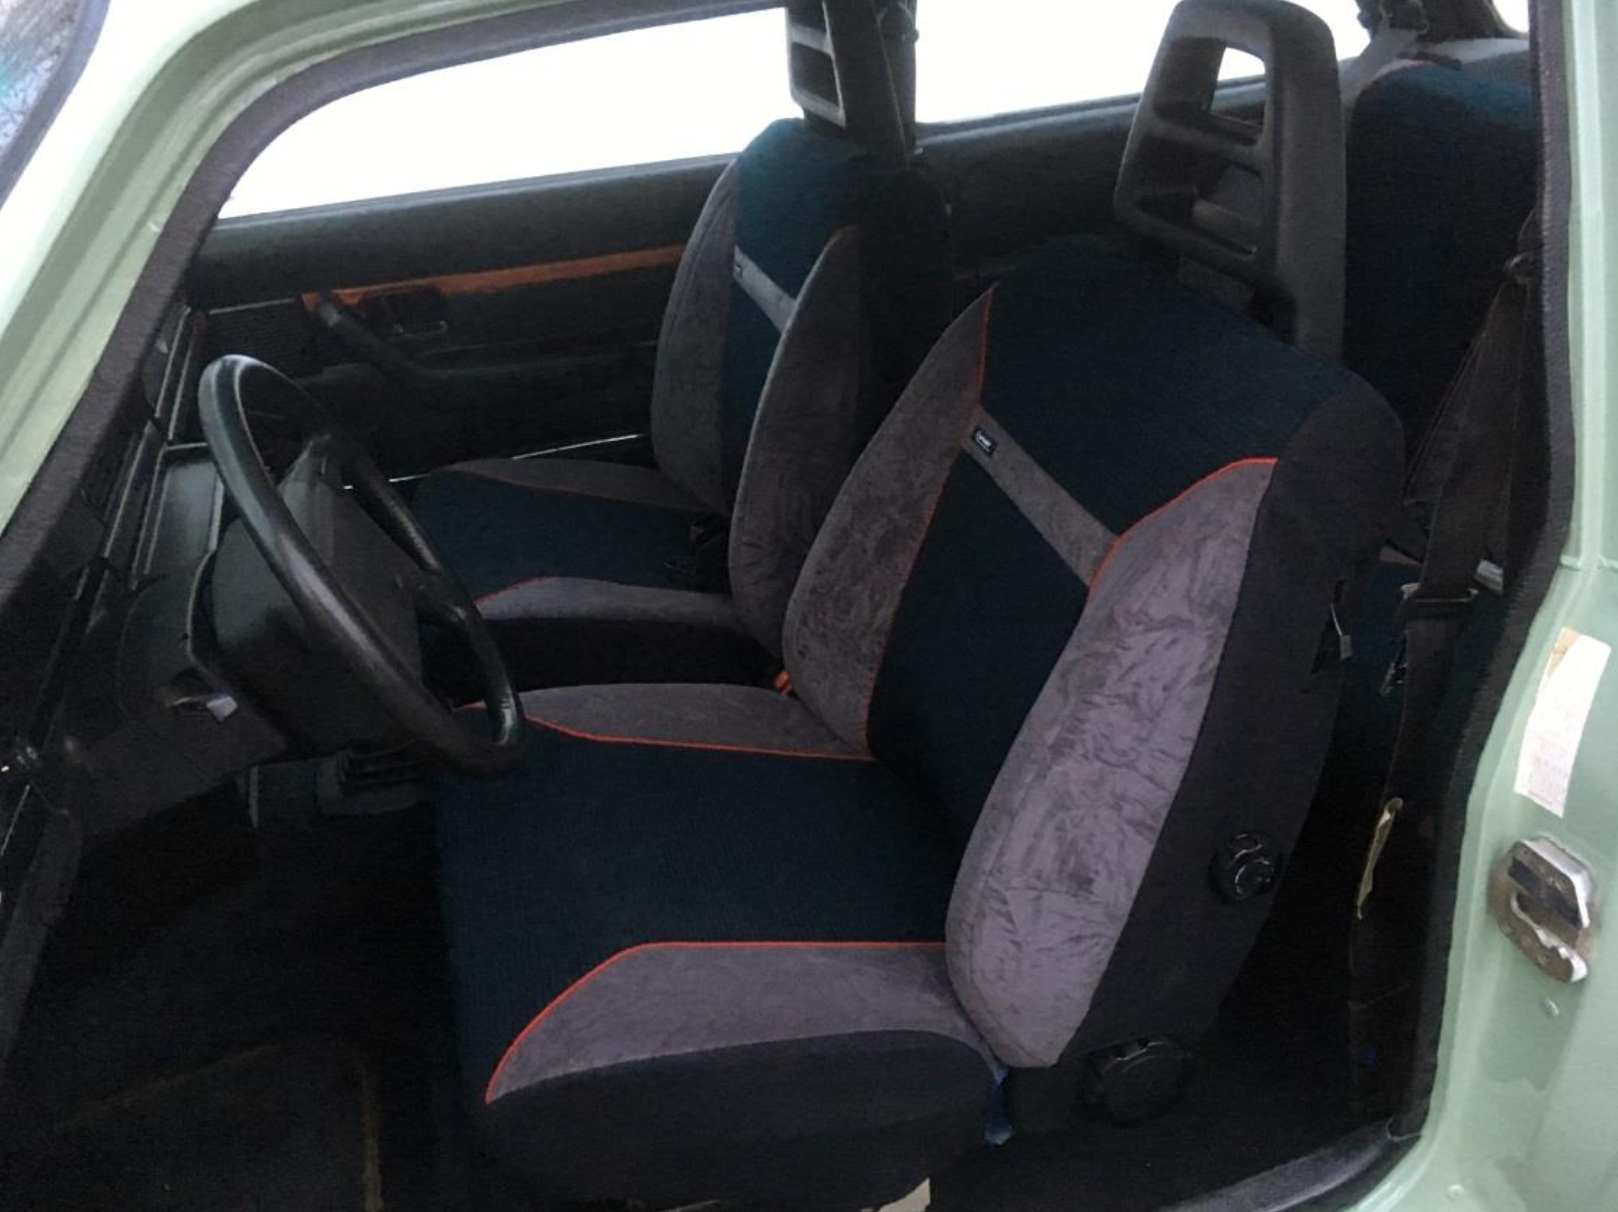
While I was waiting for body and paint work, I began collecting parts. My 1983 242 would provide most of the interior, but the seats were shot. With parts from 2 different cars I rebuilt both front seats. Using spray adhesive and fabric from an old pair of jeans, I reinforced the foam. Since this was a 242, I needed seats with the switch to flip the back down for access to the back seat. The only seat covers I had were worn and mismatched, but I found a set of reproduction R-Sport seat covers to slip over them.
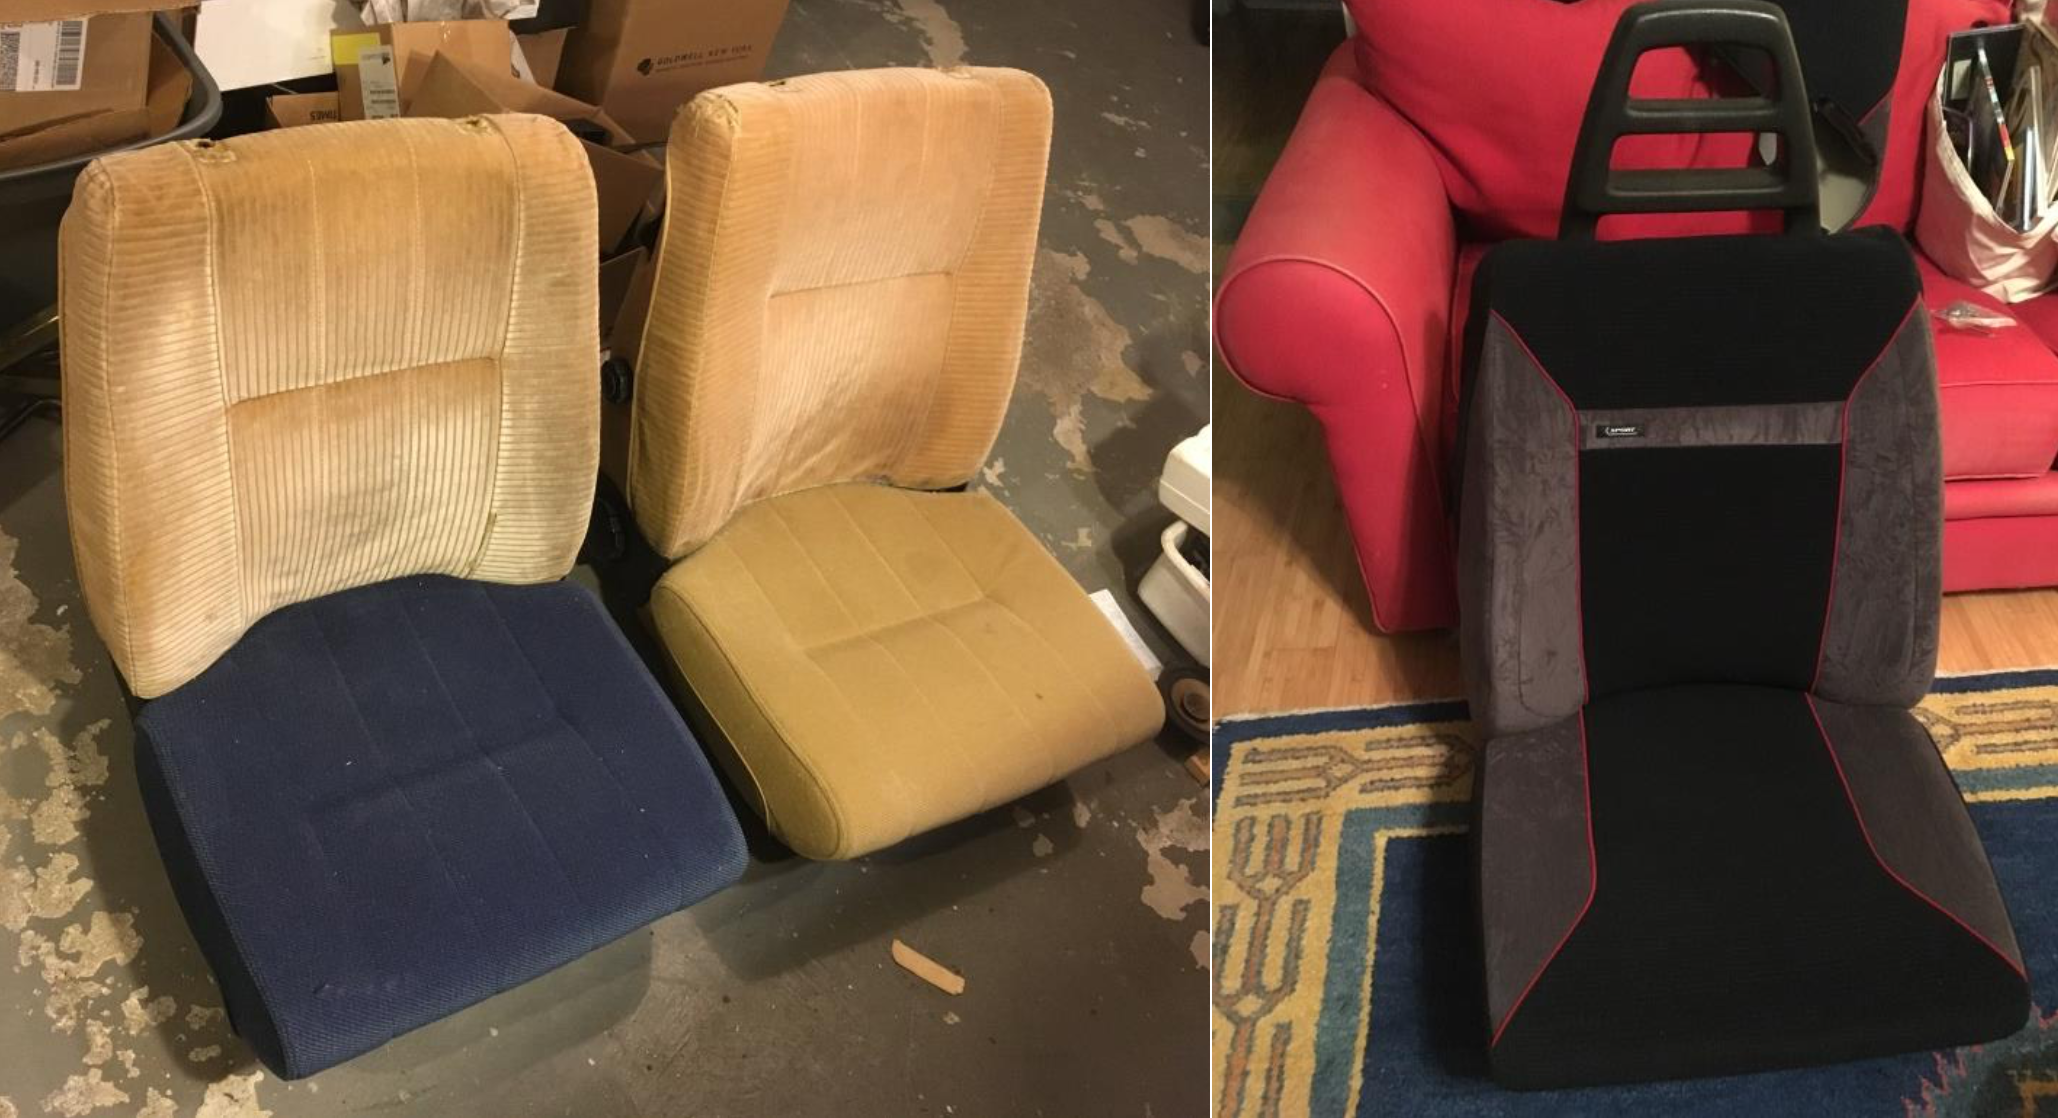
Left: Recovered, but mismatched seat covers. Right: Reproduction R-Sport covers hide them!
A visit to a friend revealed a 1978 242 GT parts car, from which I pulled the black headliner, door panels and rear interior panels. The door panels were crumbling and falling apart, but the black and orange-striped covers were still good. I decided to gamble on reinforcing and recovering the panels from the ’76. I carefully pulled the vinyl covers off and coated the panels with Modge Podge, which seals and stiffens the cardboard material. I successfully added new padding behind the covers and recovered the door panels using the GT’s skins.
I also started to work on lights. I found a used set of Hella tail lights and headlights on eBay. From FCP Euro I picked up Bosch Pilot fog lights and the necessary relay. Bosch Pilots were the fog lights offered by Volvo, at least in the later years, so it is nice to still be able to get the original parts. It is easy to make a wiring harness and add these fog lights to a 240. The hardest part is finding an original dash switch, but they show up on eBay as well.
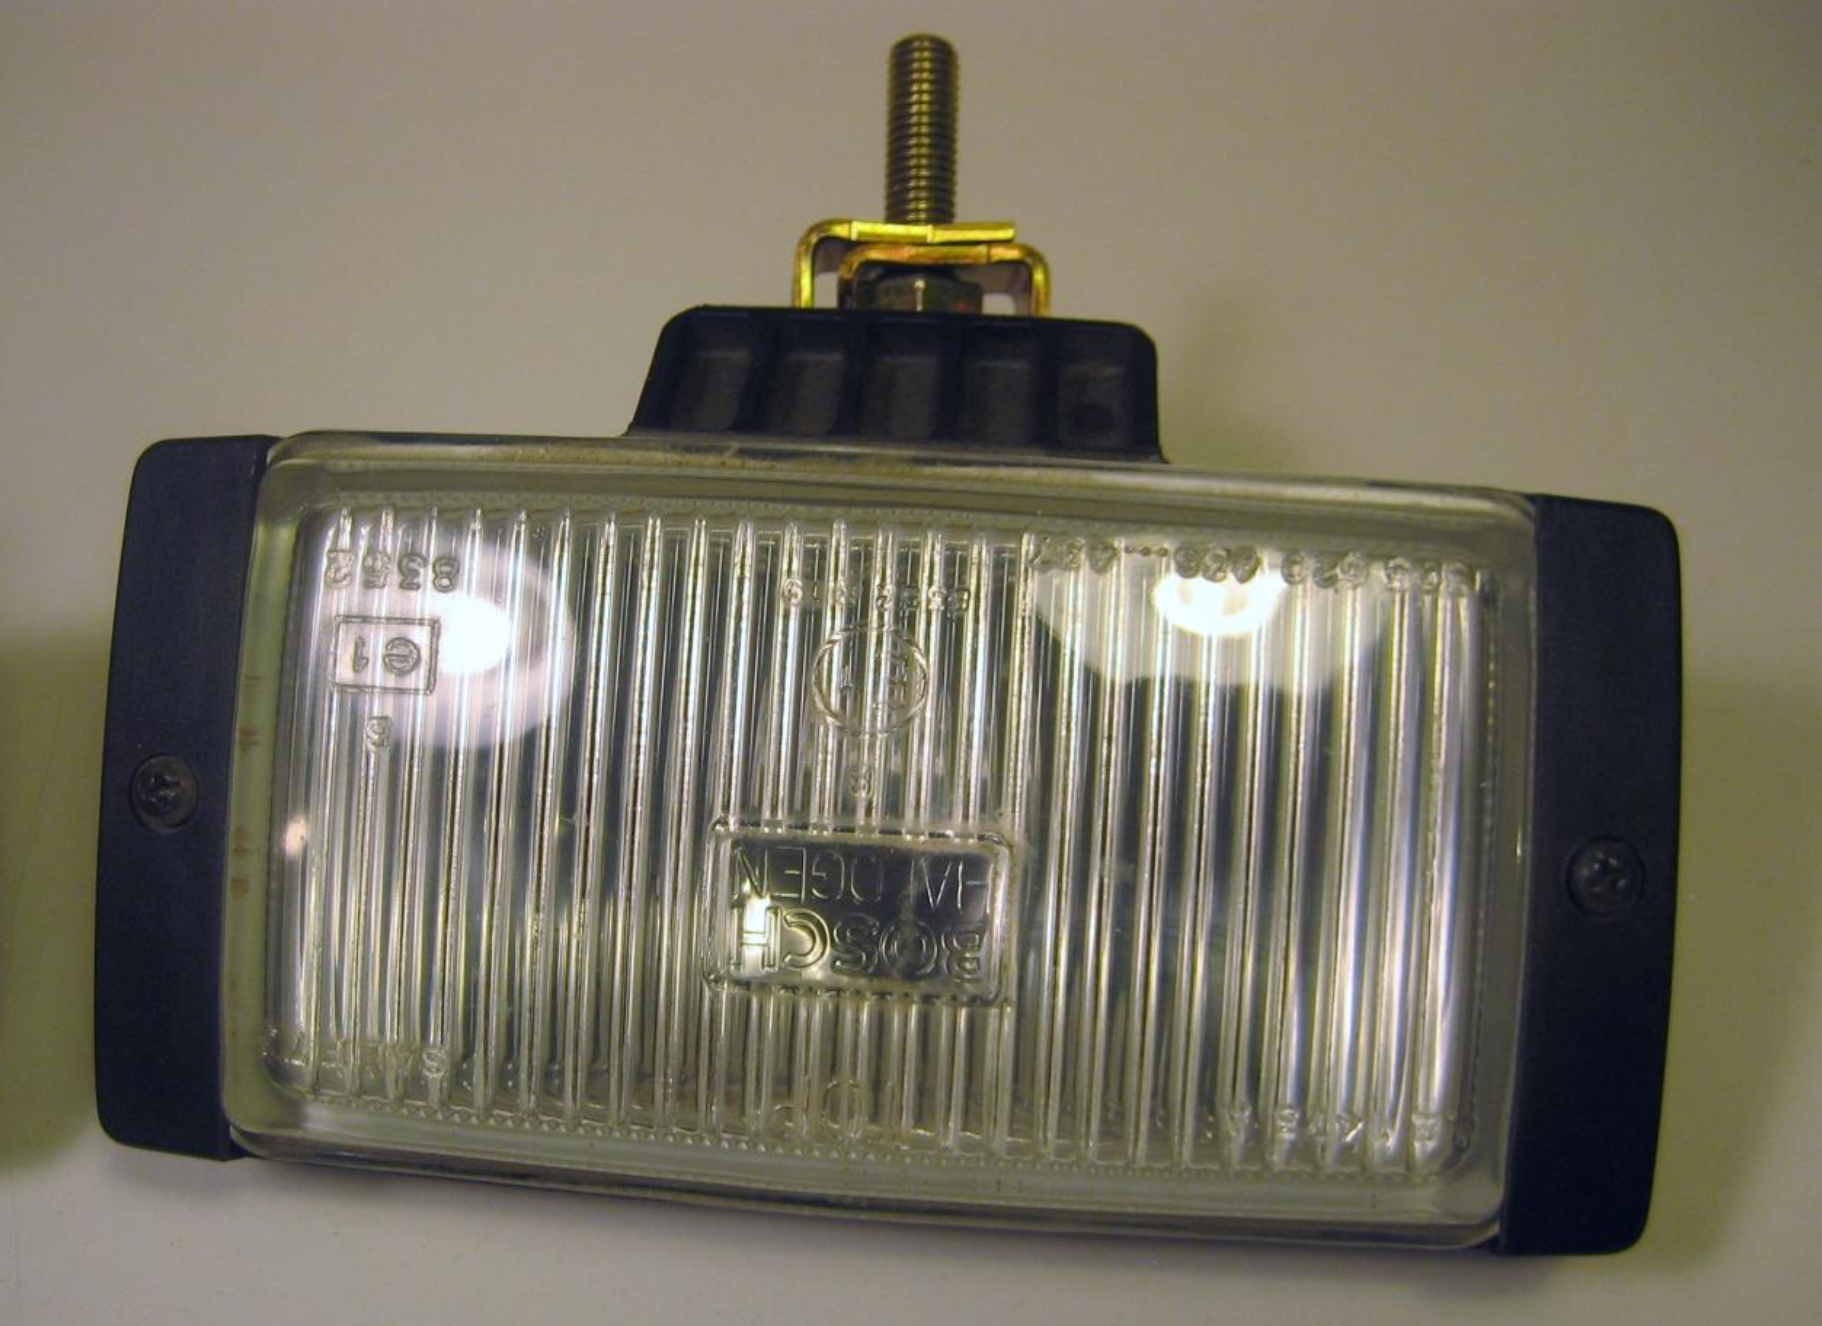
New Bosch Pilot Fog Lights are still available from FCP Euro!
March came and went, and then April and May, but the body shop never called. I was hoping to present the car to my Dad for his birthday in May, but that passed. Next, I hoped for EuroMeet, Ithaca’s European Car Show hosted by the local chapter of the Volvo Club of America. I stopped by the body shop and learned that their paint booth was broken and they wouldn’t get to my car before Summer. Bad news, but the good news was that the shop teacher, Matt, was interested in the car and offered to do it at his house over the Summer.
Matt came out to look at the car in July. He spent a few minutes looking it over and gave me a price I could afford. He also agreed to take small payments. Matt has a heart of gold and offered to do, for me and this car, what I could never afford. All I asked was that he make the outside shiny and a new color. I had no clue about what restoration body work takes, how many dents were hiding in nearly every panel on the car, or how those little rust spots had etched into the sheet metal. Matt picked the car up in August and started work. The first thing he did was take the right rear quarter panel down to bare
metal. This was a test, to see how bad the rust was and if the previous owner’s attempts to sand it down, leaving rusty polka dots, had caused any real damage. The first quarter panel showed that the rust had etched into the sheet metal a little bit. Matt used a primer that helped fill the minor spots.
The first section to be stripped was the right rear quarter. It showed that the “cheetah spots” of rust had etched into the sheet metal, but not too badly.
Matt continued to strip the car down, panel by panel, and discover new problems. Bondo from an old fender bender, and worst of all, a roof and hood filled with dents. He asked if I had another hood, but I didn’t since this was a “flathood.” For the next few months, working only a few hours on weekends, Matt and one of his students battled the dents and cheetah-spots.

By October, he had every panel as good as he could get it to meet my deadline of mid-November. I had picked an original Volvo green from the 70’s, but it didn’t look that great. When the time came to actually choose the color, I went with Fiat’s sage green that I have seen on the 500’s. It is a great color and I tested it out on the fender of a parts car. By mid-November, the night before my friends were coming to help me reassemble, Matt had the paint done.
Part 3: Reassembly and Mechanical
My friend Dan and I went to pick the car up from the body shop at 11 PM at night. I bolted a seat in, started it up and got ready to drive the 2 miles of backroads to my house. Mind you, the car had no lights of any type, no license plates, no rear windows! As I drove the sand and dust from body work blew all over the interior, and especially into my eyes! We got it home and planned to begin work the next morning.
I had been collecting, cleaning, and rebuilding parts for a year in anticipation of this day. I sourced a black headliner from a GT and all the black interior parts necessary including some GT door panels. We started the next morning and reassembly seemed to go slower than I expected. It seemed like each part revealed that 2 other parts needed to be addressed first, but we made progress. We swapped in better trunk lid shocks, the back windows, and everything on the pillars and headliner. That night, my friends Seth and Ann arrived and we started the dashboard conversion. We were installing the later style dash from the ’83 parts car. We got pretty far with the wiring and instruments and called it a night.
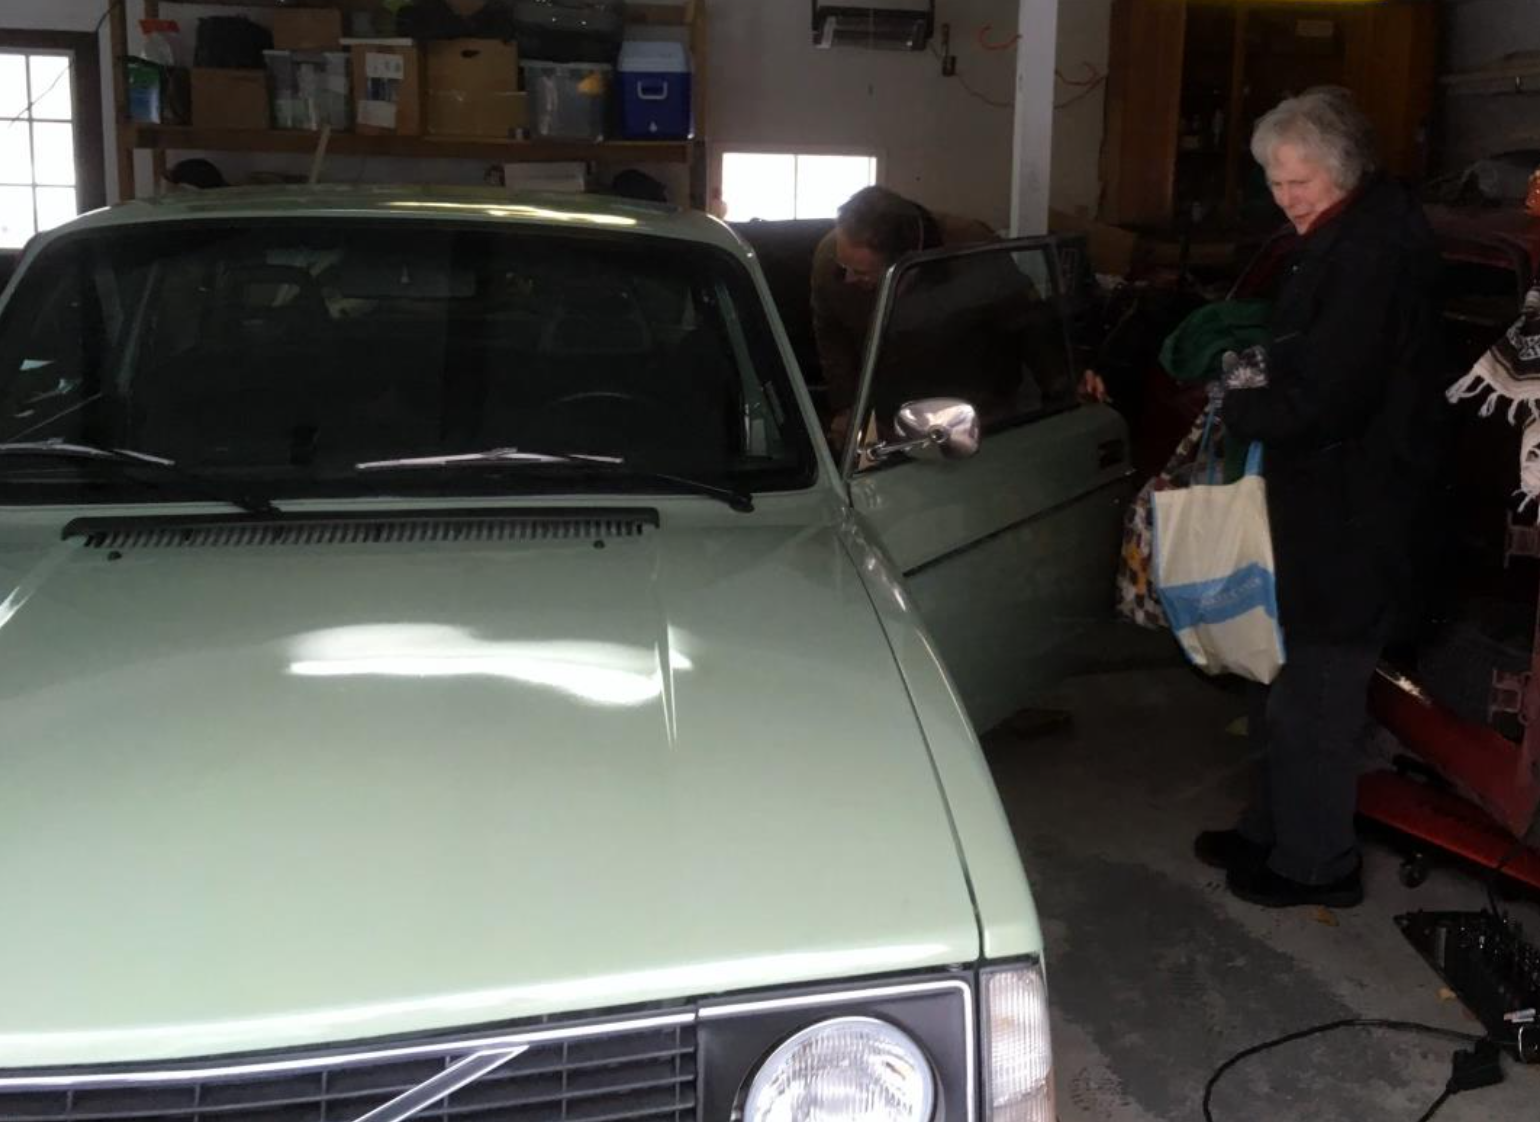
The next day we had a full crew of friends, neighbors, and family on hand to put the car together. It was Saturday, the day before I had my Dad coming for a visit and the big surprise. Even though it was mid- November, it was 65 degrees and sunny. My driveway looked like a Volvo sales lot.
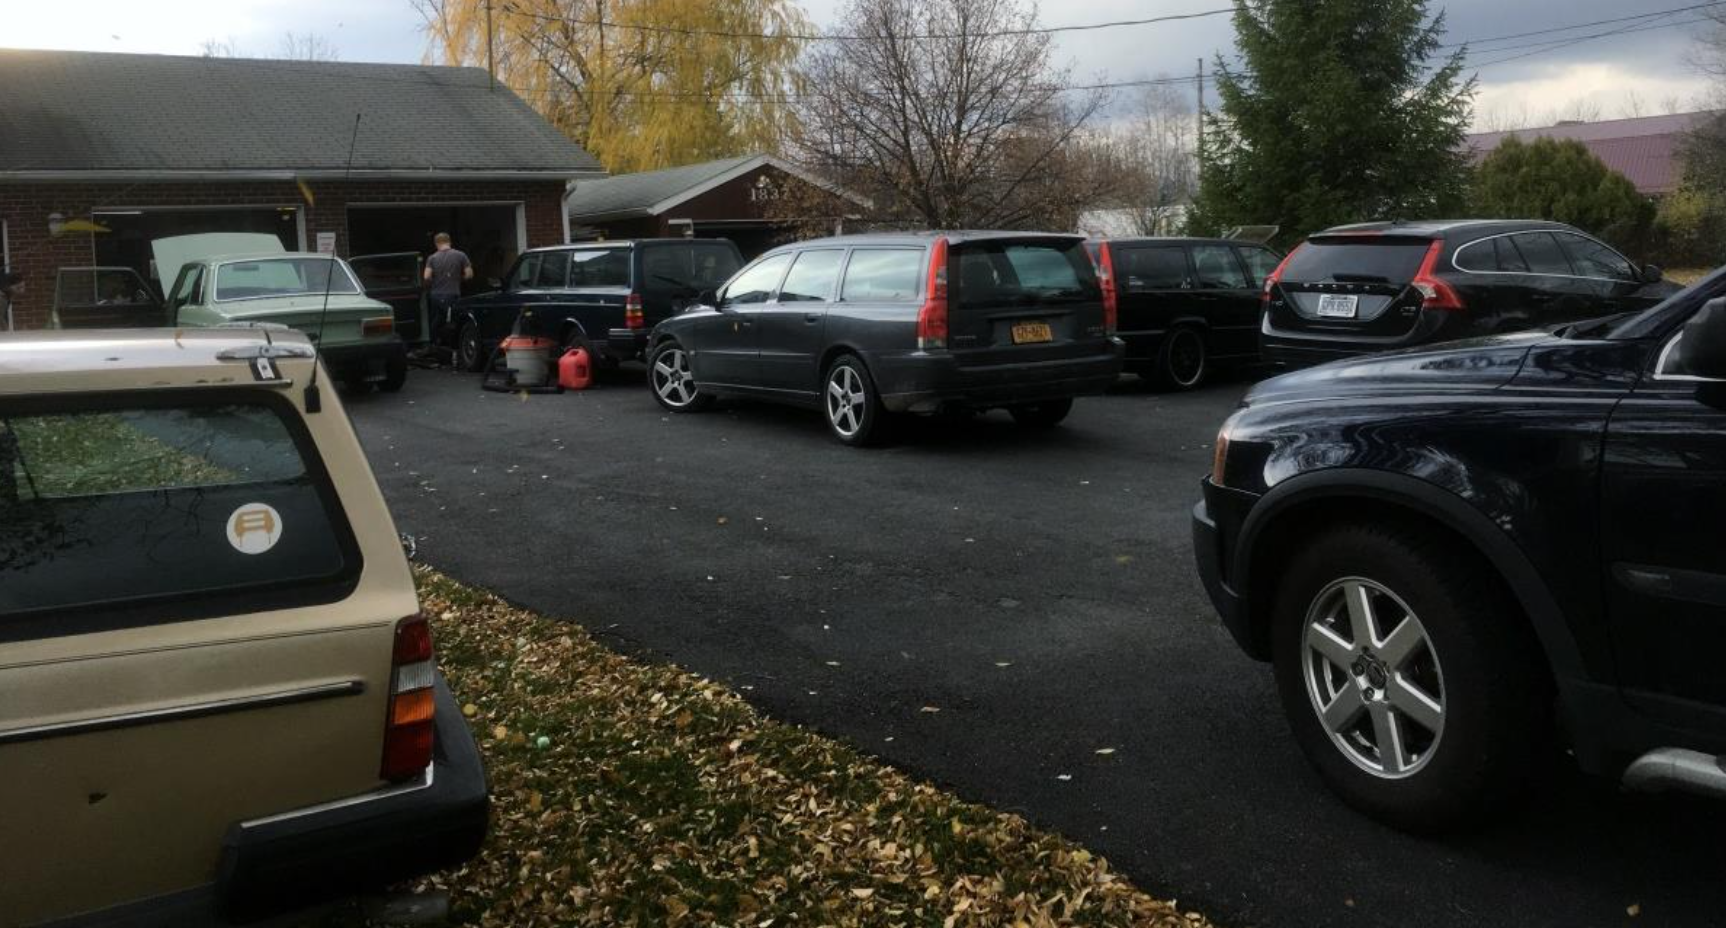
This photo shows most of the Volvos at my house for the big reassembly day... Of course, I have 7 of my own!
Friends helped get the lights in, bumpers, door panels, wheels, and interior. We swapped the steering wheel out for the nicer one in the ’83. The grille and headlight set up I had gathered was from the later 78-79 flathoods and we discovered it was not a direct swap. I also chose the later bumpers, which created problems with trim and attachment. Things were improvised, holes were drilled, problems were solved, and progress was made.
Around 7:00 PM, the temperature suddenly dropped to near freezing and it was getting dark. We were all a bit punchy and hungry. We headed out to eat and by the time we got back, it was snowing. Then the salt trucks went by. This meant there would be no test drives this year!
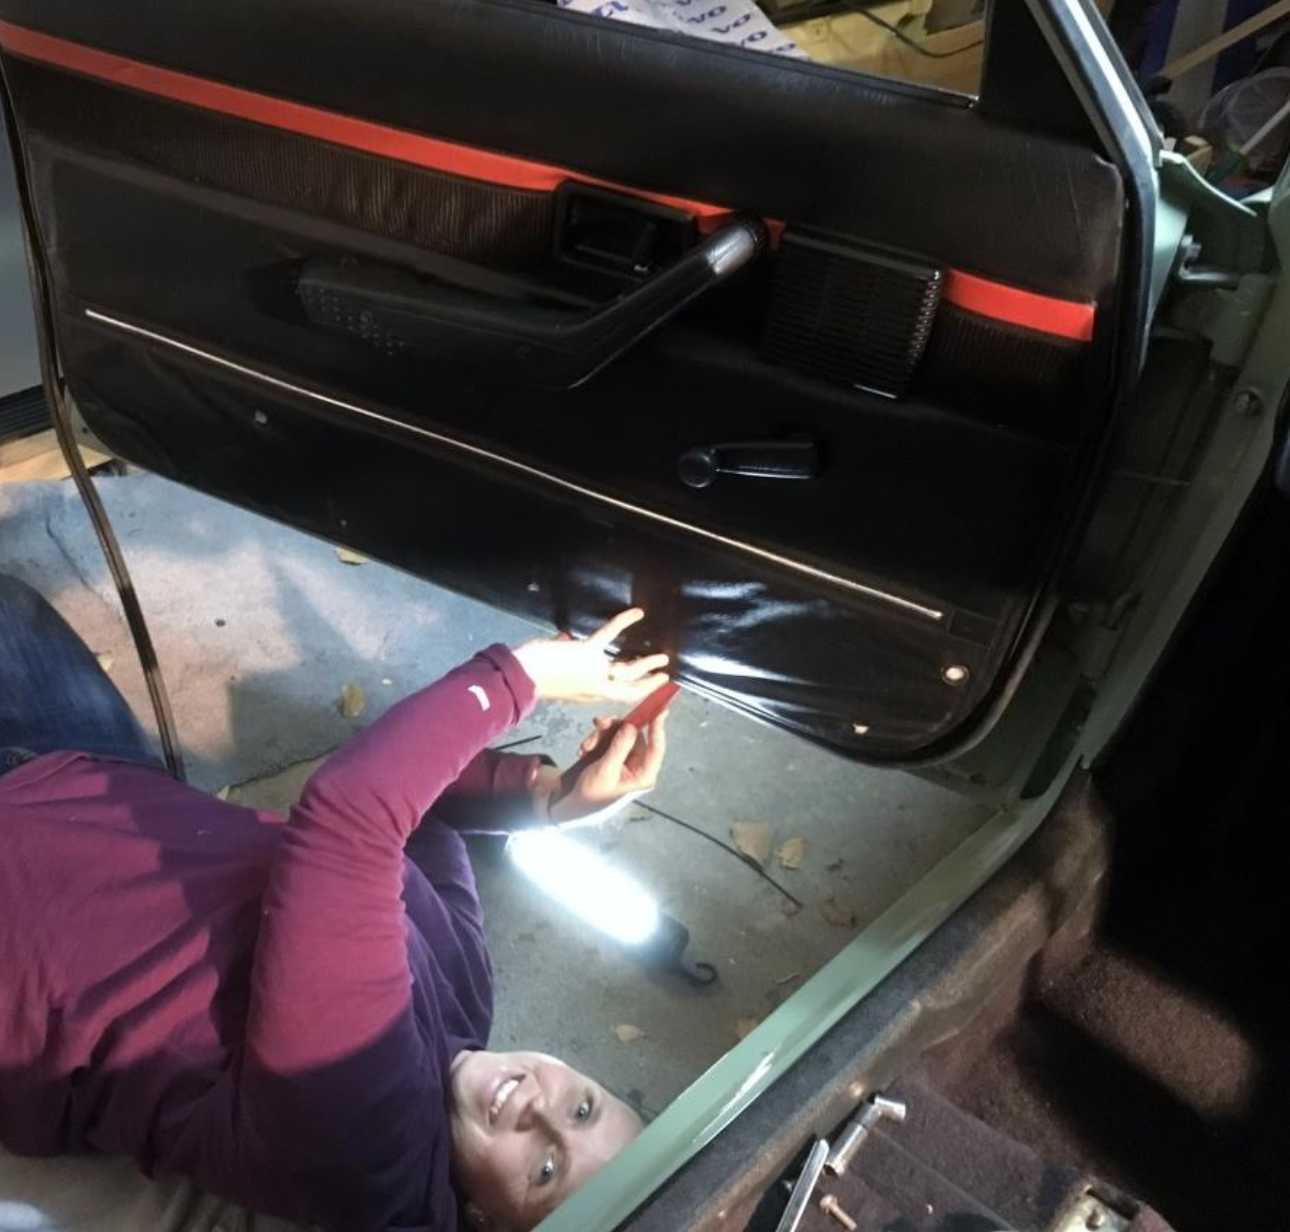
My dedicated wife laid on her back in a cold garage doing the tedious job of tucking weather stripping into the channel on the doors (I got a good one!).
Friends headed home and my wife and I found ourselves back in the garage, getting what we could done on the punch list. I attached the stainless steel belt line trim and by midnight, the car was nearly done. The next morning involved a few last minute steps before my parents arrived. The front seats were the last to go, I finished bolting them in about 5 minutes before my parents pulled in!
The front seats were the last thing to go in before my parents arrived.
My dad was shocked, and confused. He had no clue this car even existed, and watching him try to make sense of the whole deal was fun. My mom was really impressed and just kept saying “wow”. Due to the salt on the roads, the car is now grounded at my house until Spring.
My parents with the car on “reveal day”. The confusion on their faces was a great feeling.
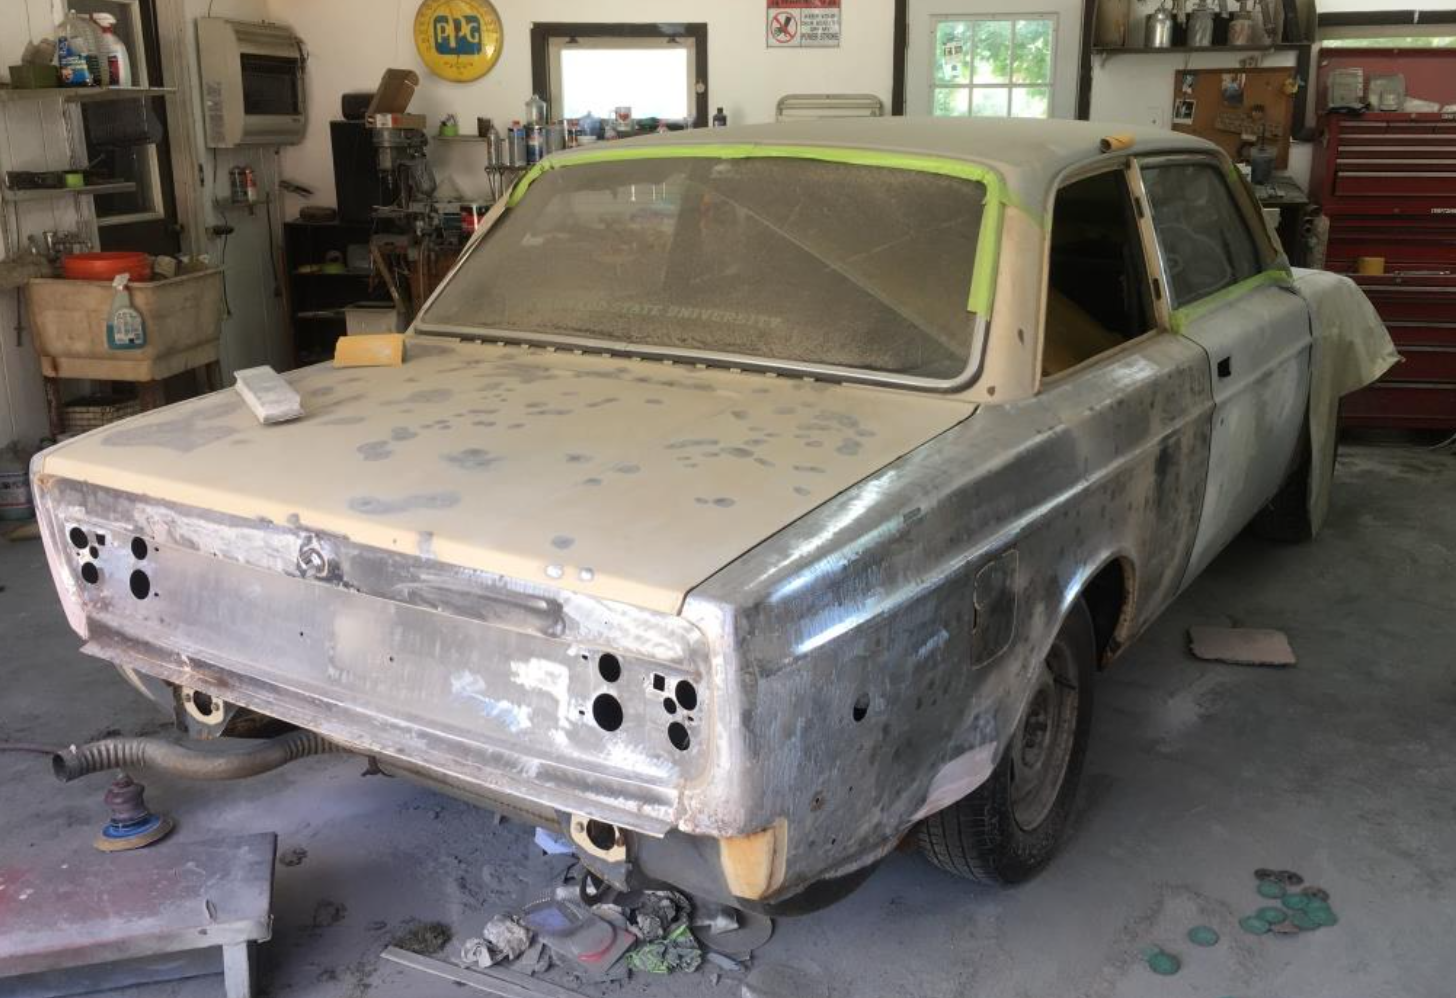
I had only give the car a cursory look over for mechanical needs. I had a driven it a few miles here there and given it a simple tune up. The reassembly and further inspection revealed that it had a host of needs. The speedo cable needs to be replaced, the fuel pump is a cob-job literally bungeed to the car, and leaking fuel, the steering and suspension in the front end needed some attention to be safe again. The voltage regulator wasn’t charging at full capacity. Enter FCP Euro. I put together a list of parts and have been impressed at the availability for this ’76. FCP Euro has the non-power steering rack tie rod ends, the fuel pump, and little details, like license plate lights (need those to pass inspection). Parts have been ordered and one more work day with friends is in order before my Dad can start driving and enjoying the car. Spring will give us a few days to get the car in tip top running condition as the rains wash away the salt.
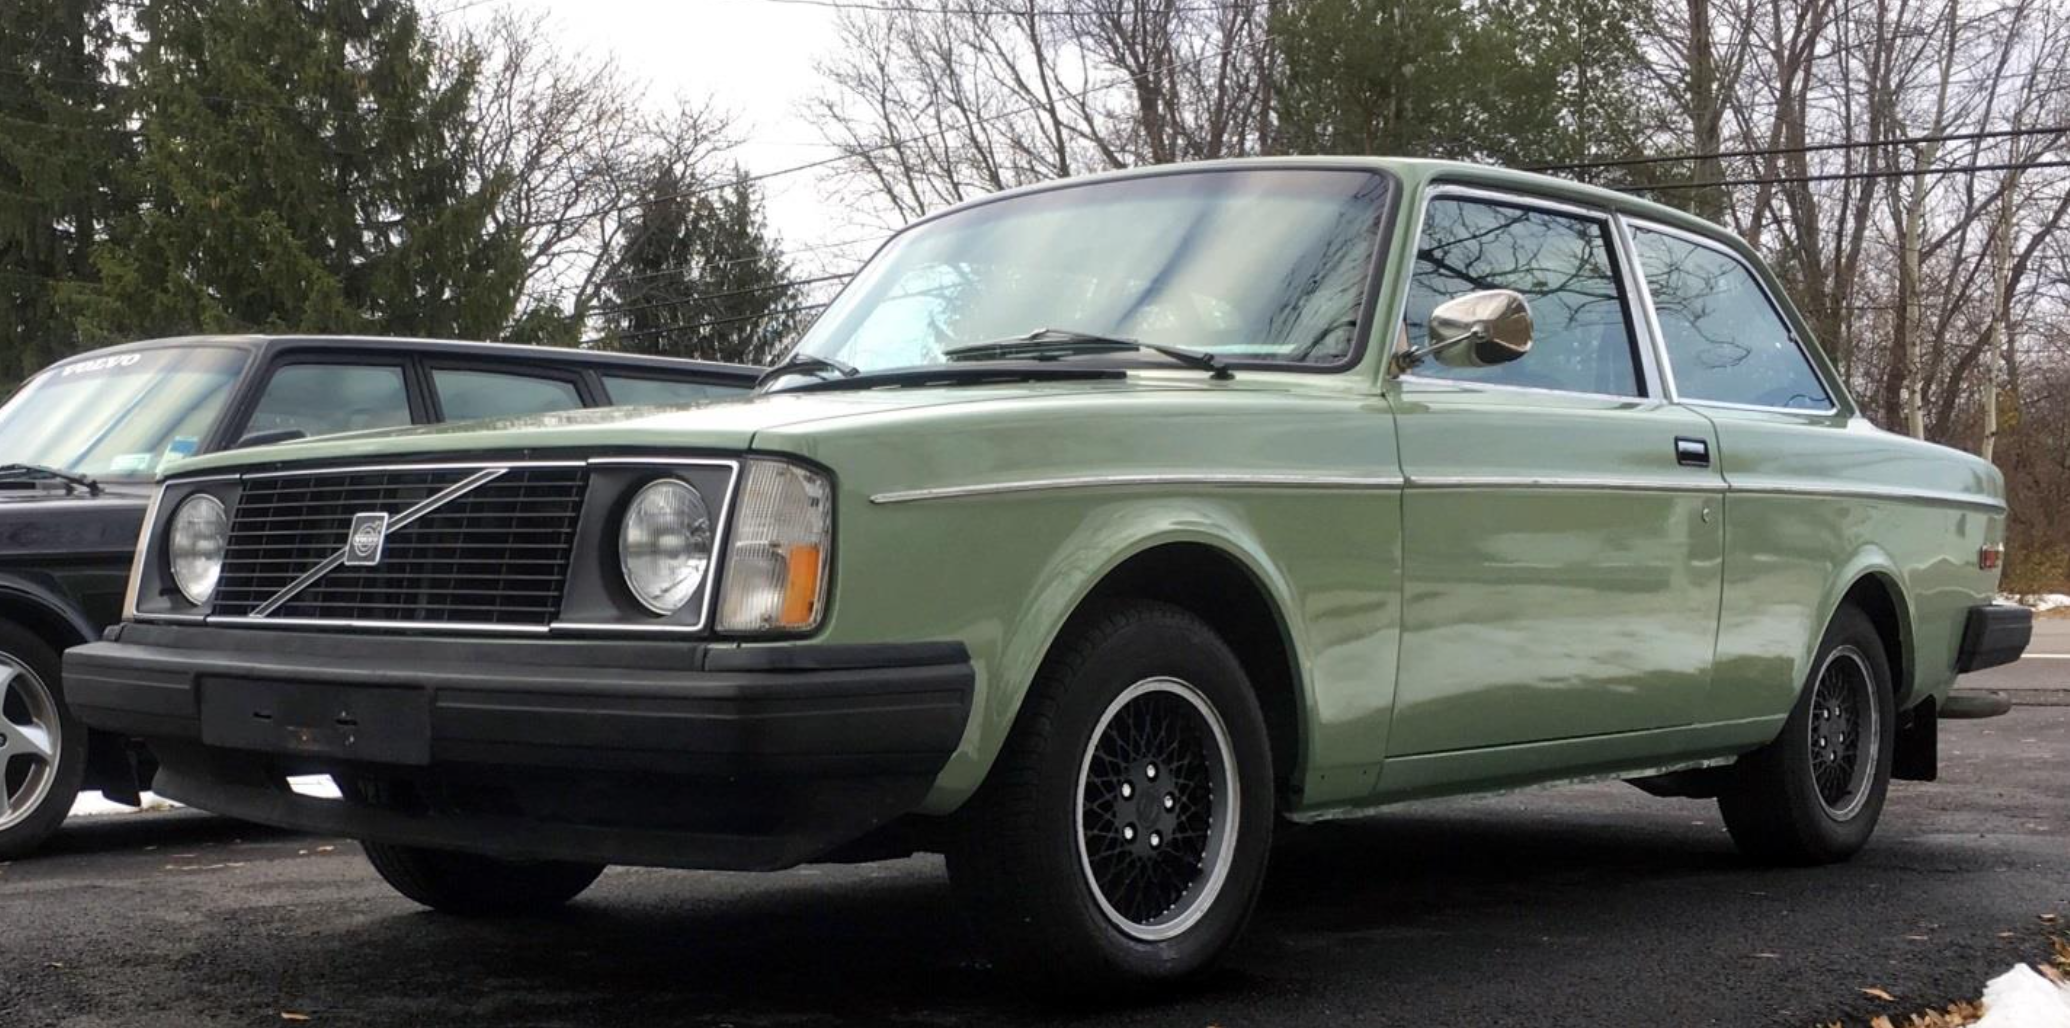
Here is the car in its current, nearly done state.
Matt LeRoux
Matt lives in “Volvo Mecca” Ithaca, NY. He is the president of the Central NY Chapter of VCOA, which hosts Euro Meet in Ithaca each June. Matt has a ’93 245 with B230FT and Mustang T5, 1998 V70 T5M, and a few other 240’s.


